Cardboard Craft Ideas for Women Over 40: 10 Creative Crafts

Some of the most creative moments don’t happen in craft stores with expensive supplies—they happen right at the kitchen table with something as simple as cardboard.
If you’ve ever saved a box “just in case,” this one’s for you.
For women over 40, crafting often becomes less about trends and more about joy, relaxation, and doing something meaningful with your hands.
Cardboard, surprisingly, is one of the most versatile materials for that.
It’s easy to work with, budget-friendly, and perfect for turning everyday waste into something beautiful and useful.
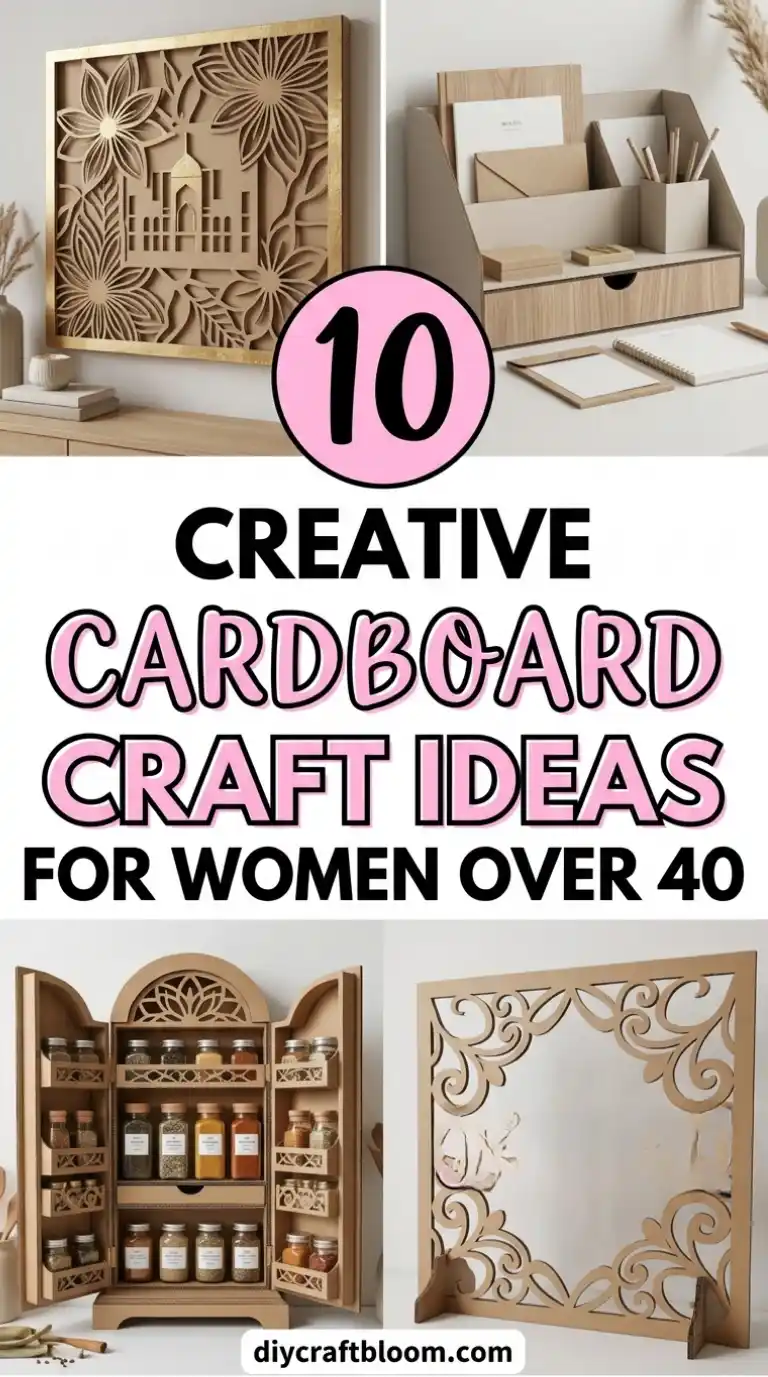
In this article, we’ve gathered 10 cardboard craft ideas for women over 40 that are simple, creative, and genuinely fun to try—no special skills required, just a little time and imagination.
1. Upcycled Cardboard Monogram Wall Art
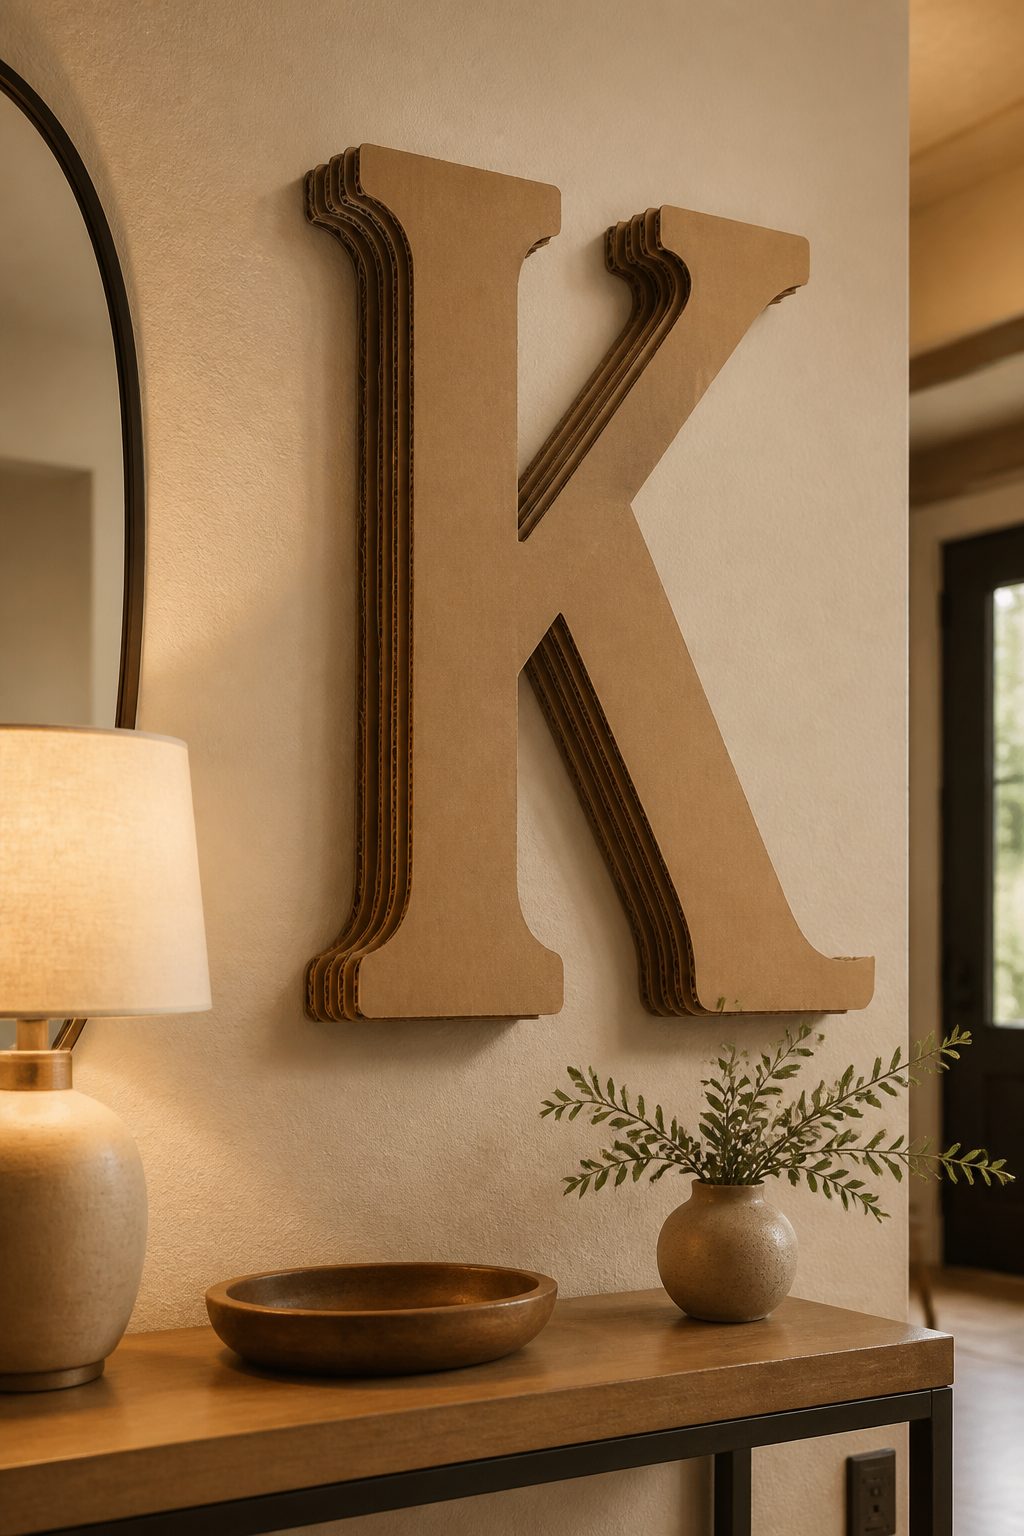
Imagine a bold, sculptural monogram gracing your entryway or fireplace mantle. This project takes a simple letter and elevates it into a statement piece with depth and texture. It’s light, affordable, and surprisingly chic.
Materials
- Corrugated cardboard sheets
- Craft knife or scissors
- Pencil and ruler
- Acrylic paints and brushes
- Hot glue gun and glue sticks
- Washi tape or decorative paper (optional)
How to Make It
- Draw your chosen letter on cardboard and cut out two identical shapes.
- Glue the two cutouts together for a chunky, dimensional letter. Add a few inner channels for extra texture.
- Paint the front with a base color; you can layer a contrasting color on the edges or carve in subtle patterns with a blunt tool.
- Decorate with washi tape or thin decorative papers for interest. Seal with a matte spray if you like.
- Attach a loop of string or a small sawtooth hanger on the back.
Finish it with a clean, modern color palette like black and gold, dusty pink and cream, or emerald and white. This piece works beautifully above a sofa or in a bedroom corner. A thoughtful gift for a sister, mom, or friend who loves personalized home decor.
2. Cardboard Planter Troughs With Real-Life Greenery
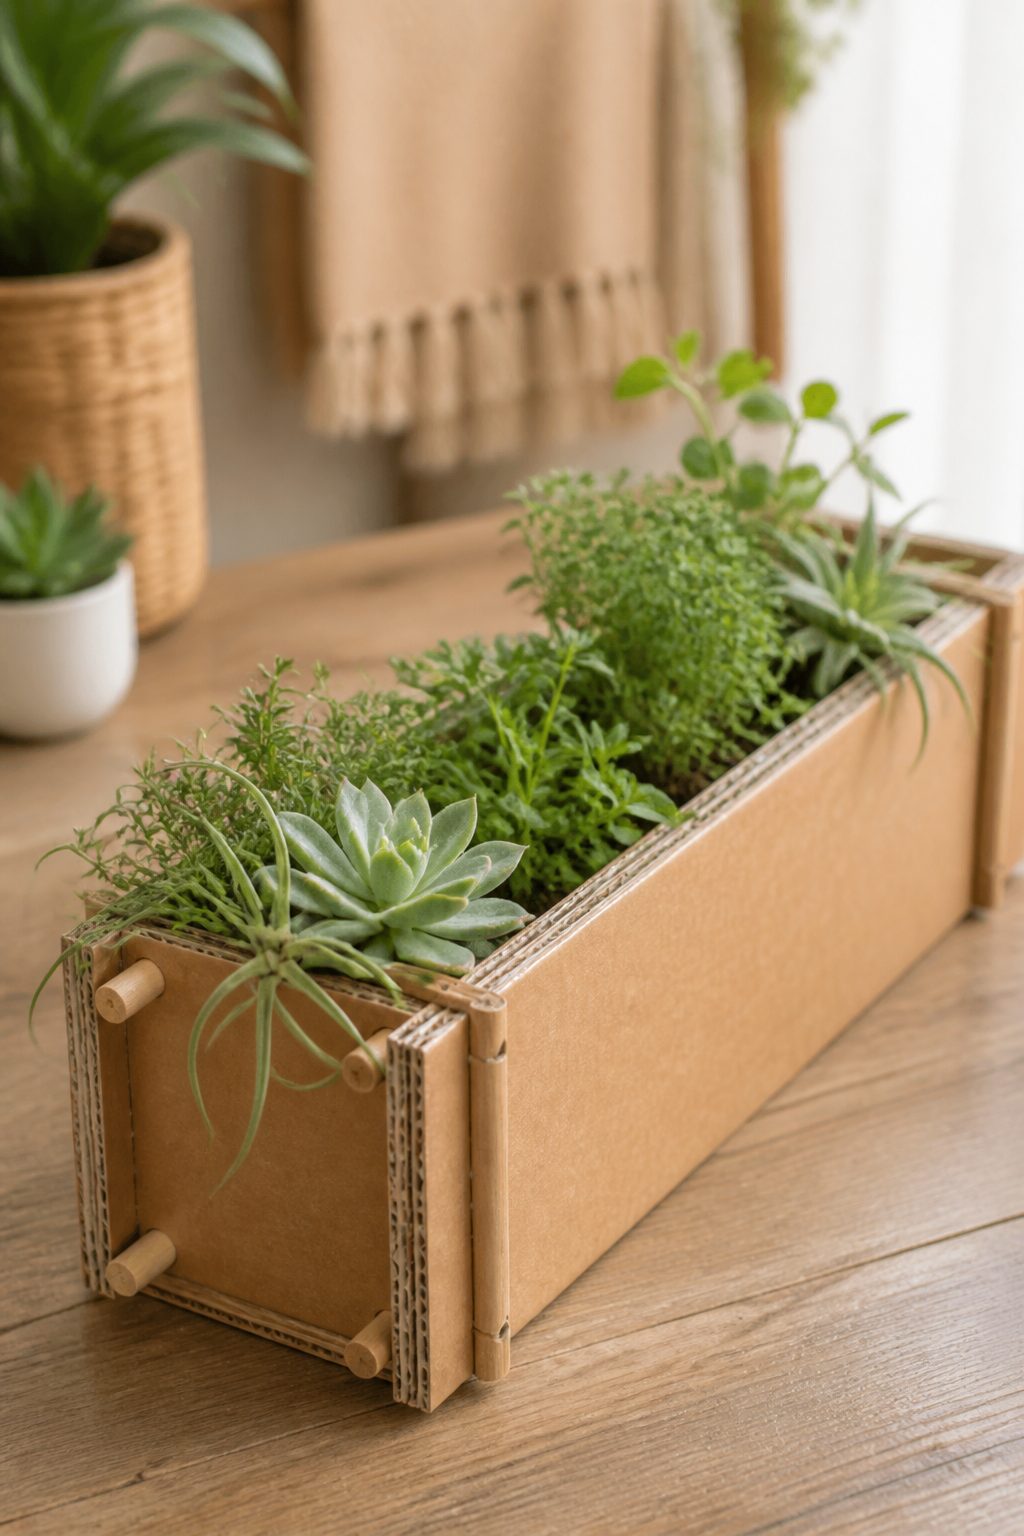
Who says cardboard can’t be green? Create lightweight, rustic planters that look like actual troughs without the weight or price. They’re perfect for succulents, herbs, or air plants, and they pair well with natural textures.
Materials
- Cardboard boxes or a hand-cut corrugated sheet
- Hot glue gun and sturdy glue sticks
- Wooden dowels or craft sticks (for added structure)
- Acrylic paint in earthy tones
- Clear sealant (optional)
- Sandpaper (optional for smoothing edges)
How to Make It
- Cut a rectangular trough shape with folded sides for extra rigidity. Sand rough edges for safety.
- Glue in internal supports with dowels or craft sticks to create a boxy, robust look.
- Paint with a weathered wood or concrete finish. Add faux rust accents with a dry brush technique.
- Line the inside with plastic or a small pot, so moisture stays contained.
Plant up with a few low-maintenance greenery options. This project shines on a kitchen windowsill or balcony, bringing a touch of nature without heavy lifting. Your houseplants will thank you, and you’ll love the earthy vibe.
3. Cardboard Filigree Mirror Frame
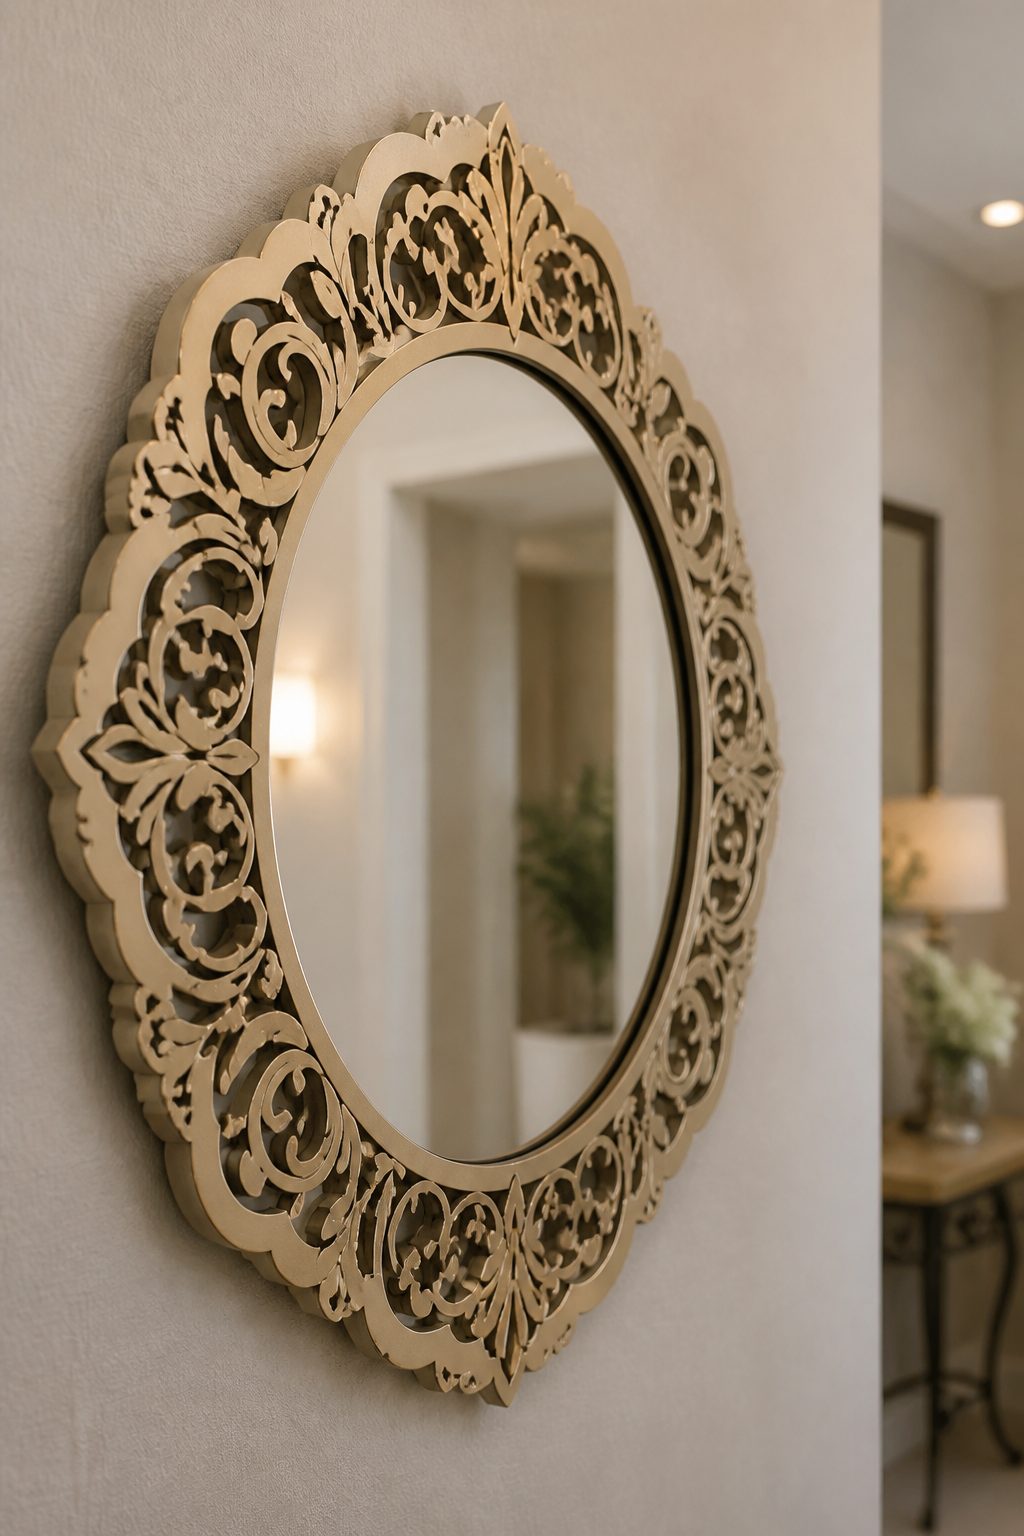
Give a plain mirror a high-end makeover with a delicate cardboard frame inspired by vintage filigree. It’s light, customizable, and endlessly charming for hallways or bedrooms.
Materials
Subscribe to DIY Craft Bloom
Get updates on the latest posts and more from DIY Craft Bloom straight to your inbox.
- Cardboard sheets
- Mirror or a ready-made frame
- Craft knife or scalloped-edge scissors
- Acrylic paint or metallic markers
- Hot glue gun
- Fine-tipped black pen for detailing (optional)
How to Make It
- Cut decorative filigree shapes from the cardboard using a sharp blade (you can create repeating patterns or a single ornate motif).
- Arrange the pieces around the mirror frame and glue them in place, leaving a small gap between the mirror and the frame for dimension.
- Paint the filigree in a metallic hue like antique gold or brushed silver. Add subtle shadows with a darker shade for depth.
Pair this with a simple, clean mirror for a dramatic contrast. It’s ideal for a powder room or an entryway, bringing a touch of glamour without the heaviness of real metalwork.
4. Cardboard Floating Shelf With Integrated Hooks
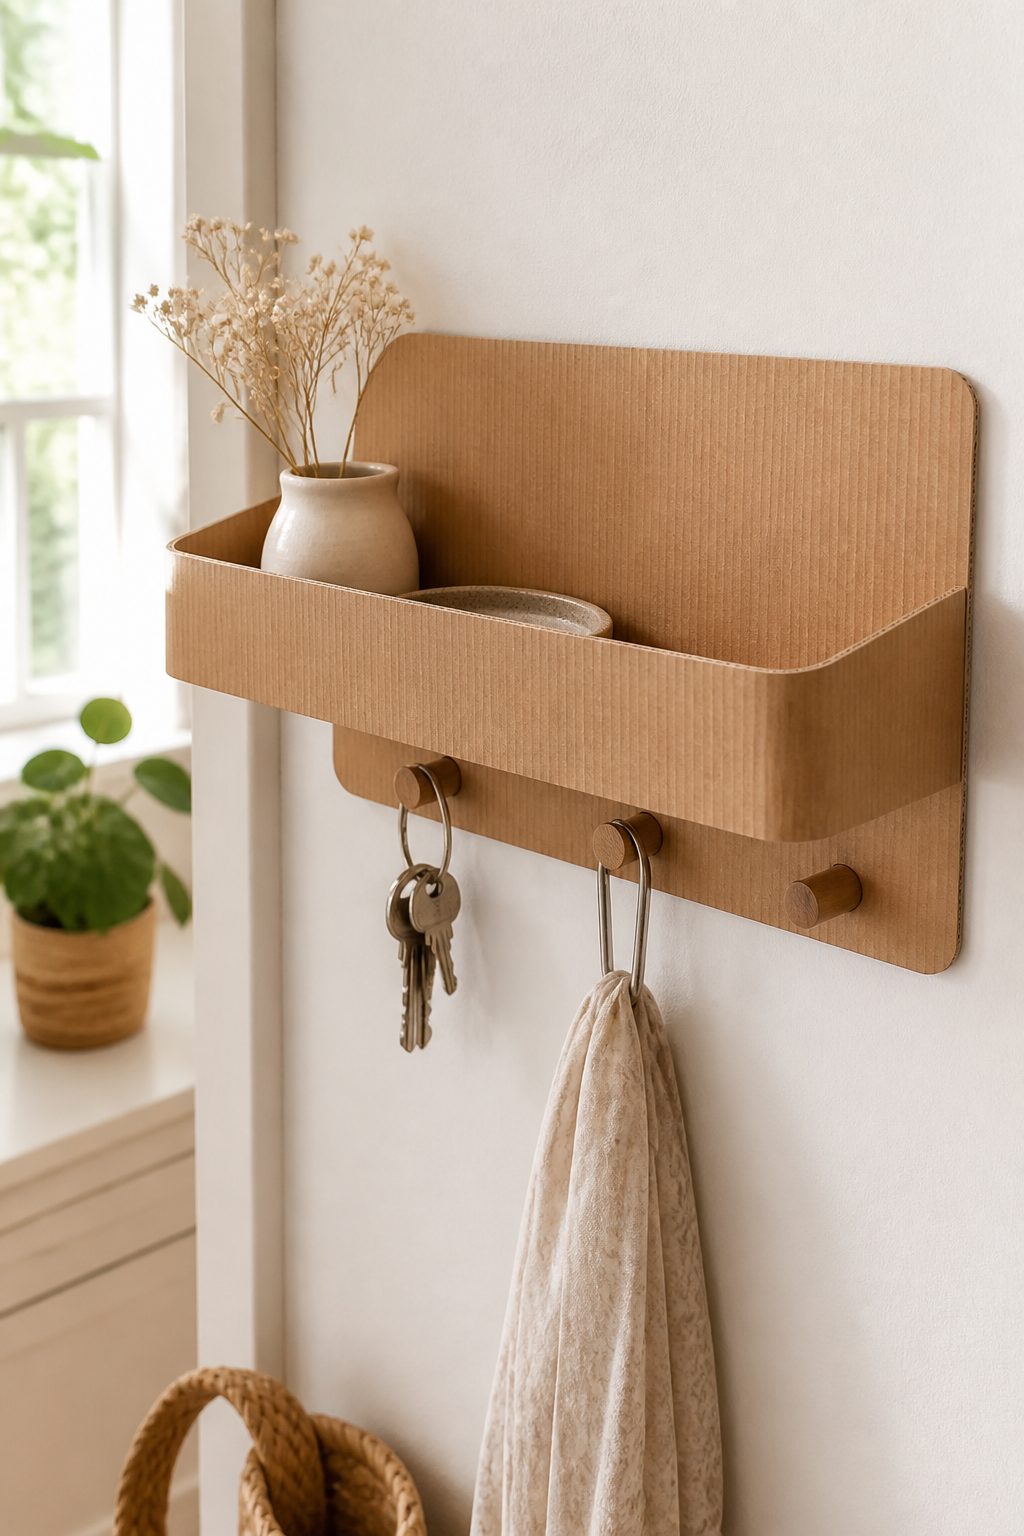
Yes, cardboard can hold weight — enough for a lightweight shelf and some chic hooks. Create a floating shelf with a modern, minimal silhouette and a few coat- or key-holding hooks. It’s practical and pretty, especially in an entry or craft nook.
Materials
- Thick cardboard board or multiple layers fused together
- Wooden dowels or metal hooks
- Strong glue and optional small screws
- Paint or contact paper for finish
How to Make It
- Cut a long, shallow tray shape as the shelf body and a matching back panel for rigidity.
- Layer and glue for strength, then wrap the top with decorative paper or paint in a chic finish.
- Attach hooks along the bottom edge or the front lip using glue or small fasteners.
Mount on a wall with proper anchors. This shelf is ideal for keys, sunglasses, or small decor trinkets in a sunny foyer or craft room. A practical piece that still looks thoughtfully designed.
5. Cardboard Woven Wall Panels
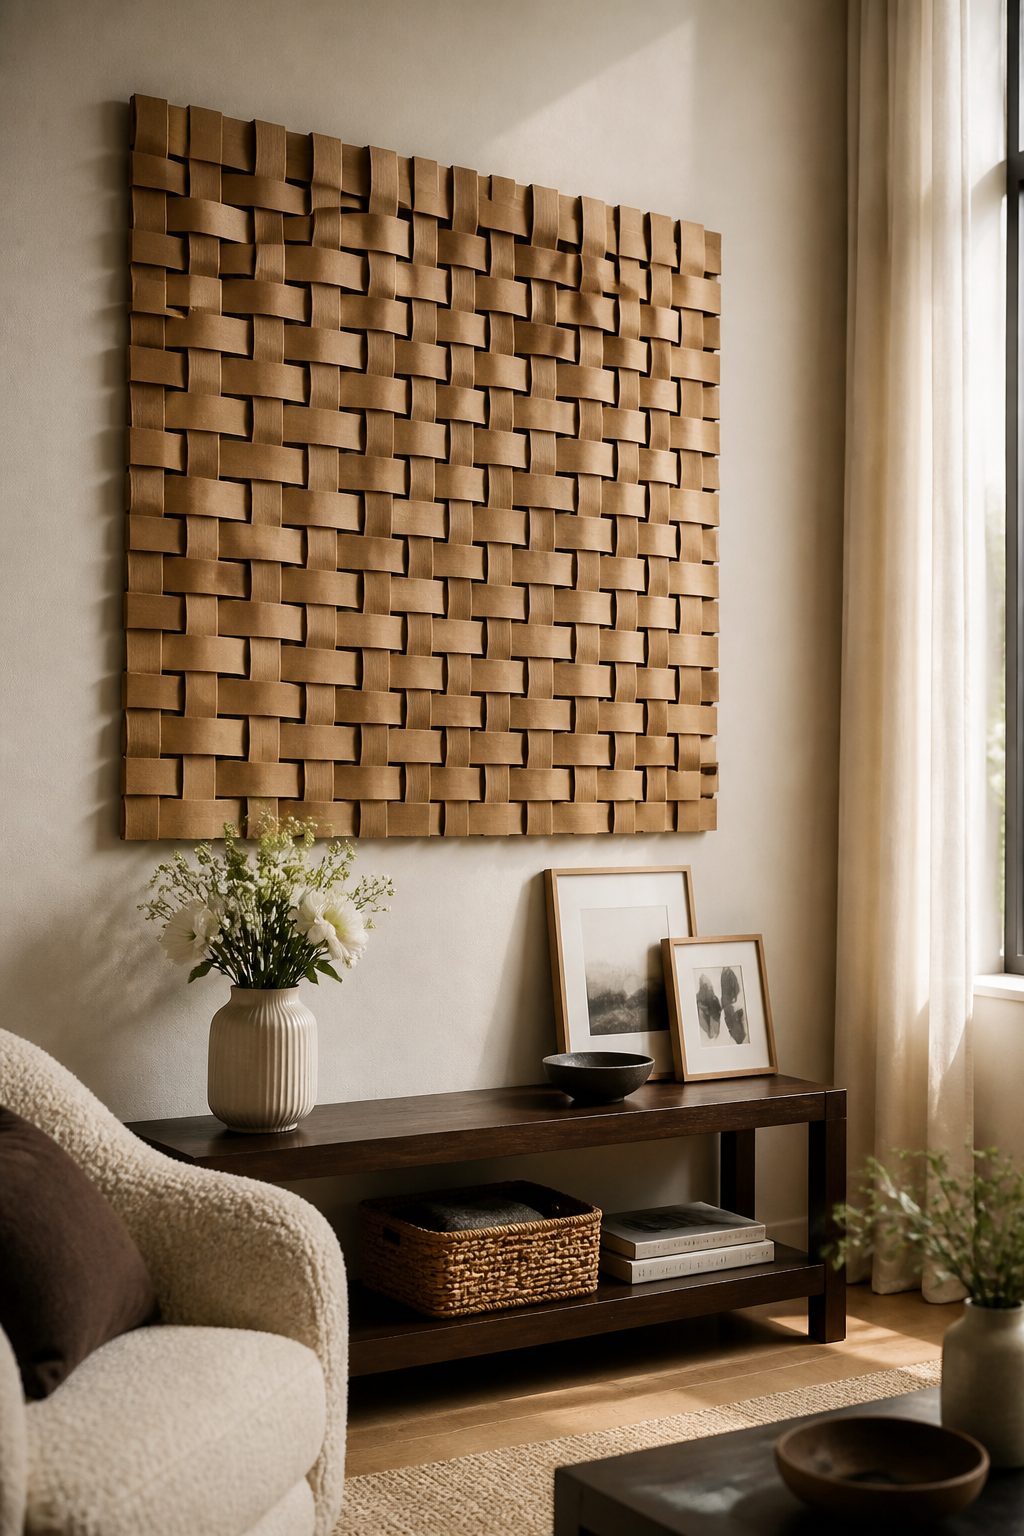
Texture is everything, and these woven panels bring tactile interest to any room. Simple strips of cardboard woven into a grid create a warm, tactile backdrop for photos, art, or mirrors.
Materials
- Cardboard strips (cut from boxes)
- Adhesive or hot glue
- Paint or stain for color
- Backing board (optional)
How to Make It
- Weave cardboard strips over and under a grid to form a panel. Keep the weave tight and consistent for a neat finish.
- Glue each intersection and trim any rough ends.
- Finish with a light coat of paint or a wood stain for warmth.
Hang a trio of panels in a hallway or above a sofa for a cozy, artisanal vibe. This project is perfect for showcasing your inner designer and pairs beautifully with textiles like linen and jute.
6. Cardboard Leatherette Card Organizer Tray
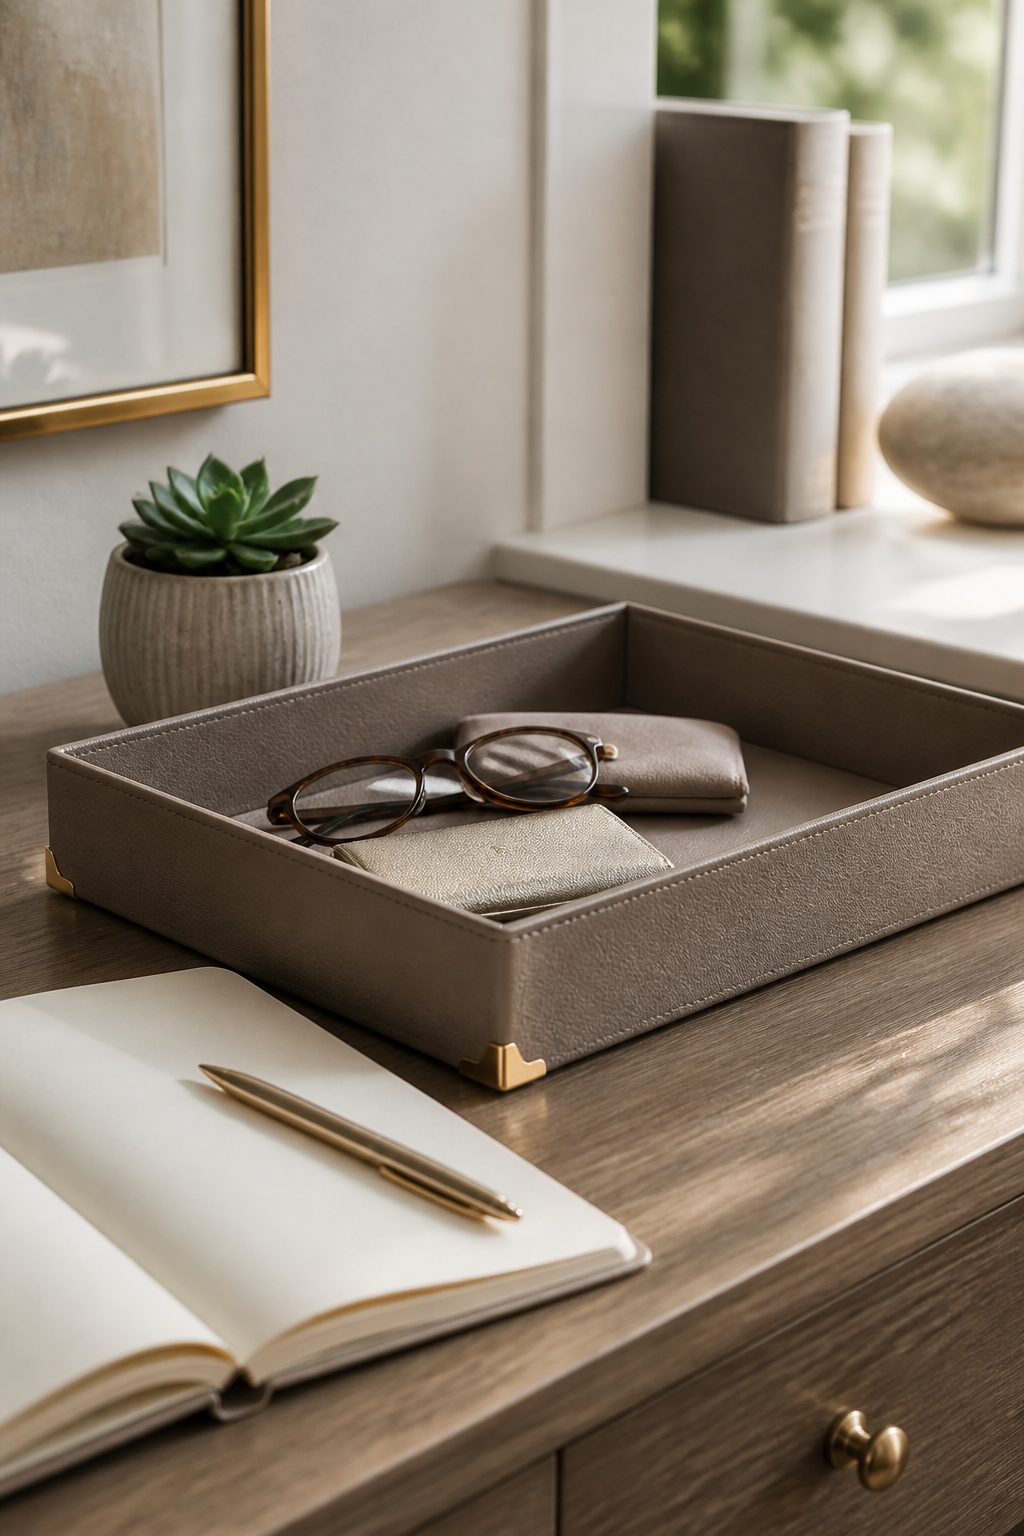
Turn scrap cardboard into a chic organizer that looks pricey. A leatherette-style tray keeps desk clutter at bay while adding a luxe touch to a study corner or office nook.
Materials
- Cardboard pieces for base and sides
- Fabric or faux leather patch for cover
- Spray adhesive or glue
- Gold or brass corner protectors (optional)
How to Make It
- Cut base and side panels and assemble into a shallow tray with a reinforced bottom.
- Wrap the outer surfaces with fabric or faux leather, attaching with spray adhesive. Add corner protectors for a tailored finish.
- Seal edges with a contrasting stitch line or decorative trim if you like.
Use it on your desk for pens, cards, or jewelry. The luxe look comes from the material choice and clean lines, making it a thoughtful gift for a coworker or friend who loves organization with style.
7. Cardboard Lighted Donut Shelf Decor
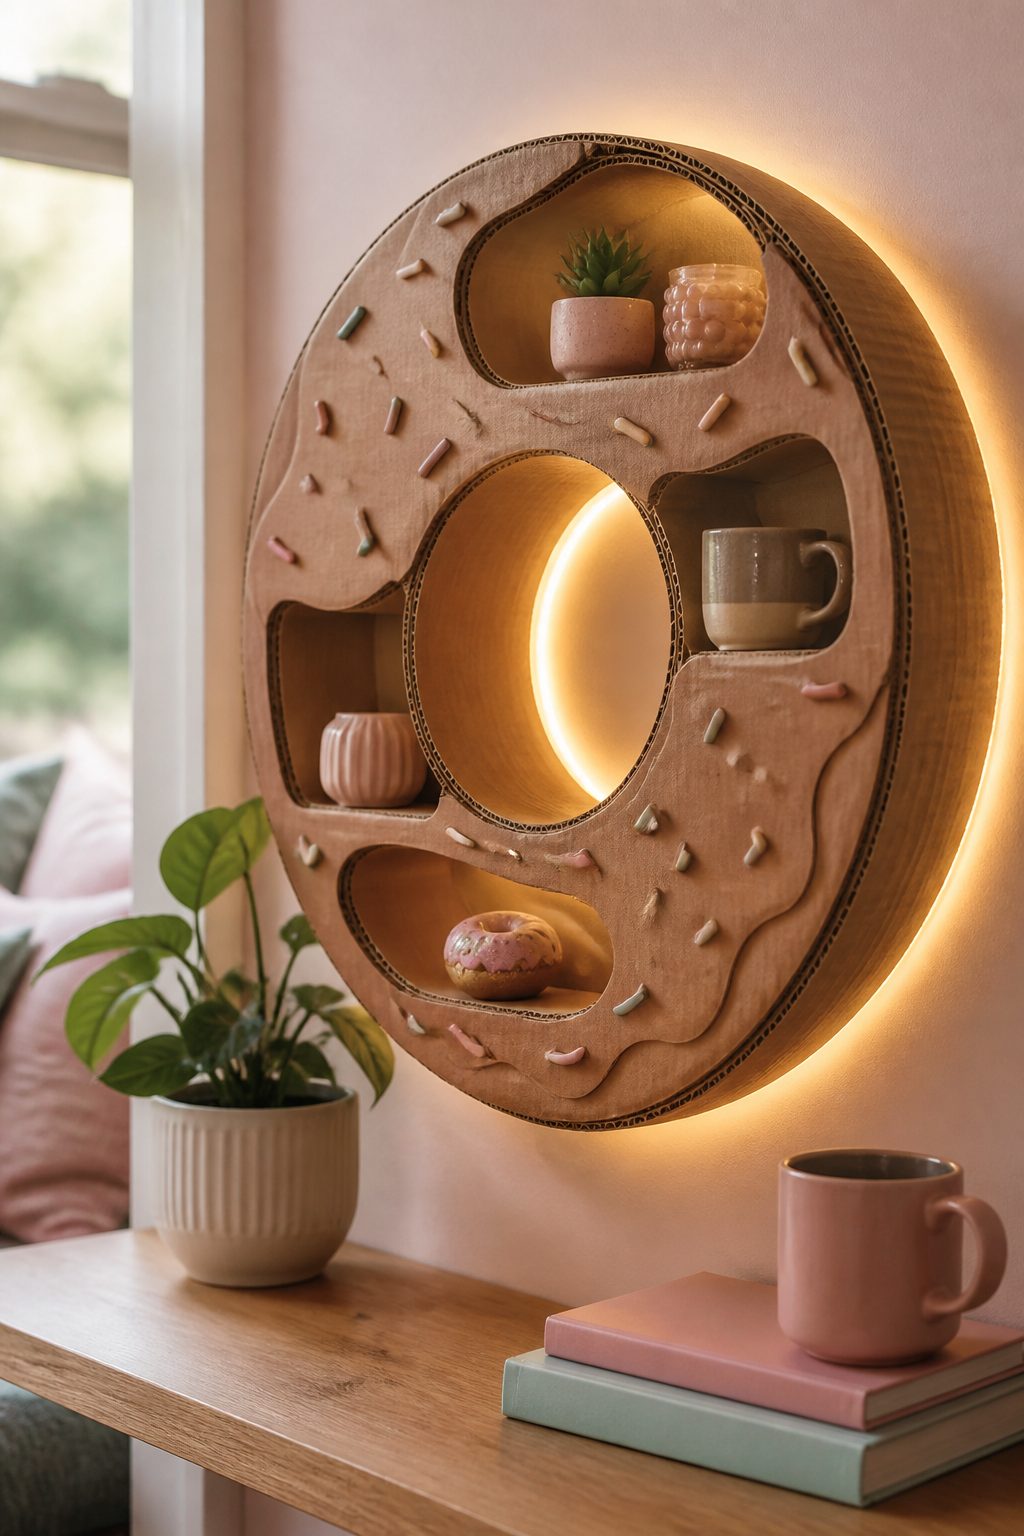
Yes, it sounds whimsical, but a donut-shaped shelf with integrated lighting is totally doable and irresistibly cute. This playful piece adds a touch of whimsy to a coffee nook or living room corner.
Subscribe to DIY Craft Bloom
Get updates on the latest posts and more from DIY Craft Bloom straight to your inbox.
Materials
- Cardboard sheet
- LED ribbon lights or string lights
- Glue, scissors, and tape
- Acrylic paint in pastel tones
- Clear sealant (optional)
How to Make It
- Cut a donut-shaped frame from cardboard, with a hollow center for depth. Reinforce the inner ring with extra layers.
- Affix the LED lights around the inner edge, ensuring a clean, even glow.
- Paint the donut in soft pastel colors and add sprinkles with tiny dot patterns or stickers.
Place a tiny shelf across the bottom for small decor items or a mug. It’s a charming focal piece for a kitchen window or cozy reading nook. A guaranteed smile-maker for guests and a fun “self-care corner” addition.
8. Cardboard Photo Incense Holder Tower
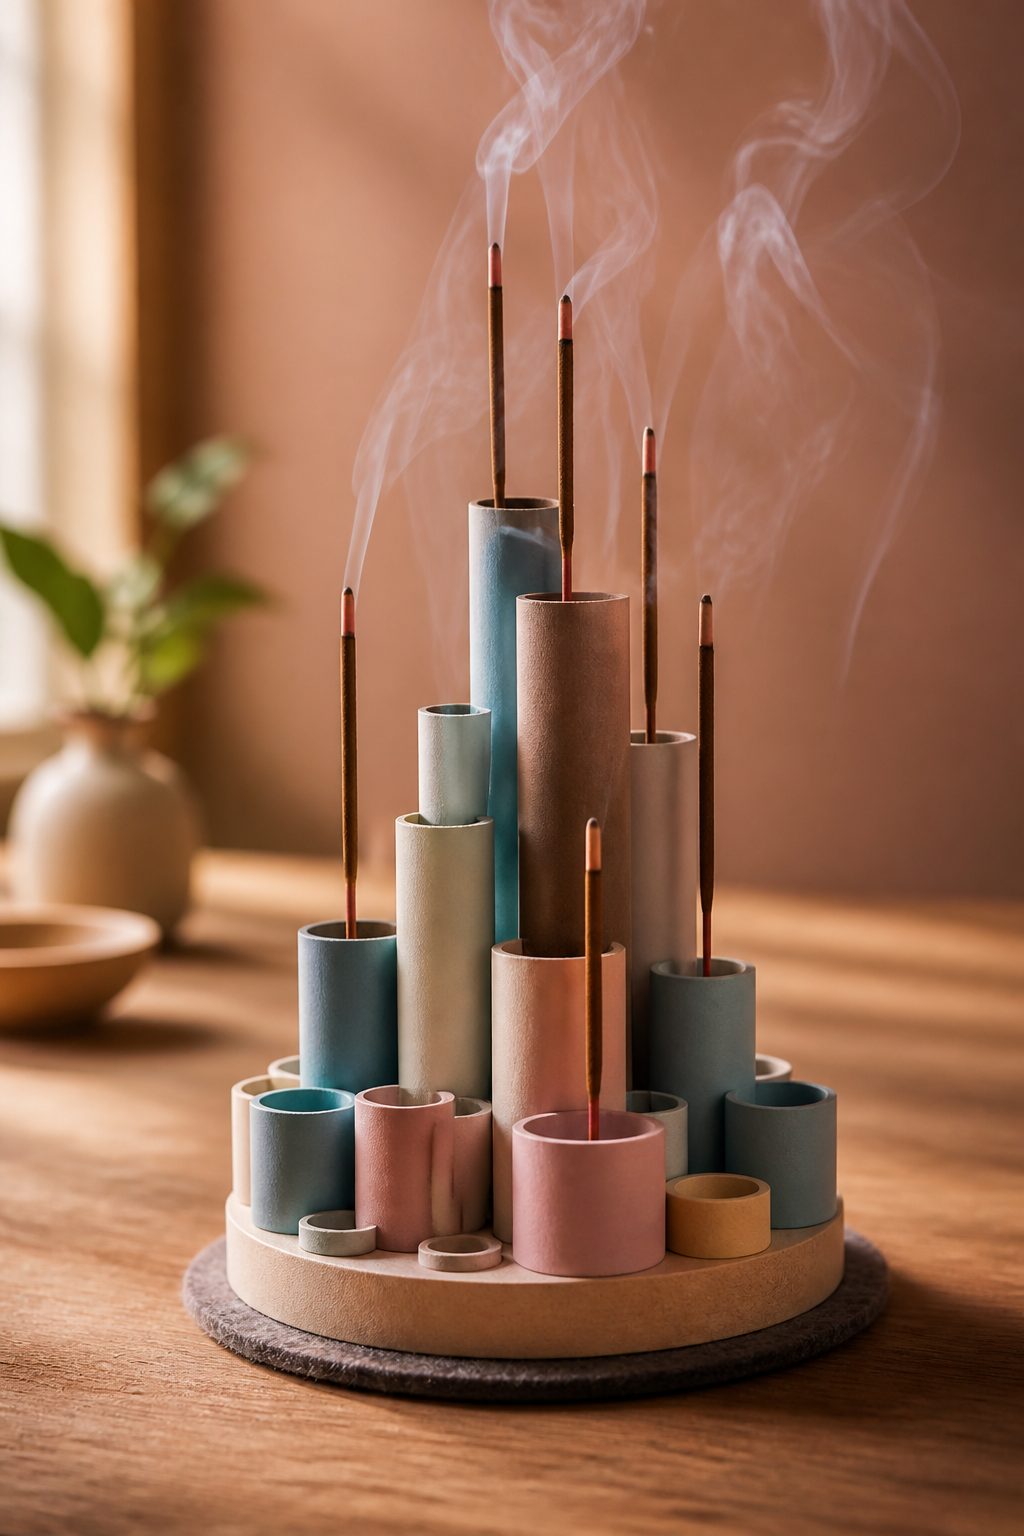
Create a multi-level incense holder that doubles as a mini sculpture. It’s decorative, meditative, and surprisingly easy to assemble.
Materials
- Cardboard cylinders or toilet-paper tubes
- Glue and a small base
- Acrylic paints
- Sticky pads or felt to cushion the base
How to Make It
- Stack a few cardboard tubes of varying heights on a base, gluing them securely. Arrange in a pleasing, tiered formation.
- Paint the entire piece in calming tones, like soft blues, blush pinks, or warm neutrals.
- Place incense on the top where safe and stable, and let the smoke rise through the gaps for a soft, elevated look.
This is a small-space hero in a living room or meditation corner, offering both fragrance and visual appeal. A thoughtful, zen gift for a friend who loves calm aesthetics.
9. Cardboard Candle-Sleeve Lanterns
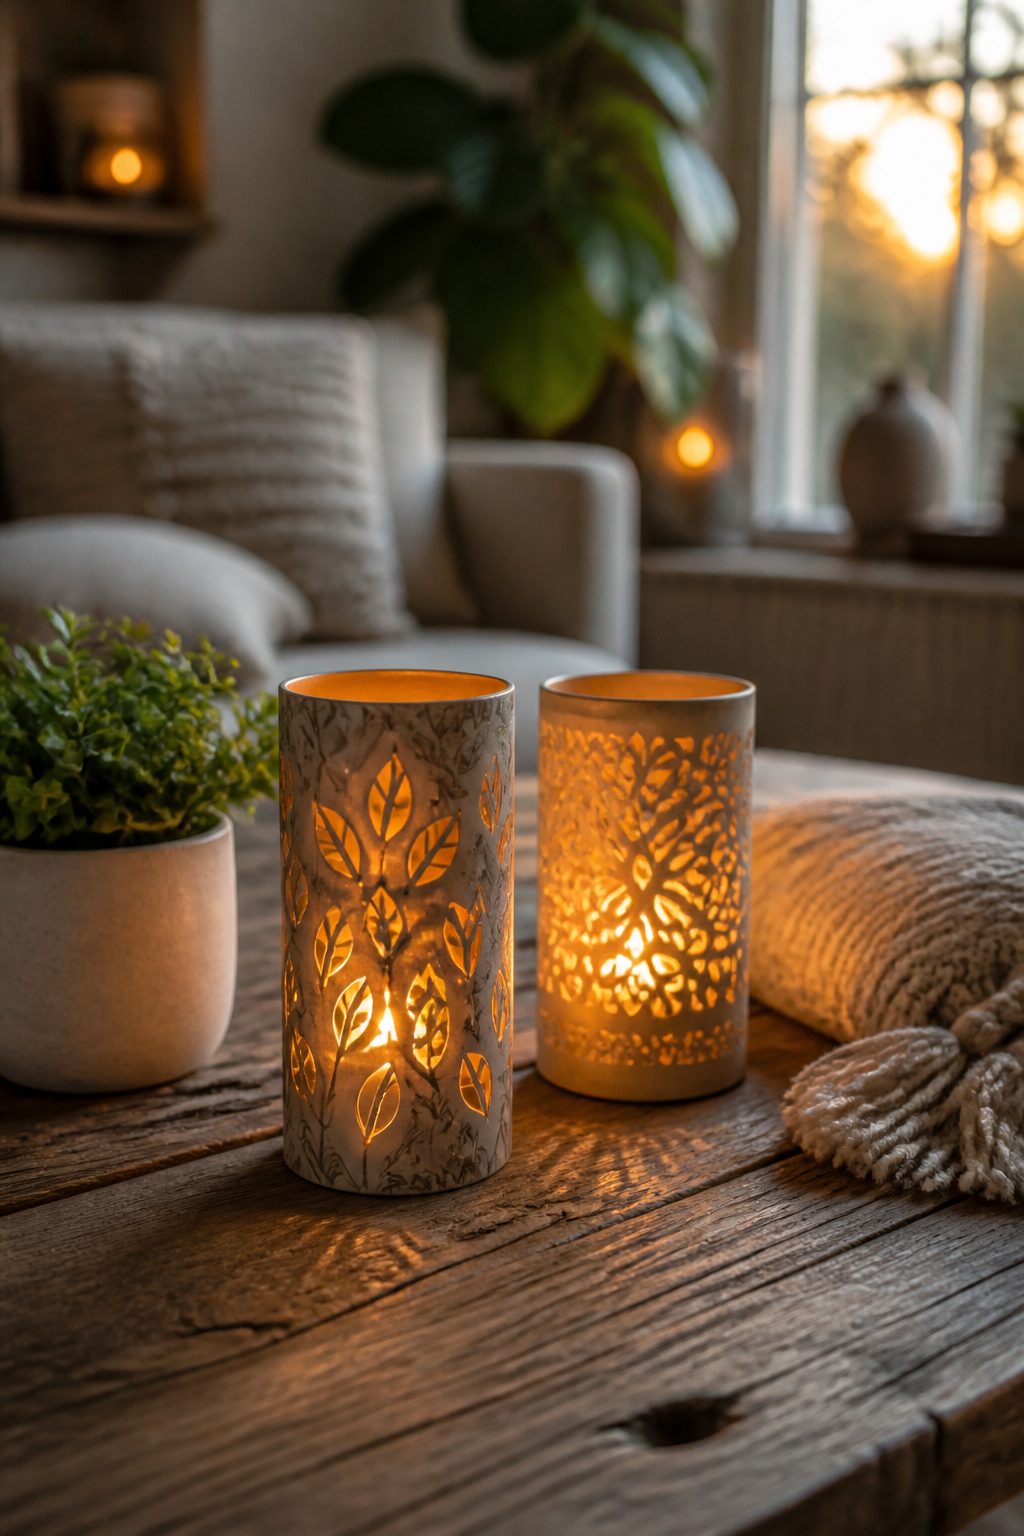
Lanterns bring cozy ambiance, especially in evenings. These cardboard lantern sleeves cast warm, ambient light while keeping things light and portable for indoor or outdoor use.
Materials
- Cardboard cylinder shapes or rolled sheets
- Tealight or LED candles
- Decorative paper, tissue, or paint
- Mod podge or strong glue
How to Make It
- Wrap cylindrical shapes with decorative paper, then seal with a layer of glue to prevent shedding.
- Cut small window patterns or lace shapes to let light glow through. Place a tealight inside safely.
These lanterns set a soft mood for dining tables or patio evenings. They’re easy to customize to match your decor, making them a versatile hostess gift or personal treat.
10. Cardboard Jewelry Stand With Botanical Accents
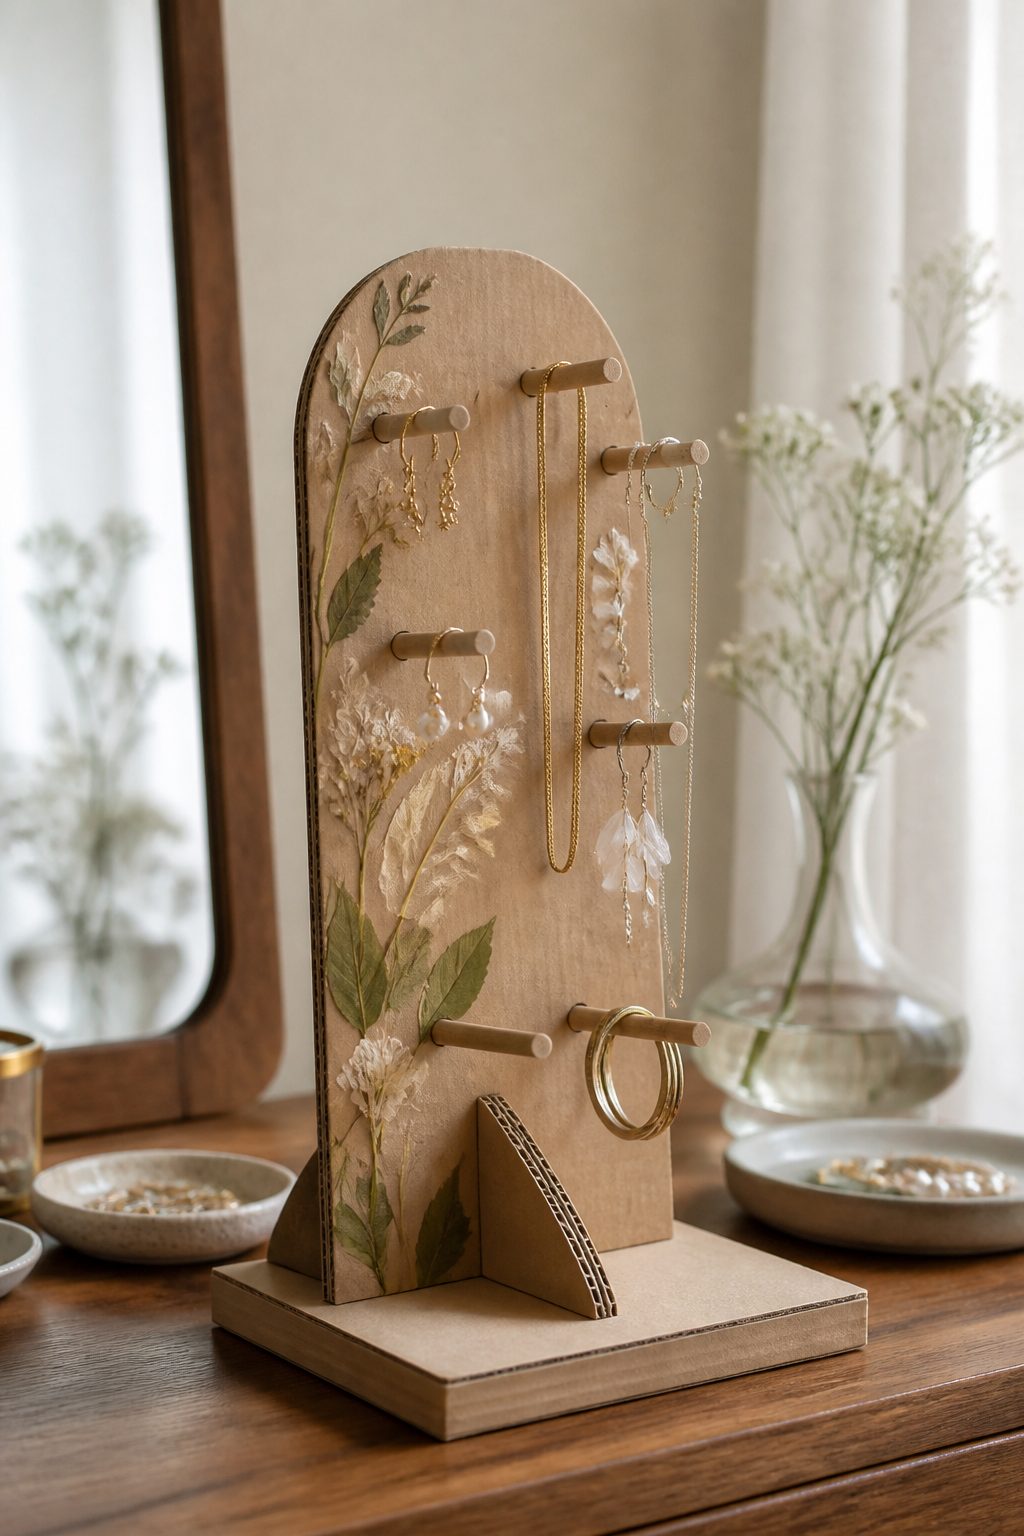
Combine utility and beauty with a lightweight jewelry stand built from cardboard, adorned with pressed leaves or pressed botanicals for a natural, botanical vibe. It’s both practical and pretty on a dresser or vanity.
Materials
- Cardboard for the base and hooks or pegs
- Pressed leaves or florals (optional)
- Glue or hot glue
- Acrylic paints or markers
How to Make It
- Cut a sturdy base with a vertical panel to hold hooks. Space pegs evenly for earrings, necklaces, and bracelets.
- Glue the botanical accents along the edges or integrated into the back panel for a botanical glow.
- Finish with paint in a clean, contemporary color like ivory, sage, or charcoal.
Place it on a dresser or vanity as a charming storage solution. This project is ideal for nature lovers and those who appreciate a soft, romantic look in their space.
Conclusion
Grab a stack of cardboard, a dash of creativity, and these 10 ideas to spark joy and style at home.
Each project is distinct, doable, and designed to feel chic without being complicated.
I promise you’ll find yourself saving, pinning, and actually making at least one — if not all — of these crafts.