11 Easy Paper Crafts DIY on a Budget: Wow Them Cheap

Good decor and thoughtful gifts do not have to come from a store shelf. Paper is one of the cheapest materials in the house, and it turns into pop up cards, garlands, jewelry, and wall art faster than most people expect.
If you have ever scrolled past a pretty craft idea and closed the tab because it looked expensive or complicated, this list is built for you instead. Every idea below uses supplies most people already own, like scissors, glue, tape, and a stack of paper in whatever colors you have on hand.
Nothing here needs a special tool or a trip to the craft store, though a few pieces come together faster with a hole punch or a quilling tool if you happen to own one. You might be decorating for a birthday, wrapping a gift, or just looking for a relaxing weekend project.
Either way, these eleven paper crafts deliver a handmade look on almost no budget. Grab whatever paper is closest to you and pick the idea that fits what you need right now.
1. Pop-Up Greeting Cards for Any Occasion
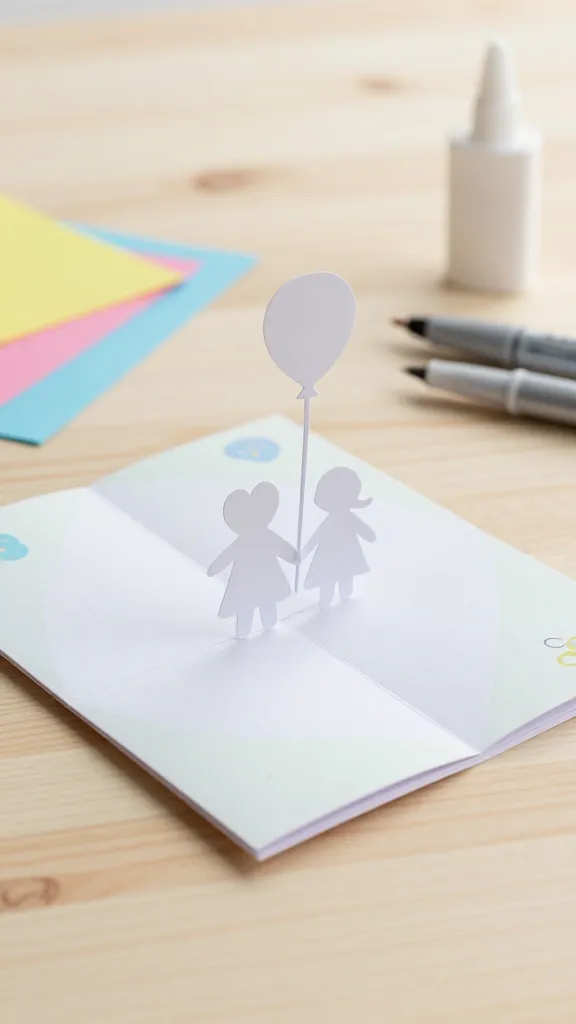
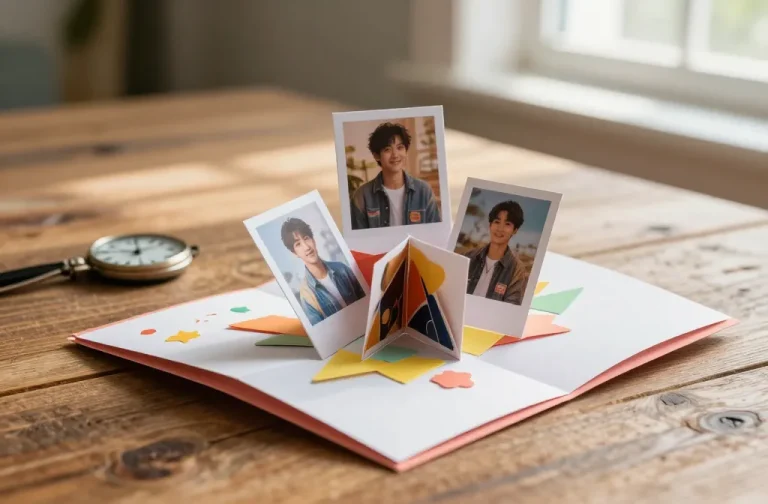
A fold and one cut can turn a flat card into a small surprise that pops the moment someone opens it. This kind of card fits birthdays, thank you notes, or a quick hello, and it costs pennies once you already have paper and scissors on hand.
Start with a plain quarter fold, then cut two short parallel slits inside and push that strip forward to make the shape stand up. Hearts, simple stars, and rounded balloons all work for a first attempt, since none of them need a steady drawing hand.
Color the inside with markers or tuck a short note under the fold so the surprise carries a message too. Test the fold on scrap paper before you cut into the good card stock, since one trial run saves paper later.
2. Paper Lanterns for a Soft Glow Without the Price Tag
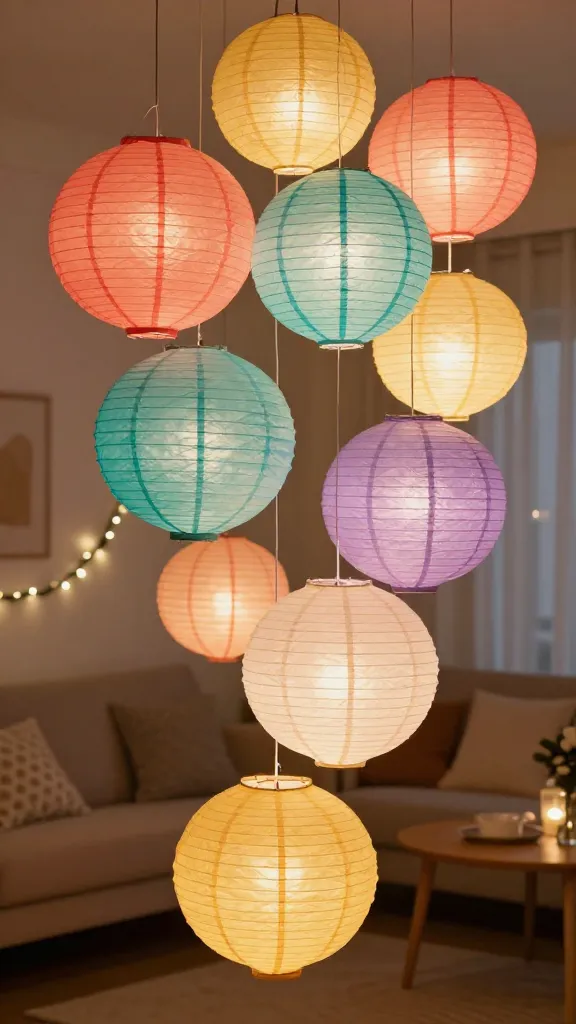
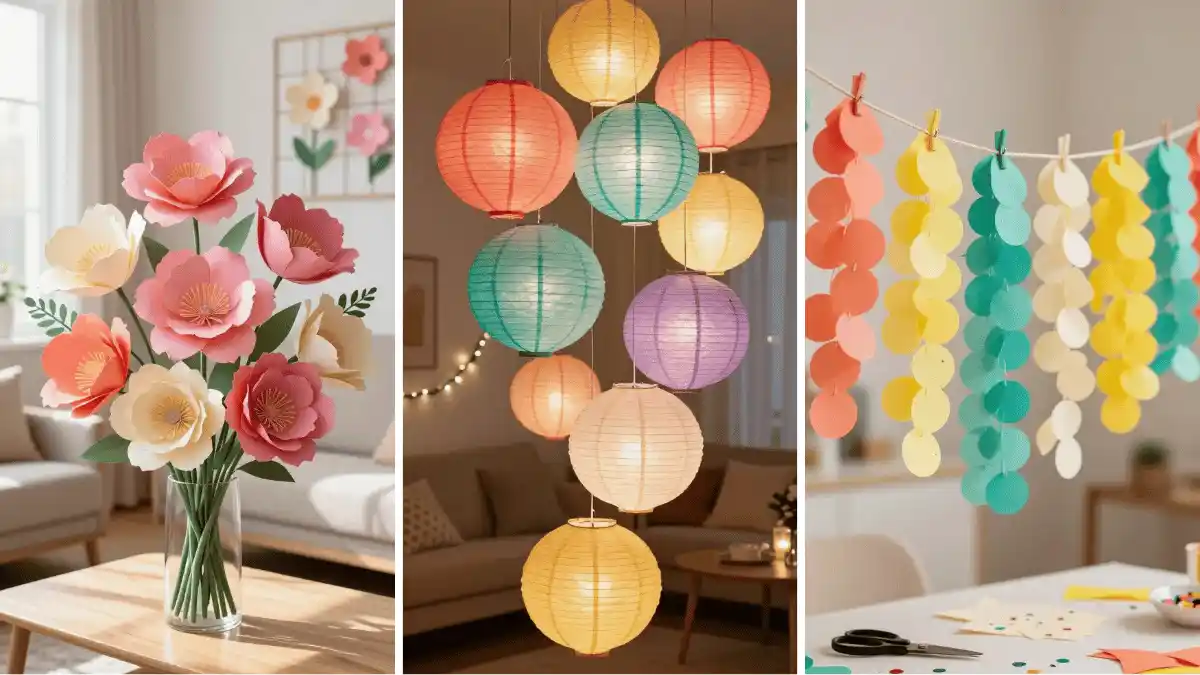
Paper lanterns hang light and bright, and they make a room feel finished without a real lighting budget. Tissue paper or thin origami paper both fold well for this project, and a spool of string is often the only other supply you need.
Fold a rectangle of paper in half, snip evenly spaced slits from the fold toward the open edge, then unfold it and curl it into a cylinder with tape or glue. Battery tea lights placed inside keep things safe around kids or pets, since there is no open flame involved.
Hang several in a cluster over a table, or string them along a window for a party. Match the paper color to whatever you are celebrating, and save any leftover strips for gift wrap trim.
3. Mini Origami Shapes Turned Into Wall Art
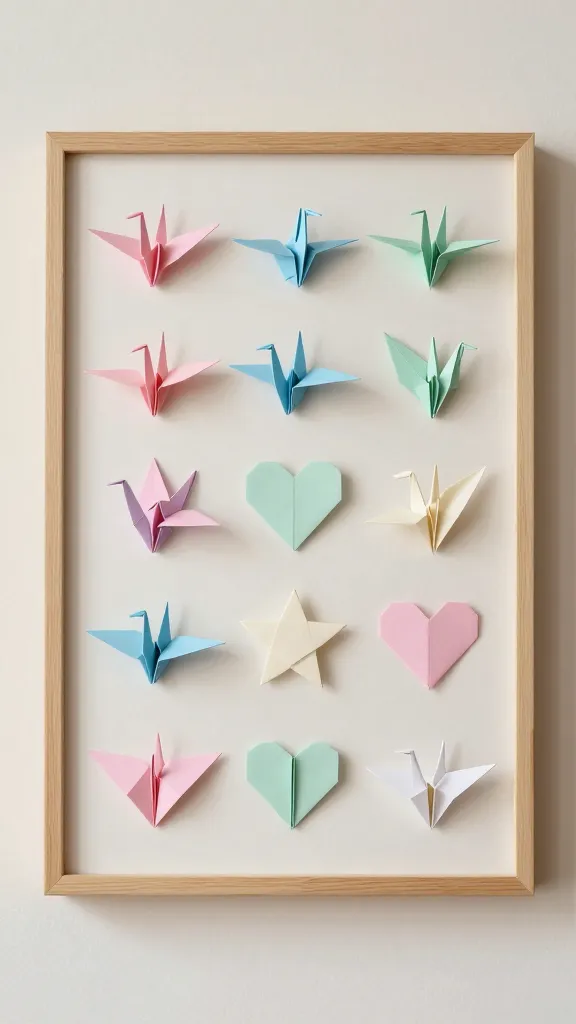
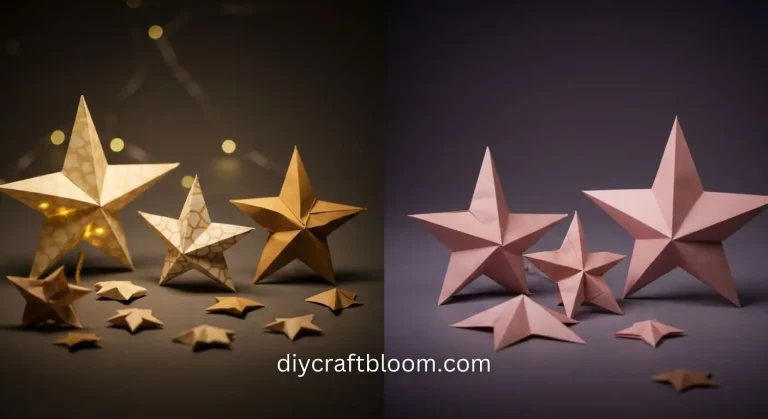
Origami does not need to be complicated to look good on a wall. Small folded cranes, stars, or hearts grouped together create a display that feels handmade and personal, and beginners can manage every shape with a little practice.
Pick one or two paper colors so the grid reads as one piece instead of a scattered mess. Fold six to twelve shapes, let the sizes vary a little on purpose, and arrange them in rows or in a loose cluster before gluing anything down.
Subscribe to DIY Craft Bloom
Get updates on the latest posts and more from DIY Craft Bloom straight to your inbox.
Mount each piece with a small dot of removable adhesive so you can rearrange the display or take it down without marking the wall. This costs almost nothing if you already have origami paper or even sheets cut down from wrapping paper scraps.
4. Confetti Paper Garlands for a Fast Party Setup
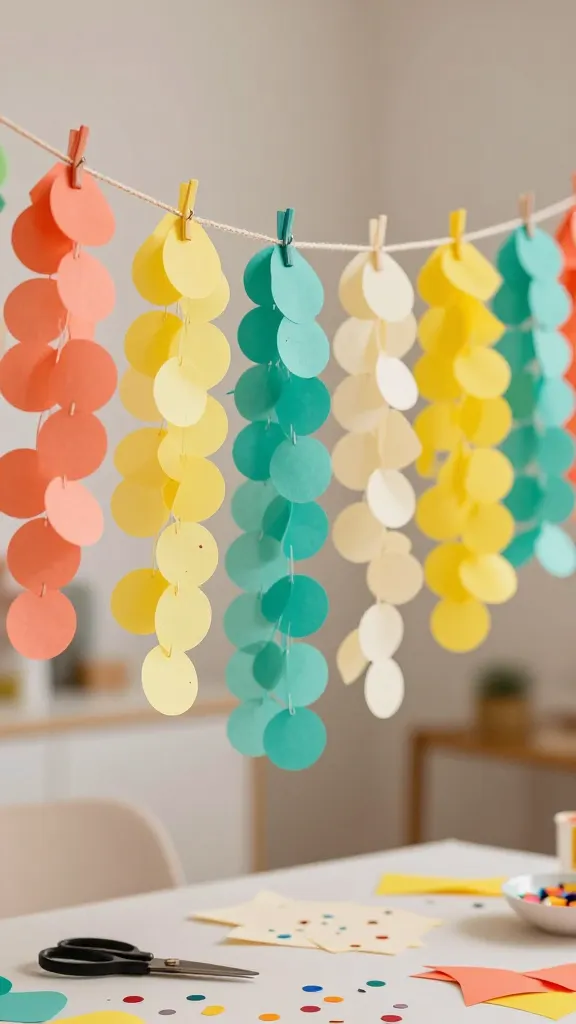
Scrap paper turns into a garland faster than you might expect, and it beats plastic streamers on both cost and personality. Save cut offs from other projects, since this one barely uses new material at all.
Punch circles with a hole punch, or cut small triangles and squares by hand, then thread them onto string with a needle or tape. Three or four paper colors keep the strand looking planned instead of random.
String it across a doorway or drape it along a shelf for a birthday or holiday setup. Once the party ends, snip off a few pieces to use as gift tags so nothing goes to waste.
5. Paper Quilling Brings Detail to a Small Budget
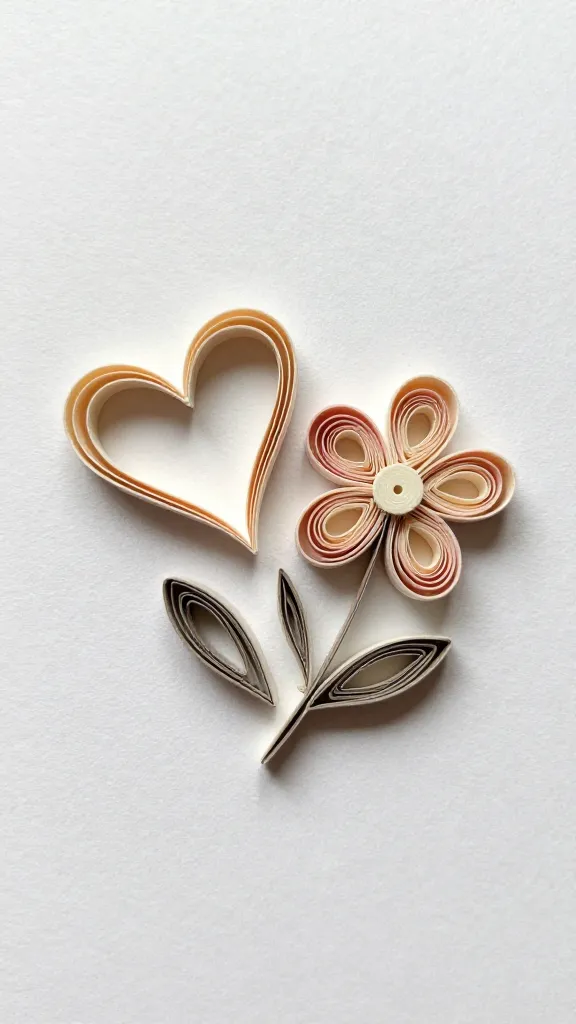
Quilling looks complicated, but it only takes paper strips, a thin tool to roll them, and a little glue. Coils and teardrop shapes are the two moves worth learning first, and both come together after just a few tries.
Roll a strip tightly around the tool, let it relax slightly, then pinch one end into a point for a teardrop or leave it round for a coil. Arrange several shapes into a flower or heart pattern on cardstock before gluing anything in place.
A neutral paper color against a white background gives the finished piece a clean, almost printed look. Frame it small, since quilling pieces read best up close rather than across a room.
6. Handmade Gift Tags That Feel Like Part of the Present
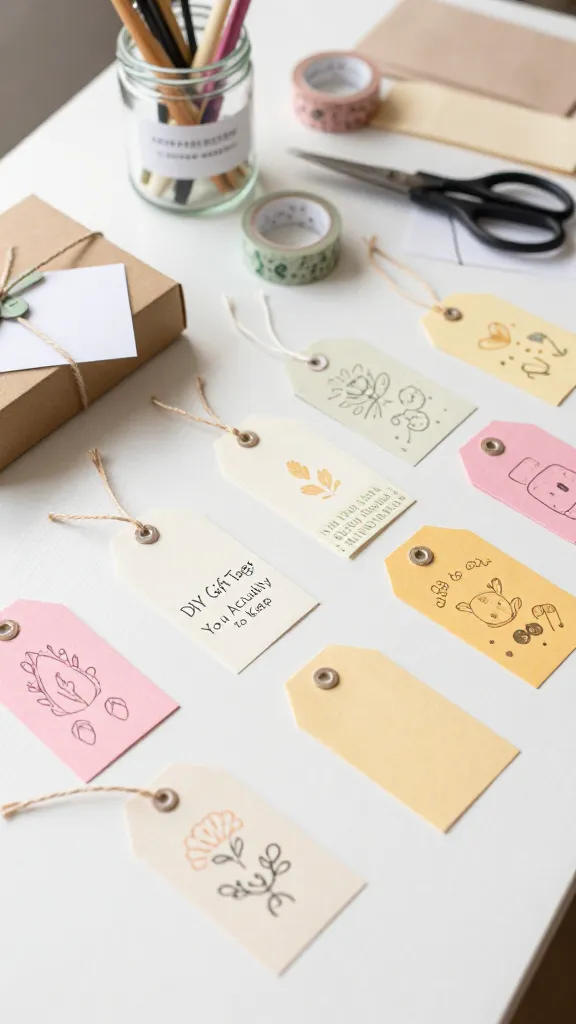
Cutting a tag by hand tells the person receiving a gift that you put in real time, and it costs next to nothing if you already have scrap paper and a hole punch.
Shape simple tags such as circles, leaves, or classic rectangles from colored paper, then add a name and a short line with a marker or a small stamp. Punch a hole at the top and loop it through string or ribbon you already have on hand.
Keep a stack of blank tags ready in a drawer so wrapping never turns into a last minute scramble. Recipients often keep the tag longer than the wrapping paper it came with.
7. Paper Flowers That Never Wilt
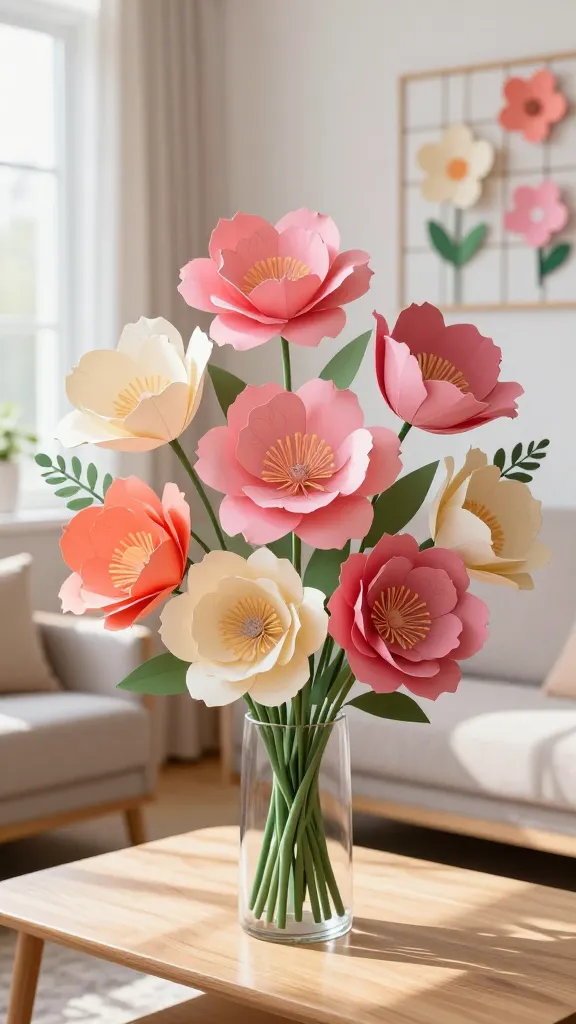
Real flowers fade within a week, but paper blooms hold their shape and color for months, which makes them a smart trade for anyone on a budget or anyone with pets that treat vases as a snack bar.
Construction paper or scrapbook cardstock both shape well into petals. Cut five or six petal shapes, curl the edges gently around a pencil, then layer and glue them onto a small paper or wire stem.
Subscribe to DIY Craft Bloom
Get updates on the latest posts and more from DIY Craft Bloom straight to your inbox.
Group a few stems in a jar for a centerpiece, or make a single bloom as a small gift for someone who cannot keep houseplants alive. Either way, the flower still looks fresh months from now.
8. A Desk Calendar Folded Entirely From Paper
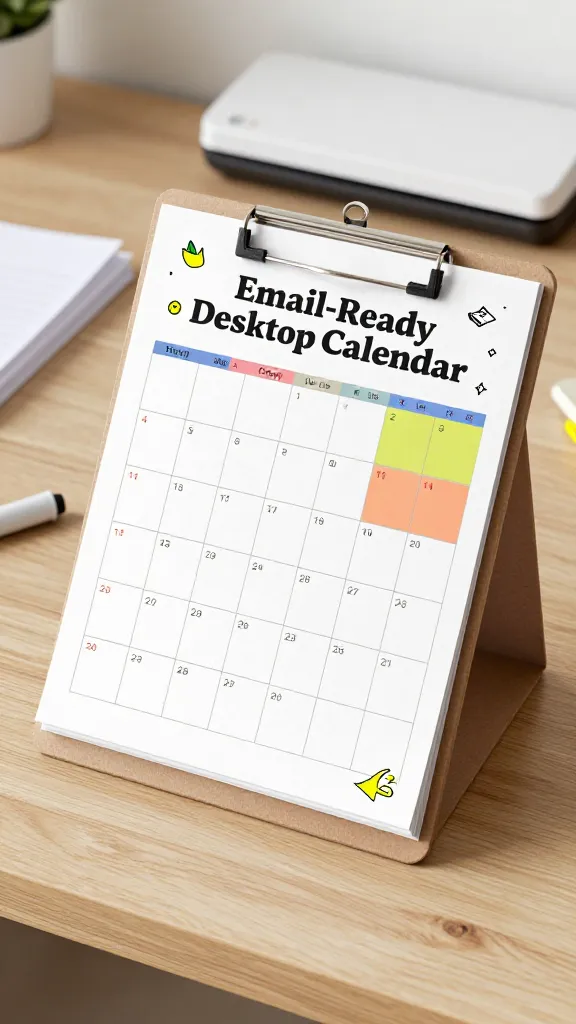
Building your own calendar skips the store markup and still keeps the week organized. All it takes is a stack of paper, a marker, and a simple stand or clip to hold the pages upright.
Draw a basic grid for each month, mark the days, and leave room to jot a note near busy dates. Punch holes along one edge so pages flip like a small book, or clip a stack to a binder ring instead.
Add a small drawing or color block to mark each new month, since that tiny detail makes flipping the page feel less like a chore. Keep the whole thing on your desk where you will actually see it.
9. Paper Bead Jewelry for Almost No Cost
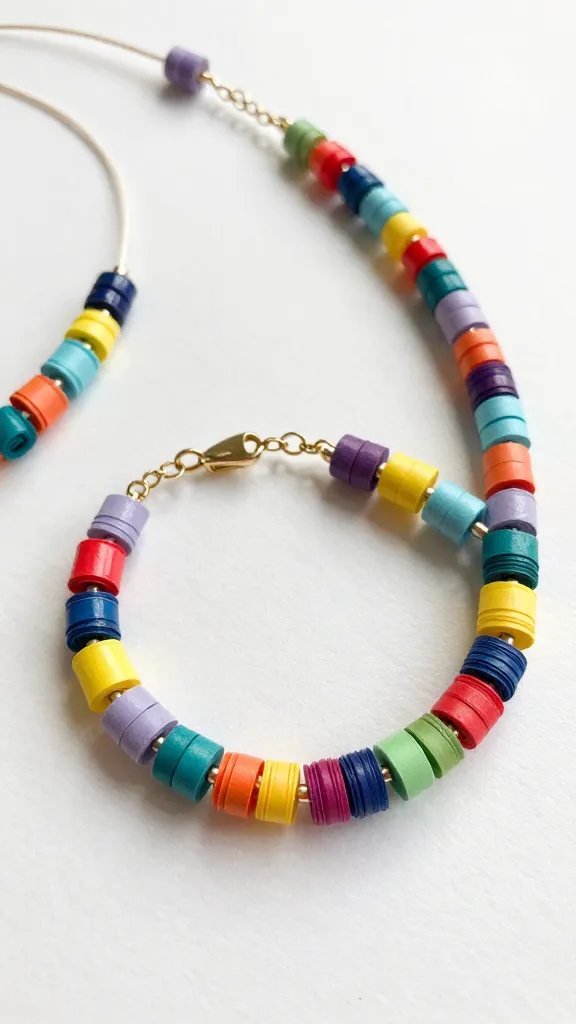
Strips of paper roll into beads that look far more expensive than the materials behind them. Old magazine pages, wrapping paper, or plain colored paper all work, so this project often uses supplies you were about to throw away.
Cut long thin triangles, then roll each one tightly around a toothpick or thin wire starting from the wide end. A coat of clear sealant once the glue dries keeps the beads from fraying or losing shape over time.
String finished beads onto cord or thin wire for a necklace or bracelet, mixing widths and colors for texture. This makes a quick gift for a friend who likes handmade pieces with a story behind them.
10. Cut Out Silhouettes for a Bold Wall Statement
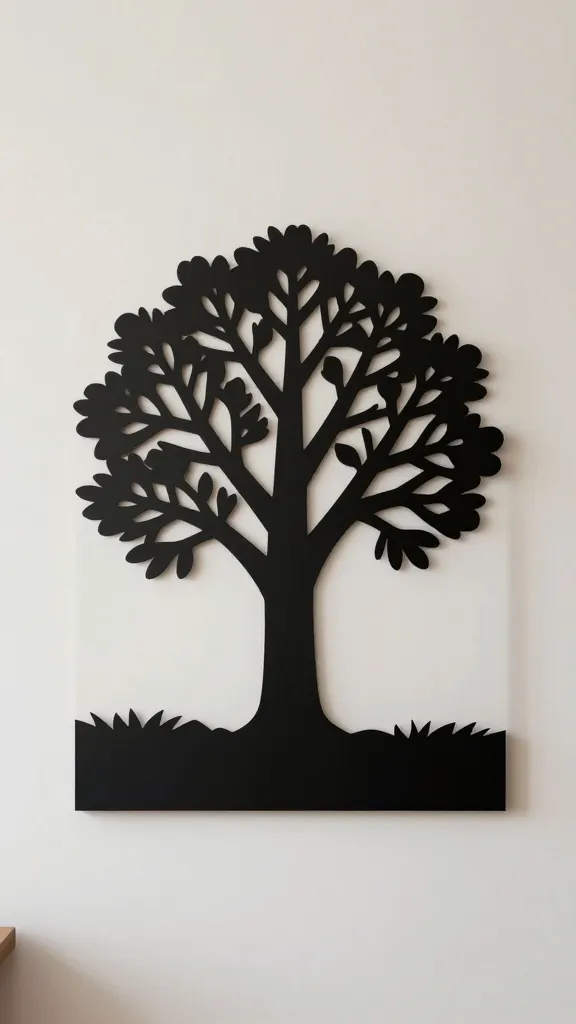
A single black shape against a light wall carries more visual weight than most framed prints, and it costs one sheet of black paper.
Trace a simple outline, such as a tree branch, an animal, or a hand, then cut along the lines with a sharp craft knife or small scissors. Mount it on white or pastel cardstock so the shape reads clearly from across the room.
Keep the design simple rather than detailed, since fine lines tend to tear during cutting. One bold silhouette often does more for a wall than several small pieces scattered around it.
11. A Mini Scrapbook for Everyday Memories
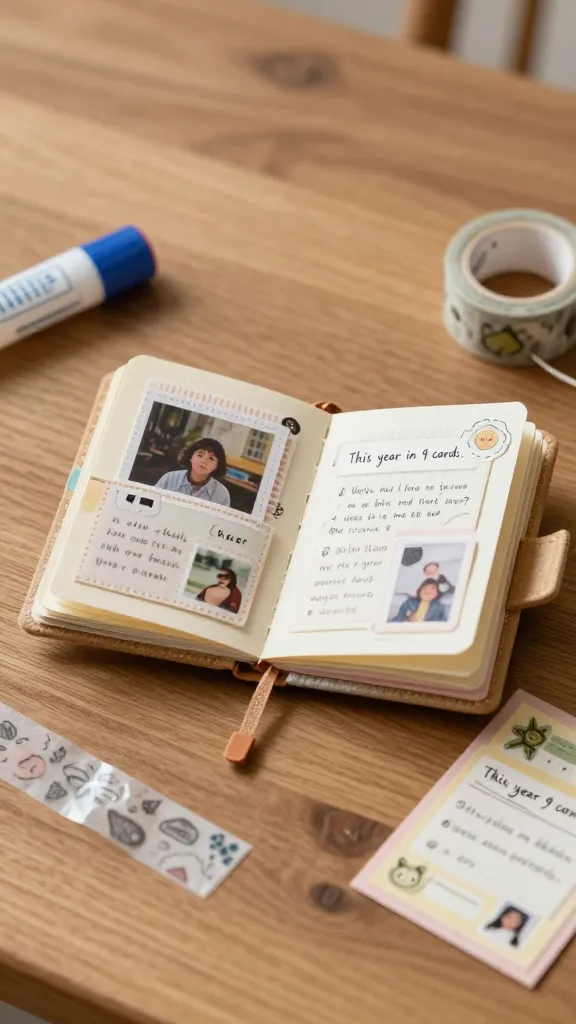
Small scrapbooks hold big memories in a size that fits in a bag or on a shelf without taking over the room. Birthdays, trips, or an ordinary month can all become a tiny keepsake worth flipping through later.
Fold or staple a handful of scrap paper pages together, then fill each one with a photo, a ticket stub, or a short handwritten note. Washi tape or a glue stick holds everything in place without needing anything fancy.
Slide a piece of clear plastic or thicker paper over the front for a cover that holds up to handling. Give it as a gift with a note inside, or keep it for yourself as a record of a season you want to remember.