Cardboard Craft Ideas for Preschoolers: 9 Simple Crafts

Cardboard is one of those everyday materials that usually ends up in the recycling bin without a second thought.
But if you’ve ever spent time with preschoolers, you already know it can quickly turn into something much more exciting.
From castles to animals to tiny pretend kitchens, cardboard has a way of becoming whatever a child can imagine.
It’s simple, safe, and surprisingly versatile for little hands that love to cut, color, and create.
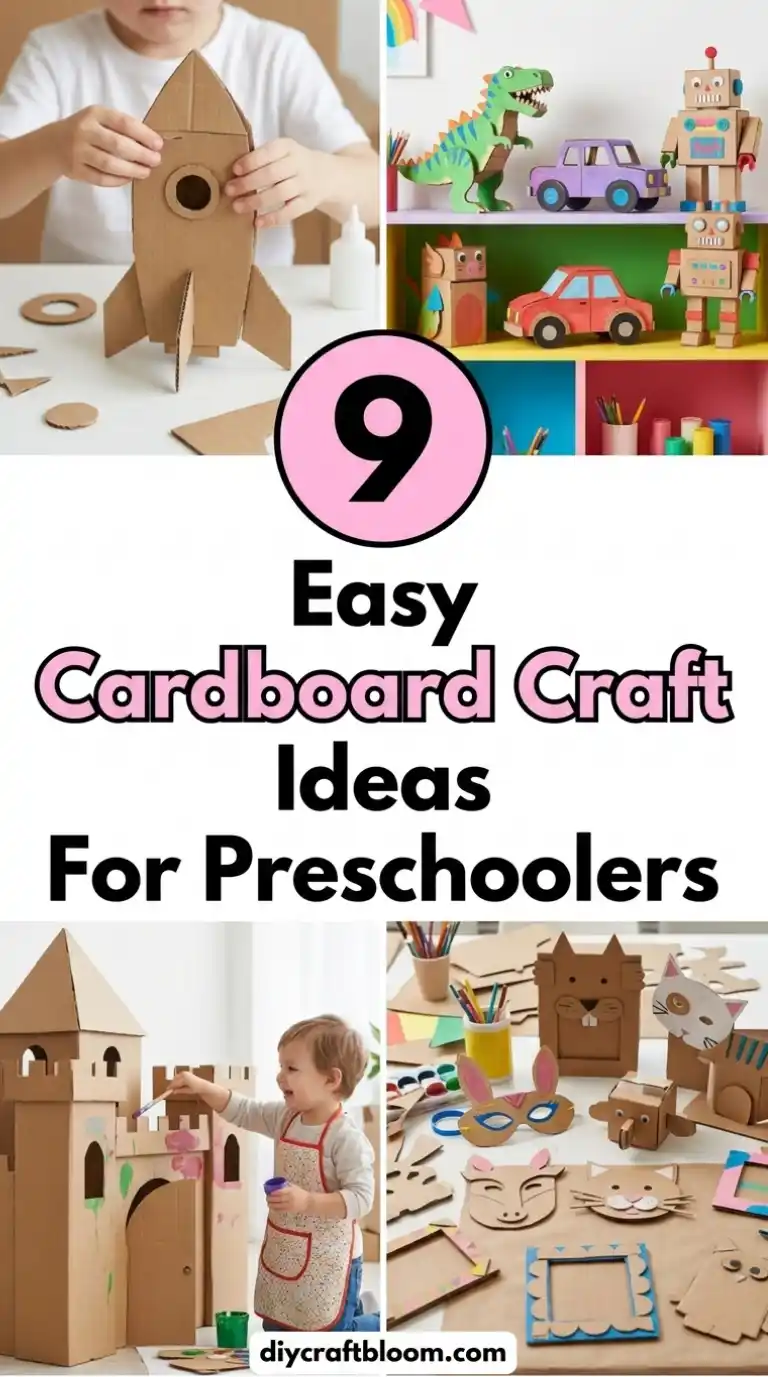
That’s why in this article, we’ve gathered 9 fun cardboard craft ideas for preschoolers that are easy to make and perfect for sparking creativity at home or in the classroom.
1. Cardboard Castle Habitat: Tiny Throne Rooms for Big Imaginations
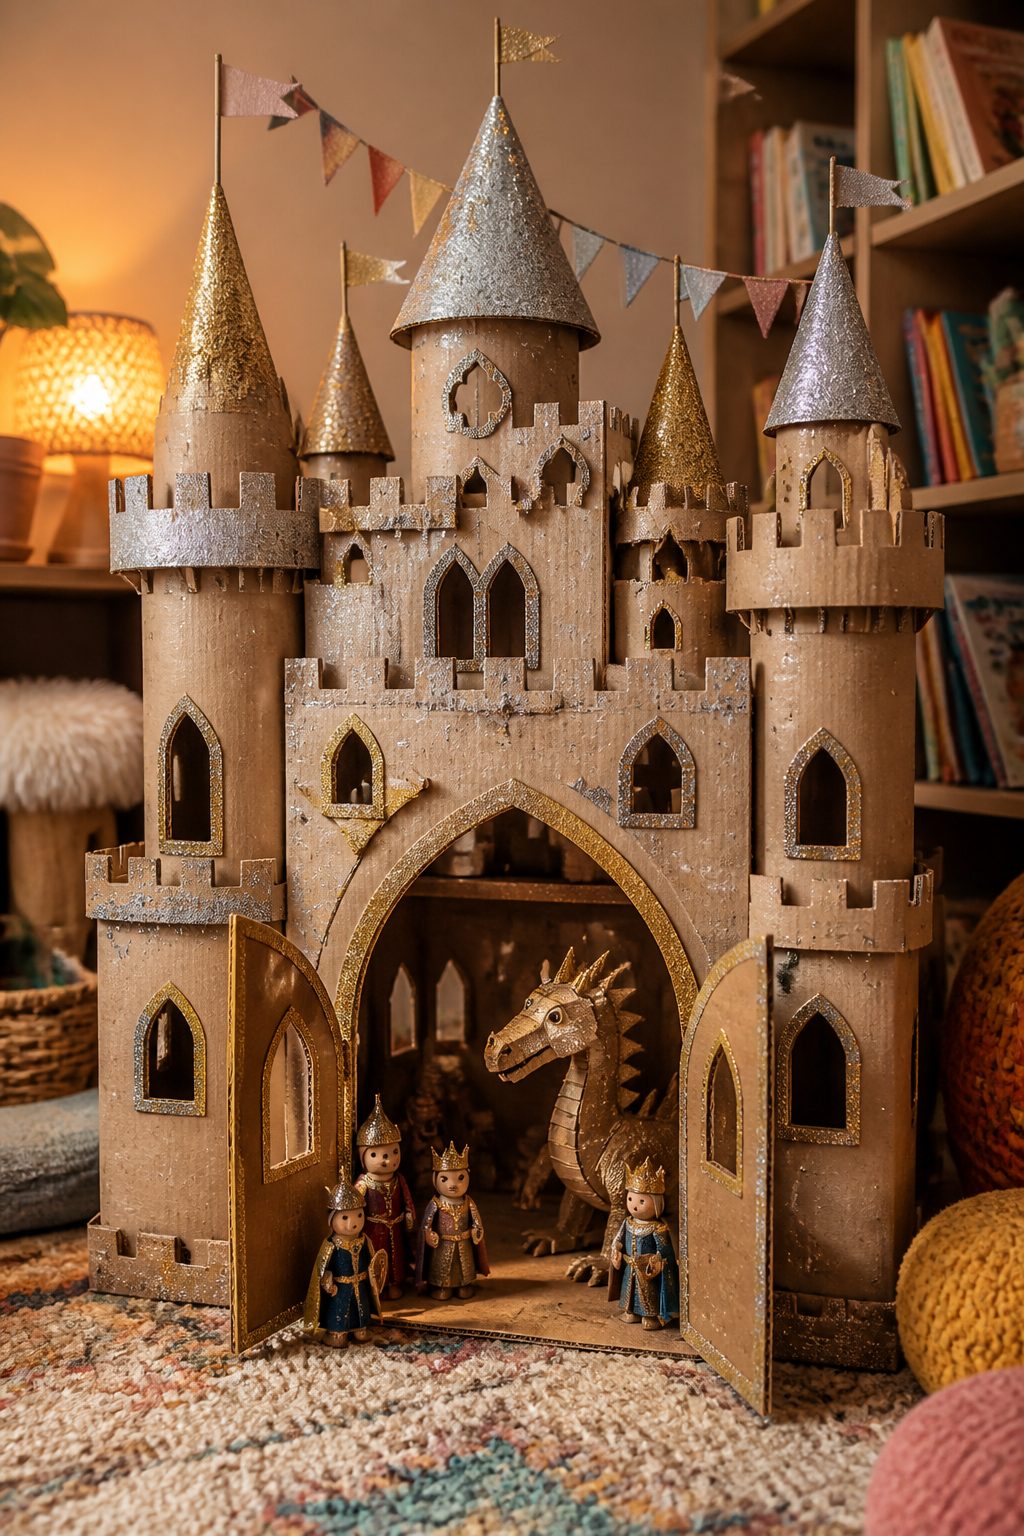
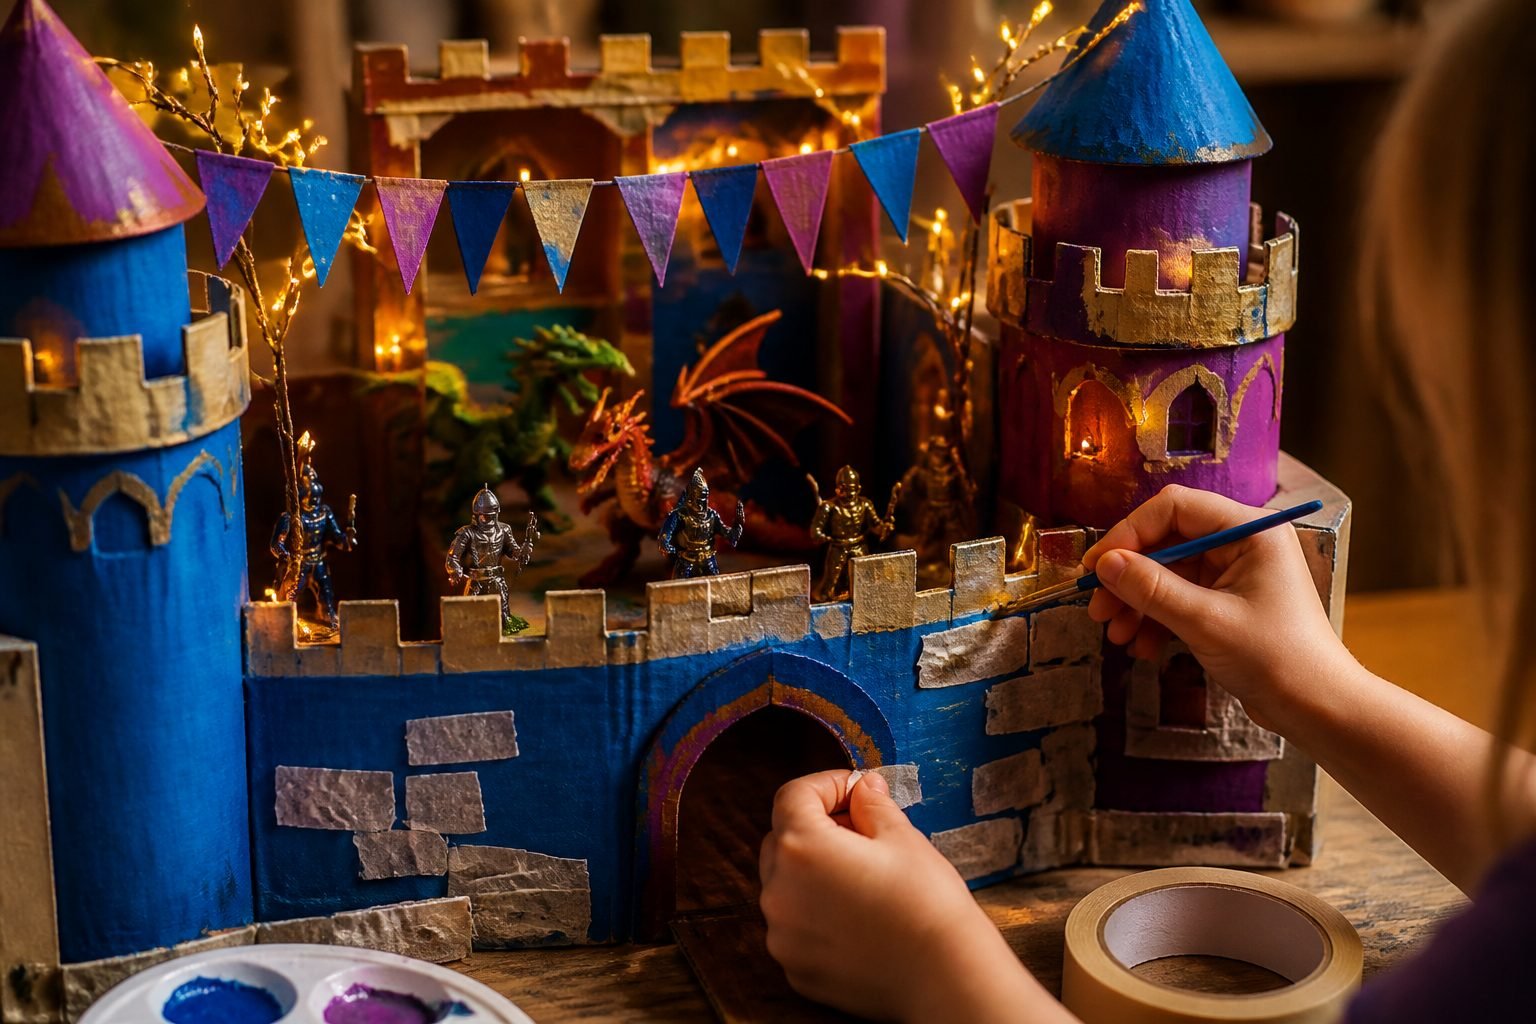
Picture a glittery cardboard castle filled with knights, dragons, and cozy turrets. The finished piece becomes a magical scene for storytime and dramatic play. This project blends cutting, painting, and a sprinkle of imagination for hours of pretend play.
Materials Needed
- Large cardboard box, scissors or craft knife (adult use only)
- Acrylic paints or markers, paintbrushes
- Colored tape or washi tape, markers
- Glue, optional paper crowns or flags
How to Make It
- Cut a simple fortress shape with towers from the box. Keep edges kid-friendly or pre-trim for safety.
- Let little designers paint the walls in bold blues, golds, and purples. Add tapes for stone patterns and flags on the towers.
- Create a drawbridge or a doorway stage for action figures and storytime characters.
Pro Tips / Styling Ideas
- Glue on yarn for pennant banners or string lights (battery-operated for safety).
- Use cardboard tubes as mini turrets or staircases for extra dimension.
Who will love it or when to use it: Perfect for quiet afternoons and dramatic play mornings alike—kids who love adventures and storytelling will adore this.
2. Cardboard Patchwork Quilt Wall Hanging
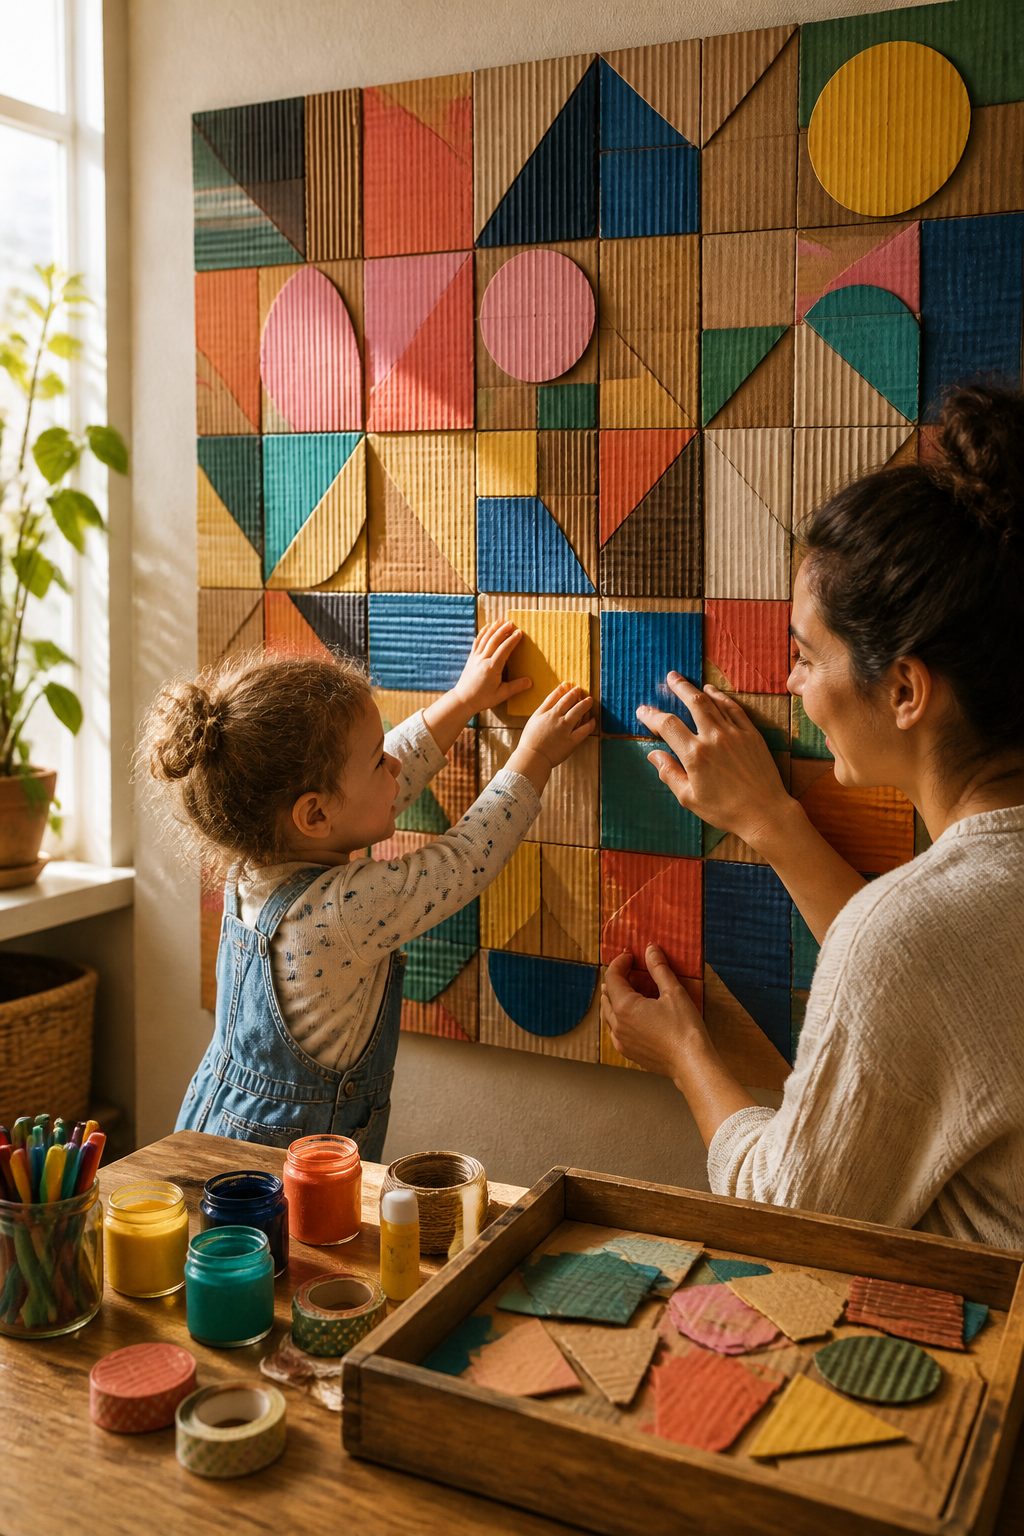
Imagine a cozy, color-splashed wall piece that looks like a quilt—made entirely from cardboard shapes. It’s a bright, textural art project that doubles as wall décor. Your preschooler will love arranging shapes and choosing colors as you chat about patterns.
Materials Needed
- Small cardboard scraps or cereal-box cardboard
- Paints, markers, or washi tape
- Glue or a glue stick, string or ribbon for hanging
How to Make It
- Cut cardboard pieces into squares, rectangles, and triangles in different sizes.
- Let your child color and decorate each piece, then arrange them on a larger base board or directly on a wall to form a patchwork.
- Attach pieces with glue and add a border if desired. Hang with a string or ribbon.
Pro Tips / Styling Ideas
- Encourage repeating color families for a cohesive look, or go wild for a playful mosaic.
- Add texture with crinkled paper or fabric scraps tucked between shapes.
Who will love it or when to use it: A playful décor piece for playrooms or nurseries, and a great way to review colors and shapes with preschoolers.
3. Cardboard Animal Parade: A Zany Zooful of Cutouts
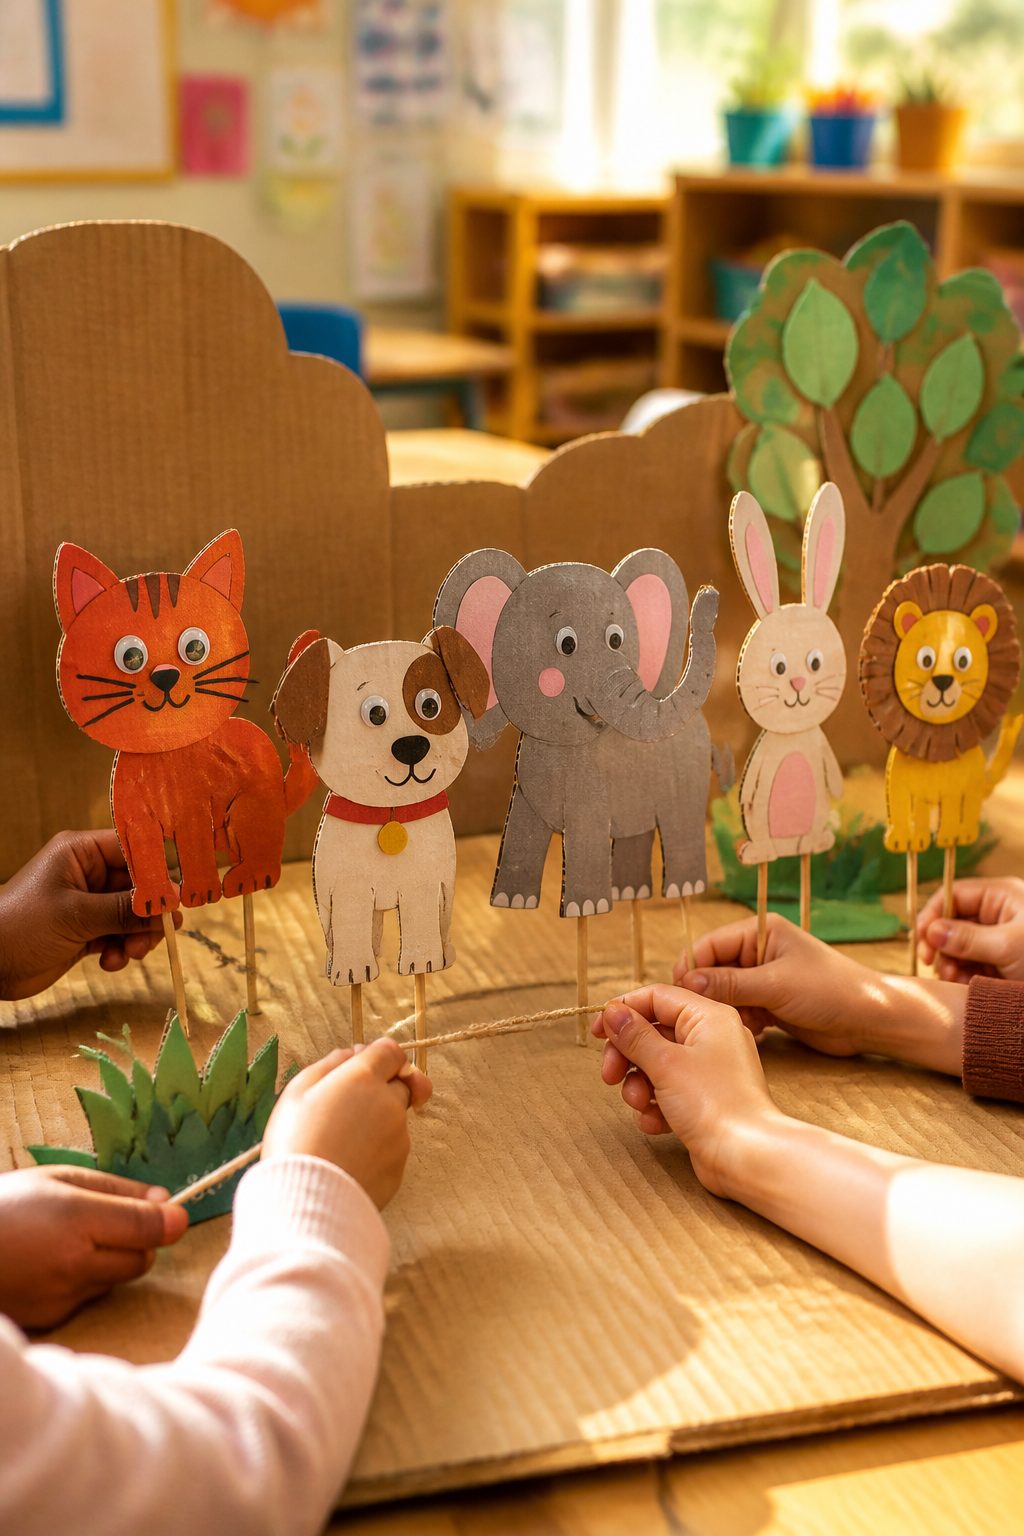
Picture a cheerful procession of animal shapes marching across a cardboard backdrop. This project combines simple cutting, coloring, and a little storytelling as kids create their own parade. It’s cute, educational, and endlessly repeatable.
Materials Needed
Subscribe to DIY Craft Bloom
Get updates on the latest posts and more from DIY Craft Bloom straight to your inbox.
- Cardboard sheets or a pasteboard backing
- Construction paper, markers, crayons
- Googly eyes (optional), glue
- String or small sticks for a “float” line
How to Make It
- Cut basic animal shapes: a cat, dog, elephant, bunny, etc. Keep edges rounded for safety.
- Decorate with colors, add eyes and features. Attach to a long strip of cardboard as a parade banner.
- Line the figures up and let kids narrate their march with silly sounds and rhymes.
Pro Tips / Styling Ideas
- Laminate with contact paper for durability, or mount on a string for a hanging “mob” banner.
- Create a simple stage by taping the parade onto a wall, then invite props like hats or scarves for play.
Who will love it or when to use it: Great for circle time, themed weeks (farm, zoo), and as a playful backdrop for photos.
4. Cardboard Cityscape: Skyscrapers from Recycled Boxes
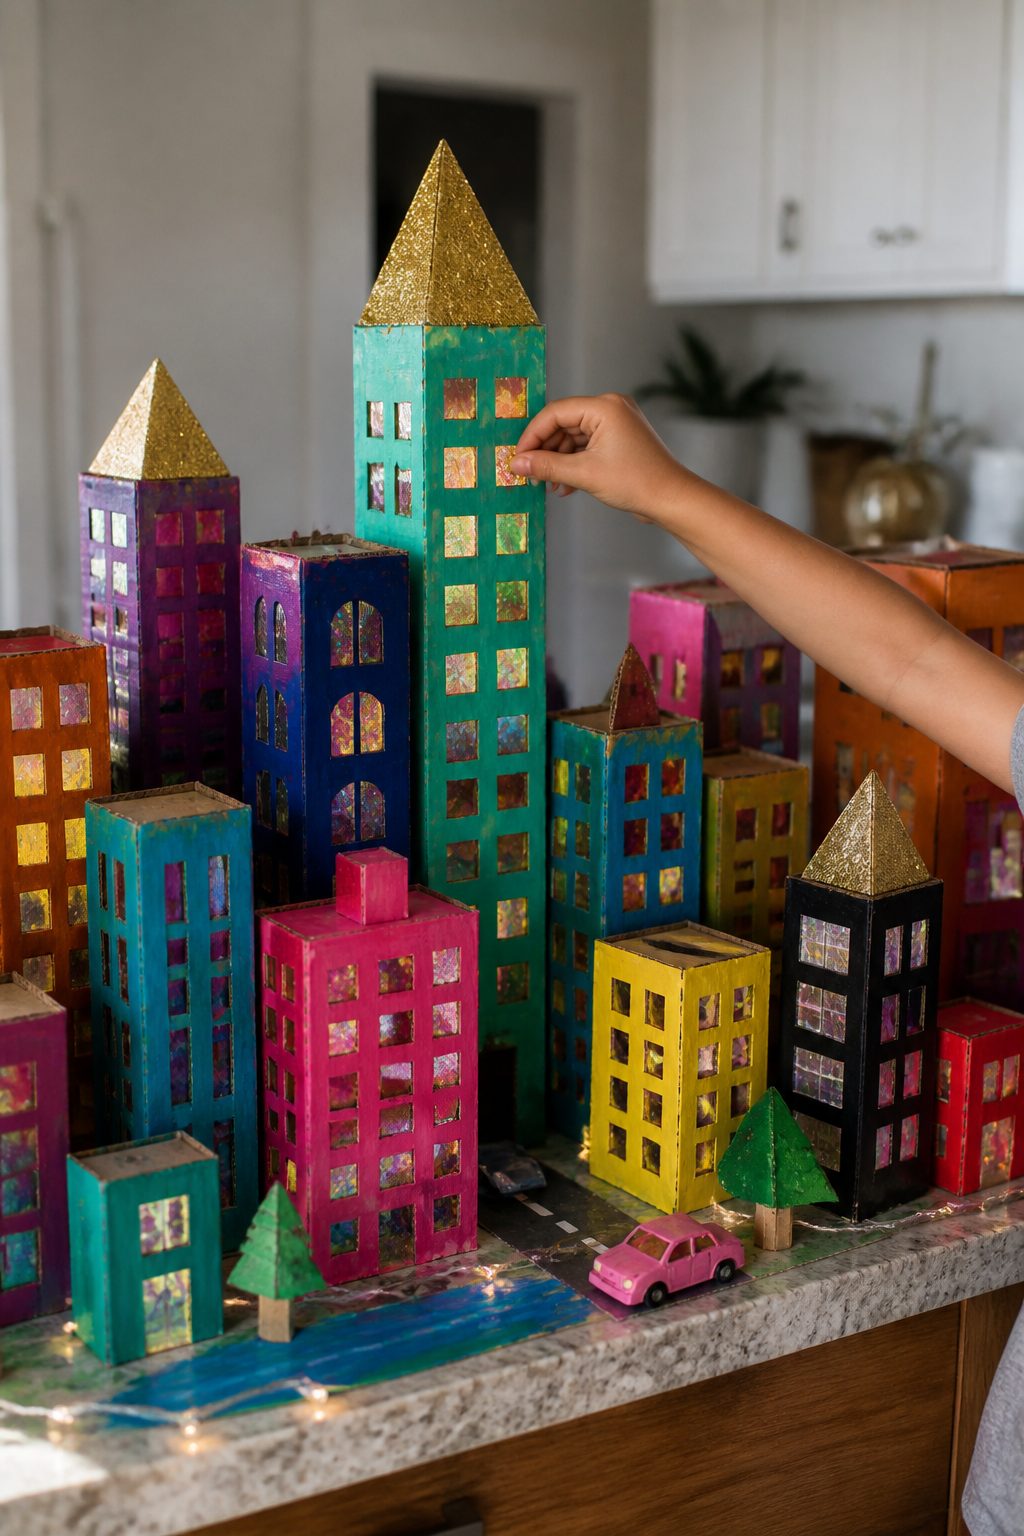
Turn a pile of boxes into a whimsical skyline that doubles as a pretend city for dolls and cars. This project is all about scale, color, and letting kids decide which buildings get the sparkly windows.
Materials Needed
- Various cardboard boxes, scissors (adult supervision)
- Acrylic paints or markers, craft paper for windows
- Glue, tape, and string lights (optional)
How to Make It
- Flatten and cut boxes into tall rectangles of different heights to resemble buildings.
- Paint each “building” with bright colors and add window shapes with a contrasting color or paper.
- Arrange on a large cardboard base to form a city skyline and add a road with painted stripes for car play.
Pro Tips / Styling Ideas
- Use metallic markers for a nighttime glow or outline windows with white paint for crisp lines.
- Place a strip of LED lights behind the buildings for a magical glow during playtime.
Who will love it or when to use it: Ideal for imaginative play with toy cars, dolls, and figures, or as a bright classroom display piece.
5. Cardboard Nature Mobile: Leaves, Clouds, and Sunny Circles
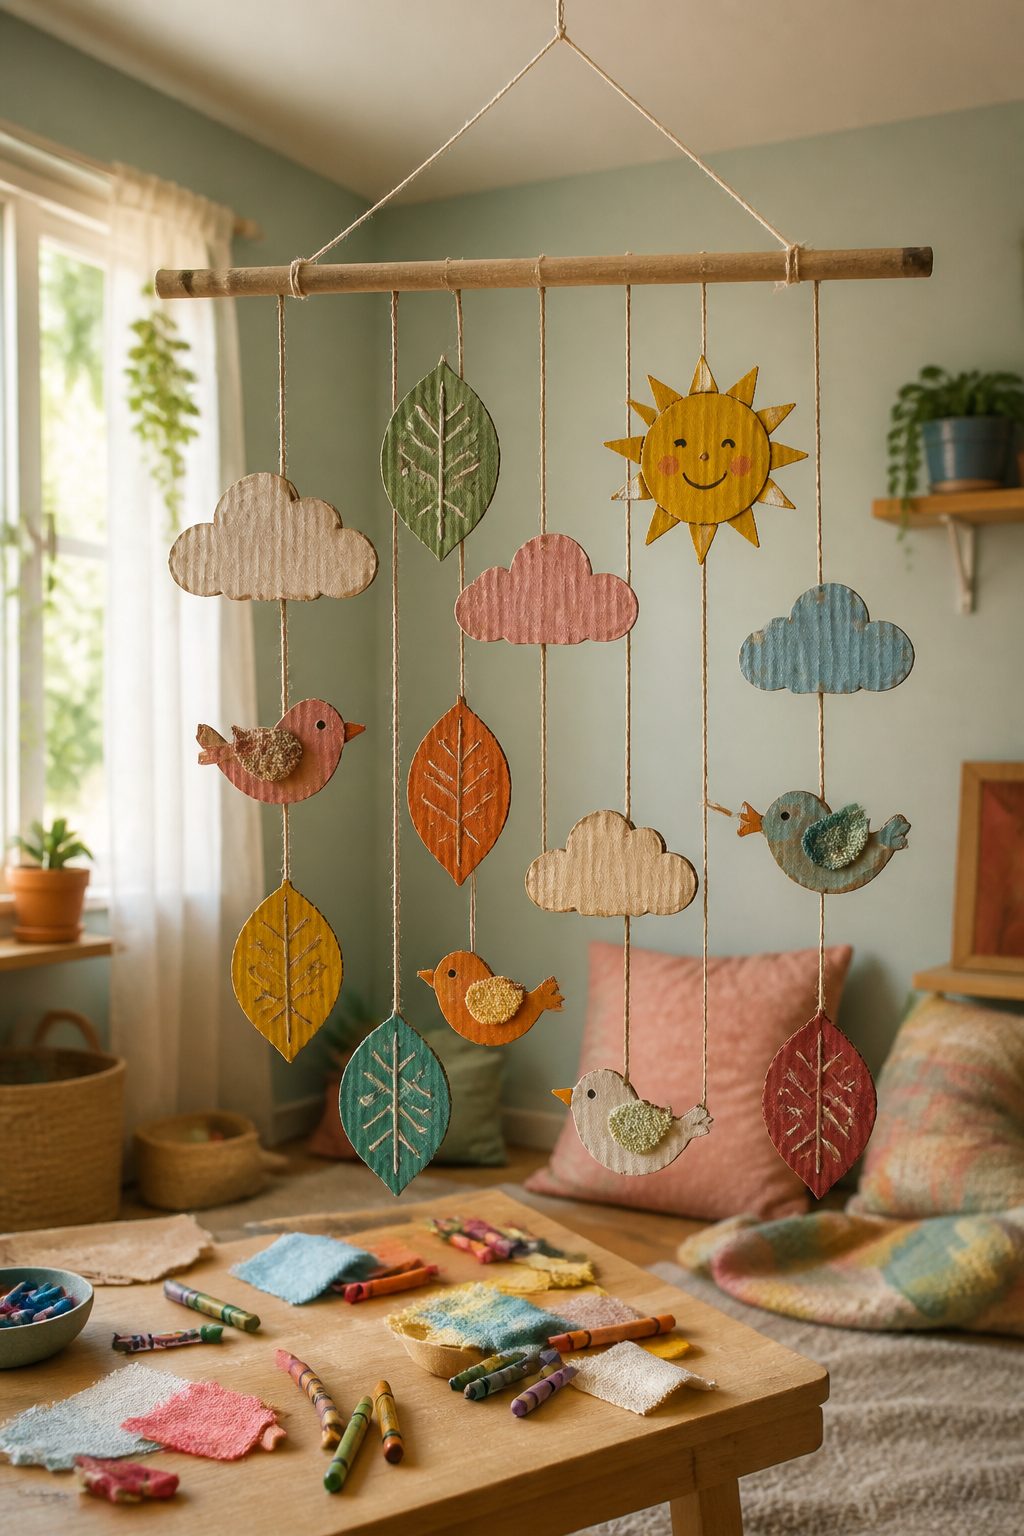
Let the outdoors swirl indoors with a hanging mobile made from cardboard shapes. It’s a soothing, sensory-friendly project that brings color, texture, and gentle movement into any room.
Materials Needed
- Cardboard cut into shapes: leaves, clouds, sun, birds
- Yarn or string, hole punch (adult use)
- Paints or markers, optional fabric scraps for texture
How to Make It
- Decorate each shape with colors and patterns. Poke a small hole at the top of each piece.
- Thread shapes onto separate strings and tie them to a wooden dowel or frame.
- Hang the mobile in a sunny corner and watch it sway with a gentle breeze.
Pro Tips / Styling Ideas
- Combine warm autumn leaves with pale clouds for a seasonal vibe, then swap for spring greenery later.
- Use lightweight tissue or fabric scraps for extra texture without adding weight.
Who will love it or when to use it: A calming accent for nap spaces, or a playful DIY activity to explore nature themes.
6. Cardboard Story Mini-Books: Tiny Pages, Big Adventures
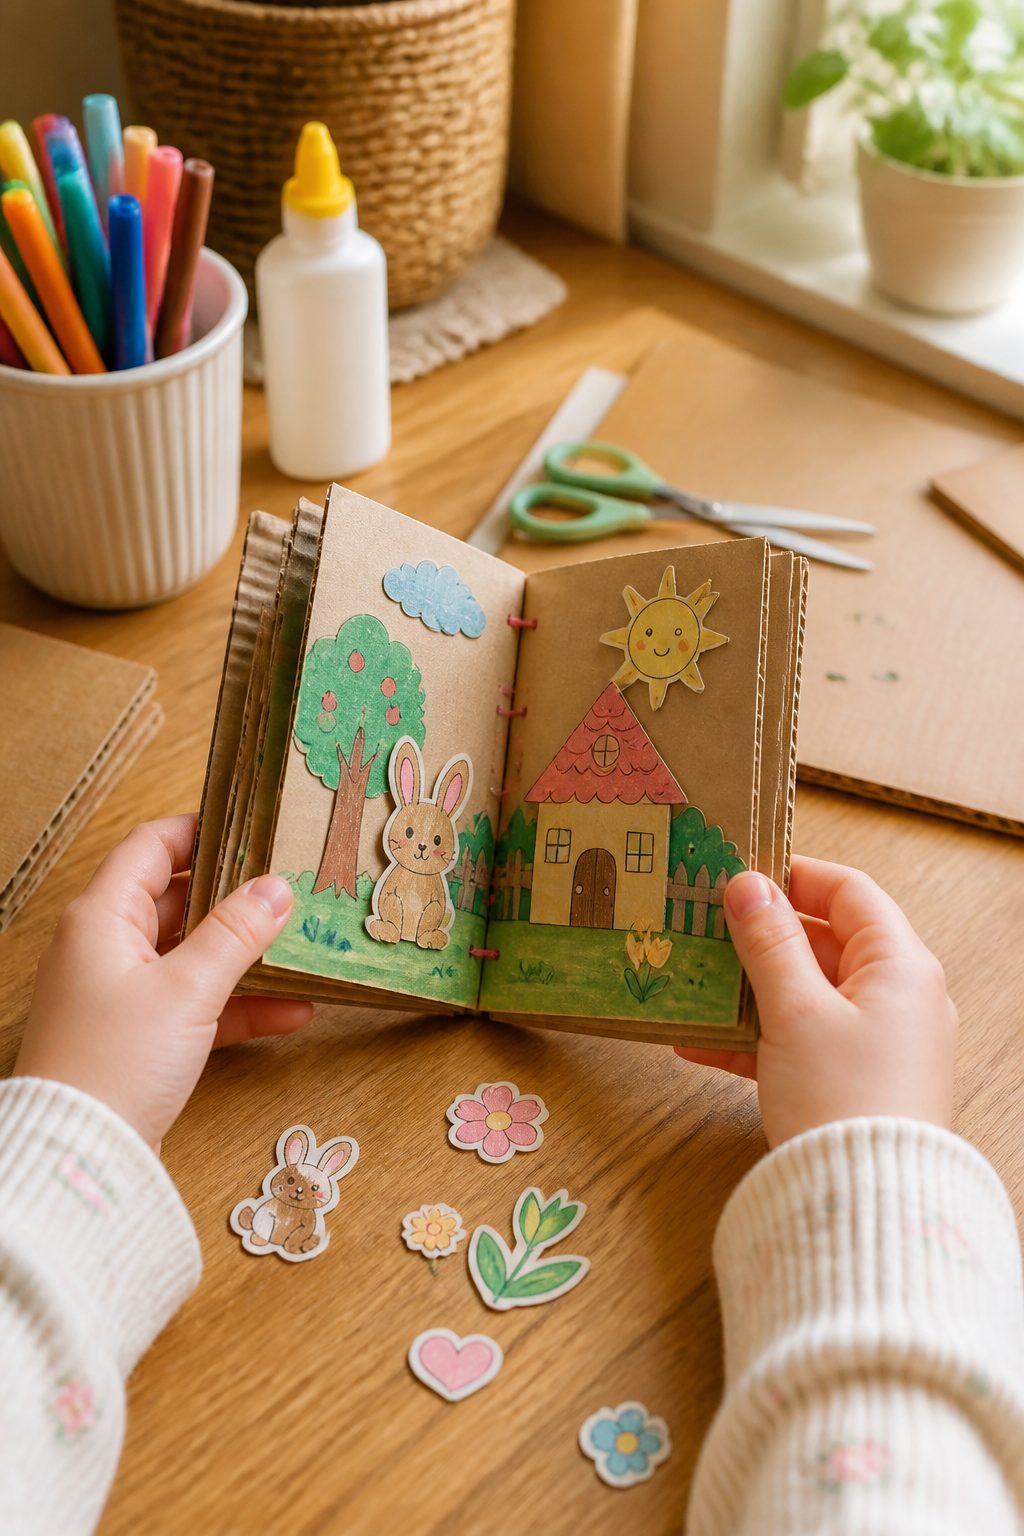
Craft tiny cardboard books that hold little worlds inside them. Each mini-book opens to reveal a short story or a simple scene the child creates with stickers, drawings, or cut-out shapes. It’s a perfect literacy-friendly craft with a storytelling twist.
Materials Needed
- Small cardboard pieces or cereal-box panels
- Paper for pages, markers, crayons
- Glue, scissors (adult supervision), staples or brads
How to Make It
- Cut the cardboard into a tiny book spine and several pages. Bind with staples or brads.
- Decorate the cover with a title and illustration. Fill the pages with simple scenes or drawings.
- Use stickers or cut-outs to add texture and interest.
Pro Tips / Styling Ideas
Subscribe to DIY Craft Bloom
Get updates on the latest posts and more from DIY Craft Bloom straight to your inbox.
- Create a themed series—animals, space, underwater worlds—to make a set you can display or gift.
- Laminate pages or add plastic sleeves to reuse with dry-erase markers for unlimited storytelling.
Who will love it or when to use it: Ideal for budding readers and tiny authors, great as a gift or a cozy bedtime activity.
7. Cardboard Puppet Theater: A Little Stage for Big Laughs
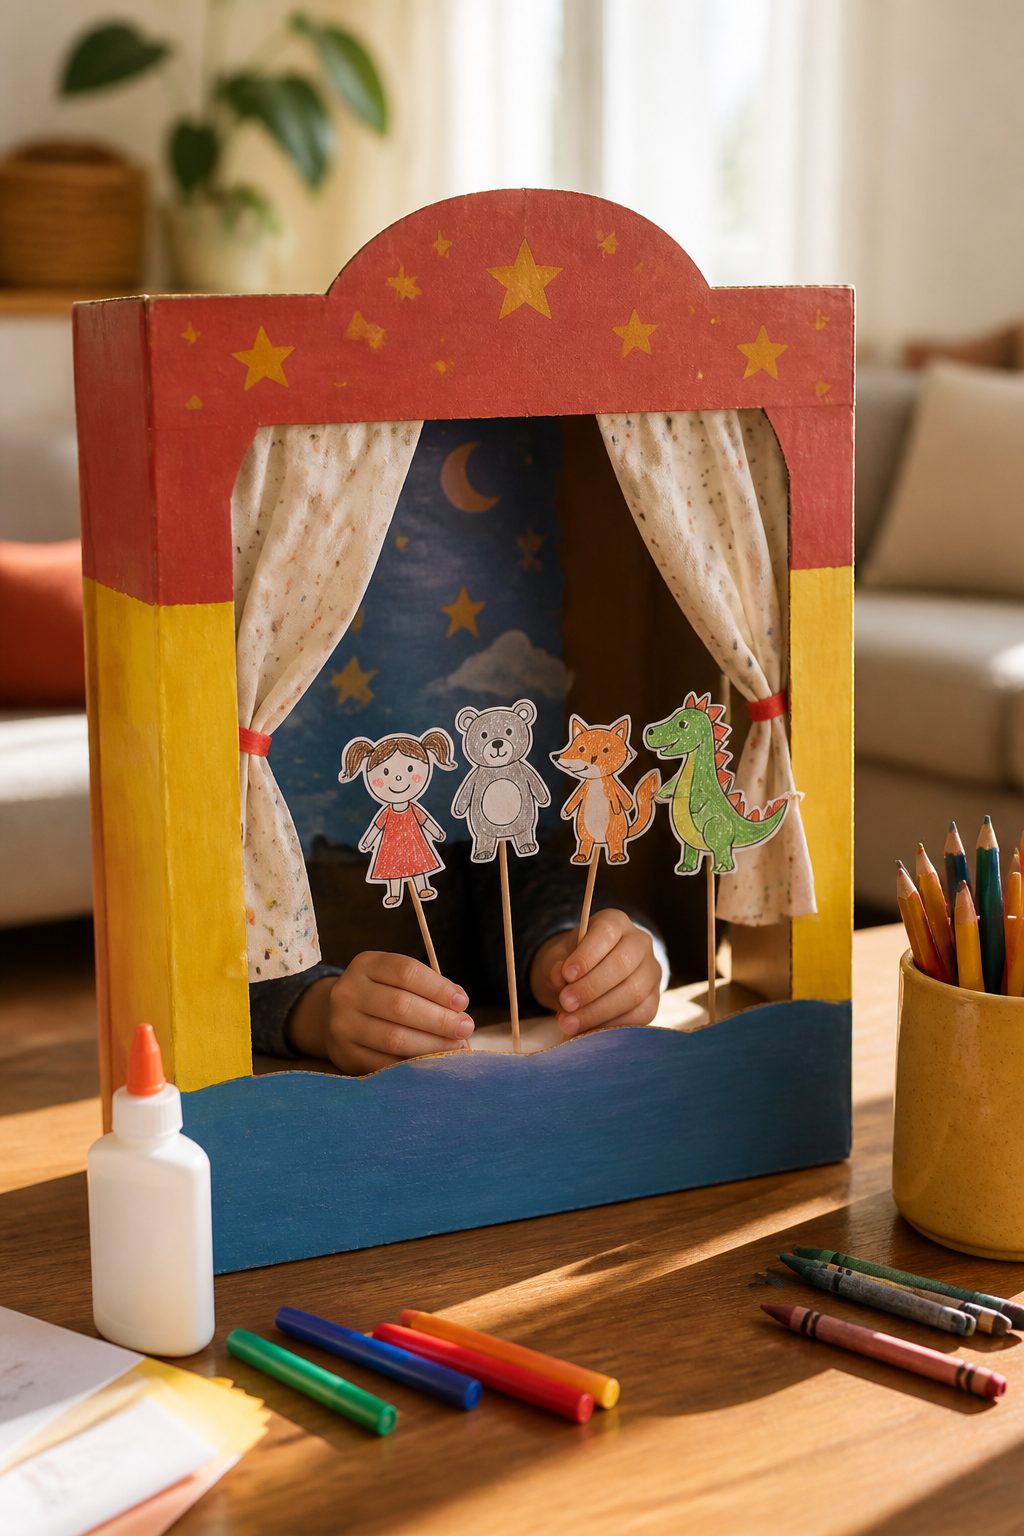
A tiny theater built from cardboard invites kids to stage short skits with puppets they design themselves. It’s theater-adjacent, highly interactive, and perfect for on-the-go storytelling.
Materials Needed
- Box lid or flat piece of cardboard to form a stage
- Markers, paint, paper puppets, glue
- String or dowels for puppets (optional)
How to Make It
- Cut a doorway in the front of the box or use a flat frame as the stage opening.
- Decorate the stage with curtains, stars, and a painted backdrop.
- Create simple puppets from cardboard scraps and paper, then put on a show for family members.
Pro Tips / Styling Ideas
- Encourage kids to write a short script or improvise conversations between puppets.
- Mount the stage on a small easel or stand for easy display.
Who will love it or when to use it: A hit for imaginative play and family-friendly performance nights, especially when kids need a creative outlet for stories.
8. Cardboard Dino Habitat: An Ancient Play Scene
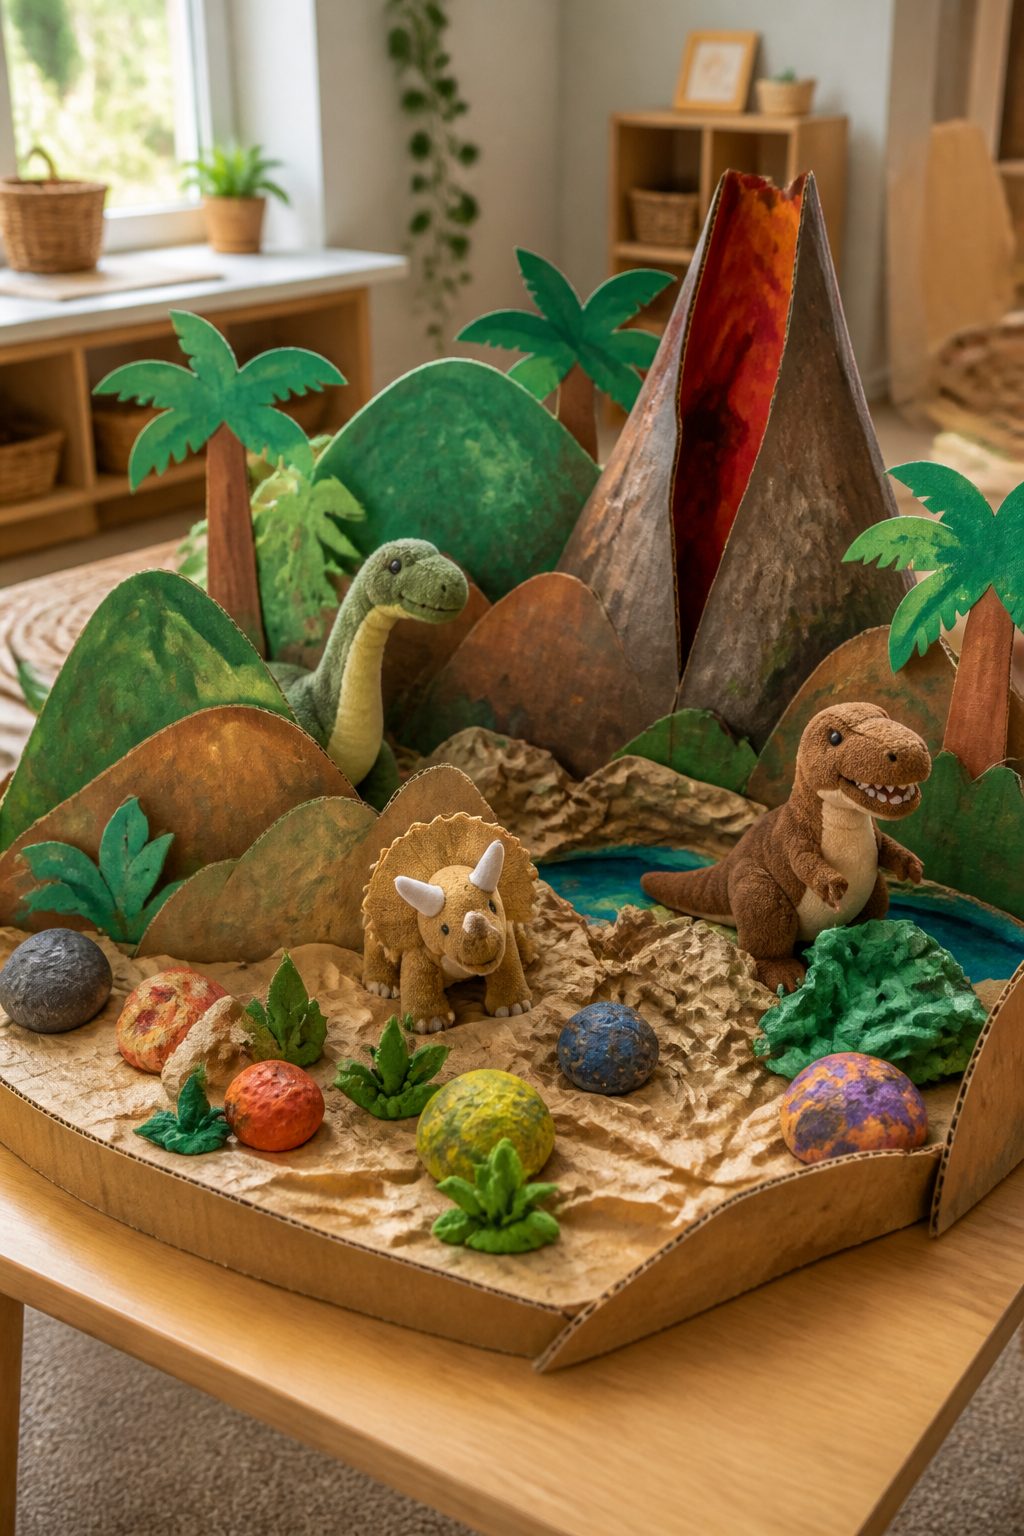
Turn cardboard into a prehistoric landscape with volcanos, friendly dinos, and palm trees. It’s a tactile, colorful display that invites kids to recreate ancient habitats with their own twist.
Materials Needed
- Cardboard sheets, markers, and paints
- Paper crinkles or tissue for ground texture
- Colored paper for trees and volcano shapes
How to Make It
- Cut landscape shapes from cardboard and layer for hills and a volcano backdrop.
- Decorate with green, brown, and other earthy tones. Add a volcano with a red tip cut from paper.
- Craft friendly dino silhouettes from cardboard or paper and place them on the scene.
Pro Tips / Styling Ideas
- Provide small figures or create finger puppets to accompany the scene.
- Use a string of LED lights behind the backdrop for a dramatic prehistoric glow.
Who will love it or when to use it: Perfect for a seasonal unit on dinosaurs or a nature-themed center in preschool classrooms.
9. Cardboard Sensory Tray: Textures, Colors, and Quiet Focus
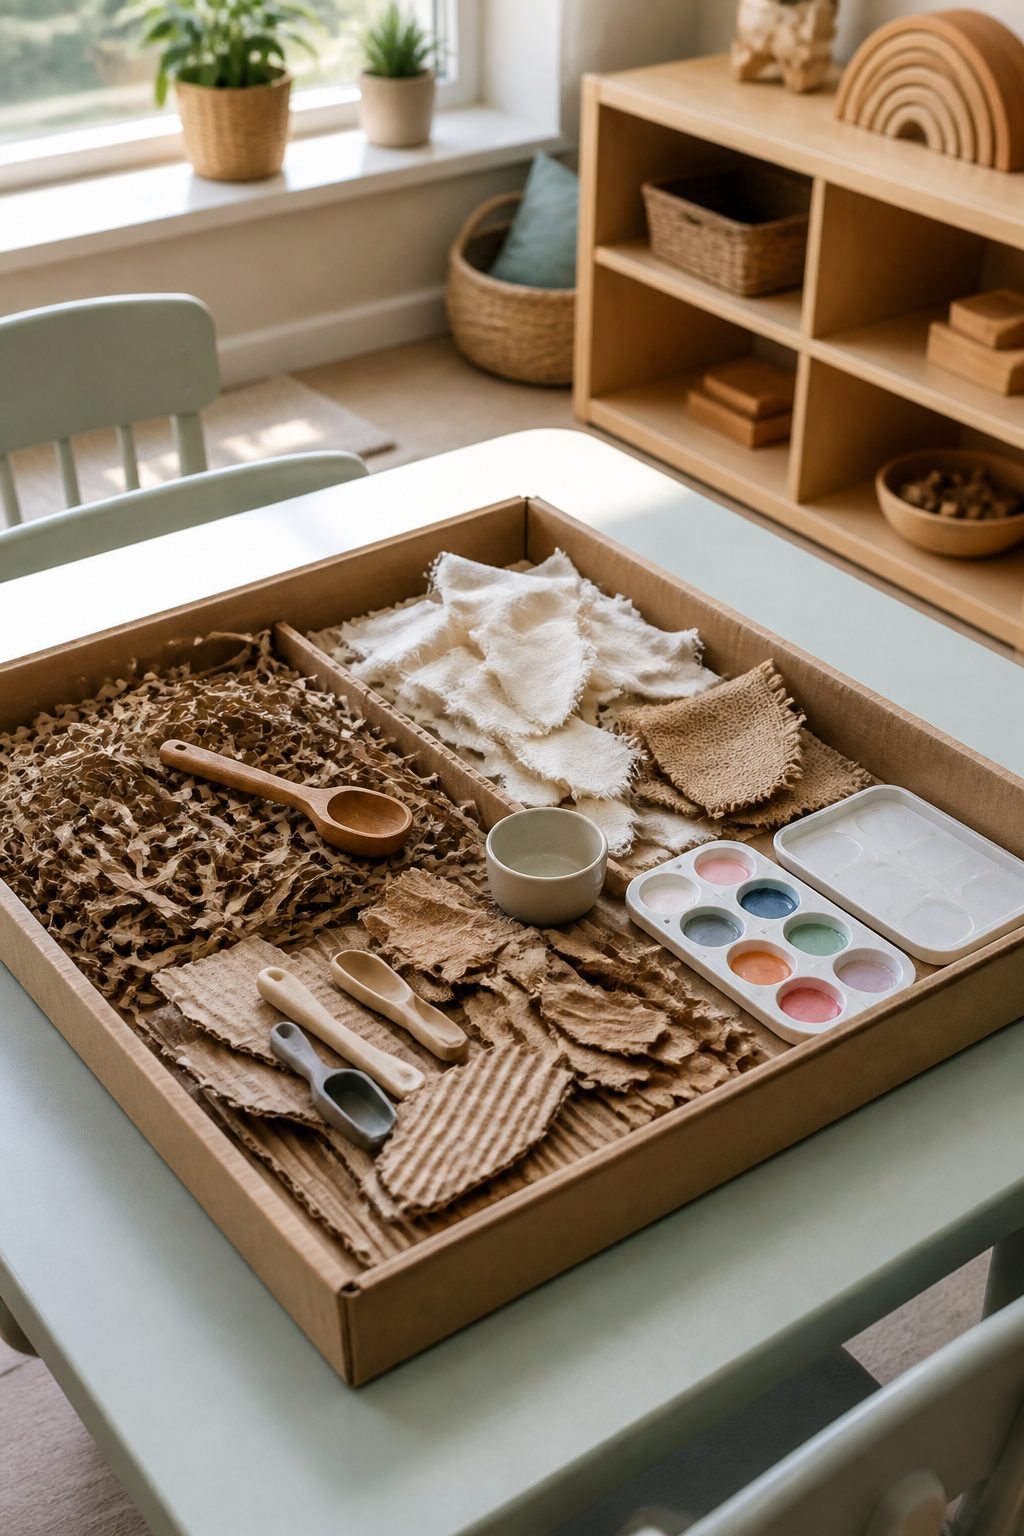
A compact sensory tray tucked into a tray or shallow box, filled with various cardboard textures and safe toppings. It’s a mindful, engaging activity that helps kids focus while exploring tactile materials.
Materials Needed
- Shallow cardboard tray or lid
- Cardboard shreds, corrugated pieces, fabric scraps
- Watercolor paints, safe glue, small cups for scooping
How to Make It
- Line the tray with a thick cardboard base, then add different textured cardboard pieces to create a tactile field.
- Offer tools like spoons, scoops, and brushes for exploring the textures and color mixing.
- Encourage independent play, storytelling, or simple color-matching activities with the materials.
Pro Tips / Styling Ideas
- Create a “calm corner” by pairing this tray with soft lighting and gentle music.
- Rotate textures weekly to keep it fresh and interesting.
Who will love it or when to use it: A sensory-friendly option that’s great for early readers and kids who benefit from hands-on exploration.
Conclusion
These 9 Cardboard Craft Ideas for Preschoolers are easy, affordable, and endlessly adaptable.
Grab a few scraps, carve out a little space, and watch creativity bloom—no fancy supplies required.
Pick one, or dive into all nine, and you’ll be amazed by the imagination that comes to life. You’ll love how simple and rewarding these projects are, seriously.