18 Craft Ideas For Paper Flowers You Can Make in Minutes

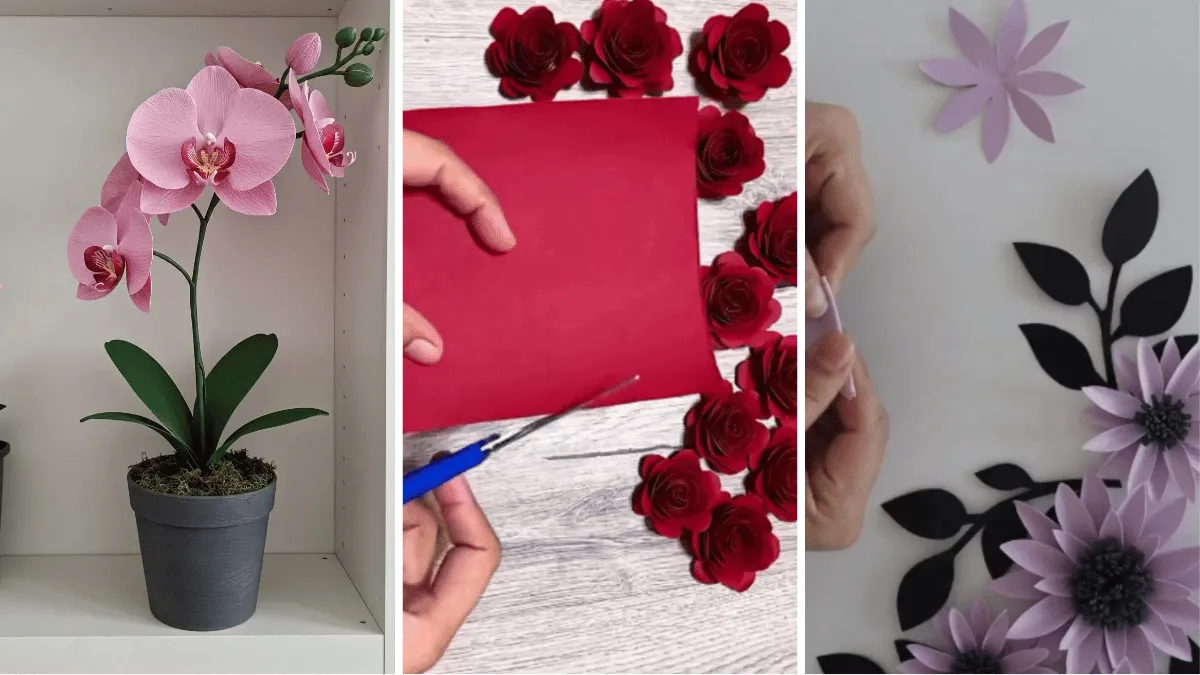
Paper flowers are a simple and beautiful way to add color and charm to your home, gifts, or special events. They’re easy to customize, budget-friendly, and best of all, they never wilt or fade.
With a few basic craft supplies and some creativity, you can turn ordinary paper into colorful blooms, delicate petals, and eye-catching floral arrangements. Whether you’re new to crafting or looking for a relaxing project to enjoy, there are plenty of fun ways to make paper flowers your own.
In this collection, you’ll find 18 creative paper flower craft ideas to try, from simple blooms to colorful arrangements that make beautiful decorations and handmade gifts.
1. Ivory Fringed Daisy Cluster
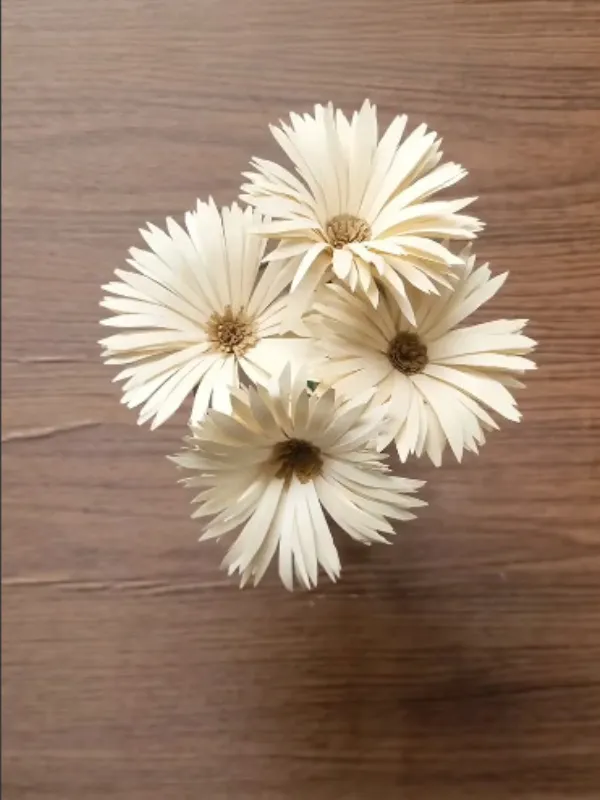
Four soft ivory blooms sit gathered like a tiny handheld bouquet, each petal cut into narrow fringe with a deep gold center showing through. The cardstock holds its shape well, so the fringe stays upright instead of flopping over once it dries.
Snip thin strips around a circle base, leaving a small core untouched in the middle. Curl each strip lightly with the edge of scissors or a bone folder, then stack two fringed circles of slightly different sizes for extra fullness.
Group three or four finished blooms in a short jar or bud vase. No wire or glue gun needed, which makes this one of the easier entries on this list for a first attempt.
2. Mixed Pastel Fringe Daisies
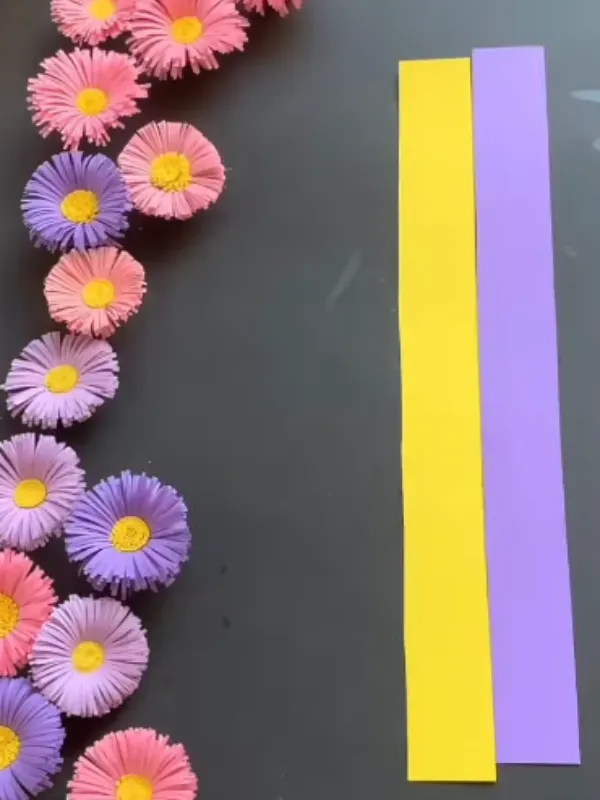
- Base: a cardstock strip about two inches wide
- Main piece: a fringed circle cut from that strip
- Color: pink, purple, and yellow in the same set
- Finishing touch: curled petal tips for texture
Fringing a strip first, then rolling it into a circle, skips the need for a petal template altogether. Each strip gets snipped along one edge into thin fringe, rolled tight at the center, then loosened outward so the fringe fans open into a full round bloom.
Color note: keep one shade per flower instead of blending several on a single bloom, so the fringe reads clean rather than muddy once the petals fan out.
3. Rolled Paper Rose
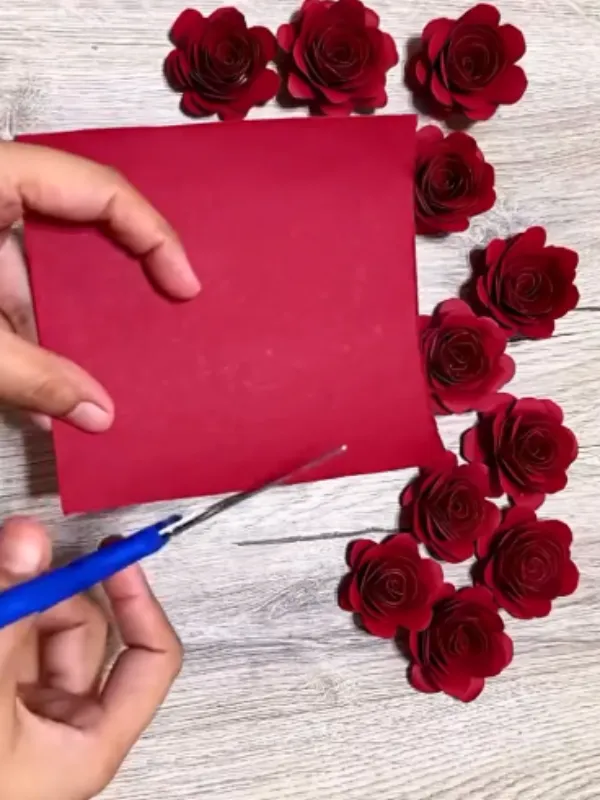
Rose formula: cut a spiral, roll it from the outside edge in, then glue the flat base.
Red squares get sliced into one continuous spiral, and that single cut piece becomes the whole rose. No separate petals to fuss over here, just one shape rolled into itself.
Once the spiral is rolled tight, let the outer rows loosen slightly before gluing the bottom flat. That small gap between layers is what gives the finished rose its open, real looking shape instead of a stiff paper cone.
Curl note: a tighter spiral cut makes a smaller, denser rose, while a looser spiral opens into a bigger bloom from the same size square.
4. Crepe Paper Cherry Blossom Branch
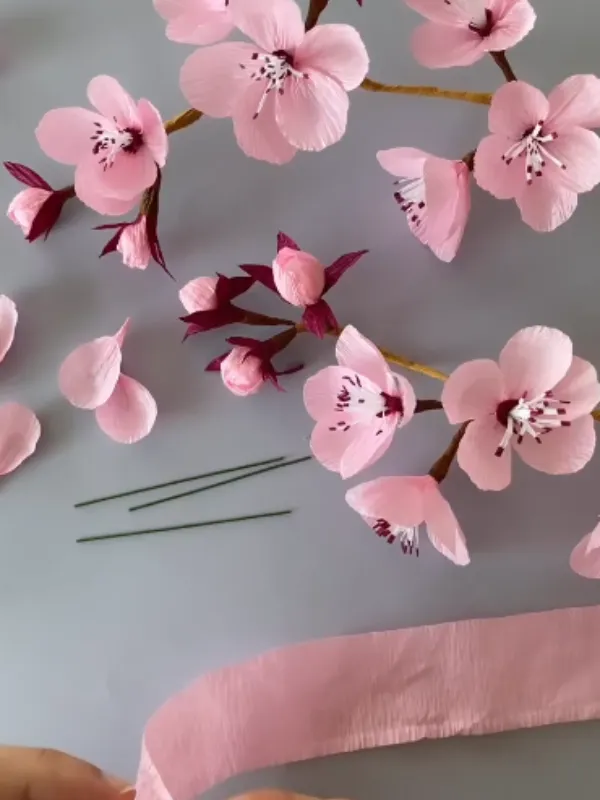
Soft pink crepe blossoms sit mixed with darker red buds along a thin wired branch, with a folded crepe strip and a few bare wire stems waiting nearby to be wrapped.
Why it works:
- Crepe paper stretches naturally so each petal curves like a real blossom
- Mixing closed buds with open flowers makes the branch look grown, not just assembled
- Thin floral wire lets the whole branch bend into a natural angle once finished
Wrapping the wire in matching crepe tape hides the stem work completely, leaving nothing but blossoms and bark colored branch to look at.
5. Star Petal Flowers With Thread Centers
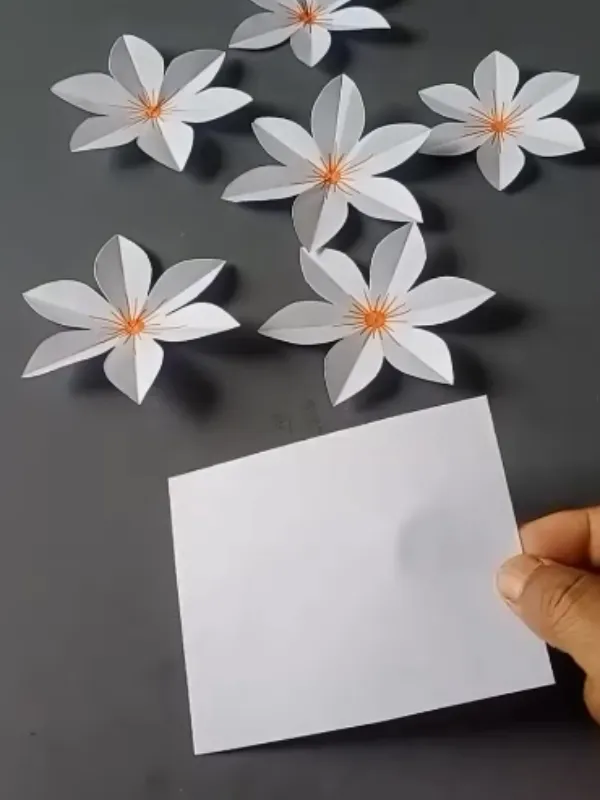
Best for: classroom projects or a quick afternoon with kids
Blank cardstock squares turn into six petal blooms once folded and cut, with a fine orange thread wrapped center that gives each one a soft, sunburst look. No painting or shading required to get that detail.
Folding the square into a point first, then cutting one simple petal curve before unfolding, gives a symmetrical flower in a single snip.
Wrapping thread around a small circle of card for the center finishes the look.
Thrift swap: leftover embroidery floss works just as well as specialty thread for the center wrap.
6. Layered Cut Paper Daisy
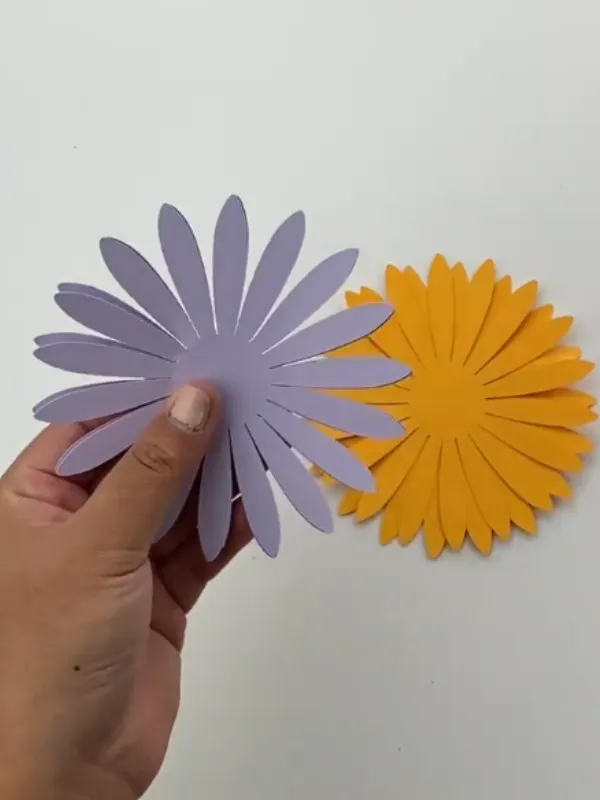
Two petal layers sit stacked in one lilac shaped bloom, held up beside a second flower cut the same way in bright orange, both showing distinct layers rather than a single flat circle.
- Layer note: cutting two or three petal layers from one folded circle before separating them gives instant depth without any extra gluing or assembly.
- Color note: pairing a cool lilac with a warm orange from the same template means one cut pattern can serve several different color schemes depending on the paper you load next.
7. Wall Cluster With Black Leaf Silhouettes
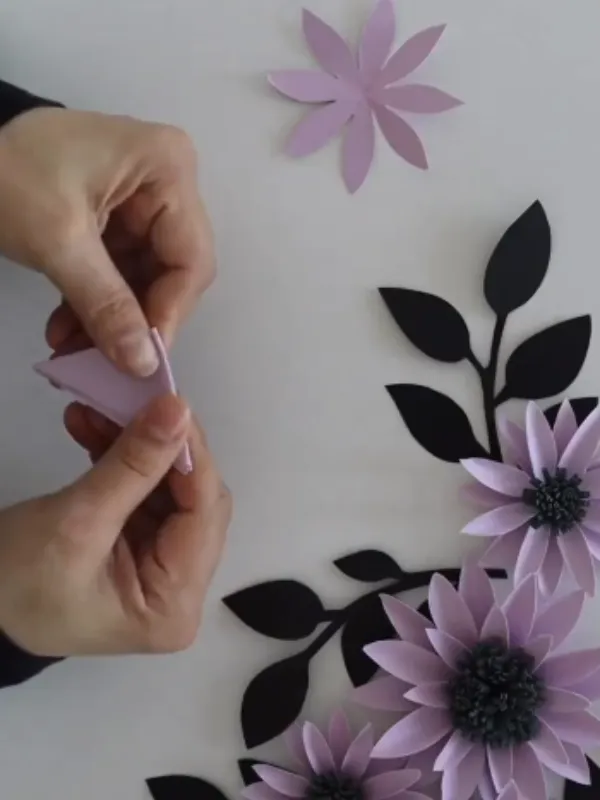
Hands fold a small triangle of lilac paper into a pointed petal shape, while finished lilac daisies with dark button centers sit arranged against black paper leaves and branches nearby, built out like a small piece of wall art.
Folding narrow triangle points around a circle base creates each petal, then a dark button center gets glued on top to anchor the color.
Subscribe to DIY Craft Bloom
Get updates on the latest posts and more from DIY Craft Bloom straight to your inbox.
Black cardstock leaves, cut in simple silhouette shapes, get tucked in around the finished blooms for contrast.
This pairing works well as a small wreath or wall cluster, since the black leaves ground the lighter flower color instead of letting it float on its own.
8. Fluffy Tissue Paper Bouquet Blooms
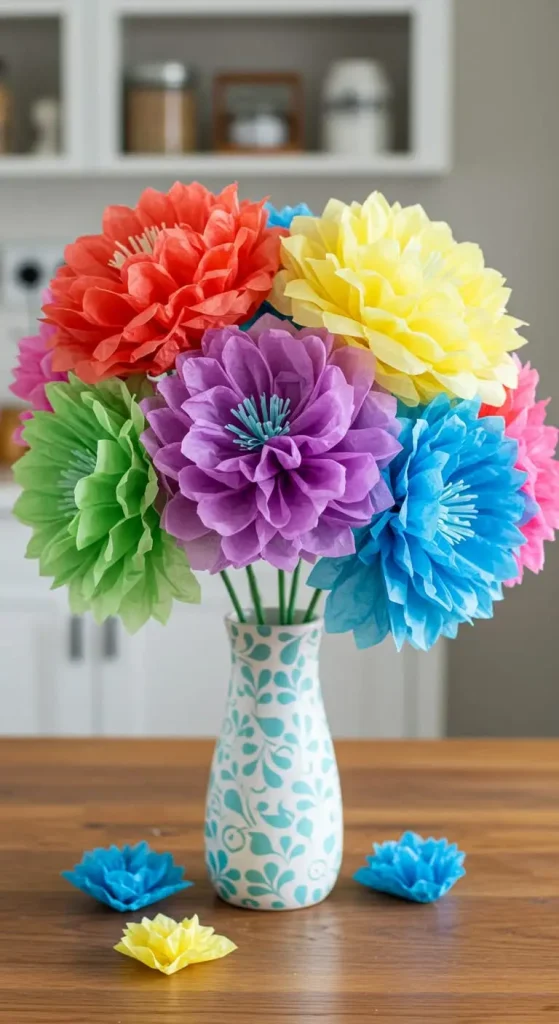
Simple version: stack several tissue sheets, fold them accordion style, twist a stem at the center, then pull each layer apart into petals.
Six to eight sheets in a mixed color stack give the fullest result, since each layer adds another ring of petals once separated.
A pipe cleaner or short length of floral wire wrapped tight around the center holds every fold in place while the layers get worked loose.
Texture note: pull the outer layers first and work inward, so the bloom opens gradually instead of tearing near the twisted center.
9. Spiral Rolled Paper Roses
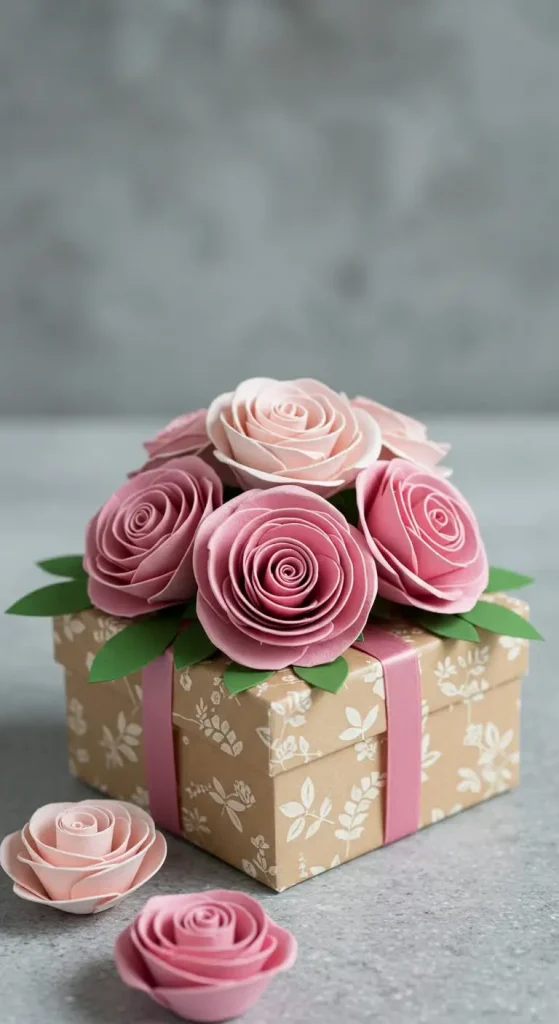
- Paper: cardstock or sturdy scrapbook paper
- Cut: one continuous spiral from the outer edge in
- Roll: tight from the outside toward the center
- Glue: secure the flat base once rolled
A single spiral cut turns one flat square into a full rose shape, with no separate petals to fuss over.
Rolling from the outer edge inward, then letting the last few rows relax slightly before gluing, gives the bloom that open, layered look instead of a stiff cone.
Card note: these hold their shape well enough to glue flat onto a greeting card front or a gift box lid.
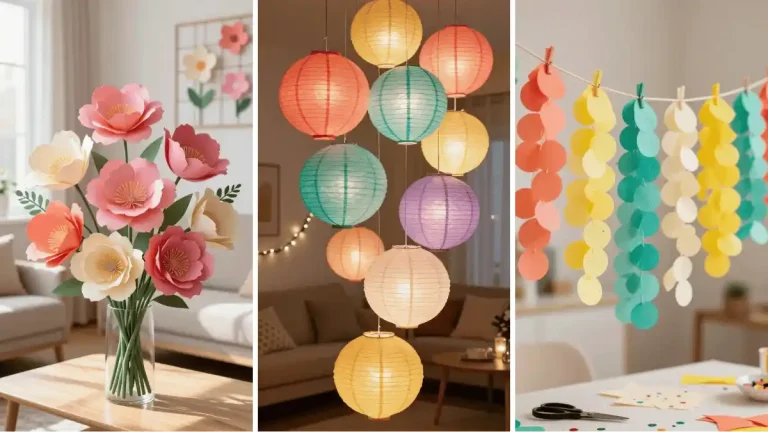
10. Mixed Paper Flower Bouquet
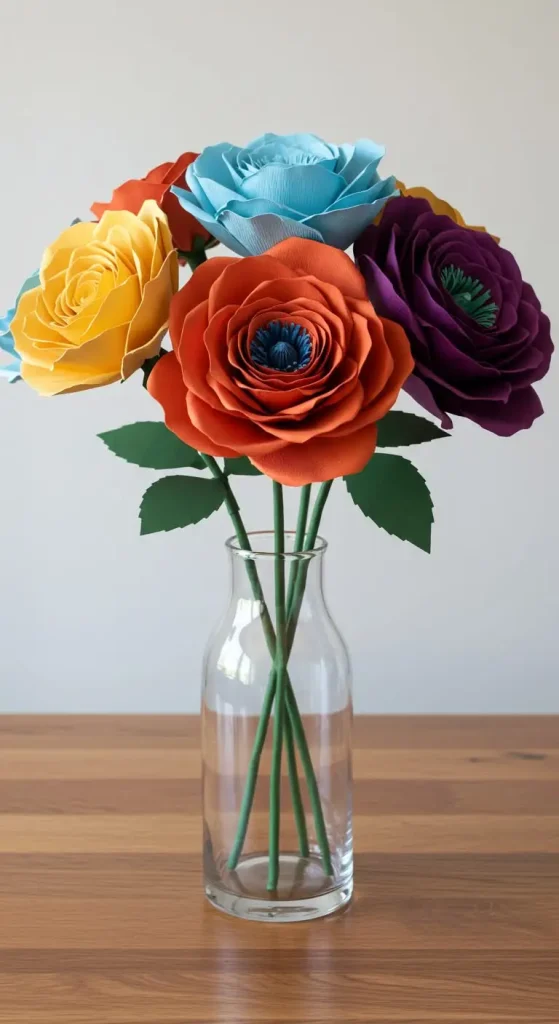
Combining a few different paper flower styles into one arrangement gives a bouquet with real variety instead of a single repeated shape. Each finished flower head gets wired onto its own stem before the group comes together.
Why it works:
- Different textures keep the eye moving instead of settling on one flat pattern
- Floral tape over the wire stems hides the joins completely
- Varying flower heights inside the bunch mimics how a real bouquet is gathered
Set the tallest stems toward the back and let the shorter ones sit forward, the same way a florist builds a real arrangement.
11. Bold Paper Sunflowers
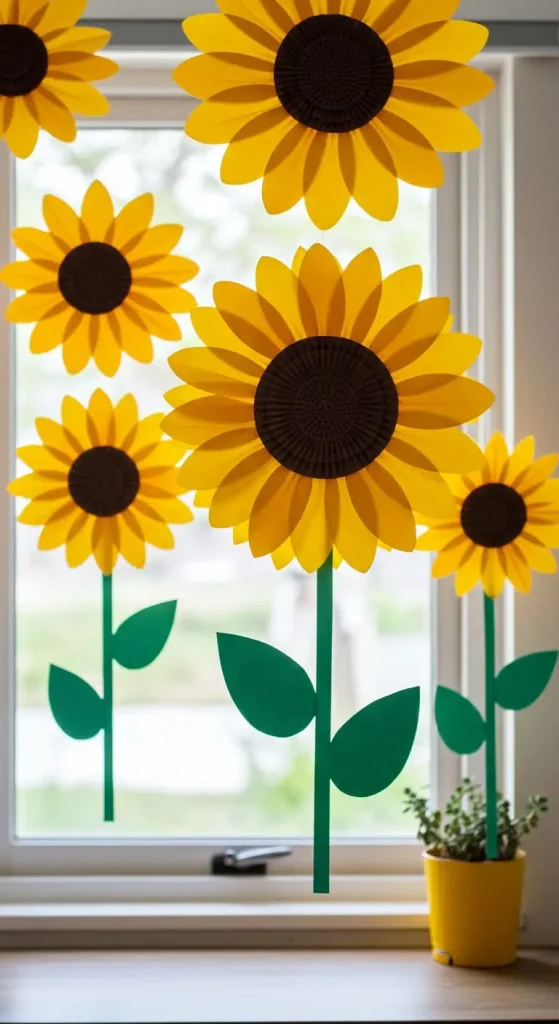
Best for: a beginner project using nothing more than construction paper and a glue stick
Yellow petals cut in a simple oval shape circle around a small brown center, with no fringing or rolling required to get the classic sunflower look.
Younger crafters can manage the whole build without much extra help once the petal template is ready.
A few green paper leaves tucked under the base finish the flower and give it something to sit against once it goes up on a wall or window.
Beginner version: skip the leaves entirely for a first attempt and add them once the petal and center gluing feels comfortable.
12. Layered Paper Chrysanthemums

Stacking several rounds of petals, each layer glued slightly inside the last, builds up the full and ruffled look a chrysanthemum needs.
Starting with the widest petal layer on the bottom keeps the finished flower from leaning to one side.
Petal note: cut each layer from a different petal length so the flower tapers naturally toward the center instead of stopping abruptly.
Finish note: a smaller paper circle glued on top hides every layer seam at once.
13. Layered Paper Dahlia
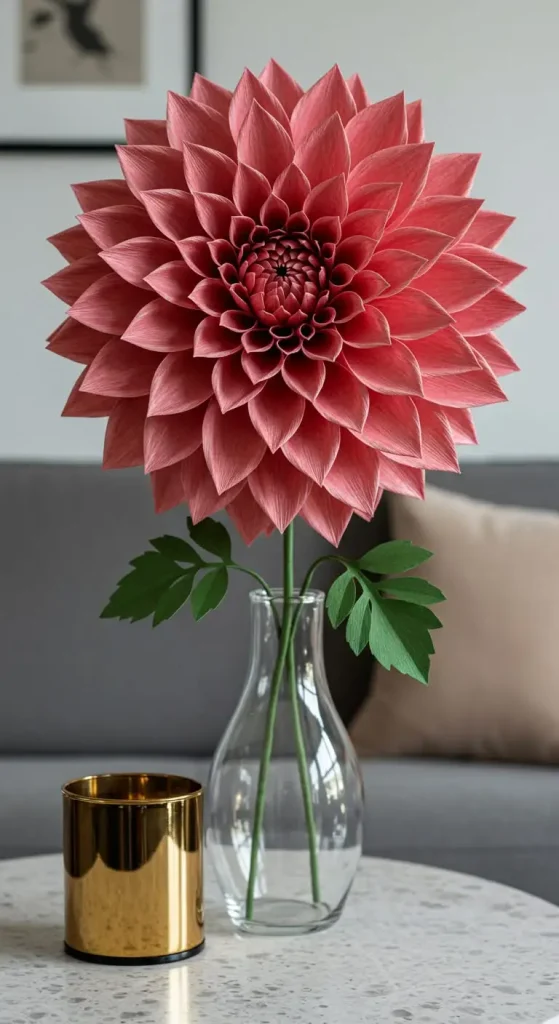
A dahlia gets its fullness from size, not from extra folding or fringing. Petals cut in several graduated sizes, largest to smallest, stack in rings until the center fills in completely.
Working from the outside in keeps the layering even. Each new ring sits slightly higher and closer together than the last, so the center builds up into a rounded dome rather than a flat middle.
Subscribe to DIY Craft Bloom
Get updates on the latest posts and more from DIY Craft Bloom straight to your inbox.
Cardstock in a single bold color reads best here, since the shape alone carries the detail. Too many petal colors mixed into one dahlia can flatten the layered effect instead of showing it off.
14. Rolled Paper Tulips
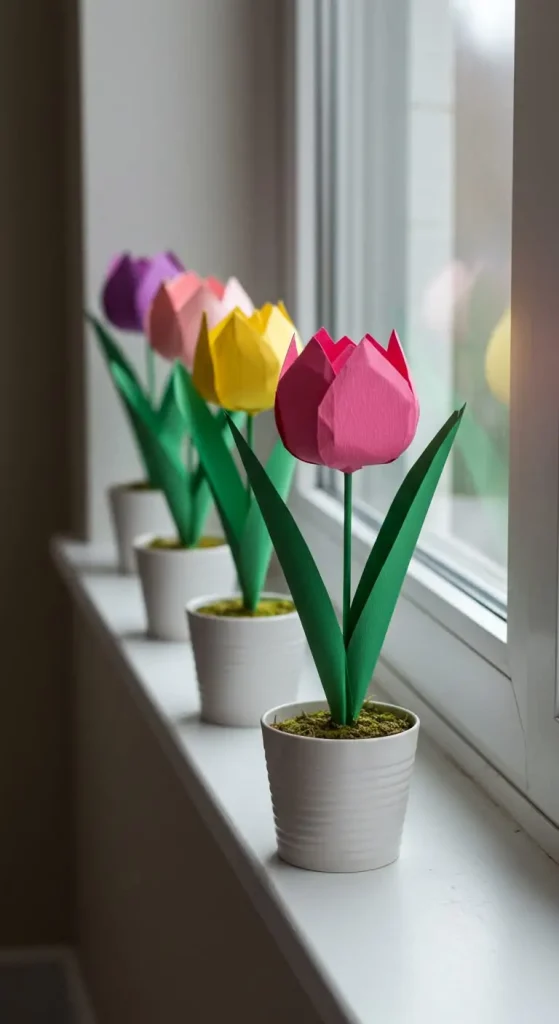
The build: cut petal shapes, roll each into a soft tube, glue the base, then attach a green paper stem.
Rolling the petal edges rather than folding them flat gives the tulip its rounded, cupped shape.
Three or four petals gathered and glued close together at the bottom while staying open at the top mirror how a real tulip head sits.
A straight green paper strip works as the stem, with a small leaf shape glued partway down for balance.
Stem note: floral wire tucked inside a rolled green strip lets the finished tulip bend and stand at an angle instead of staying perfectly straight.
15. Elegant Paper Orchid

- Petal: five rounded petal shapes per flower
- Layer: two petals glued behind three
- Center: a small yellow circle glued at the middle
- Display: single stem or small cluster
White or pale purple paper keeps the orchid looking closer to the real flower than brighter shades would.
Layering two petals slightly behind the front three, rather than gluing all five flat in a ring, gives the bloom the twisted, open shape orchids are known for.
Placement note: a single stem in a slim vase shows off the shape better than grouping several orchids together in one spot.
16. Long Petal Paper Lily

White paper cut into long, pointed petals makes a lily that reads elegant even without much shading or detail work.
Six petals arranged in two overlapping layers of three give the flower its open, star shaped face.
Why it feels graceful:
- Long petals catch light differently than short rounded ones
- White paper against green leaves creates natural contrast without extra color
- A slight curl at each petal tip keeps the shape from looking flat
Curling the tips over a pencil or the edge of scissors right before gluing makes the biggest difference in how finished the lily looks.
17. Bold Red Paper Poppies
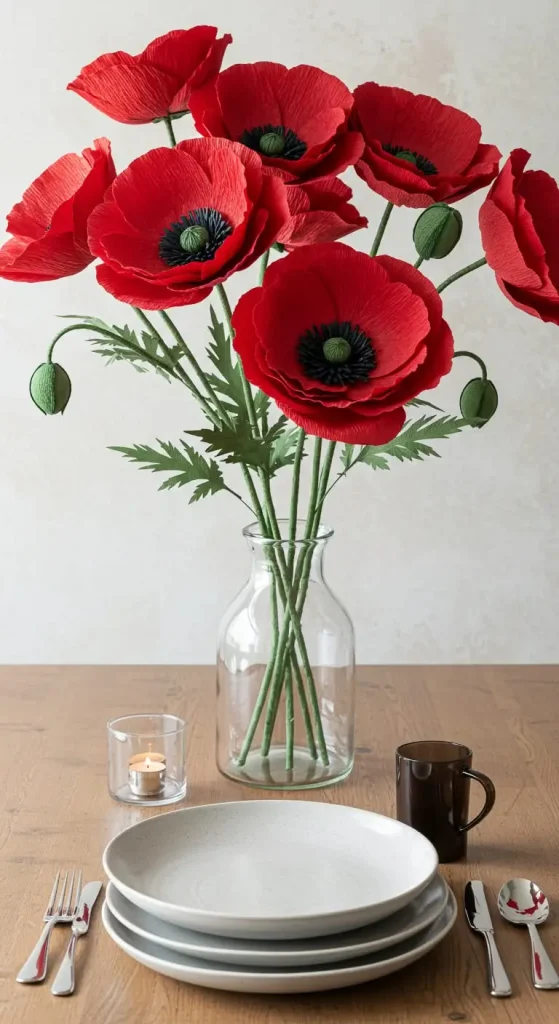
Great for: adding a strong color moment to an otherwise soft colored arrangement
Red paper petals with slightly ruffled edges circle around a black paper center, giving the poppy its recognizable high contrast look.
Layering four to five petals with uneven spacing, rather than a perfectly even ring, keeps the flower from looking too stiff or mechanical.
Green paper leaves added low on the stem balance out the boldness of the red and black up top.
Color swap: a deep orange center in place of black softens the contrast for a gentler, more autumn leaning poppy.
18. Rustic Paper Wildflower Mix
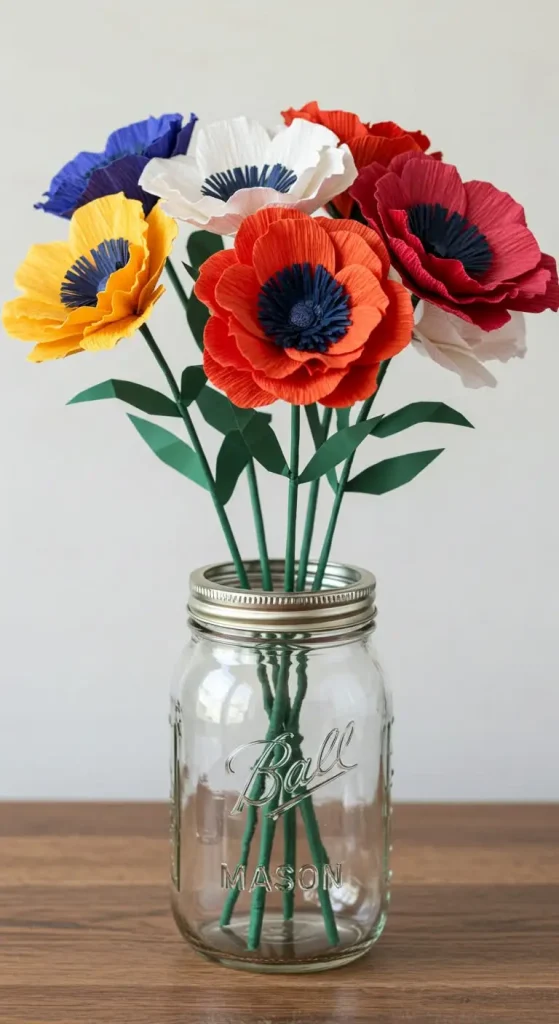
Mixing several small flower shapes, five petal blossoms, tiny daisies, a few unopened buds, into one loose bunch gives a wildflower look that a single repeated flower cannot match.
Nothing here needs to match perfectly, which is part of what makes it feel gathered rather than arranged.
Wire note: attach each small flower to its own short wire stem before grouping, so the bunch can be shaped and adjusted after the flowers are already made.
Care tip: paper wildflowers hold up better in a mason jar or shallow dish than in a tall vase, since the shorter stems were not built to support much height.