Craft Ideas for Adults with Disabilities: 18 Inclusive DIY Crafts

Crafting is a wonderful way to relax, express creativity, and improve fine motor skills. For adults with disabilities, engaging in crafts can provide therapeutic benefits, enhance self-confidence, and offer a sense of accomplishment.
Whether the goal is to make home decor, personalized gifts, or just enjoy a hands-on activity, there are plenty of accessible and enjoyable craft ideas to explore.
In this guide, we’ll cover 18 craft ideas for adults with disabilities that are easy to follow, fun to make, and rewarding. Each project is designed to be stress-free, requiring minimal effort while still creating something beautiful.
1. Thick Texture Painting Where the Paint Does the Detail Work
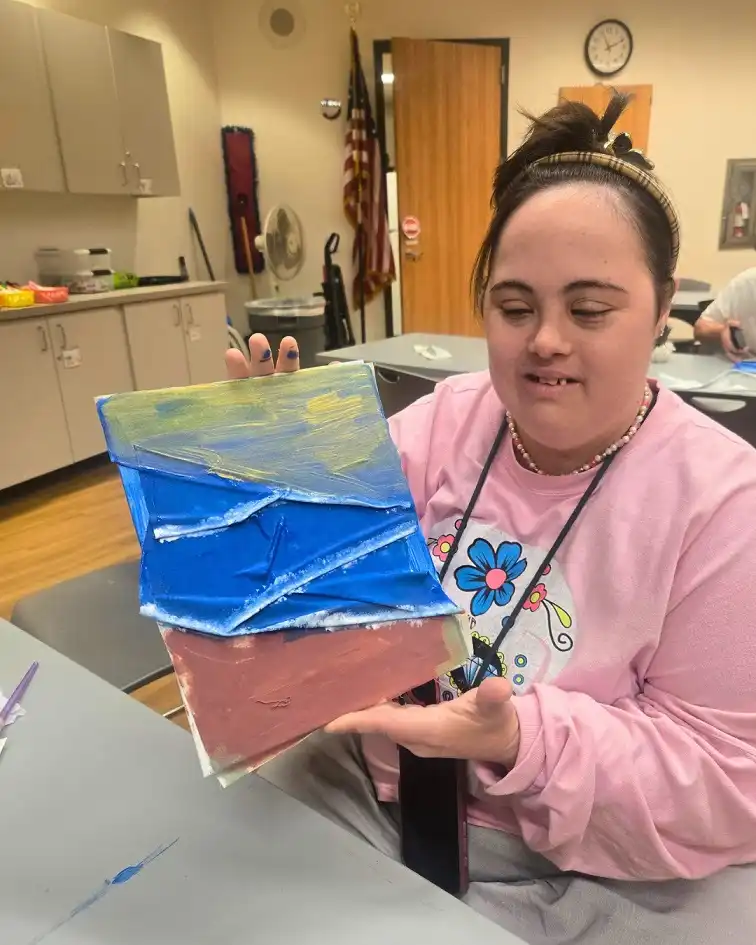
Look at the ridges in that blue section. The paint sits so heavy it holds its own shape, which means the artist never had to draw a straight line or control a thin brush to get a strong result.
That is the whole appeal of working thick. Scoop paint on with a palette knife, an old gift card, or even a plastic spoon, then drag it across a small canvas. Any pressure works. Any angle works.
The color choice here is smart too: a warm pink block at the bottom, deep blue through the middle, soft yellow and green up top. Three bands, no blending required, and it still reads as sky, water, and land.
Small canvases like this one also matter. A big canvas gets tiring to reach across. A square board you can hold in two hands stays in your control the entire time.
2. Tissue Paper Mosaic on a Printed Outline
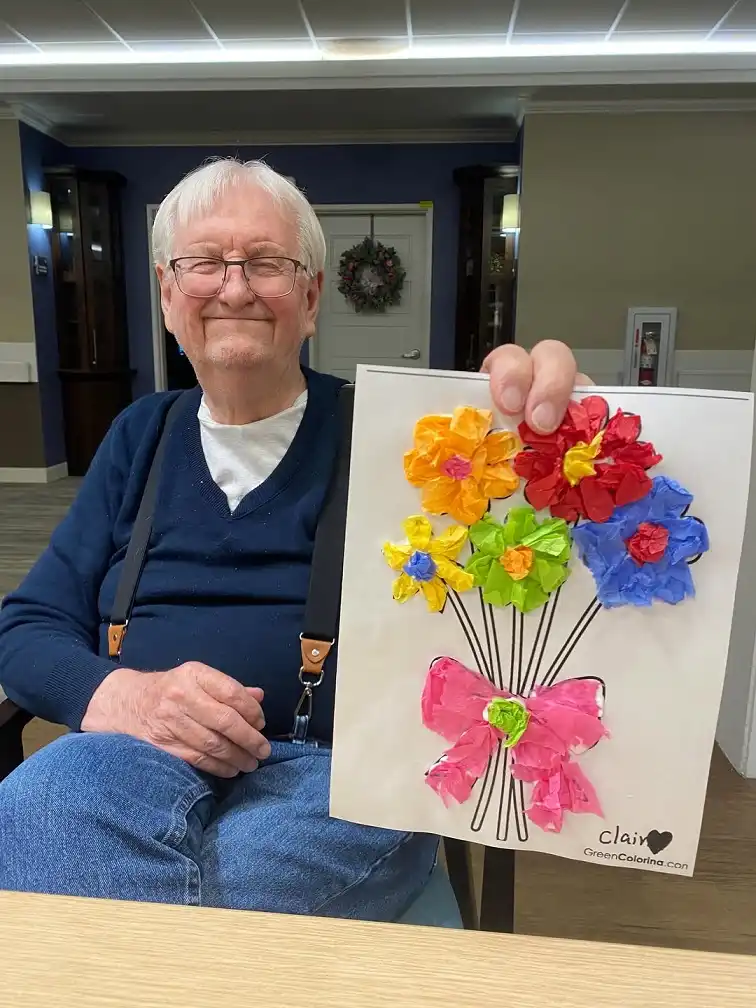
Crumpling is the entire technique. The printed flower page gives the shape, and small squares of tissue paper get scrunched into little balls and pressed into place inside the black lines.
Nobody has to draw. Nobody has to stay perfectly inside the outline either, because the loose edges are part of how it looks.
What sells this one is the color sorting. Each bloom got its own color family, with a contrasting center pressed into the middle. That little bit of planning is what separates it from a random collage.
Print outlines big and simple. Thick lines, wide open shapes, five or six areas at most.
Tear tissue into rough squares before the session starts and sort them into cups by color. Tearing is easier than cutting and needs no scissors.
Spread glue over one petal at a time so the page never gets sticky everywhere at once. A glue stick keeps hands cleaner than liquid glue.
Scrunch each square, press it down, and leave it. The bumpy finish is the point, so resist smoothing anything flat.
3. Rolled Paper Bead Bracelets Strung on Soft Ribbon
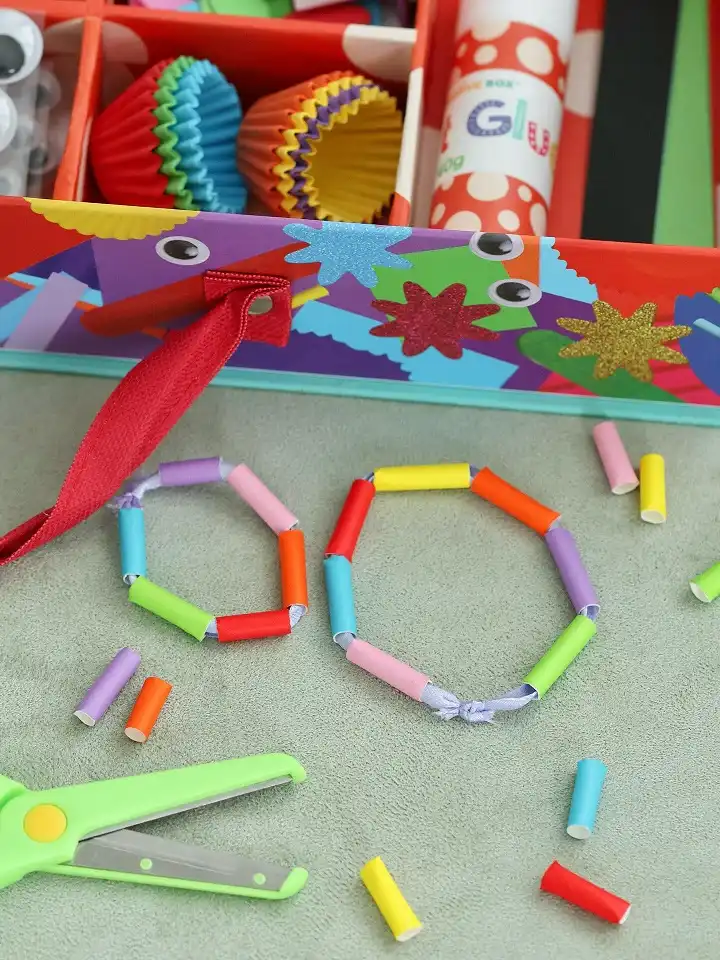
Those beads started as strips of colored paper wrapped around a pencil. Roll, dab of glue, slide off, done. You get a whole bowl of them in twenty minutes and the leftovers keep for the next project.
The ribbon is the detail worth stealing. It is wider and softer than jewelry cord, so it stays put on the table instead of rolling away, and a simple bow knot closes the bracelet without any clasp hardware to pinch.
Notice the bead size too. Short fat tubes, not tiny seed beads. Bigger openings mean threading stays a satisfying task rather than a frustrating one.
Loop tape around the ribbon tip to make a stiff threading point, like the end of a shoelace.
4. Accordion Fold Fans Painted One Panel at a Time
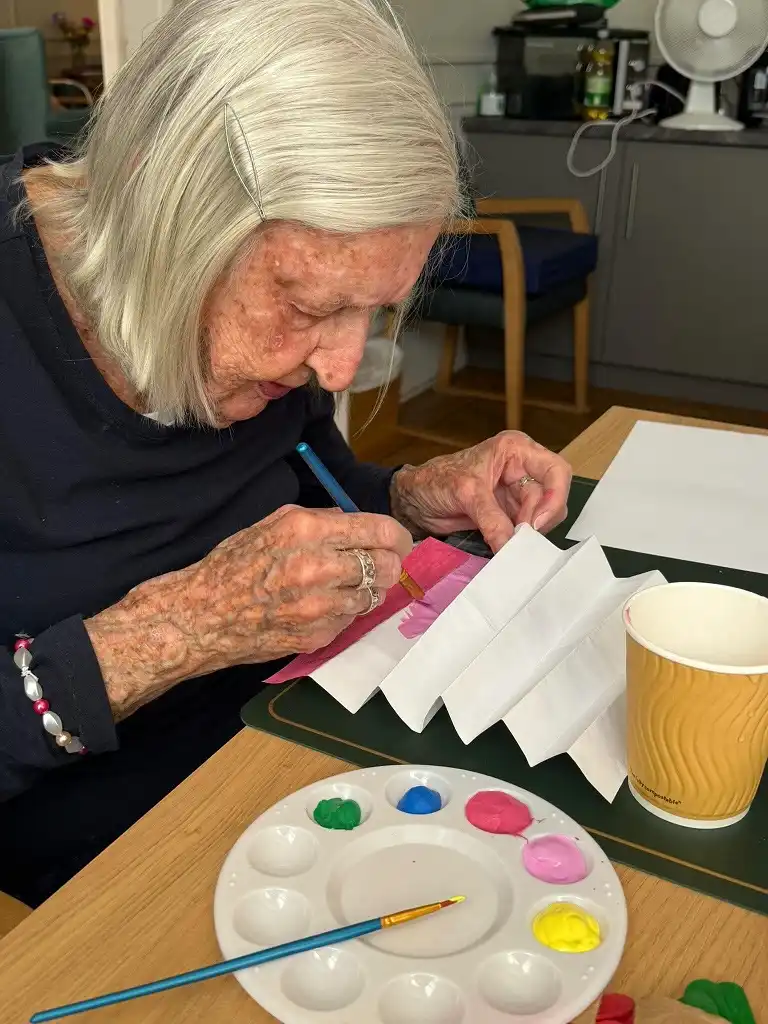
Folds first, paint second. The paper here was pleated into an accordion before any color went down, which turns one wide sheet into a row of narrow panels that each feel like their own small task.
She is working on the pink section with the brush held low and short, resting her hand on the table as she goes. That table contact is doing a lot of quiet work for steadiness.
Two other things earn their place in this photo. The palette wells keep each color separate so nothing muddies, and the dark cutting mat underneath gives the white paper a clear edge to see against.
Finish the fan by gathering one end and taping it, or leave it flat and it becomes wall art.
Pre fold the paper for anyone who finds sharp creases tiring, then hand it over ready to paint. Folding and painting are two different skills, and there is no rule that says the same person has to do both.
5. Coffee Filter Butterflies With a Clothespin Body
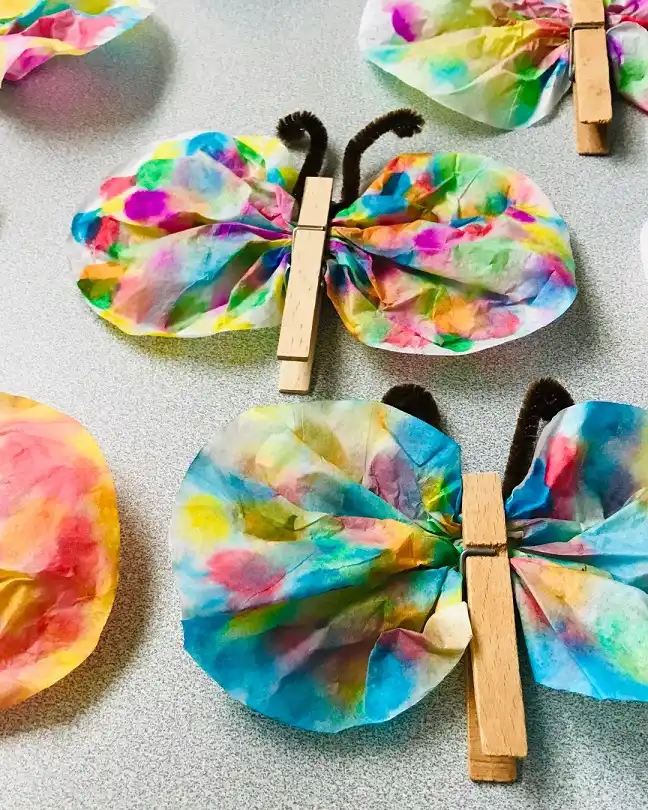
Color a flat coffee filter with washable markers, spray it with a little water, and the ink spreads on its own into soft blended patches. The filter does something you could not paint by hand even if you tried.
Subscribe to DIY Craft Bloom
Get updates on the latest posts and more from DIY Craft Bloom straight to your inbox.
Once dry, pinch the middle, clip a wooden clothespin over it, and the wings fan out. A bent pipe cleaner slides into the spring for antennae.
Scribbled dots turn into soft washes with no brush control at all. Every filter comes out different and none of them come out wrong.
One squeeze holds the whole butterfly together, so there is no waiting, no drying time, and no sticky fingers.
Color today, assemble tomorrow. Anyone who tires quickly can stop after the coloring and still have finished something.
The clothespin doubles as a clip, so the finished butterflies can sit on a curtain edge or a photo string instead of going in a drawer.
6. Mosaic Coasters Made as a Group Around One Table
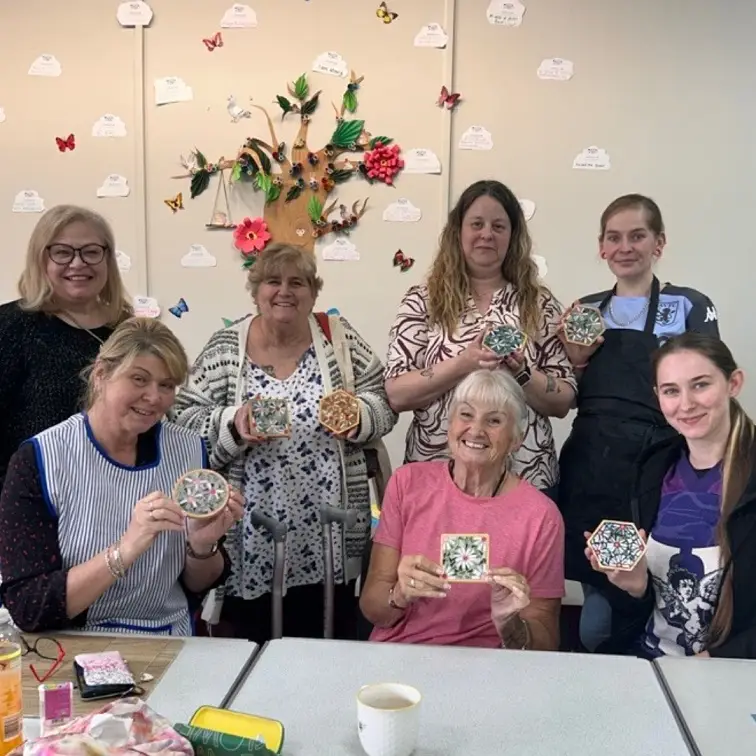
Seven people, seven finished coasters, all built from the same flower pattern and every one slightly different. That is what a good group craft looks like.
The design choice behind it is worth noticing. Small tiles in a repeating petal shape mean the pattern guides you, so there is no blank page problem and no wrong answer about where the next piece goes.
Wood bases in squares and hexagons keep each piece small enough to hold up and show off, which is clearly part of the fun here.
A session like this needs pre cut tiles, glue that grabs quickly, and grout done later by whoever wants that step. Splitting the job that way lets people join at the part they enjoy.
| Pre cut tiles | Cut your own |
|---|---|
| Start placing within a minute of sitting down. | Needs nippers, safety glasses, and steady hand pressure. |
| Uniform shapes make the pattern easy to follow. | Odd shapes give more freedom and a looser look. |
| Works for a one hour group session. | Better as a repeat project for regulars. |
7. Cotton Swab Dot Painting for Handmade Cards
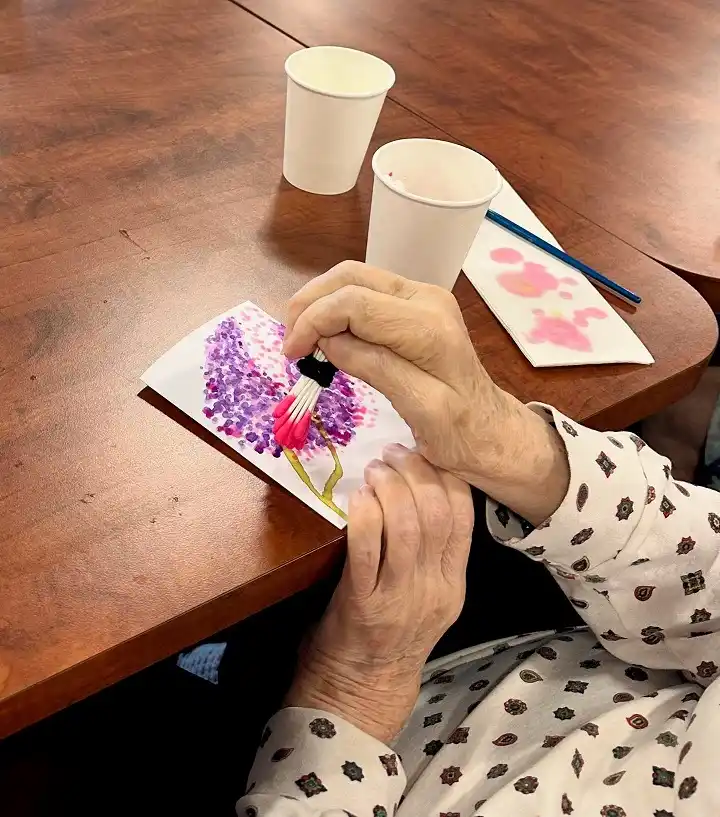
A bundle of cotton swabs banded together makes a single stamp that lays down a cluster of dots in one press. Look at the purple blossoms on this card. Every one of them came from tapping, not from painting a shape.
Holding a fat bundle takes far less finger control than pinching a brush handle, and the person here is bracing the bundle in a full fist while the other hand steadies the card.
The card stock is small on purpose. Blank folded cards need almost no coverage to look finished, and they end up going somewhere, which is a different feeling than making art with nowhere to put it.
Wrap a rubber band or tape around the middle of the bundle so it never loosens mid press.
Bundling the tool turns a fine motor task into a whole hand one, and the picture still comes out delicate.
8. DIY No-Sew Fabric Coasters
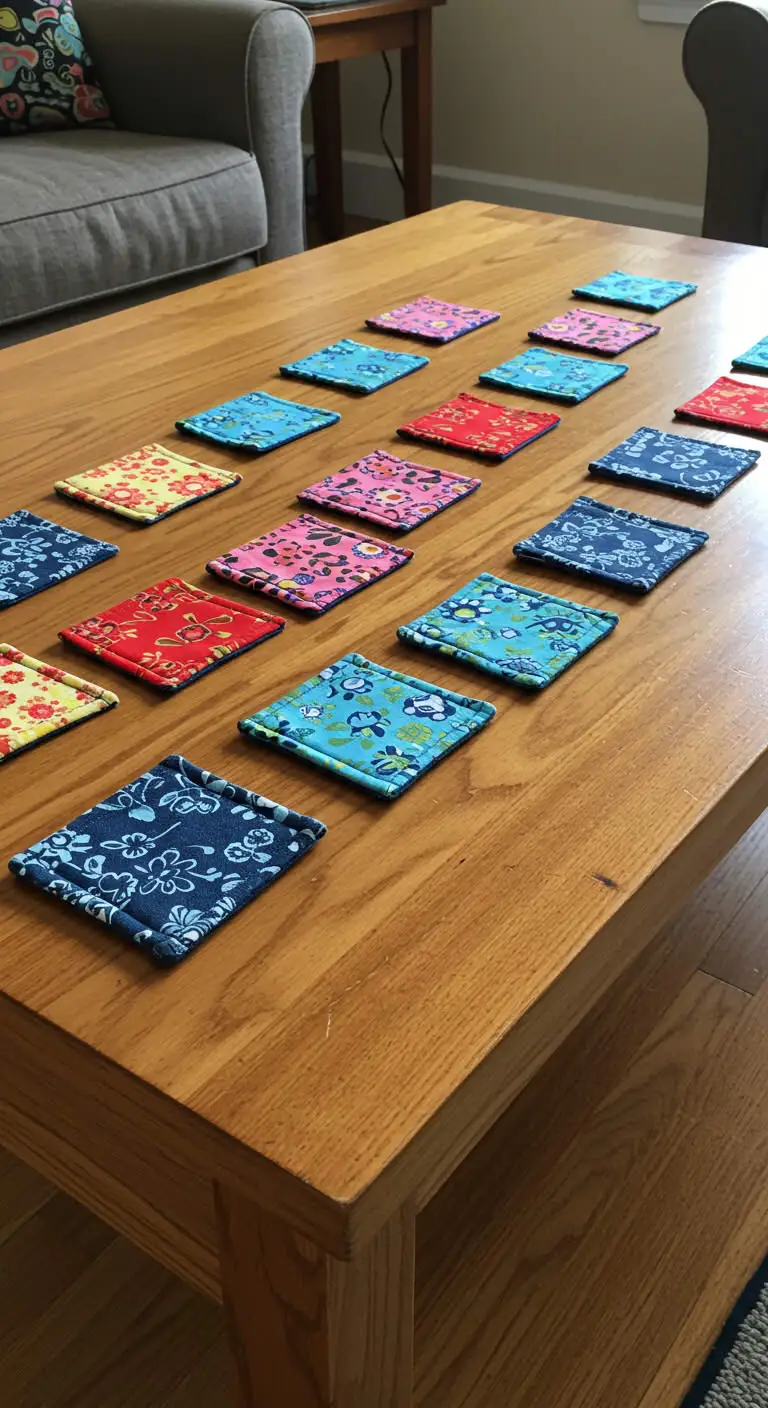
Fabric coasters are a simple and practical craft that doesn’t require sewing.
How to Make It
- Cut fabric squares slightly larger than a coaster size.
- Use fabric glue to attach felt to the back for stability.
- Add decorative trims or paint for a unique touch.
Picture This
A colorful set of handmade fabric coasters placed on a coffee table, adding charm to the space. For more fabric-based projects, check out these aesthetic craft ideas for study table.
9. DIY Clay Keychains
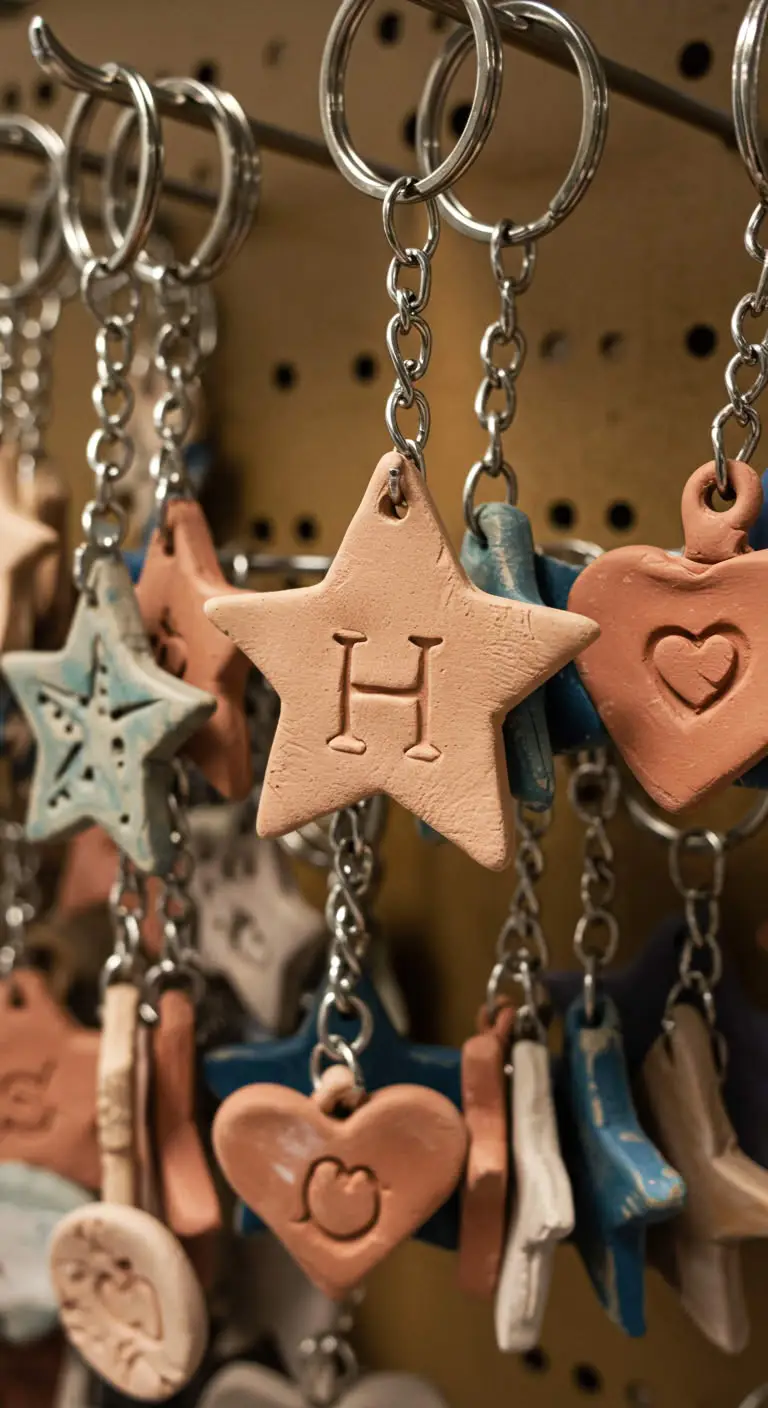
Making clay keychains is a fun and tactile craft that allows for personalization.
How to Make It
- Roll out air-dry clay and cut into simple shapes using cookie cutters.
- Let dry, then paint in vibrant colors.
- Attach keyrings and enjoy a handmade accessory.
Picture This
A collection of clay keychains featuring stars, hearts, and initials, hanging from a keychain display. For more clay-based projects, check out these clay craft ideas for adults.
10. DIY Hand-Painted Plant Pots
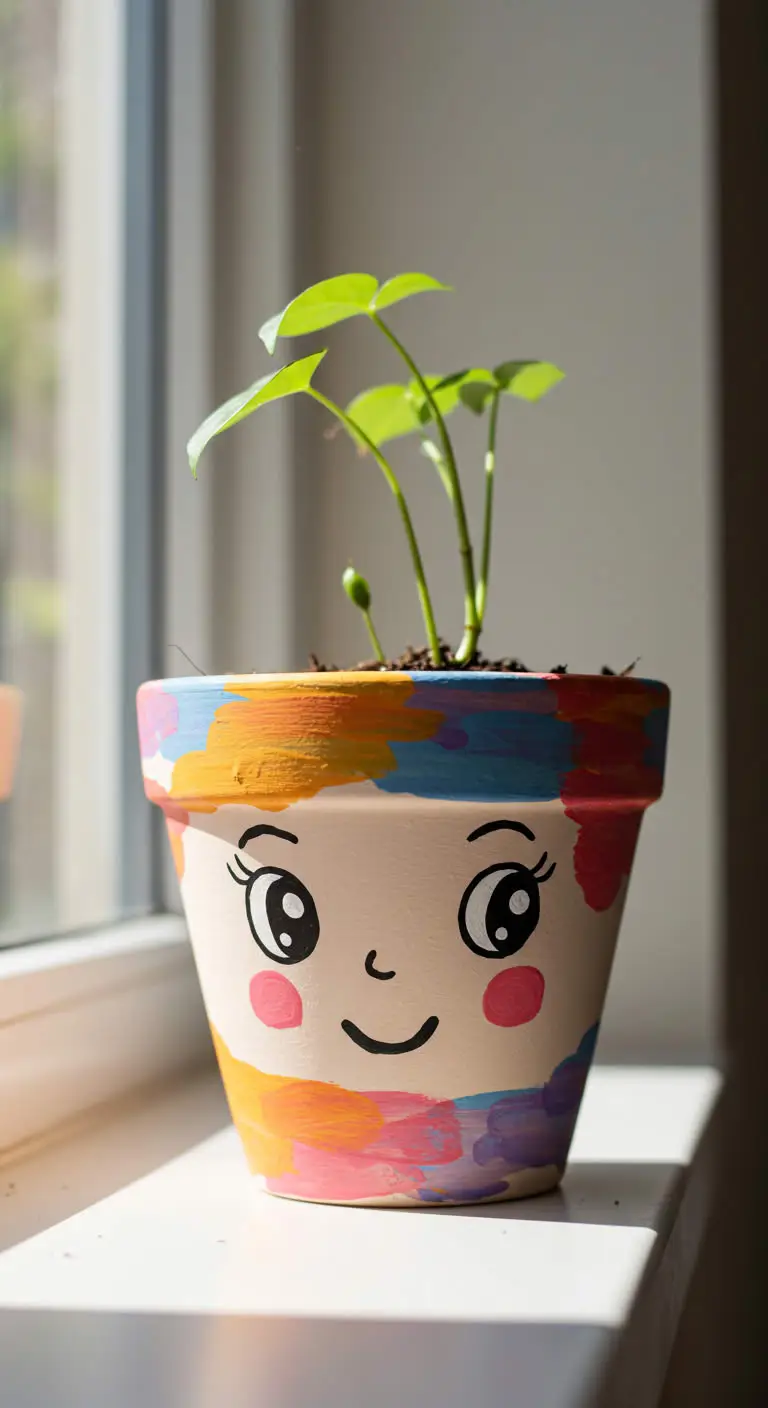
Decorating plant pots is a simple yet satisfying craft that brightens any space.
How to Make It
- Choose a plain terracotta or plastic pot.
- Use acrylic paint to create fun designs like polka dots or flowers.
- Let dry and seal with Mod Podge for durability.
Picture This
A vibrant hand-painted plant pot with a cute face design, sitting on a windowsill. For more home decor crafts, check out these aesthetic craft ideas for room decor.
11. DIY Button Art Canvas
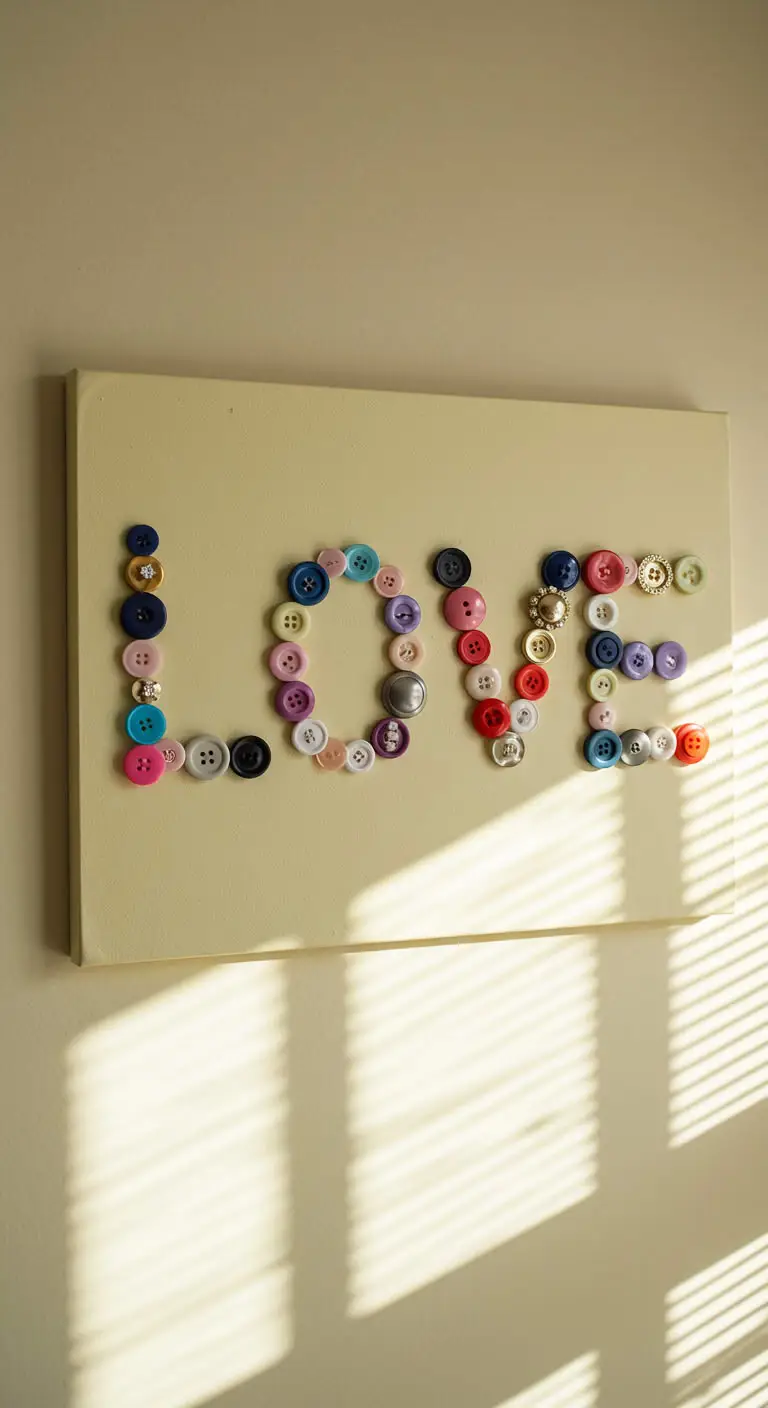
Button art is a fantastic way to create colorful, textured artwork with minimal effort.
How to Make It
Subscribe to DIY Craft Bloom
Get updates on the latest posts and more from DIY Craft Bloom straight to your inbox.
- Arrange buttons on a canvas to form a design.
- Use a glue gun to secure them in place.
- Add extra details with fabric or stickers.
Picture This
A bright and cheerful button art piece spelling out “LOVE,” displayed on a bedroom wall. For more wall art ideas, check out these aesthetic craft ideas for wall.
12. DIY Beaded Bracelets
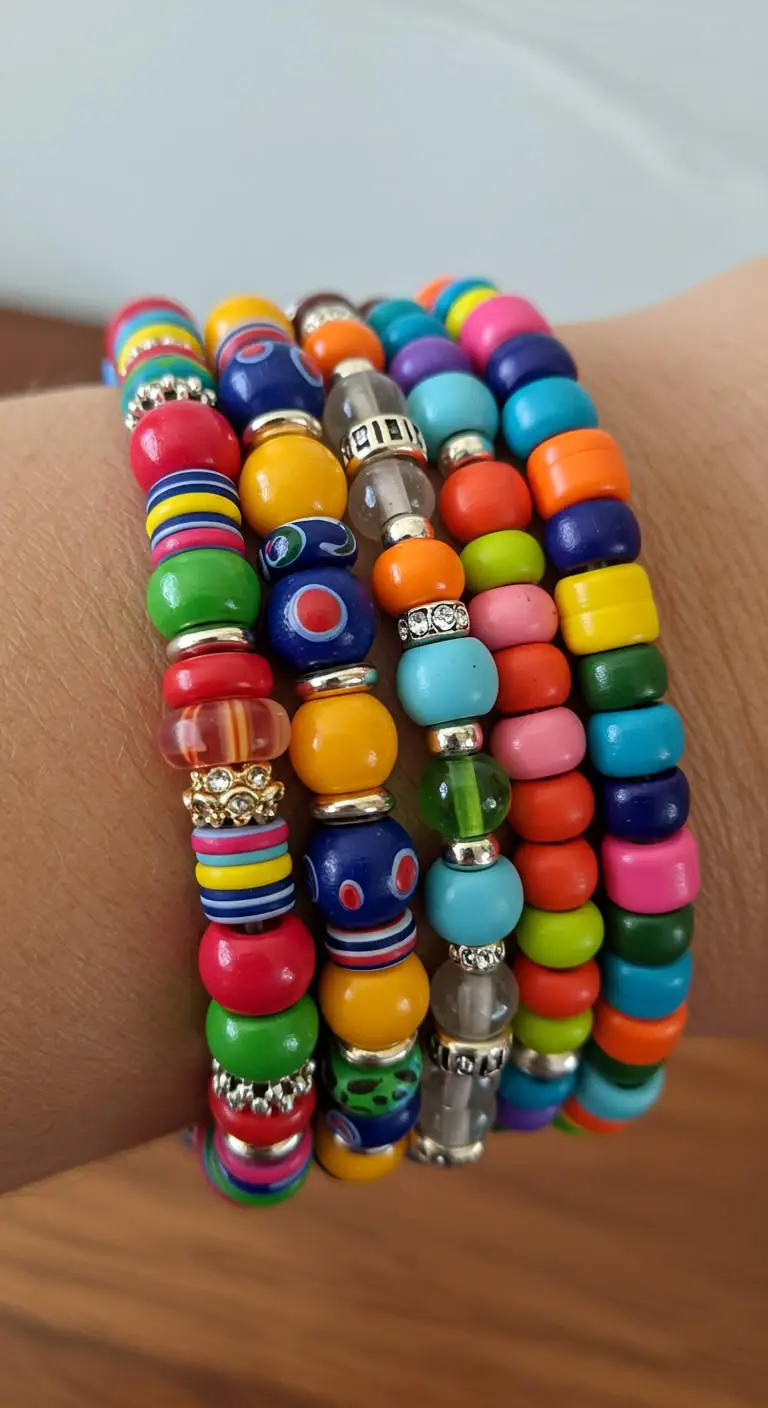
Beading is a relaxing and accessible craft that creates stylish accessories.
How to Make It
- Thread beads onto elastic or string in different patterns.
- Tie a secure knot to finish.
- Wear or gift as a handmade bracelet.
Picture This
A set of colorful beaded bracelets stacked on a wrist, adding a pop of color to an outfit.
13. DIY Upcycled Tin Can Organizers
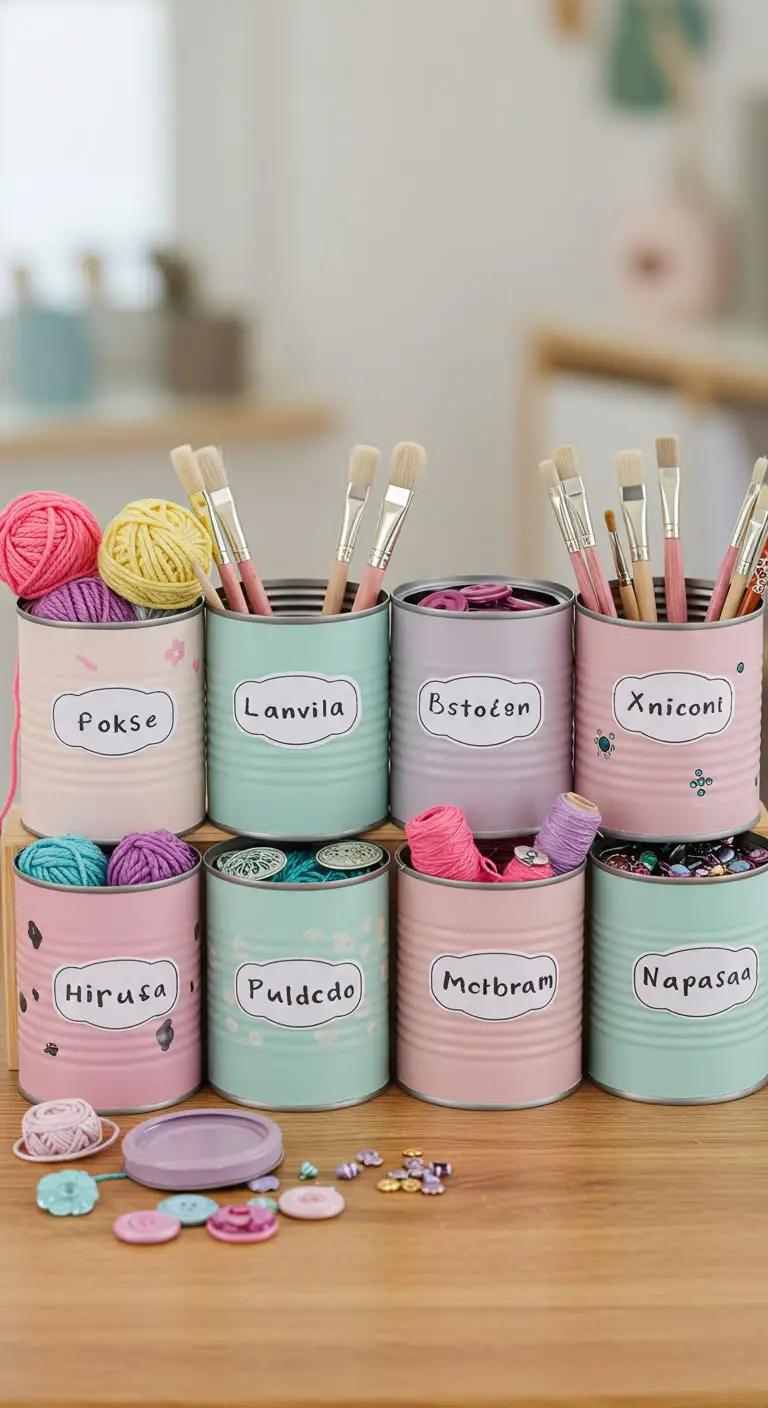
Tin cans can be turned into beautiful organizers with a few simple steps.
How to Make It
- Clean and remove labels from empty cans.
- Paint or wrap them in decorative fabric.
- Use them to store pens, brushes, or craft supplies.
Picture This
A set of pastel-painted tin cans neatly organizing craft tools on a desk. For more upcycled craft ideas, check out these bottle craft ideas DIY.
14. DIY Foam Sheet Bookmarks
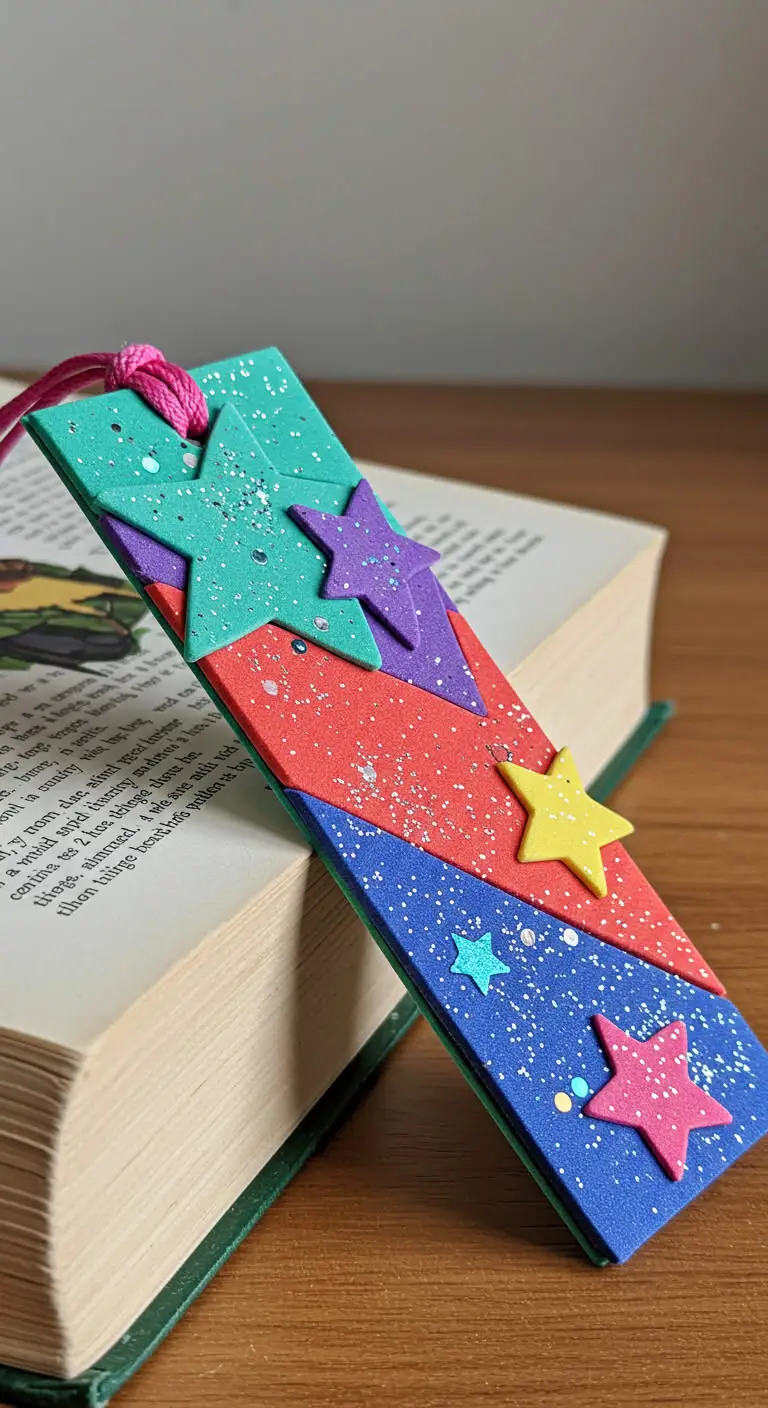
Foam bookmarks are easy to make and fun to decorate.
How to Make It
- Cut foam sheets into rectangles.
- Decorate with stickers, markers, or cut-out shapes.
- Add a ribbon at the top for extra flair.
Picture This
A handmade foam bookmark with glittery stars, peeking out from the pages of a favorite book.
15. DIY Painted Wooden Spoons
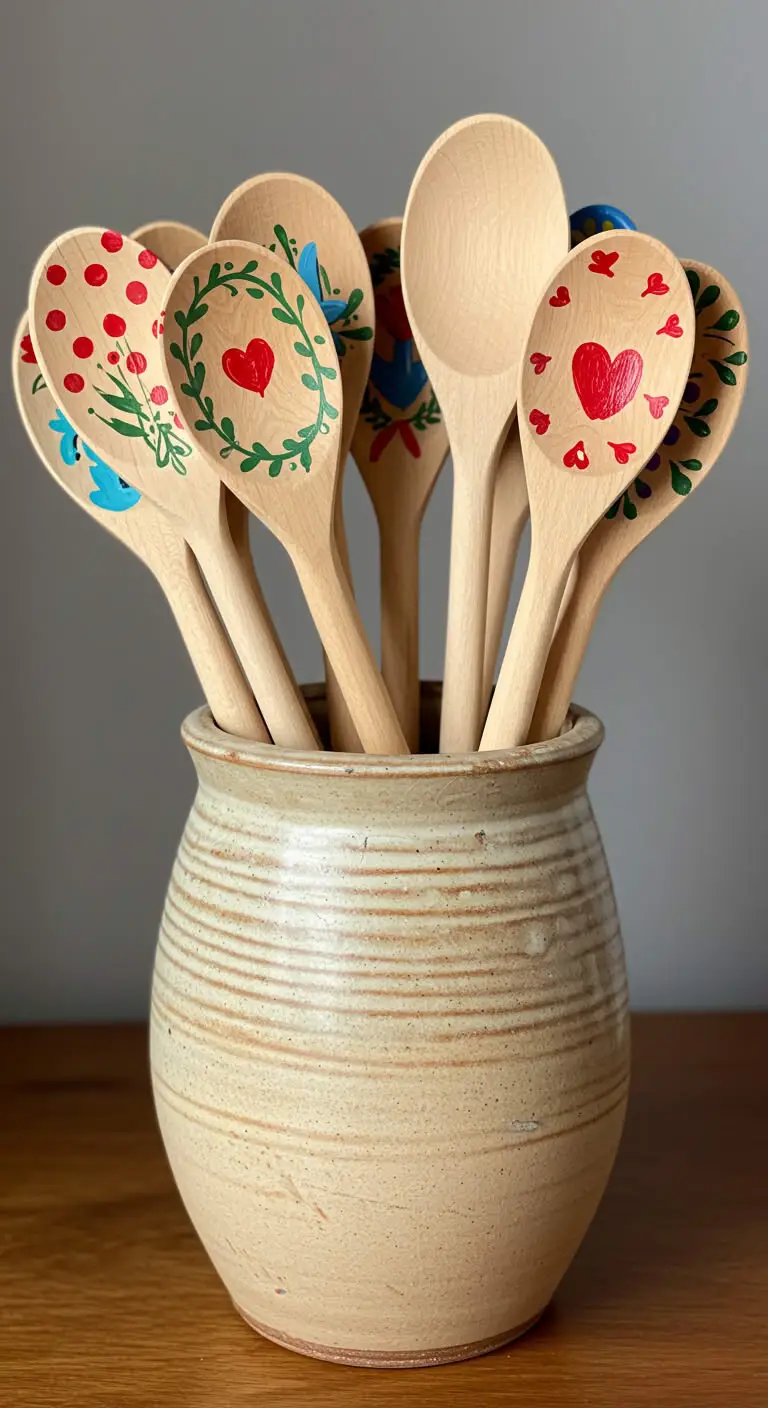
Decorated wooden spoons make great kitchen decor and gifts.
How to Make It
- Paint the handles of wooden spoons with bright patterns.
- Let dry and seal with a food-safe varnish.
- Display them in a jar or hang them on a kitchen wall.
Picture This
A set of beautifully painted wooden spoons in a rustic ceramic jar, adding charm to the kitchen.
16. DIY Tissue Paper Flower Bouquets
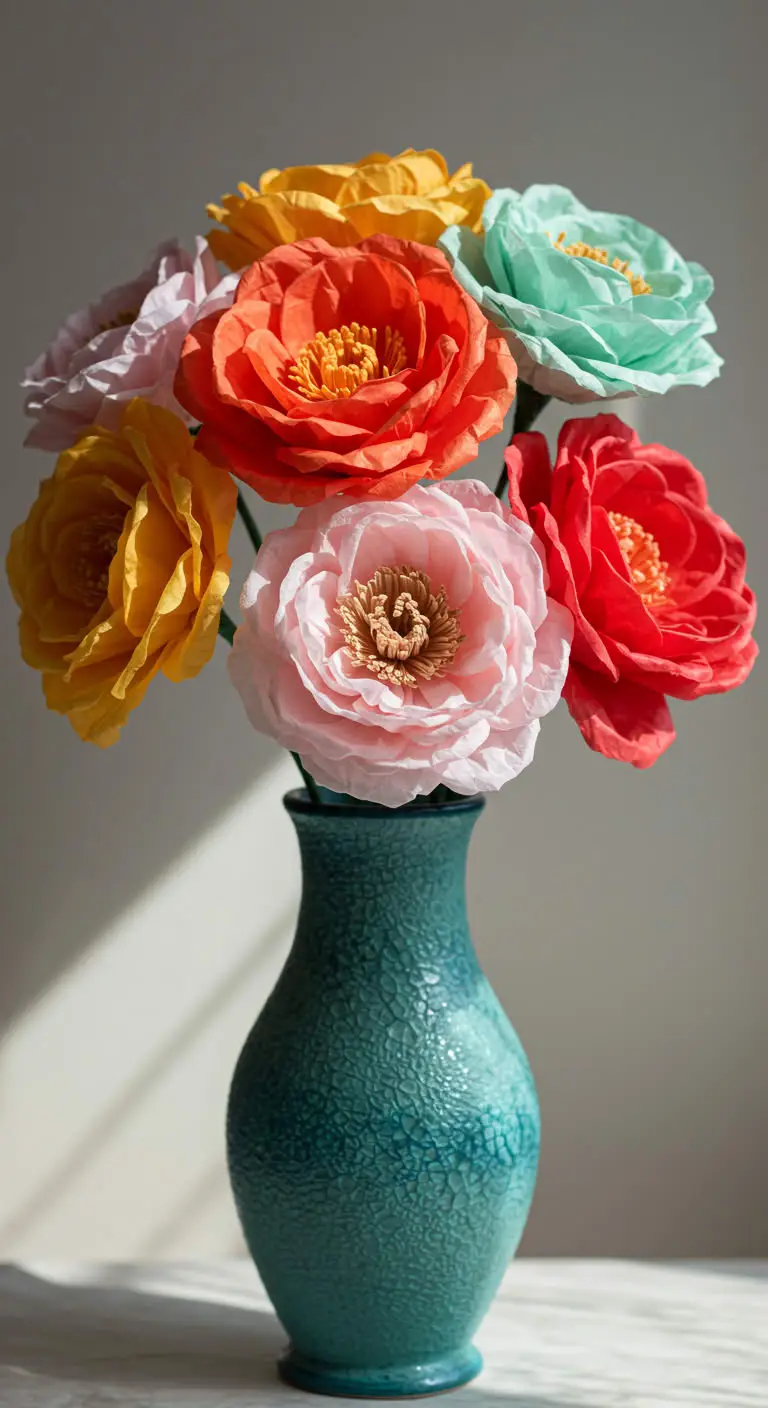
Tissue paper flowers are a fun and mess-free craft that creates stunning decorations.
How to Make It
- Stack tissue paper sheets and fold them accordion-style.
- Tie the center with a pipe cleaner and fluff the layers.
- Arrange them in a vase for a long-lasting floral display.
Picture This
A vibrant bouquet of handmade tissue paper flowers sitting in a decorative vase.
17. DIY Sensory Bottles
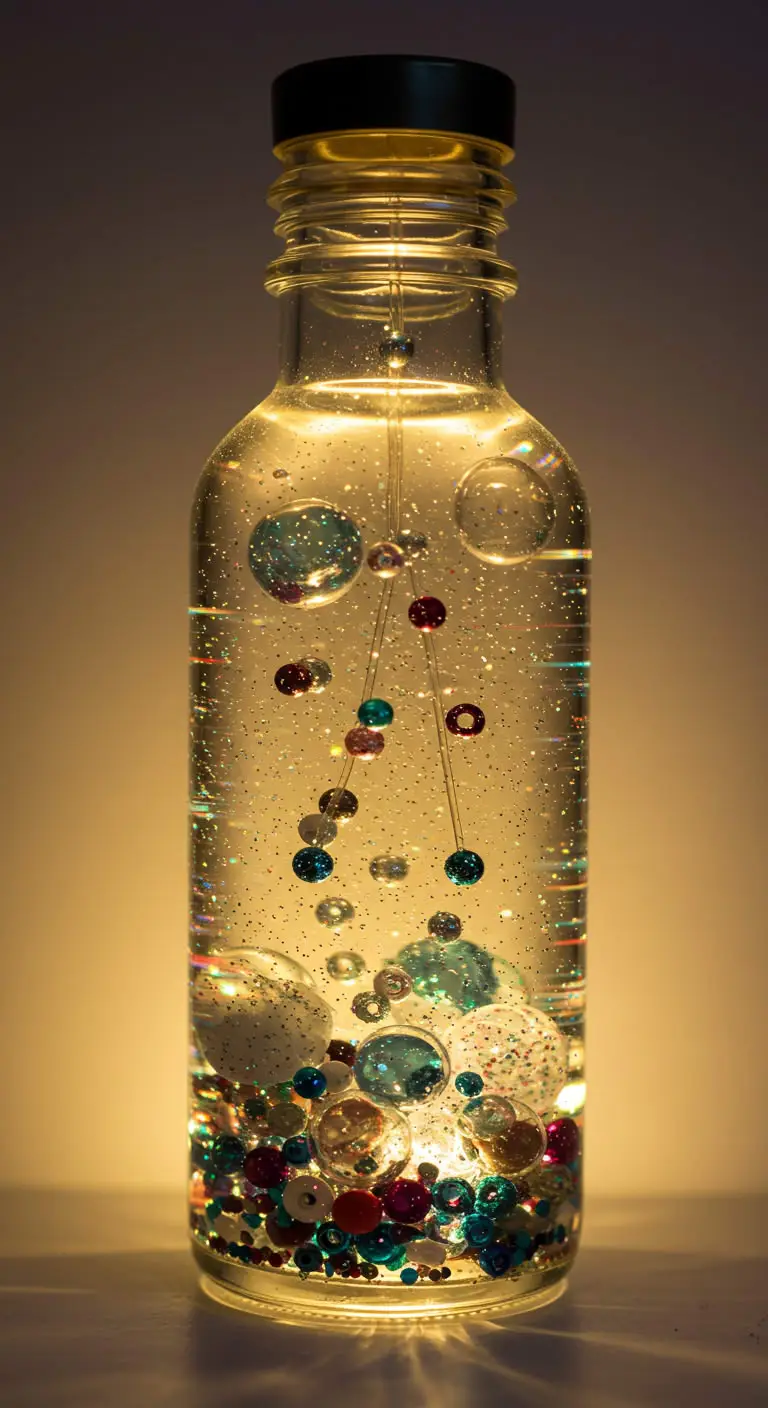
Sensory bottles are great for relaxation and stress relief.
How to Make It
- Fill a plastic bottle with water, glitter, and small beads.
- Secure the cap tightly with glue.
- Shake and enjoy the calming effect.
Picture This
A shimmering sensory bottle filled with floating glitter and beads, glowing in soft light.
18. DIY Felt Coasters
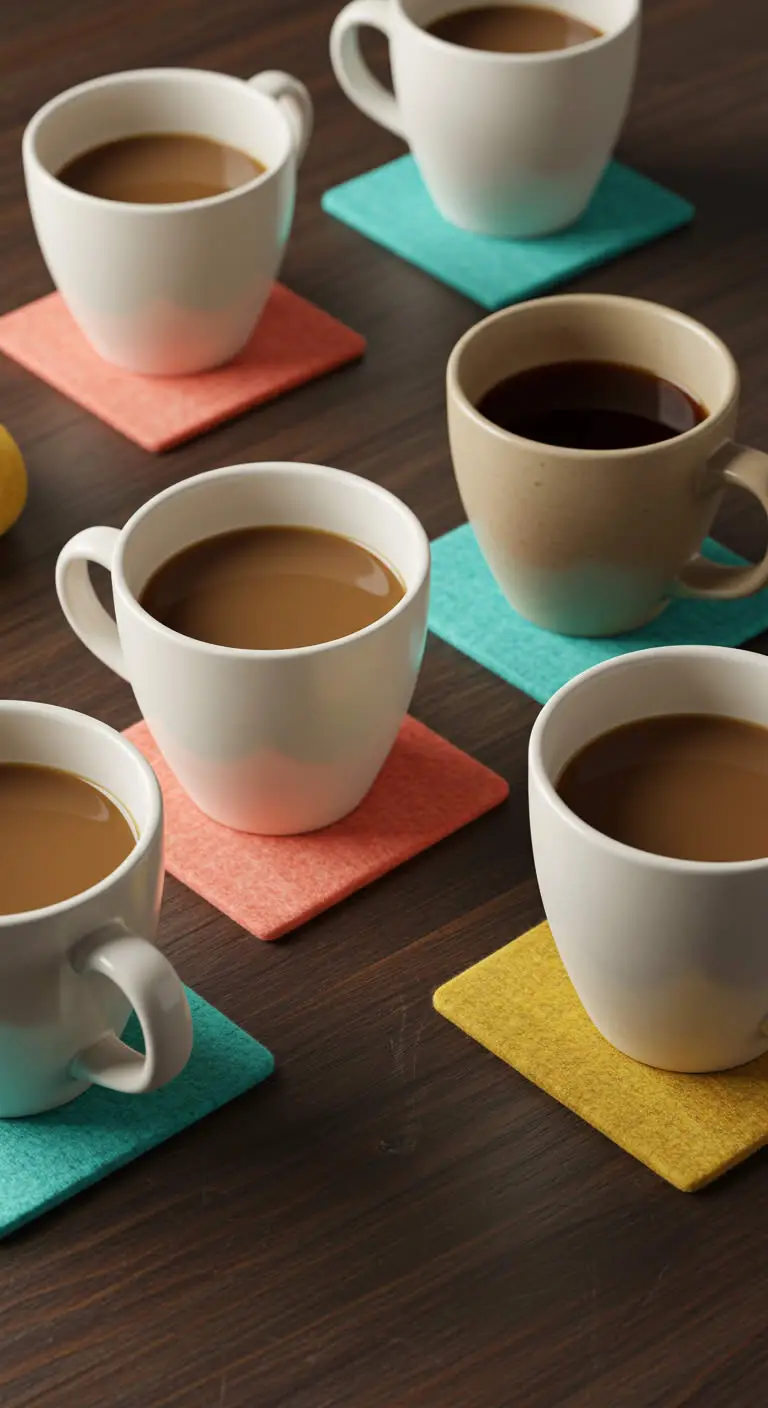
Soft felt coasters are simple to make and useful for everyday use.
How to Make It
- Cut felt into circles or squares.
- Layer different colors for a unique design.
- Use fabric glue to secure the layers together.
Picture This
A set of colorful felt coasters neatly placed under coffee mugs on a wooden table.