Luxury DIY Birthday Card Ideas – 11 Elegant Handmade Card Designs

Birthdays have always felt a little more special to me when the card is handmade. Sure, store-bought cards can be beautiful, but there’s something unforgettable about opening a card that someone took the time to create themselves.
A few years ago, I started experimenting with DIY birthday cards after realizing how expensive luxury greeting cards had become.
I wanted something elegant and personal, but without spending $15 on a single card that would eventually end up in a drawer.
That’s when I discovered that a few simple materials, metallic pens, velvet ribbons, textured paper, and wax seals, can instantly make a homemade card look incredibly high-end.
The best part? You don’t need to be an artist or crafting expert to pull it off. Even the simplest designs can feel luxurious when you focus on thoughtful details and rich textures.
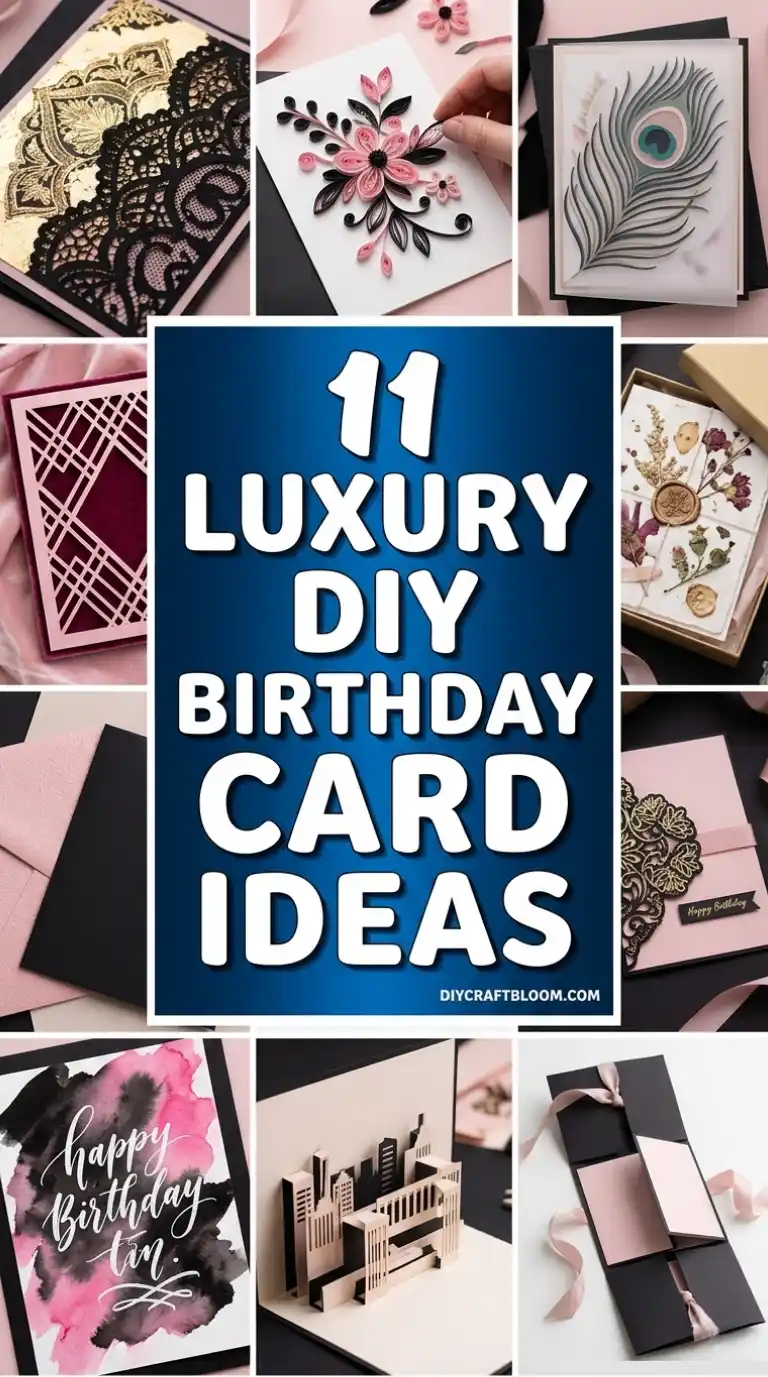
In this article, we’ve rounded up 11 luxury DIY birthday card ideas that look chic, stylish, and surprisingly expensive, without requiring a huge budget or advanced crafting skills.
Whether you love minimalist elegance, glam metallic accents, or soft romantic details, these luxe card hacks will inspire your next handmade creation.
1. Velvet Ribbon and Embroidered Florals Card
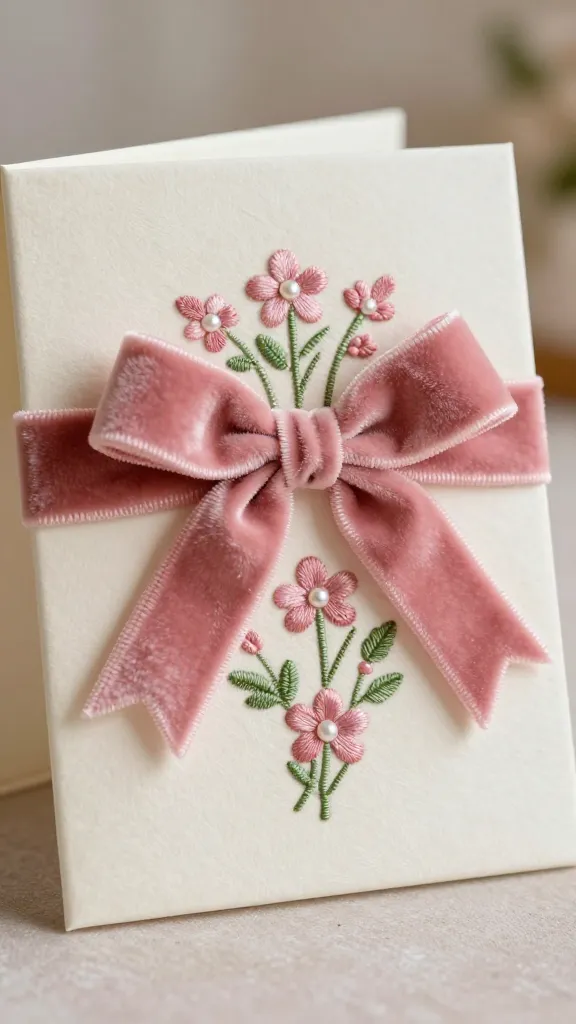
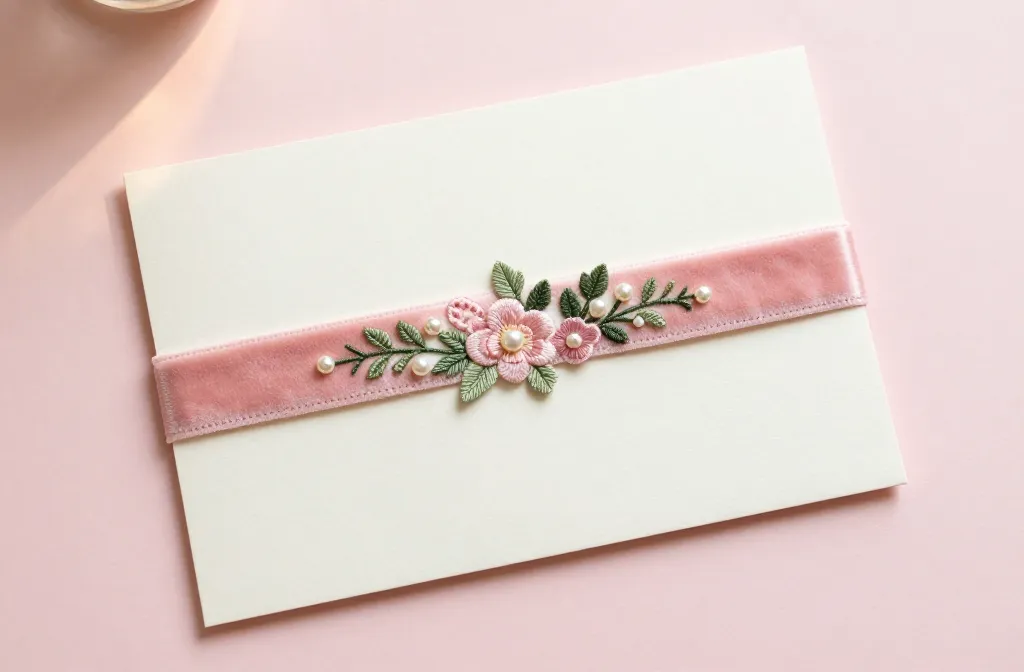
Picture a card that feels like a mini bouquet: lush velvet ribbon, tiny stitched flowers, and a soft, tactile finish. This idea brings high-end craft warmth to a birthday note, perfect for someone who loves a touch of elegance.
Materials Needed
- Thick cardstock in ivory or blush
- Velvet ribbon (1.5–2 inches wide)
- Embroidery floss in pinks and greens
- Adhesive foam dots
- Small faux leaves and tiny pearl embellishments
How to Make It
- Fold cardstock into a standard A6 card. Create a soft panel using a lighter cardstock layer.
- Wrap a strip of velvet ribbon across the panel, securing with glue on the back.
- Hand-stitch tiny florals with embroidery floss onto the ribbon and panel for a delicate texture mix.
- Affix faux leaves and pearls in a subtle cluster to finish.
- Write a handwritten greeting with a fine pen for an ultra-polished look.
Pro Tips / Styling Ideas
- Use a slightly raised sentiment label for dimension.
- Pair with a matching velvet envelope liner for full luxury impact.
Who would love it or when to use it: A romantic, elegant card for a close friend or partner’s birthday—perfect for celebrations that deserve a little sparkle.
2. Metallic Foil Sticker Mosaic Card
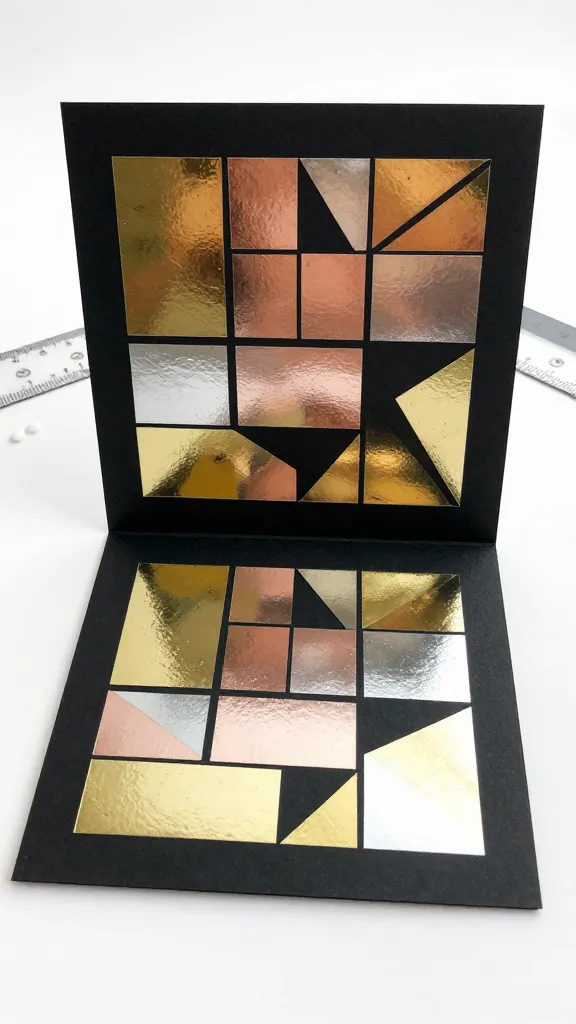
Think of a mosaic built from metallic foil stickers—glossy, reflective, and seriously chic. This one’s a contemporary nod to luxury minimalism that still feels handcrafted and personal.
Materials Needed
- Black or white heavy cardstock
- Assorted metallic foil stickers (gold, rose gold, silver)
- Ruler and craft knife
- Adhesive or glue dots
How to Make It
- Cut a grid or random geometric shapes on the card stock. Leave generous borders for a frame-like effect.
- Decorate with foil stickers, overlapping some pieces for depth.
- Stamp or handwriting a simple birthday message in a sleek font.
Pro Tips / Styling Ideas
- Leave a few sticker edges slightly lifted with a dot of glue for a tactile mosaic.
- Use a black envelope with a metallic liner to echo the card’s luxe vibe.
Who would love it or when to use it: Modern minimalists and trendsetters—the perfect choice for a milestone birthday or a chic friend who loves shiny things.
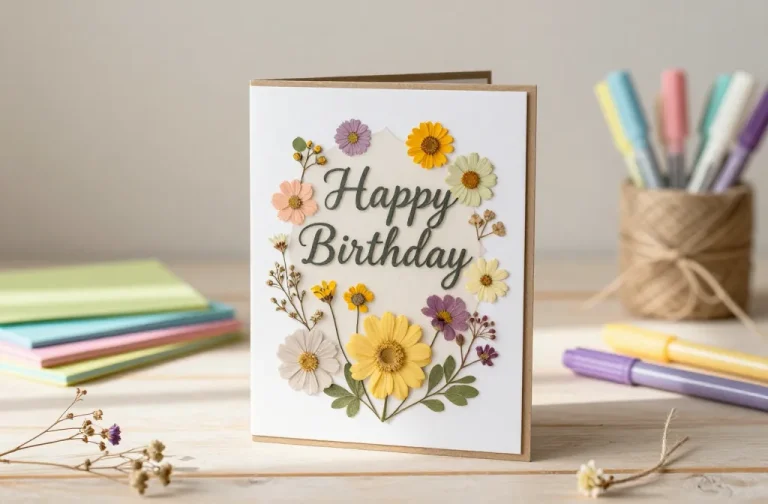
3. Pressed Botanicals in a Glass Frame Card
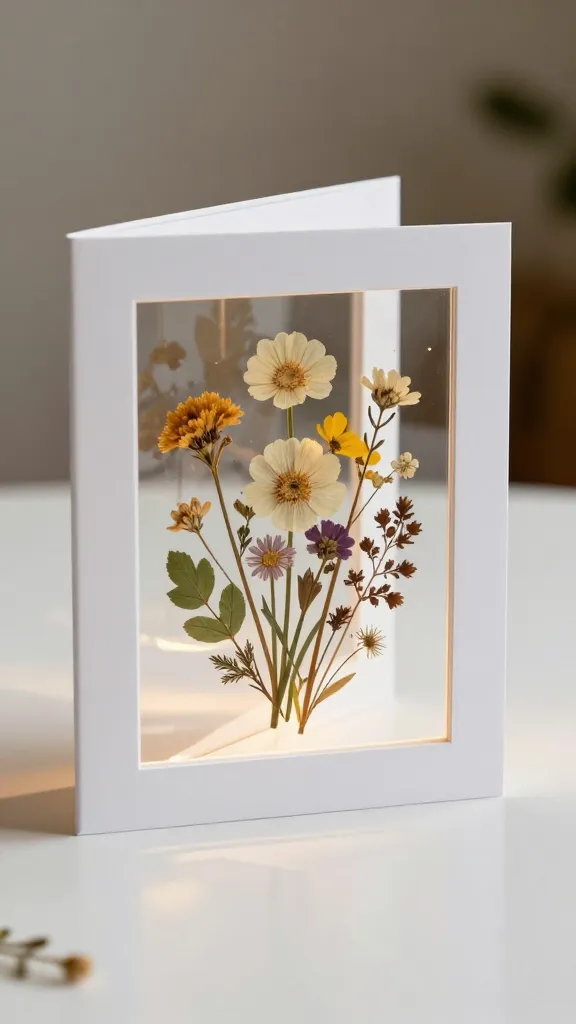
This card looks like a tiny, preserved press—soft, botanical, and unexpectedly sophisticated. The glassy finish gives a premium feel without any real glass involved.
Materials Needed
- Thick white cardstock
- Pressed dried flowers or leaves
- Clear acetate sheet
- Double-sided tape
- Fine-tipped black pen
How to Make It
- Arrange pressed botanicals on a small acetate sheet, then mount inside the card window with tape.
- Trim a frame around the acetate to mimic a glass-front frame.
- Write a delicate birthday note on the inner panel.
Pro Tips / Styling Ideas
- Choose botanicals in a cohesive color family for a unified look.
- Add a faint gold embossing around the window for luxe detail.
Who would love it or when to use it: Ideal for nature lovers or anyone who adores museum-worthy keepsakes.
Subscribe to DIY Craft Bloom
Get updates on the latest posts and more from DIY Craft Bloom straight to your inbox.
4. Marble Textured Cards with Foiled Lettering
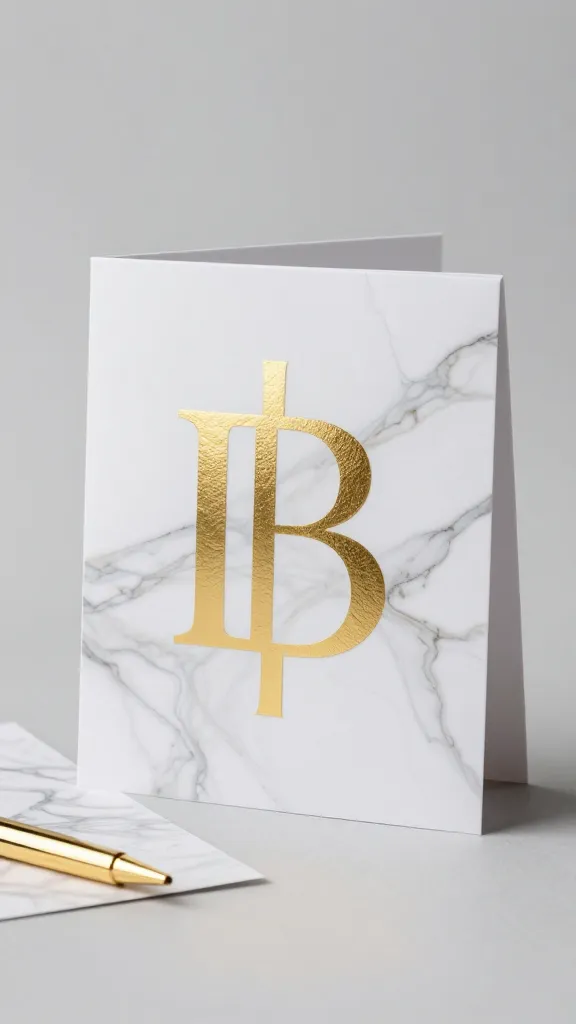
Marble never truly goes out of style, and pairing it with foiled lettering feels like a boutique greeting card. The combination is chic, contemporary, and surprisingly easy to replicate at home.
Materials Needed
- Marble-patterned paper or marbling kit
- Solid color cardstock for base
- Gold or silver foil letter stickers or foil pen
- Adhesive
How to Make It
- Layer marble paper on a sturdy base card.
- Affix large foil-lettered birthday message in the center or create your own with a foil pen.
- Finish with a thin border using metallic washi tape.
Pro Tips / Styling Ideas
- Experiment with different color palettes—peach/rose marble with copper foil is stunning.
- Pair with a matching marble envelope seal for a cohesive look.
Who would love it or when to use it: Great for stylish friends and anyone who appreciates sophisticated textures and finishes.
5. Pop-Up Burst Birthday Card
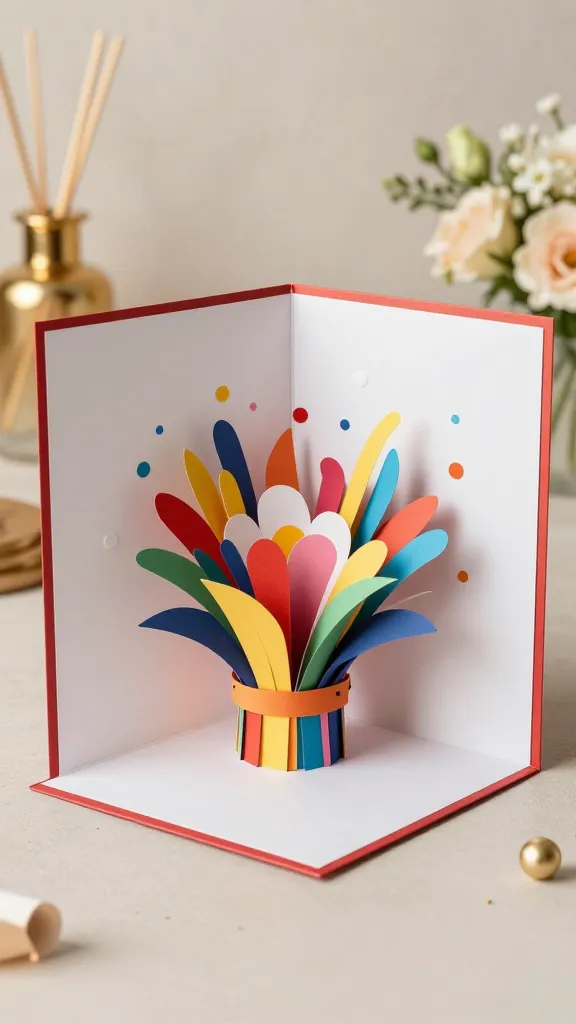
Giving a little theater to a greeting, this pop-up card explodes with color and shape when opened. It’s a playful surprise that still reads luxe thanks to crisp cuts and bold accents.
Materials Needed
- Heavy cardstock for base and pop-up elements
- Bright colored paper or cardstock scraps
- Scoring tool or bone folder
- Double-sided tape
How to Make It
- Design a simple pop-up mechanic that unfolds a bouquet or confetti motif when opened.
- Cut shapes and layer them with foam dots for dimension before securing to the base.
- Decorate with tiny accents like faux gems or sequins.
Pro Tips / Styling Ideas
- Use a matching inner message to tie the reveal to the birthday theme.
- Keep the outer card minimalist so the pop-up is the star.
Who would love it or when to use it: Perfect for cheerful friends who adore playful surprises and a dash of whimsy.
6. Hand-Later Print Texture Card
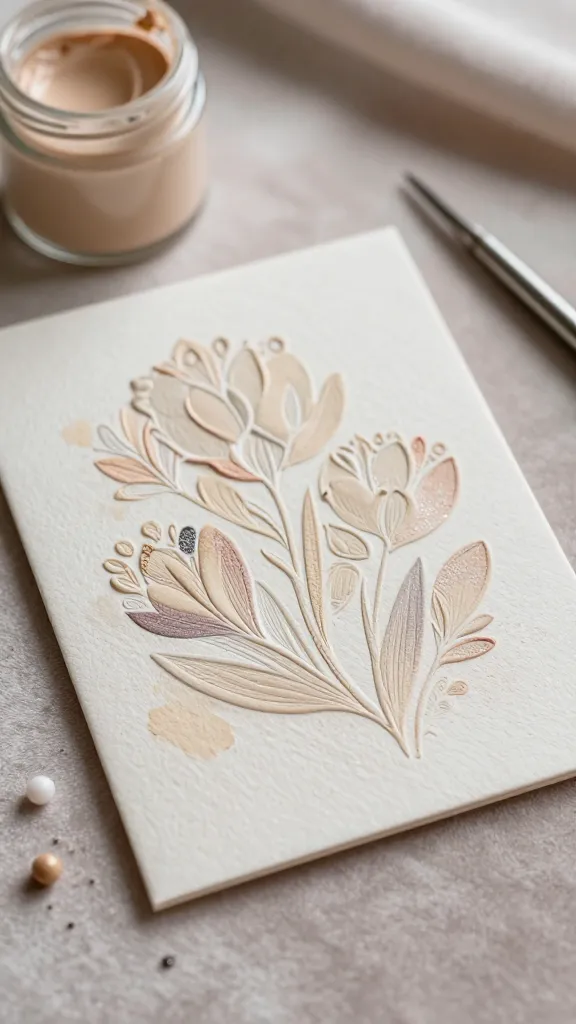
This card mimics a tactile print by layering texture paste and fine details. It reads artisanal and refined, perfect for someone who appreciates craft that looks handcrafted with intention.
Materials Needed
- Cardstock base
- Texture paste or heavy gel medium
- Stencil with delicate pattern
- Fine glitter or micro-beads (optional)
- Acrylic paint or dye in soft tones
How to Make It
- Lay the stencil on the card and apply texture paste to create a raised pattern.
- Add subtle color washes for depth; sprinkle glitter or beads sparingly for luxury sparkle.
- Finish with a handwritten or printed sentiment in a refined font.
Pro Tips / Styling Ideas
- Seal with a light matte spray to keep texture intact.
- Pair with a pale envelope and a wax seal for a classic luxe touch.
Who would love it or when to use it: A thoughtful choice for art lovers or anyone who adores tactile, handcrafted details.
7. Velvet-Lined Envelope Card
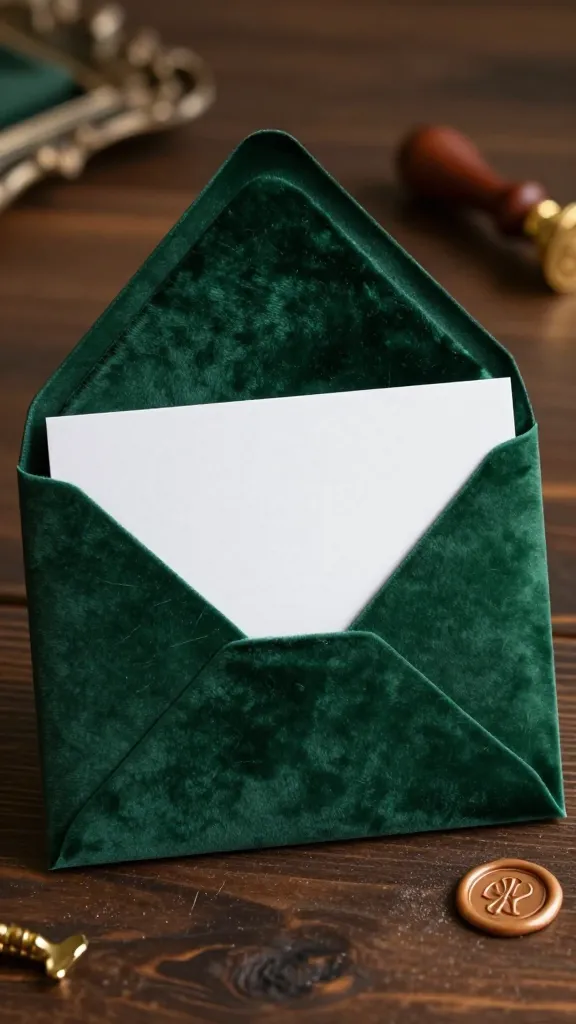
Take the packaging experience up a notch with a velvet-lined envelope that hints at luxe even before the card is opened. The card itself stays simple, letting the envelope be the first surprise.
Materials Needed
- Cardstock card
- Velvet fabric or faux velvet
- Double-sided tape or glue
- Decorative wax seal (optional)
How to Make It
- Cut velvet to size to line the inside of a folded envelope.
- Glue velvet to the inside flap and allow to dry flat.
- Place a clean, bright card inside and seal with a wax seal for a final luxe touch.
Pro Tips / Styling Ideas
- Choose velvet in a jewel tone for maximum impact.
- Coordinate the exterior card with a metallic sheen to echo the envelope’s luxe moment.
Who would love it or when to use it: Ideal for birthdays that deserve an extra-special, first-unboxing moment.
8. Laser-Cut Botanical Card
Subscribe to DIY Craft Bloom
Get updates on the latest posts and more from DIY Craft Bloom straight to your inbox.
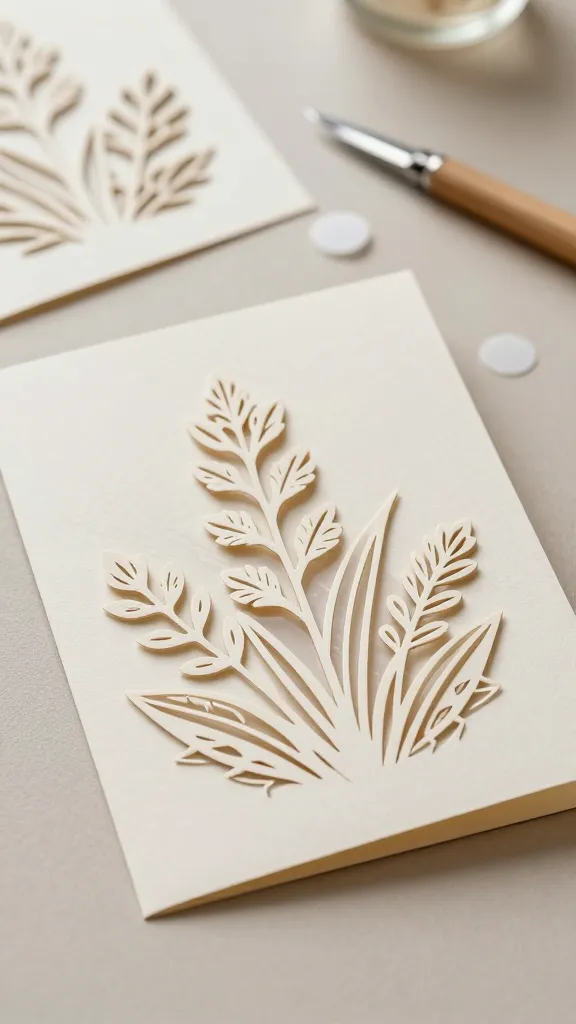
Intricate laser-cut edges create a delicate, high-end feel. If you don’t have a laser cutter, you can simulate this with very careful, detailed die-cutting or hand-cut motifs for a similar effect.
Materials Needed
- Since many readers don’t have a laser cutter, use pre-cut botanical dies or a fine craft knife
- Cardstock in a solid color
- Adhesive foam dots
- Transparent film or vellum for a soft overlay (optional)
How to Make It
- Lay the botanical motif on the card’s front and adhere with foam for dimension.
- Layer a vellum overlay for a gentle, airy glow when light hits it.
- Finish with a clean, crisp sentiment in a modern font.
Pro Tips / Styling Ideas
- Pair with a minimalist envelope and a matching wax seal for a boutique finish.
- Keep the color palette soft to highlight the delicate cutwork.
Who would love it or when to use it: Great for nature lovers, design enthusiasts, or anyone who appreciates precise, airy details.
9. Beaded Accent Card
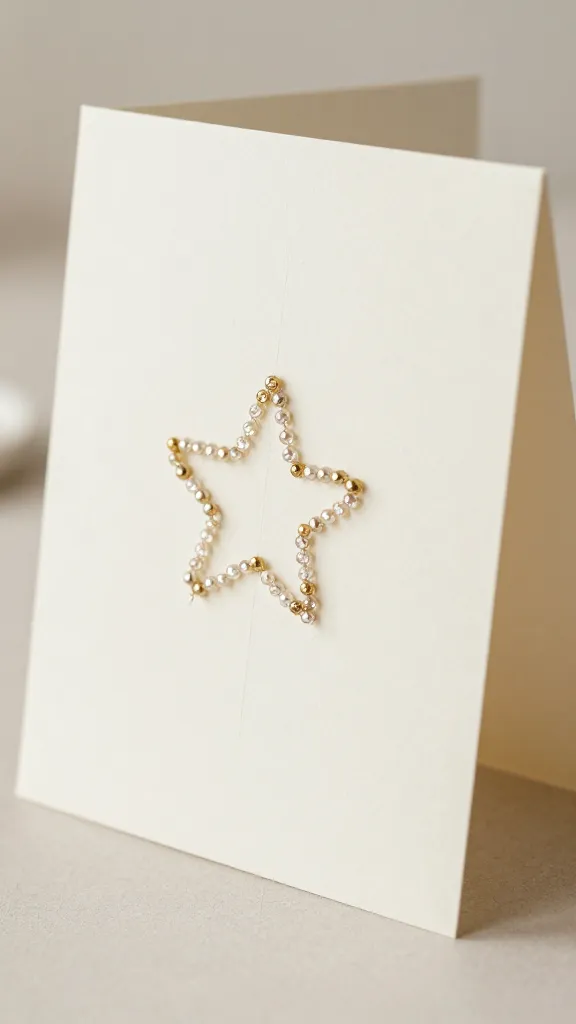
A few tiny beads arranged into a delicate motif adds texture and a dash of sparkle—like little jewels on thick paper. It’s elegant, tactile, and surprisingly quick to assemble.
Materials Needed
- Thick cardstock
- Assorted seed beads or small glass beads
- Beading needle and clear-drying craft glue
- Fine-tip pen for sentiment
How to Make It
- Draw a simple motif (flowers, stars, or hearts) on the card.
- Thread beads onto the glue line with a needle, creating a subtle outline or fill.
- Let dry completely and add a small handwritten greeting.
Pro Tips / Styling Ideas
- Use metallic beads to boost the luxe factor.
- Pair with a pale satin ribbon for an extra touch of elegance.
Who would love it or when to use it: Perfect for jewelry lovers or anyone who enjoys a tiny flourish of glamour.
10. Letterpress-Inspired Typographic Card
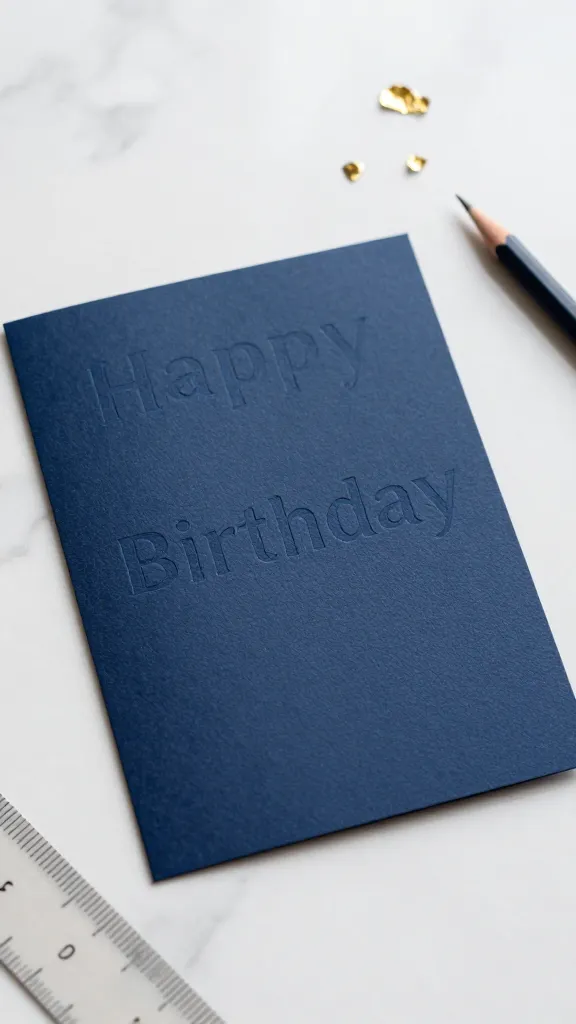
Bold typography can scream luxury when paired with a clean color palette. This card uses a faux letterpress effect to deliver a high-end look without a letterpress press.
Materials Needed
- Solid color cardstock
- Foil-embossed or debossed letter stickers
- Bright, contrasting ink pads for a faux press look
- Ruler and pencil for precise placement
How to Make It
- Plan a short, bold birthday message with generous letter spacing.
- Apply ink to the surface and press from a simple stamp or use a gel-press technique to mimic impression.
- Affix a contrasting sentiment outline in foil to simulate depth.
Pro Tips / Styling Ideas
- Keep the color block simple to maximize the typography’s impact.
- Finish with a slim, metallic edge around the card for added polish.
Who would love it or when to use it: Ideal for design-forward friends who appreciate typography and clean lines.
11. Stone-Texture Card with Foil Accents
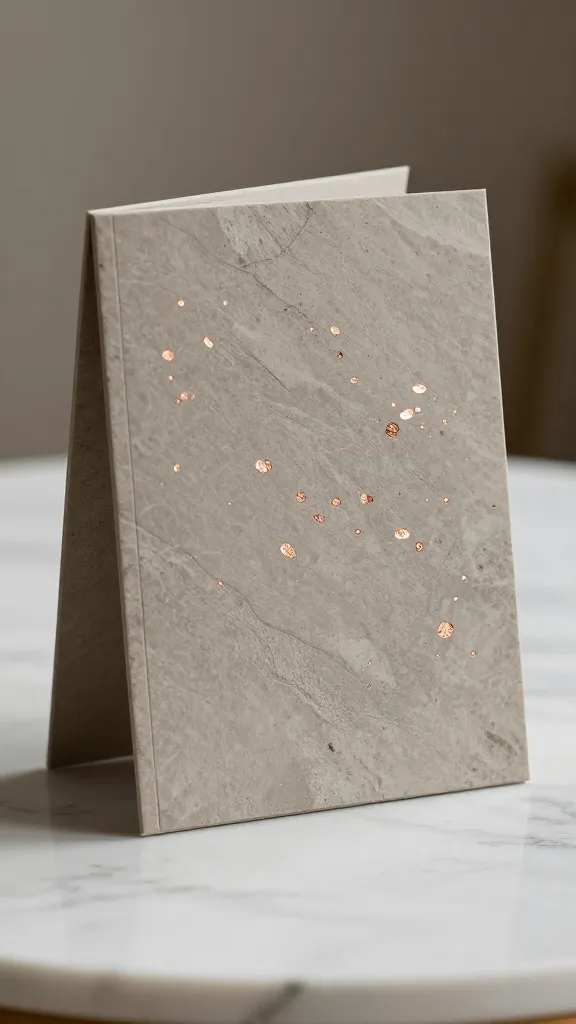
This card mimics a refined stone surface using textured paper and strategic foil highlights. It feels heavy, artisanal, and utterly luxe—like a tiny sculpture you can hold.
Materials Needed
- Textured gray or taupe paper
- Foil accents in rose gold or copper
- Adhesive and craft knife for precise cuts
- Black ink pen for a refined handwritten message
How to Make It
- Cut a panel of textured paper and randomly apply small foil flecks in a complementary color.
- Thinly carve a simple, elegant border with a craft knife to mimic a carved stone edge.
- Write a minimalist birthday message in a sleek script.
Pro Tips / Styling Ideas
- Pair with a slate-gray envelope and a satin seal for a cohesive luxe package.
- Use a slightly off-center layout to keep it modern and artful.
Who would love it or when to use it: Great for friends who love texture, neutrals, and modern elegance.
Conclusion
These 11 ideas prove that luxury on a budget can be playful, personal, and seriously stunning.
Pick one (or a few) to match your recipient’s vibe, or experiment until you find your signature luxe style.
Ready to save, pin, and actually make? Time to get crafting and watch your birthday cards shine.