9 DIY Friendship Bracelet Ideas

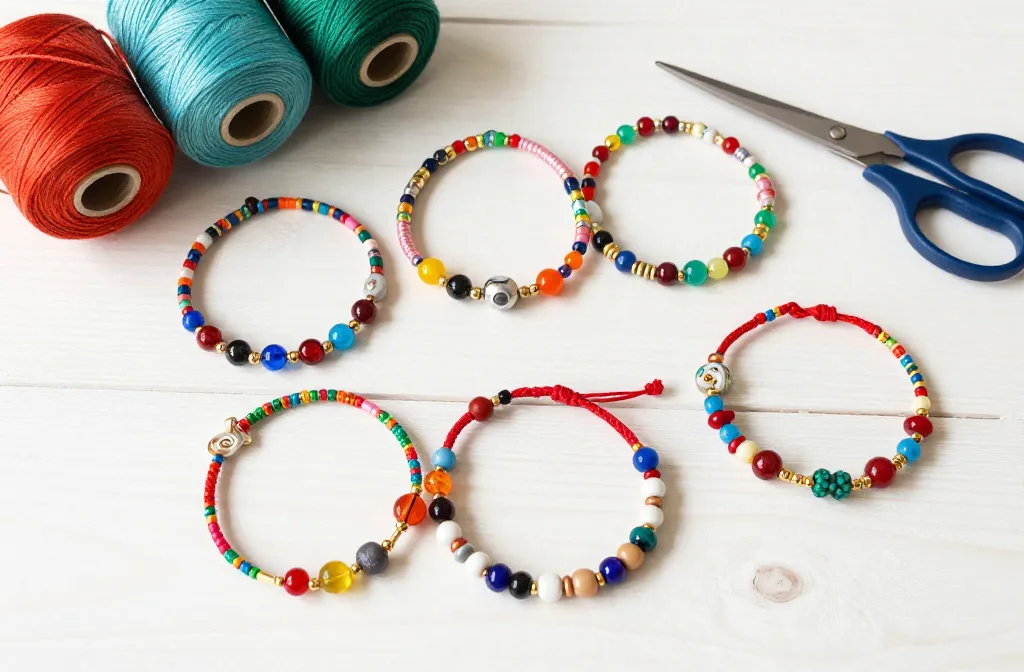
Ready to ditch the store-bought gifts and create something truly special for your besties?
Friendship bracelets are more than just accessories; they’re tiny tokens of affection, handmade with love and good vibes.
Get ready to unleash your inner crafter because we’ve rounded up nine seriously unique DIY friendship bracelet ideas that are fun, easy, and totally worth trying this weekend!
1. The Braided Boho Bead Bracelet
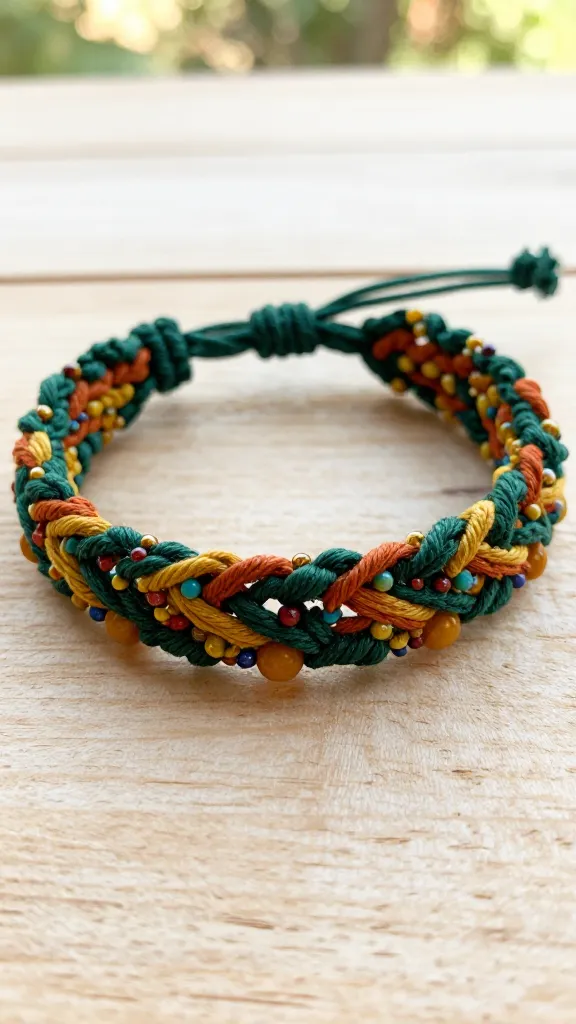
Imagine a bracelet that whispers tales of summer festivals and carefree days – that’s exactly what the Braided Boho Bead Bracelet brings to life.
This charming piece combines classic braiding techniques with an earthy, bohemian twist, featuring an array of colorful beads woven right into the strands.
It’s effortlessly chic and incredibly versatile, perfect for stacking or wearing solo.
Materials Needed
- Embroidery floss in 3-4 complementary colors (think jewel tones, pastels, or earthy hues)
- Small seed beads or pony beads in coordinating colors
- Scissors
- Masking tape or a clipboard to hold your work
How to Make It
Start by cutting three long strands of embroidery floss, each about 24-30 inches. Fold them in half and tie a loop at the top for your clasp.
Begin a simple three-strand braid. As you braid, periodically thread a bead onto one of the outer strands before crossing it over. This embeds the bead directly into your braid, creating a lovely textured look.
Continue until you reach your desired length, then tie a knot to secure and add a loop or a few extra braids for closure.
Pro Tips / Styling Ideas
Mix and match bead sizes and shapes for an even more eclectic look. You can even alternate which strand you add beads to for a scattered effect.
This bracelet truly shines when paired with other layered pieces or a flowy sundress. It’s a fantastic gift for the free-spirited friend who loves a touch of handcrafted charm.
2. Macrame Knot Charm Bracelet
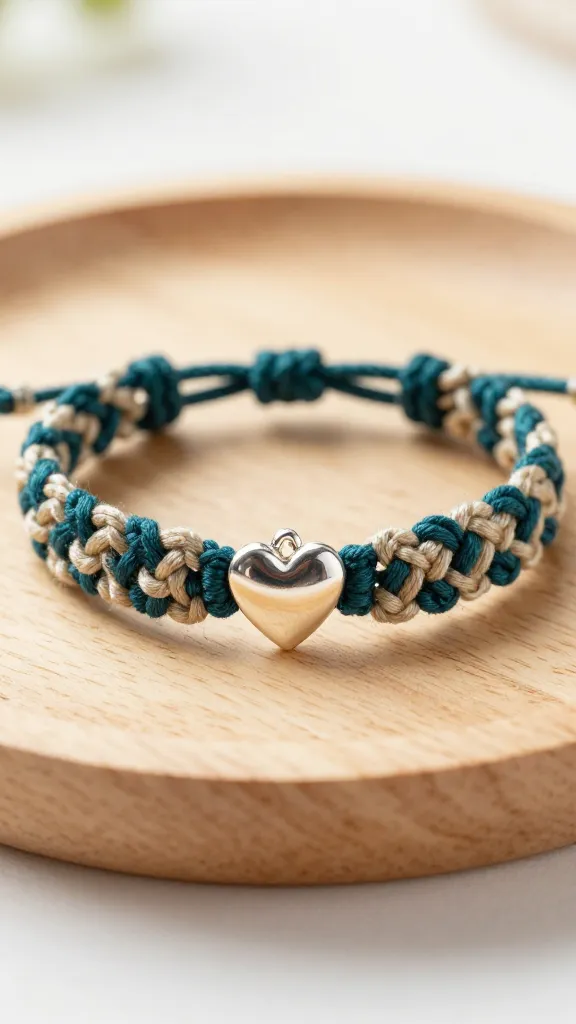
Elevate your knot-tying skills with a beautiful Macrame Knot Charm Bracelet, a sophisticated take on the classic friendship bracelet.
This design focuses on the intricate beauty of macrame knots, often square knots, to create a textured band that beautifully showcases a central, meaningful charm. It’s a thoughtful piece that feels both modern and timeless.
Materials Needed
- Waxed cotton cord or thin nylon cord (two colors work wonderfully)
- A small, flat metal charm with a loop (e.g., a heart, star, initial)
- Scissors
- Masking tape or a macrame board
How to Make It
Cut a long “working” cord (about 48 inches) and a shorter “filler” cord (about 12 inches). Fold the filler cord in half and attach your charm to the center.
Use the working cord to create square knots around the filler cord, starting from just above the charm. The square knot creates a flat, durable band.
Once you’ve made a few knots, slide your charm into place and continue knotting on both sides of the charm until the bracelet is long enough. Finish with a sliding knot closure for adjustable sizing.
Pro Tips / Styling Ideas
Experiment with different knot patterns beyond the basic square knot, like half-hitch knots, for varied textures.
Choose a charm that holds special meaning for your friend – an initial, a symbol they love, or a tiny gemstone.
This bracelet is perfect for the friend who appreciates subtle elegance and a personalized touch. Seriously, they’ll love this!
3. Woven Seed Bead Loom Bracelet
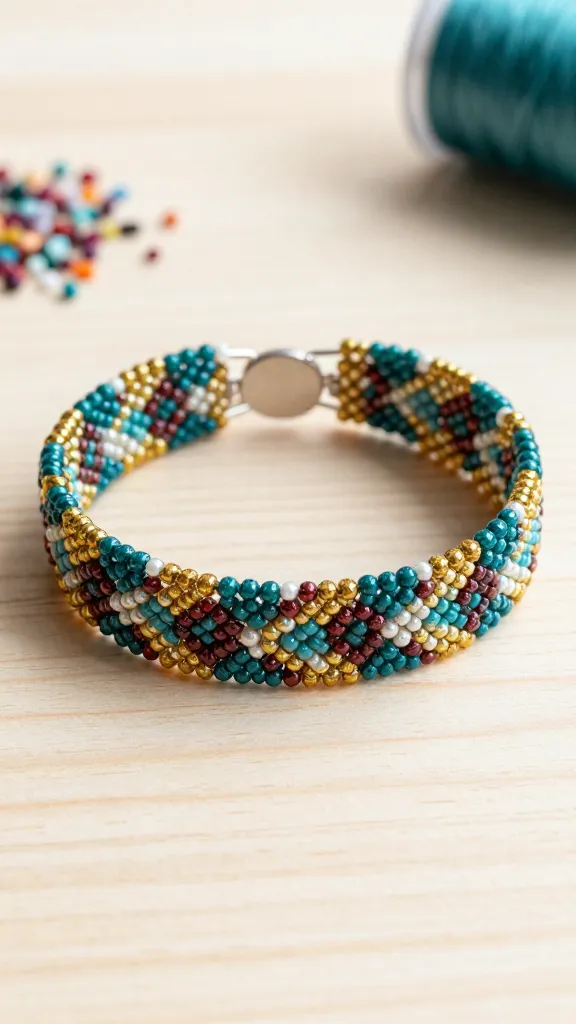
For those who love a bit more detail and a stunning visual impact, the Woven Seed Bead Loom Bracelet is an absolute showstopper.
This craft uses a simple loom (which you can easily DIY or buy affordably) to create intricate patterns with tiny seed beads, resulting in a wide, flat bracelet that looks incredibly professional and vibrant. The possibilities for color and pattern are endless!
Materials Needed
- Seed beads (size 11/0 or 8/0) in multiple colors
- Beading thread (nylon or fireline)
- Beading needle
- A bead loom (or make a simple one with a cardboard box and pins)
- Scissors
How to Make It
Set up your loom with warp threads evenly spaced. Thread your needle with beading thread and tie it to the outermost warp thread.
Pick up a row of beads (one for each warp thread). Slide the beads under the warp threads, then push them up so each bead sits between two warp threads.
Pass your needle *back* through the beads, but *over* the warp threads, securing them in place.
Subscribe to DIY Craft Bloom
Get updates on the latest posts and more from DIY Craft Bloom straight to your inbox.
Repeat this process, following your chosen pattern, until your bracelet reaches the desired length. Remove from the loom and secure the ends.
Pro Tips / Styling Ideas
Planning your pattern on graph paper beforehand can be super helpful. Geometric designs, stripes, or even tiny words can be created.
Choose a color palette that reflects your friend’s personality – bright neons for the bold, earthy tones for the nature lover, or pastels for the dreamy friend.
This bracelet is a thoughtful gift for someone who appreciates meticulous craftsmanship and unique, eye-catching accessories.
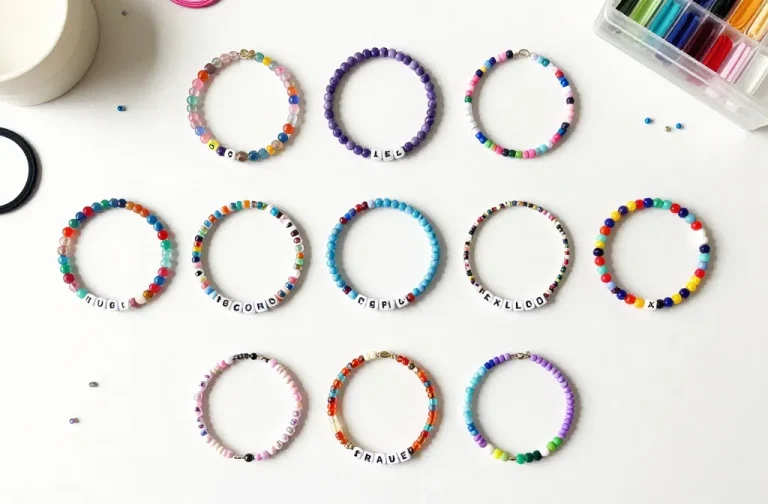
4. Personalized Letter Bead Bracelet
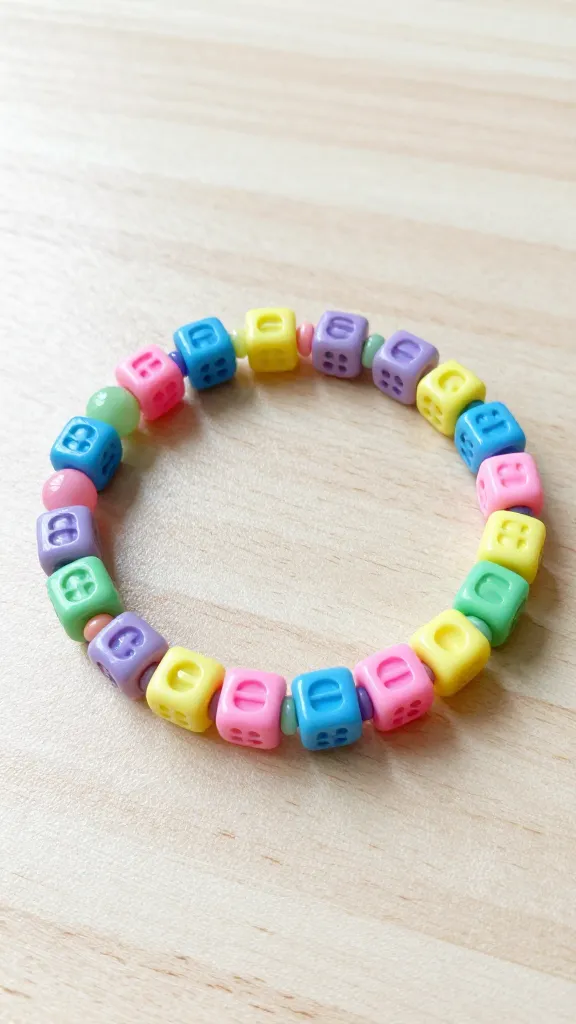
Everyone loves a personalized touch, and the Personalized Letter Bead Bracelet delivers exactly that with a fun, customizable flair.
This easy-to-make bracelet features alphabet beads spelling out names, initials, or sweet messages, interspersed with colorful spacer beads on a stretchy cord. It’s playful, vibrant, and a fantastic way to convey a personal sentiment.
Materials Needed
- Elastic jewelry cord (0.7mm or 1mm thickness)
- Alphabet beads (cube or disc shaped)
- Colorful spacer beads (pony beads, glass beads, or acrylic beads)
- Scissors
- A bead stopper or clip to prevent beads from falling off
How to Make It
Cut a piece of elastic cord about 10-12 inches long. Tie a knot at one end or use a bead stopper to prevent beads from sliding off.
Start threading your beads onto the cord, alternating between spacer beads and your chosen letter beads to spell out a name, a word like “BFF,” or a special inside joke.
Once you’ve reached the desired length, tie a secure surgeon’s knot (or a square knot with a dab of super glue for extra security) and trim the excess cord.
Pro Tips / Styling Ideas
Mix different shapes and sizes of spacer beads for added texture. You could also include a small charm at the end or in the middle.
These bracelets are fantastic for stacking with other pieces and are a perfect gift for any friend, especially those who love a bit of sparkle and a personal touch. Trust me, they’ll wear it every day!
5. Friendship Bracelet with Tassels/Pompoms
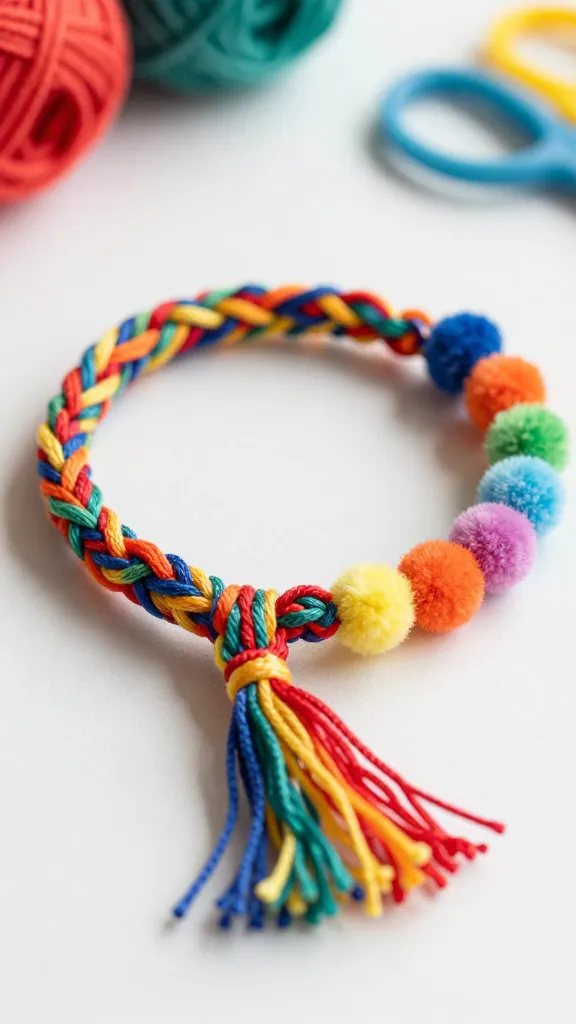
Inject some playful energy into your friendship bracelet game with a design that incorporates adorable mini tassels or fluffy pompoms.
This craft takes a simple braided or twisted bracelet and elevates it with whimsical, colorful accents at the ends or strategically placed along the band. It’s a cheerful, vibrant piece that’s impossible not to smile at.
Materials Needed
- Embroidery floss in multiple bright colors
- Scissors
- Small jump rings (optional, for attaching tassels)
- A fork (for making mini tassels) or a pompom maker
How to Make It
First, create your base bracelet using a simple braid, a twisted cord, or a basic knotting technique with your embroidery floss.
Once your base is complete and tied off, it’s time for the fun part! To make mini tassels, wrap floss around the tines of a fork, tie it off at the top, and trim the bottom loops. For pompoms, use a small pompom maker.
Attach your finished tassels or pompoms to the ends of your bracelet, or use jump rings to secure them along the length of the bracelet for a playful dangle. Finish with a secure knot.
Pro Tips / Styling Ideas
Choose contrasting colors for your tassels/pompoms and the bracelet base to make them pop! You can attach just one large tassel to the clasp or several smaller ones along the bracelet.
This style is perfect for the friend who embraces color, fun, and a bit of quirky charm. It’s also a fantastic accessory for summer outfits or to add a cheerful touch to any look.
6. Kumihimo Disc Bracelet
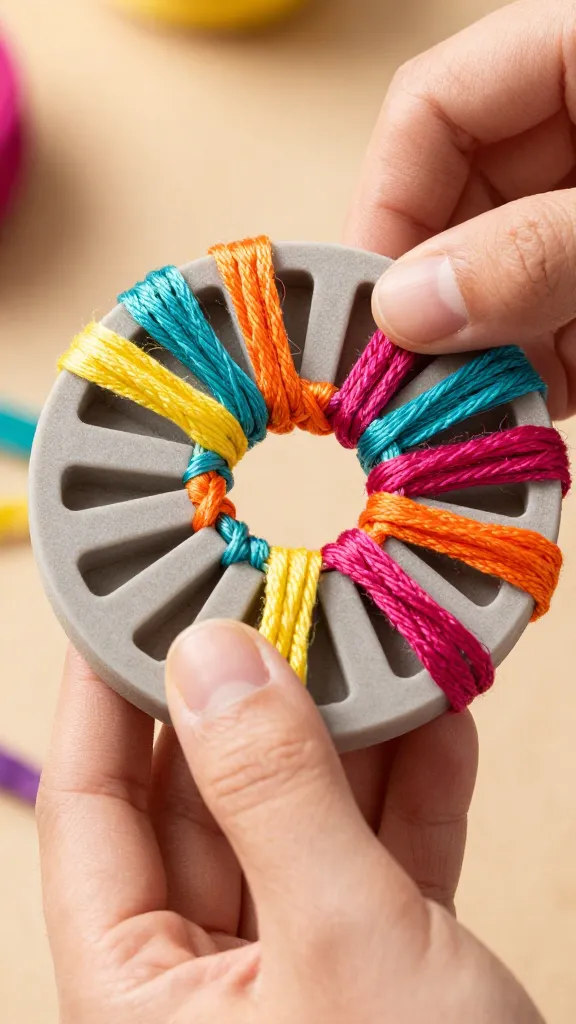
Dive into the ancient Japanese art of Kumihimo and create a beautifully dense, round braided bracelet using a simple foam disc.
The Kumihimo Disc Bracelet offers a unique, rope-like texture that feels substantial and looks incredibly intricate, yet it’s surprisingly easy to master. The result is a smooth, elegant, and durable bracelet that feels truly special.
Materials Needed
- Kumihimo braiding disc (round foam disc with slots)
- 8 strands of embroidery floss or thin satin cord (about 24 inches each)
- Scissors
- E6000 glue (optional, for securing ends)
- Bracelet findings: end caps and a clasp (lobster clasp, toggle clasp)
How to Make It
Gather your 8 strands of cord and tie them together in a knot at one end. Thread this knot through the center hole of your Kumihimo disc. Place each of the 8 strands into the slots around the disc.
Follow the basic Kumihimo braiding pattern: take the bottom-right cord, move it to the top-right; take the top-left cord, move it to the bottom-left. Rotate the disc a quarter turn and repeat.
Continue this rhythmic movement until your braid reaches the desired length. Remove from the disc, tie off, and secure the ends with end caps and a clasp.
Pro Tips / Styling Ideas
Experiment with different color combinations – two colors alternating, a rainbow effect, or even a gradient. Using satin cord will give you a smoother, shinier finish, while embroidery floss creates a softer, matte look.
Subscribe to DIY Craft Bloom
Get updates on the latest posts and more from DIY Craft Bloom straight to your inbox.
This bracelet is ideal for the friend who appreciates unique crafts and a touch of global inspiration. It makes a fantastic standalone piece or a striking addition to a bracelet stack.
7. Button & Loop Closure Bracelet
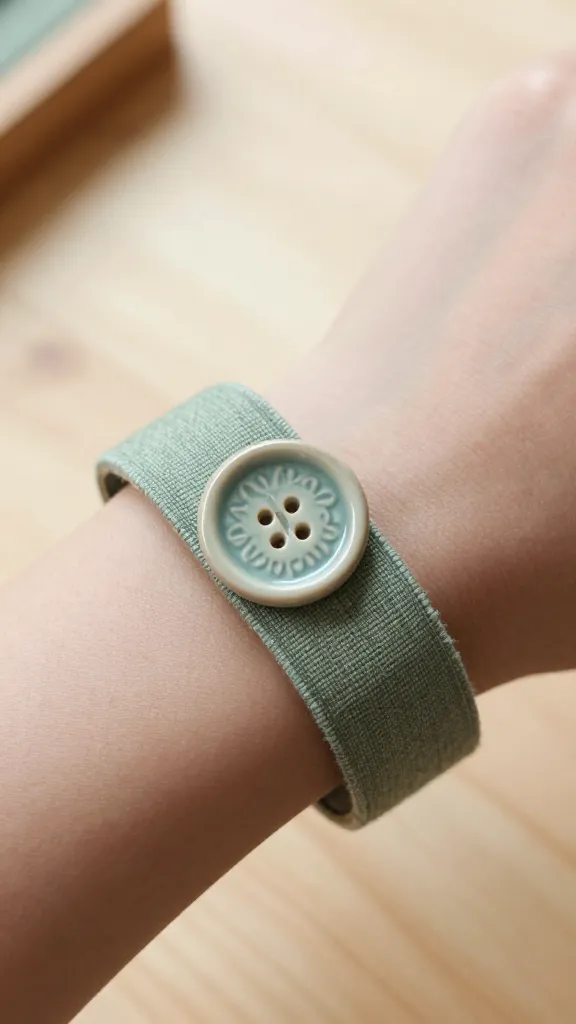
For a bracelet with a charming, rustic, and slightly vintage feel, try the Button & Loop Closure Bracelet.
This design uses wider fabric strips, ribbons, or even braided cords, focusing on a beautiful decorative button as the focal point for its closure.
It’s a wonderful way to showcase a special button and create a comfortable, stylish accessory.
Materials Needed
- Fabric strips (e.g., cut from an old t-shirt, linen, or cotton) or wide ribbon (about 1 inch wide, 12-15 inches long)
- A decorative button (about 0.5 – 1 inch diameter)
- Embroidery floss or strong thread
- Needle
- Scissors
How to Make It
Take your fabric strip or ribbon. At one end, fold and stitch a small loop large enough to comfortably fit your chosen button. At the other end, fold the fabric in half lengthwise and braid it, or simply leave it as a flat strip.
Once you’ve reached your desired bracelet length (wrapping it around your wrist to check), securely sew your decorative button onto this end. Ensure all raw edges are neatly tucked and stitched for a clean finish.
Pro Tips / Styling Ideas
Choose a button that really stands out – a vintage button, a mother-of-pearl one, or a brightly colored ceramic button.
You can also embellish the fabric strip with small beads or embroidery before adding the button.
This bracelet is perfect for the friend who loves a handmade, cozy aesthetic and unique, upcycled pieces. It’s surprisingly simple but looks incredibly thoughtful.
8. Wire-Wrapped Gemstone Bracelet
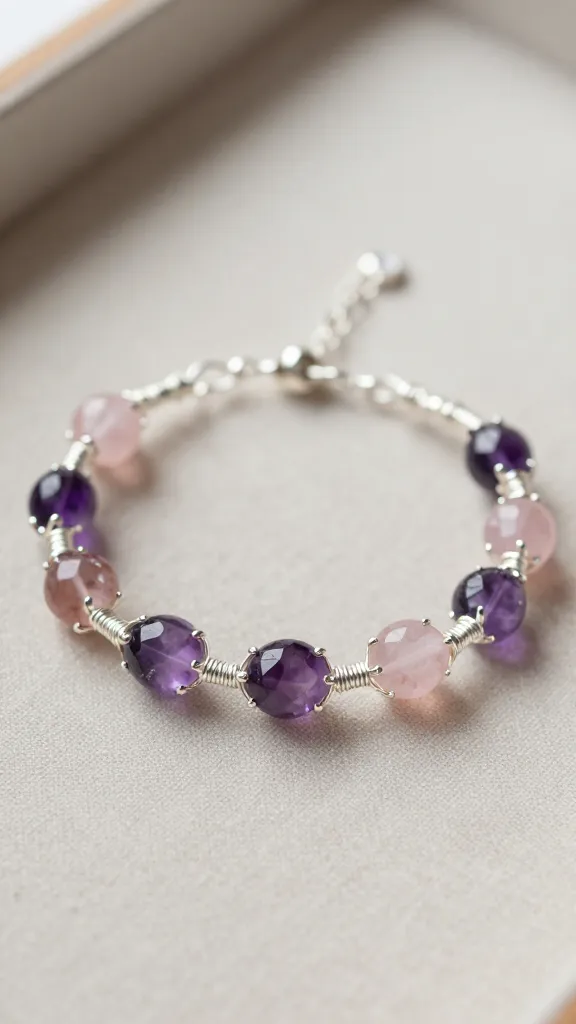
If your friend has a more refined taste and appreciates delicate, meaningful jewelry, the Wire-Wrapped Gemstone Bracelet is a perfect choice.
This elegant design uses thin craft wire to meticulously wrap small, polished gemstone chips or beads onto a base wire or delicate chain, creating a truly unique and ethereal piece. Each stone adds its own energy and beauty.
Materials Needed
- Thin craft wire (24 or 26 gauge, silver, gold, or copper)
- Small gemstone chips or polished beads (e.g., amethyst, rose quartz, turquoise)
- Jewelry pliers (round-nose, chain-nose, wire cutters)
- A delicate chain or a thicker base wire (18-20 gauge) for the bracelet base
- Jewelry clasp and jump rings
How to Make It
Cut several short pieces of thin craft wire (about 3-4 inches each). Take one gemstone chip and wrap the wire around it a few times, securing the stone in place, leaving a “tail” on each side.
Use your round-nose pliers to create a small loop with each wire tail. These loops will connect to your chain or base wire. Repeat for all your gemstone chips.
Once you have several wire-wrapped stones, use jump rings to attach them to your chain or string them onto a thicker base wire, then add a clasp to finish.
FYI, this takes a little patience but is so rewarding!
Pro Tips / Styling Ideas
Choose gemstones with meanings that resonate with your friend – rose quartz for love, amethyst for calm, or clear quartz for clarity. Mix different stone types for a vibrant, energetic look.
This bracelet is a beautiful gift for the friend who appreciates natural beauty, handcrafted elegance, and a touch of spiritual significance. It’s a truly personalized and sophisticated token of friendship.
9. Resin Charm Link Bracelet
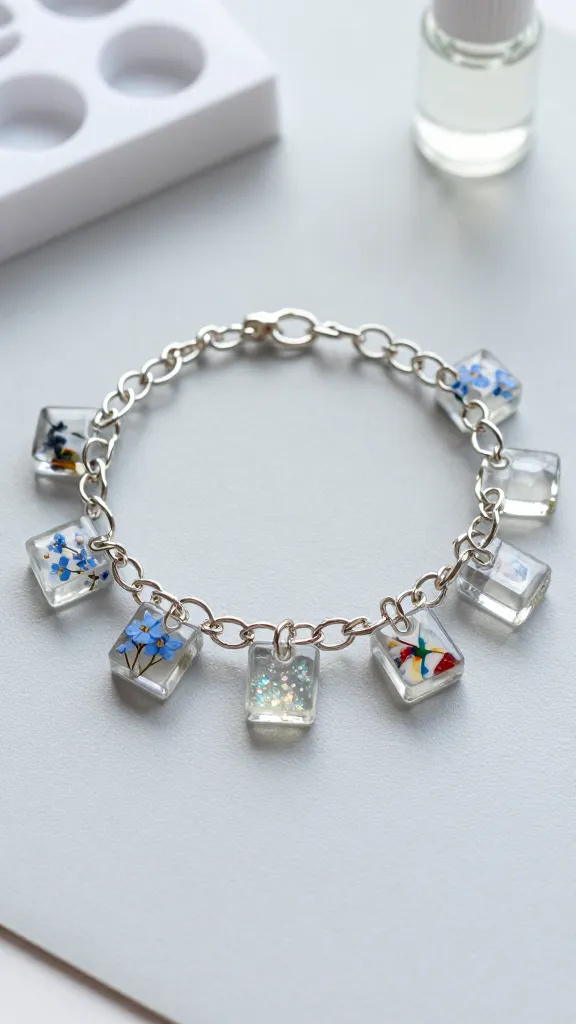
Unleash your creativity with the Resin Charm Link Bracelet, a truly modern and artistic approach to friendship jewelry.
This project involves creating small, custom resin charms – perhaps with glitter, tiny dried flowers, miniature photos, or even small pieces of colored paper embedded inside – and then linking them together to form a unique bracelet. Each charm can be a tiny work of art!
Materials Needed
- Clear casting resin (two-part epoxy resin kit)
- Small silicone molds (e.g., tiny squares, circles, hearts)
- Embeddables: glitter, tiny dried flowers, small photos, gold leaf, colored pigments
- Jump rings
- Jewelry pliers
- A delicate chain for the bracelet base
- Jewelry clasp
- Gloves, mixing cups, stir sticks (for resin safety)
How to Make It
Prepare your resin according to the kit instructions, ensuring proper mixing. Pour a thin layer into your silicone molds. Carefully place your chosen embeddables into the resin.
Top with more resin if needed, making sure everything is covered. Allow to cure completely (this can take 12-24 hours). Once cured, carefully pop the charms out of the molds. Use a small drill bit (or a specialized resin drill) to create a tiny hole at the top of each charm.
Attach jump rings to these holes, then link the charms together with additional jump rings to form your bracelet. Finally, attach your chain and clasp.
Pro Tips / Styling Ideas
Coordinate the colors of your embeddables with your friend’s favorite palette. You could even embed tiny pieces of a shared memory, like a concert ticket stub or a pressed flower from a special day.
This bracelet is an incredibly unique and artistic gift for the friend who loves bold, statement pieces and truly appreciates a one-of-a-kind creation. It’s a conversation starter and a beautiful reminder of your bond.