18 Craft Ideas For Teens That Are Actually Worth The Afternoon

Most craft roundups aimed at teenagers are just kid crafts with a cooler photo on top. Pipe cleaner caterpillars. Handprint art. Things nobody over eleven wants to spend a Saturday on.
This list is the other kind. Eighteen craft ideas for teens that give you something you would genuinely wear, keep on your desk, hang on your wall, or hand to a friend on their birthday without explaining that you made it yourself.
Cost stays low across the board. A lot of these run on things already sitting in your house, like cardboard tubes, jam jars, leftover fabric, or the scrapbook paper from that one project you abandoned. Nothing here needs a workshop or a machine.
Some take twenty minutes. Some are the kind you spread across a whole rainy afternoon with a show on in the background. A few are worth knowing if you babysit, because they buy you an hour of quiet.
Every idea below has the details that usually get left out, like when to press harder, what to prep first, and which shortcut ruins the whole thing.
1. Translucent Cloud Charms You Hold Up To The Light
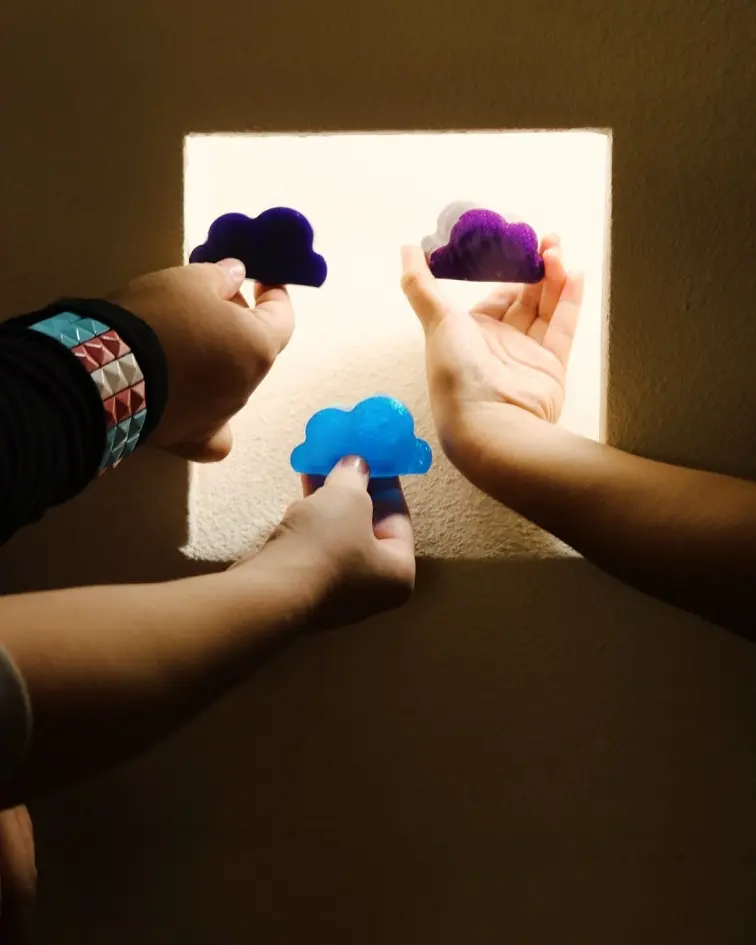
Cast shapes look plain sitting on a table and completely different once light passes through them. That is the whole trick here.
Three cloud shapes in deep navy, dusty purple, and bright blue are pressed against a lit panel, and the color only really shows when it is backlit.
What makes this one work for a group: everyone pours from the same mold and still ends up with something different. Color amount changes the result more than skill does.
The navy one reads almost solid, the purple one has swirl and shimmer running through it, and the blue one glows clear all the way through.
Pour a few extra in colors you think you will hate. Those are usually the ones people fight over.
2. Layered Paper Eggs That Hang Like Little Lanterns
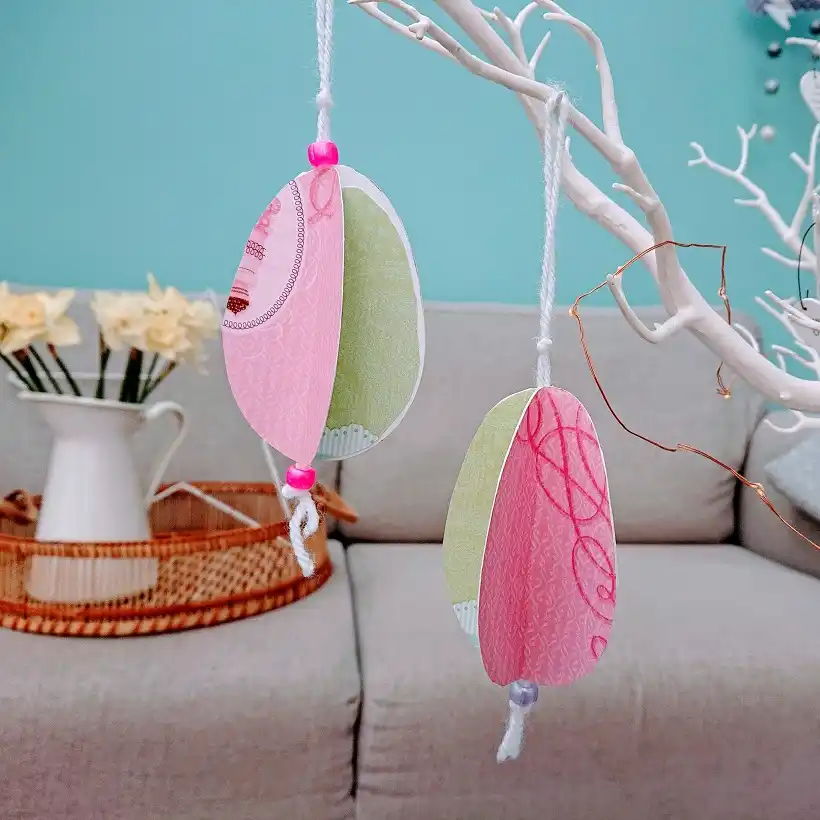
Flat paper turns into something with real body once you stack and fold it. These hang from white yarn with a bead above and below, and each egg is built from several patterned paper shapes joined down the middle so the edges fan open.
Pink handwriting-style print sits against soft green and a strip of mint at the base.
Scrapbook paper scraps are what this is for. Two patterns that share one color will always look intentional together.
The build is short enough to finish in an afternoon:
Trace one egg template so every piece lines up. Mix two or three papers.
Crease each piece in half, then glue half of one to half of the next until it closes into a round.
Run yarn through the center, add a bead at the top and bottom, and knot below so it hangs level.
3. Paper Plate Ice Cream Faces For Babysitting And Camp Days
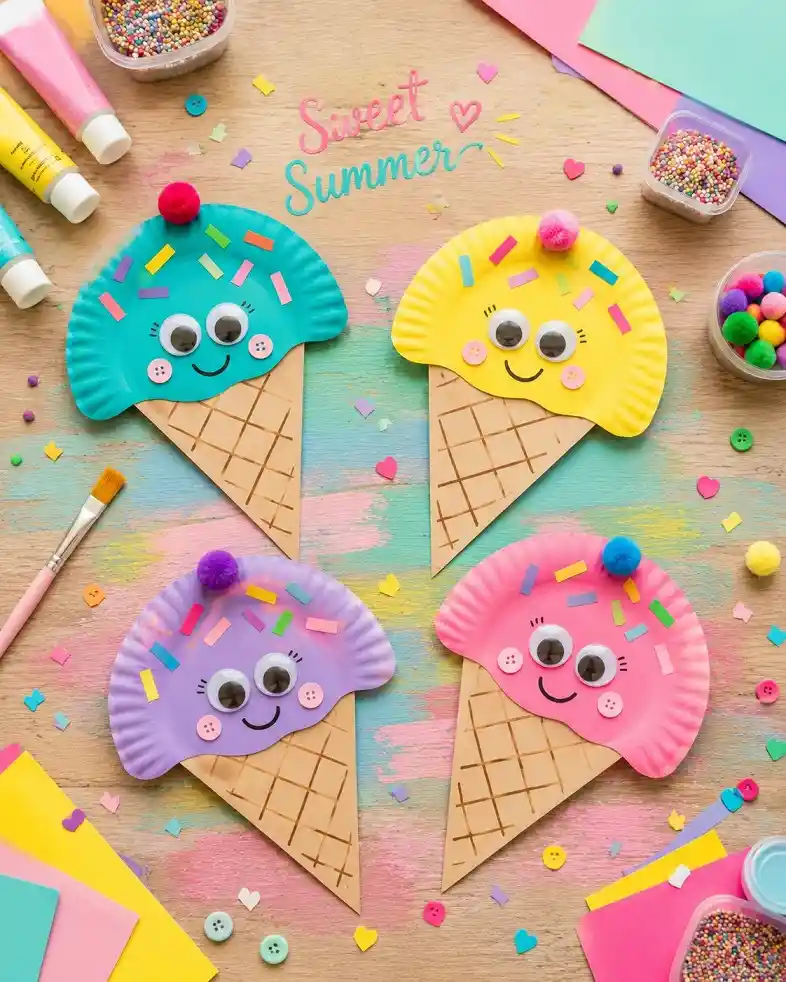
Some crafts are worth knowing even when you have aged out of them. Four paper plates are folded into scoop shapes, painted teal, yellow, purple, and pink, then set on kraft paper cones with a crosshatch pattern drawn on.
Googly eyes, button cheeks, tiny confetti sprinkles, and one pom pom on top finish each face.
Two ways to run it, depending on who you have in front of you. Cut the cones and sprinkles ahead of time if the kids are little, since the assembly is the fun part and the scissor work is the part that stalls.
Let older ones cut their own and the whole thing stretches long enough to fill a rainy afternoon.
Everything here comes out of one supply run, and most of it you probably already have shoved in a drawer.
4. Bath Fizzies Pressed Into Ombre Cupcake Liners
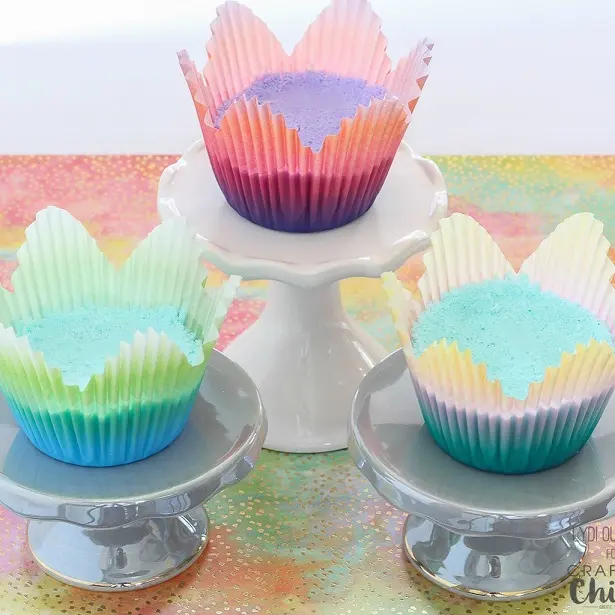
Presentation does a lot of work in this one. The pressed powder tops sit in tall fluted liners that fade from cream at the tips down to teal, coral, and deep pink at the base, and each one is displayed on its own small cake stand.
Pale lavender and mint show through the middle where the mix was packed in.
The liner is the design. A plain white mix in a good ombre wrapper reads finished, while the same mix in a flat paper cup reads like a science project.
Press the mix firmer than feels necessary. Loose ones crumble the second someone picks them up.
5. A Pipe Cleaner Flower Crown, One Of The Cheapest Craft Ideas For Teens
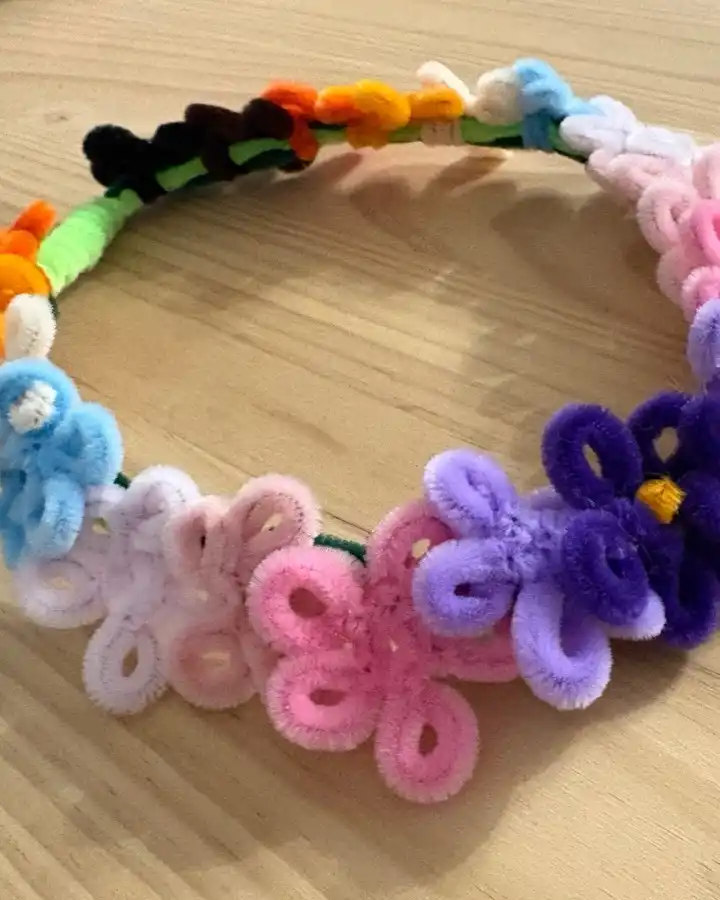
Four loops twisted at the base make one flower. That is the entire technique, repeated until the headband fills in.
The crown in this photo runs a full rainbow around the band, with green pipe cleaners wrapped along the base as the stem line.
Pink and lilac cluster on one side in bigger, looser petals, purple gets a yellow center twisted into the middle, and the smaller orange, white, and brown flowers tighten up toward the back where they sit flatter against the hair.
Size the petals by how many times you wrap. Two loops around your fingers gives you a small tight bloom, four or five gives you the wide floppy kind.
Subscribe to DIY Craft Bloom
Get updates on the latest posts and more from DIY Craft Bloom straight to your inbox.
Vary those sizes on purpose. A crown where every flower matches looks like a costume shop headband, and the uneven one looks handmade in the good way.
6. Snow Texture Jars That Turn Old Jam Jars Into Candle Holders
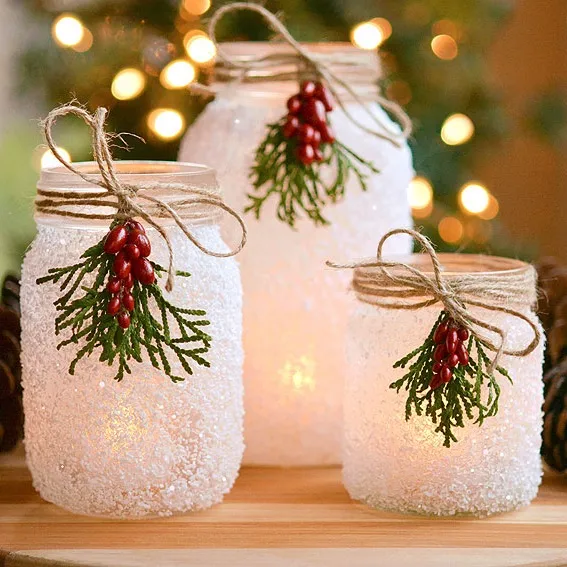
Three mason jars in different heights sit together with tea lights inside, and the outside is coated in a rough white crust that catches the light instead of blocking it.
Twine is tied in a small bow at each neck, with a sprig of flat cedar and a cluster of red berries tucked underneath.
What sells the whole thing is the texture. A smooth painted jar looks like a painted jar, while the grainy coating scatters the candlelight and gives you that frosted glow through the glass.
Keep the coating off the top inch. The bare rim is what makes the twine and greenery read as a deliberate finish rather than a cover up.
A clear jar with the label half scraped off, sitting in the recycling bin. Light passes straight through and the glass looks like packaging.
A frosted, grainy surface that holds the glow, finished with a twine bow, cedar, and berries at the rim. Three heights grouped together read as a set.
7. Cardboard Tube Desk Pots With Faces Drawn On
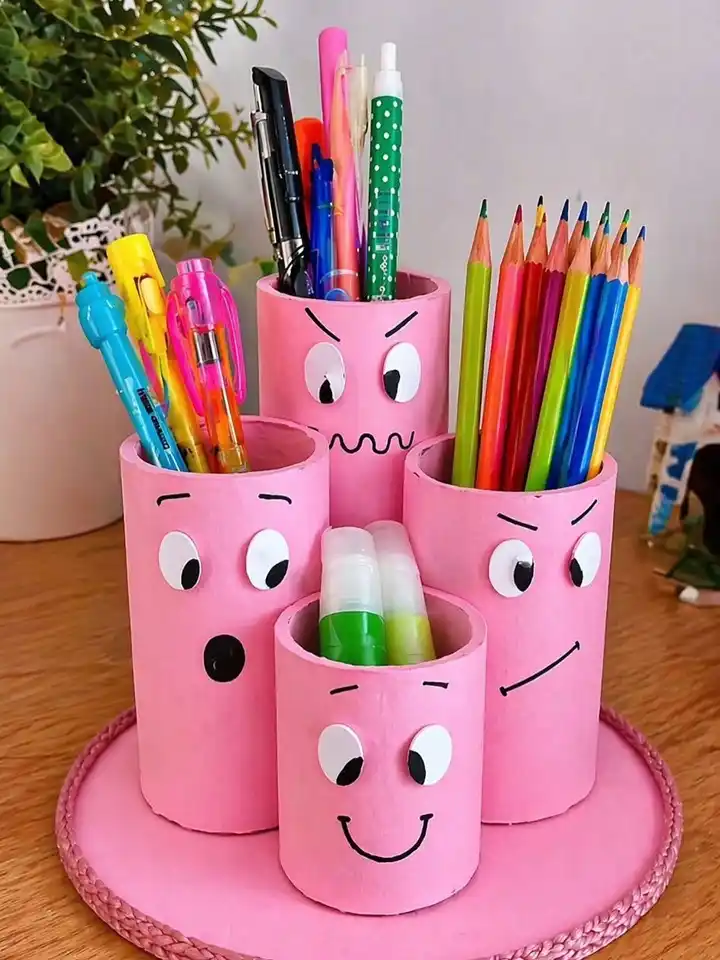
Five tubes in different heights are painted matte pink, glued to a round painted base, and given a face each with stick on eyes and a marker mouth. One looks annoyed, one is mid gasp, one is smirking. They hold pens, highlighters, and a fan of colored pencils.
Height sorting is doing the real work here. Short tube in front for the stubby markers, tall one at the back for pens, and nothing gets buried.
Swap the faces for anything you like and the structure still holds. Paint them all one flat color, wrap them in book pages, or leave the cardboard raw and the same five tube layout looks completely different.
Short pots at the front, tall at the back, so you can see every pen tip at a glance.
Gluing all five to a single disc means you move the whole set with one hand instead of chasing loose cups.
Let the base coat dry fully or the marker lines drag and the eyes slide out of place.
8. A Pressed Leaf Bouquet With A Paper Vase Underneath
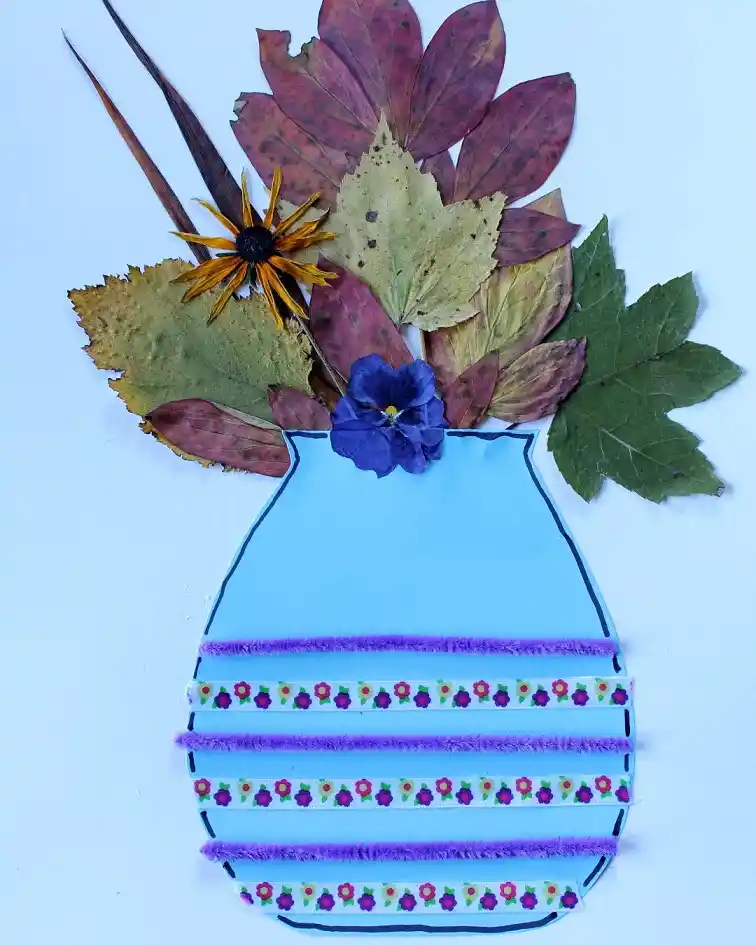
Autumn leaves become the flowers in this one. A pale blue vase shape is cut from card and outlined in black marker, then striped with three purple pipe cleaners alternating with floral washi tape.
Above the rim, dried leaves in wine red, olive, and yellow fan out like stems, with a yellow daisy off to the left, a pressed purple pansy sitting right at the neck, and a green maple leaf angled out to the side.
The layering is what keeps it from looking flat. Big leaves go down first at the back, smaller and darker ones fill the middle, and the two flowers sit last on top where they catch the eye.
Press your leaves for a few days under books before you start. Fresh ones curl off the paper as they dry and take the glue with them.
9. Hand Painted Canvas Totes You Will Actually Carry
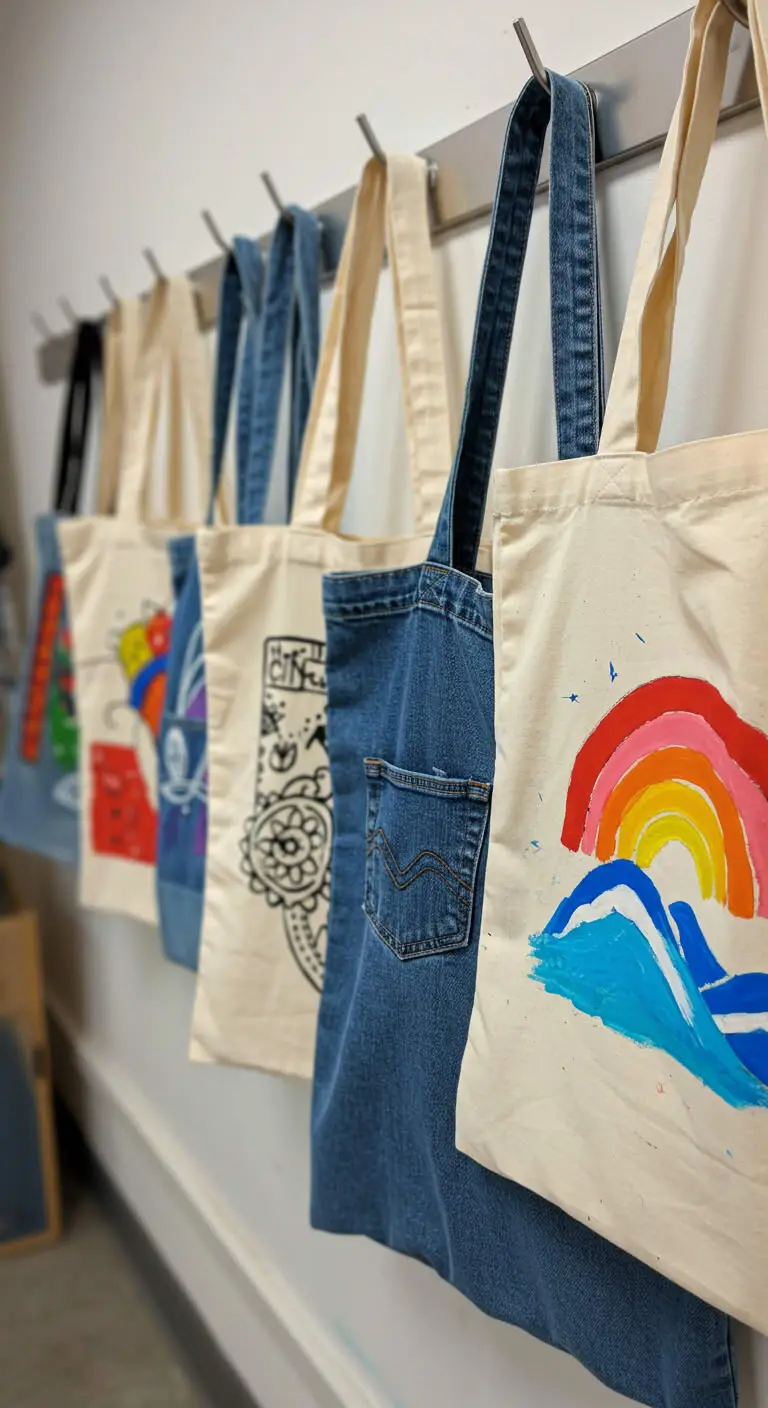
Blank canvas totes are one of the cheapest surfaces you can paint on, and unlike a phone case or a wall, nobody minds if the first one comes out uneven.
Sketch light in pencil before any paint touches the fabric. Canvas grabs graphite less than paper does, so you can still shift the design around after you draw it.
Slide a piece of cardboard inside the bag before you start. Acrylic soaks straight through a single layer and prints your design backwards on the other side, which is the mistake almost everyone makes once.
Fabric markers give you cleaner lines for text and outlines. Acrylic gives you better coverage for blocks of color. Using both on the same bag is fine.
For more ideas along these lines, take a look at these aesthetic craft ideas for room decor.
11. Painted Rocks To Leave On Trails Or Keep On A Desk
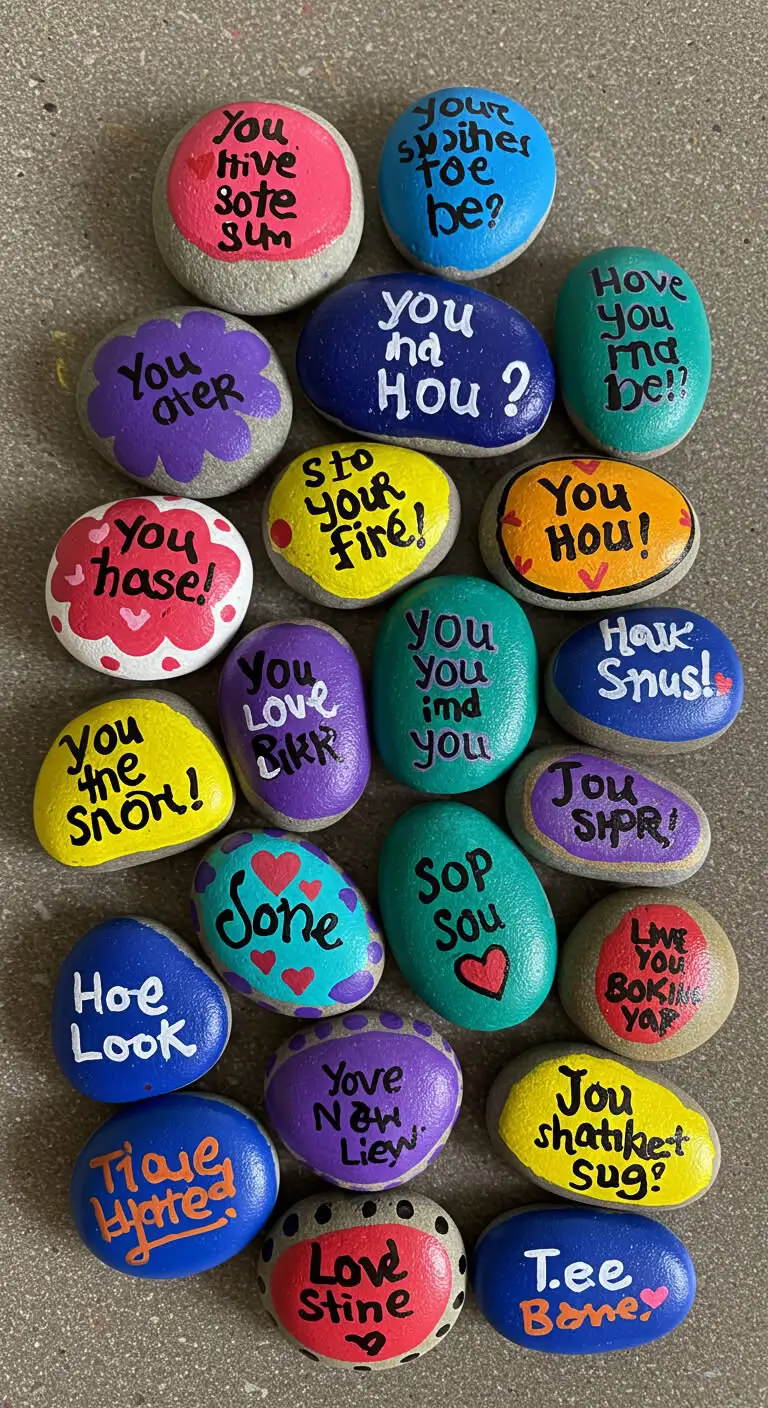
Smooth flat river rocks take acrylic better than anything you will buy. Wash them, let them dry fully, and paint the design in a couple of thin coats rather than one thick one that cracks as it cures.
Seal them if they are going outside. Unsealed acrylic fades and lifts after a few weeks of rain.
Two ways people use these. Keep a few on a desk or shelf as small painted objects, or leave them on trails and benches for strangers to find, which is a whole quiet hobby of its own in some towns.
The rock does the hard part. A shape that already looks good means a simple design on top reads as finished, not unfinished.
10. Air Dry Clay Rings Sized To Your Own Finger
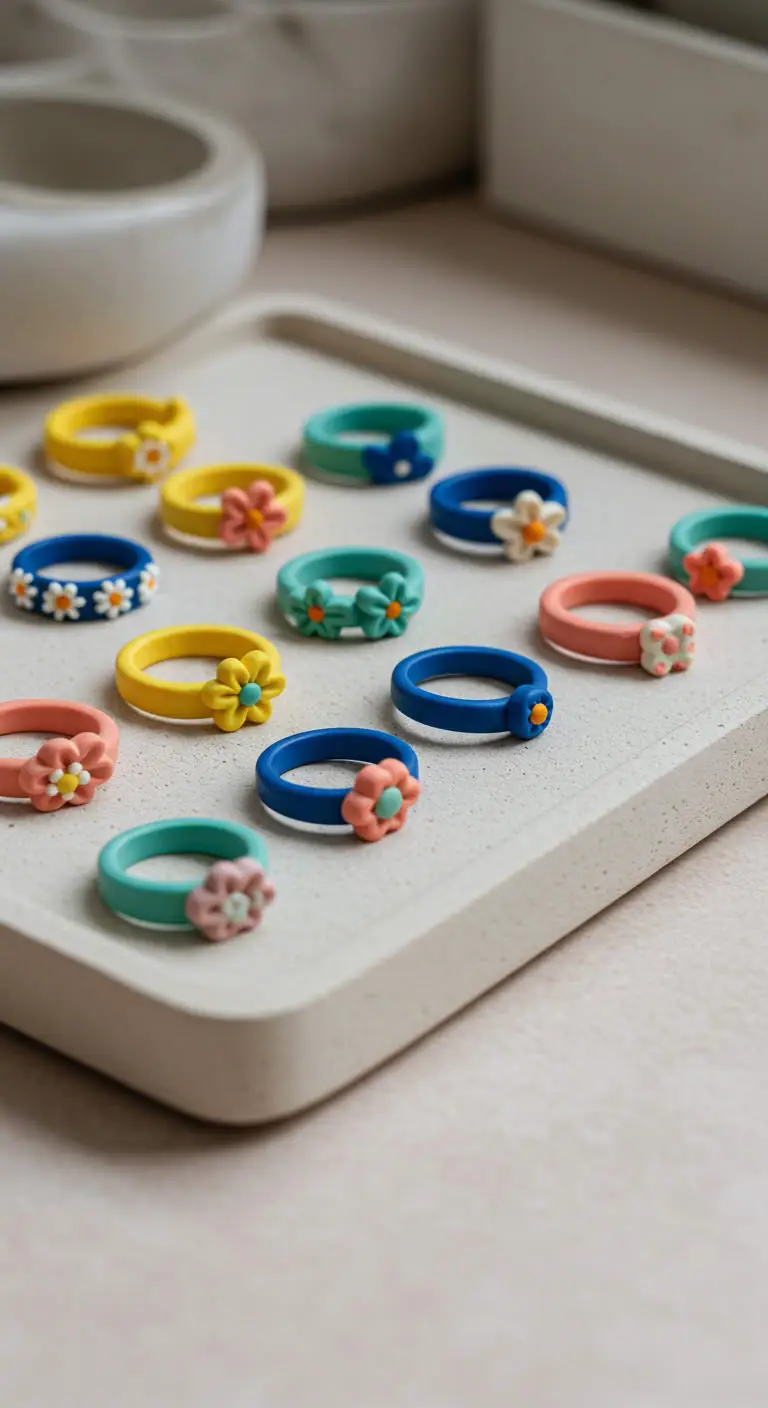
Store bought rings never fit right. This is the only craft on the list that fixes that problem, and it takes one small block of air dry clay to make five or six.
Wrap the clay around an actual finger to size it, then slide it off before it starts to firm up.
Roll the clay into an even rope about as thick as a pencil, then wrap it around your finger and pinch the join closed.
Press in beads, score swirls with a toothpick, or twist two colors together before you wrap. Once it dries, none of that is possible.
Subscribe to DIY Craft Bloom
Get updates on the latest posts and more from DIY Craft Bloom straight to your inbox.
Air dry clay softens with water, so a clear varnish is not optional if you plan to wear it. Two thin coats beat one thick one.
Make them slightly loose. Clay shrinks a little as it dries, and a ring you cannot get past your knuckle is a ring you never wear. More clay projects sit in these clay craft ideas.
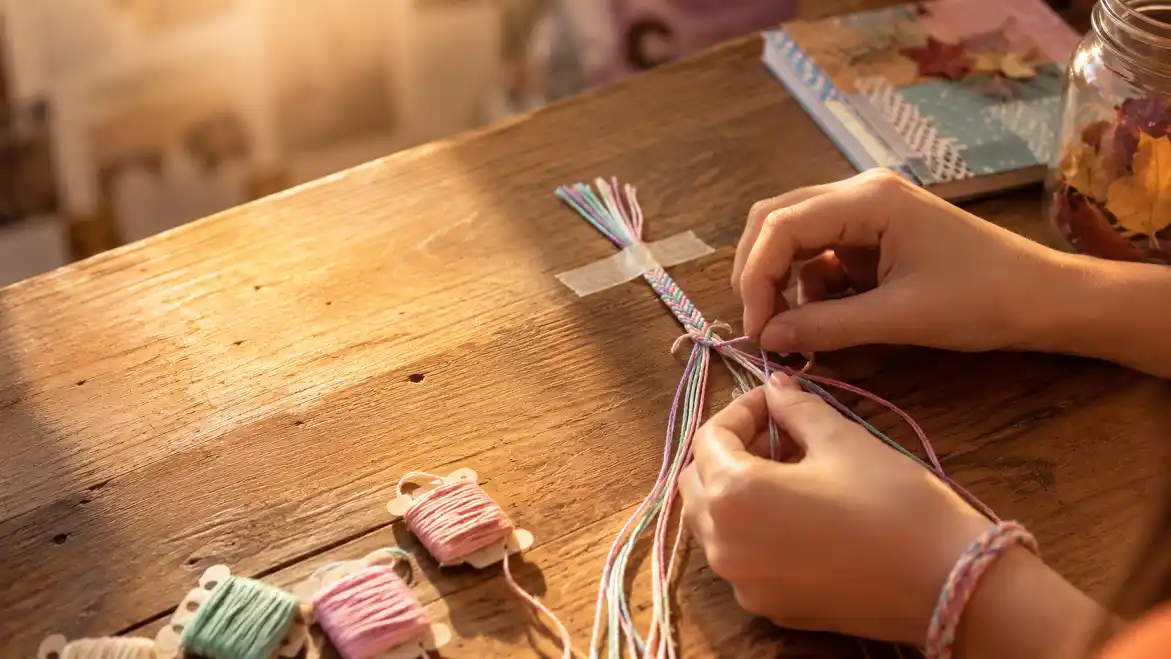
12. Friendship Bracelets Worth Relearning Now
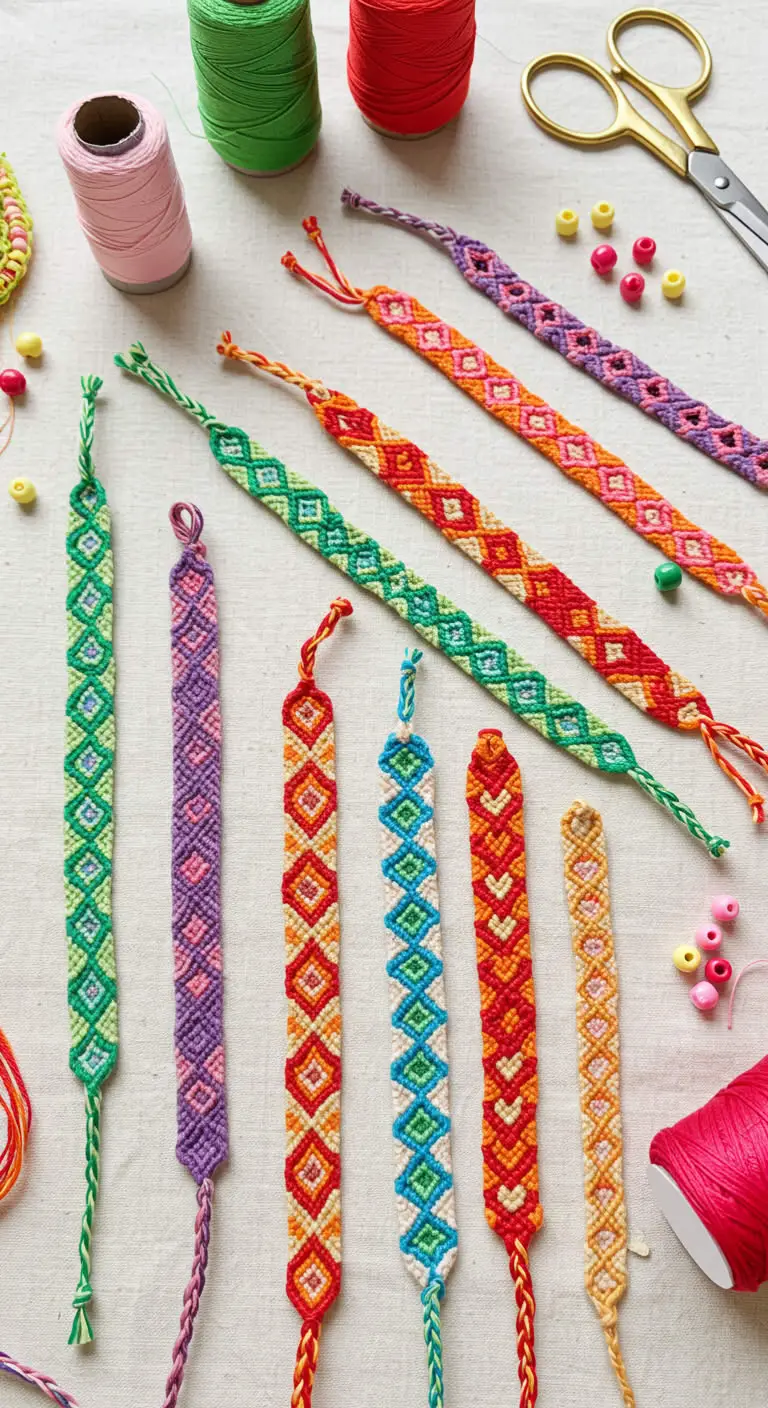
Everyone made these at nine, gave up at the chevron, and forgot. Coming back to them as a teen is different because you have the patience for the pattern and the taste to pick colors that are not neon.
Four strands and one repeating knot gets you a clean candy stripe. Add two more strands and mirror the direction halfway across, and that is the chevron that used to be impossible.
Tape the top to a desk or clip it to a clipboard. Holding it in your lap is why the tension goes uneven and the bracelet twists.
13. Painted Glass Jar Lanterns For A Shelf Or Windowsill
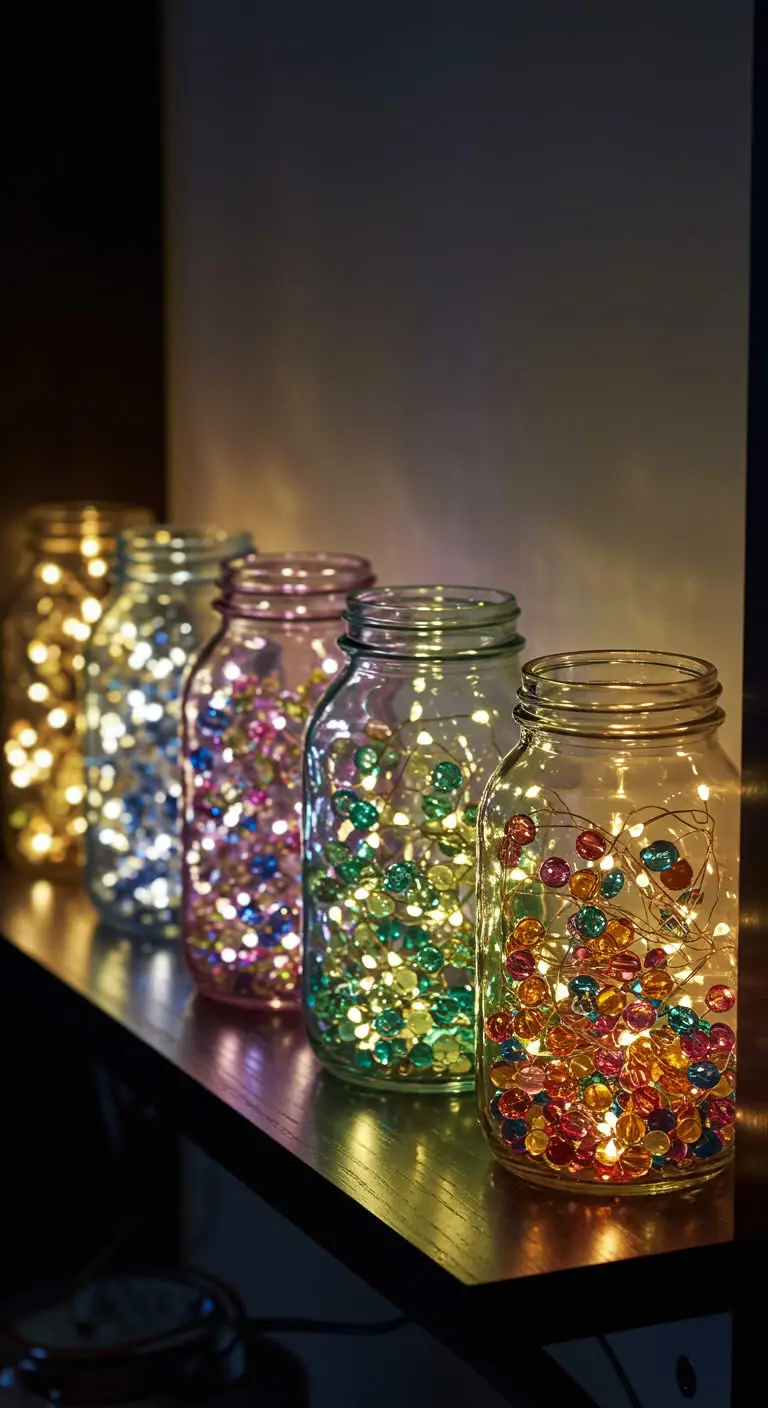
Color is the whole point of this version. Where a frosted jar diffuses light, a painted one throws it, so a row of them tints the wall behind the shelf in whatever colors you picked.
Glass paint or watered down acrylic both work, but keep the coats thin. Thick paint blocks the light and you end up with a decorated jar that does nothing after dark.
Paint the outside only. Anything on the inside sits right next to the heat and gets touched every time you swap the light.
Use an LED tea light so the jar is safe to leave on a shelf near curtains or paper.
Leave patches of clear glass between the painted areas. The gaps are where the light actually escapes.
Covering the jar edge to edge in solid color. It kills the glow completely.
Real flames inside a painted jar, especially one with anything glued to the outside.
Other jar and bottle projects are collected in these bottle craft ideas DIY.
15. Resin Keychains With Dried Flowers Sealed Inside
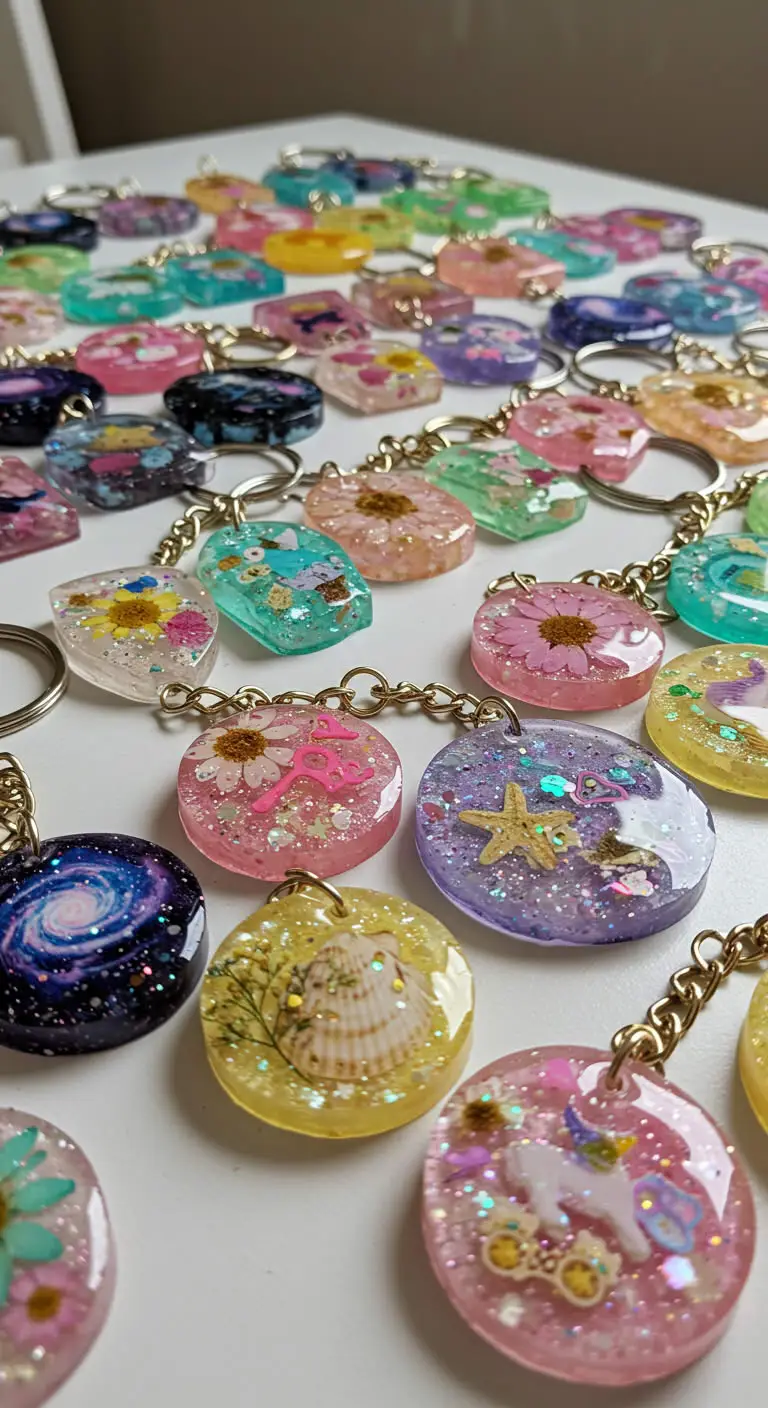
Small silicone molds, clear resin, and whatever you want suspended in the middle. Pressed flowers, fine glitter, tiny charms, a scrap of a concert wristband.
Resin is the one project here that punishes rushing. It needs a well ventilated room, gloves, and exact measuring, because guessing the ratio gives you a keychain that stays permanently tacky.
Pour in two layers. Fill the mold halfway, set your flower or charm face down onto it, let that firm up slightly, then top it off. Pouring everything at once floats your inclusions to one side.
16. Painted Clear Phone Cases You Can Redo Whenever You Get Bored
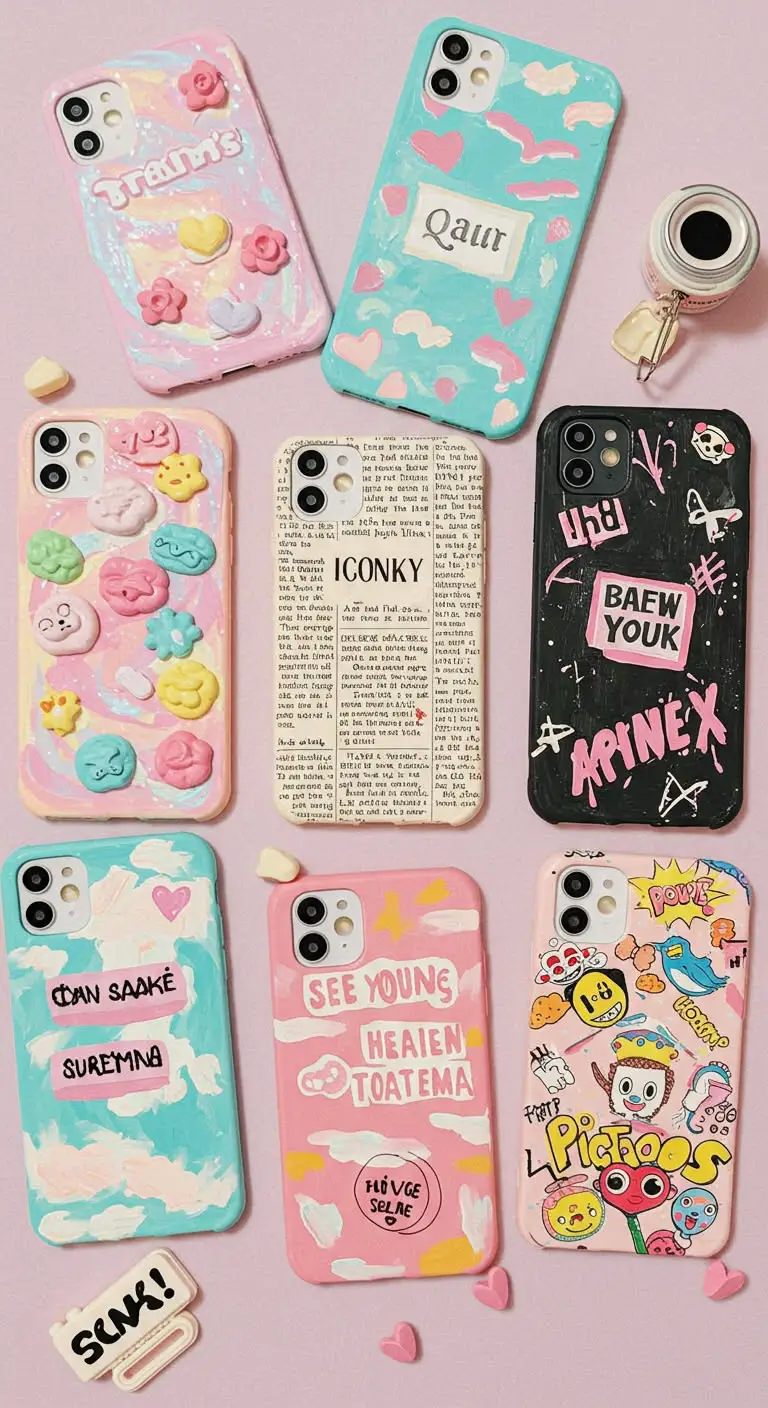
Cheap clear cases are the point. When you get sick of the design in a month, you peel it off with rubbing alcohol and start again, which is not something a printed case lets you do.
Paint the inside face of the case, not the outside. Your design ends up protected by the plastic instead of scraping off in your pocket within a week.
Because you are painting the inside, everything goes on in reverse order. Details and outlines first, background color last, over the top of them.
Keep paint well clear of the camera cutout. Even a thin smudge near the lens shows up as haze on every photo you take, and you will not notice until you look back at them.
More small projects in this direction are in these aesthetic craft ideas easy.
17. No Sew Scrunchies From Fabric You Already Own
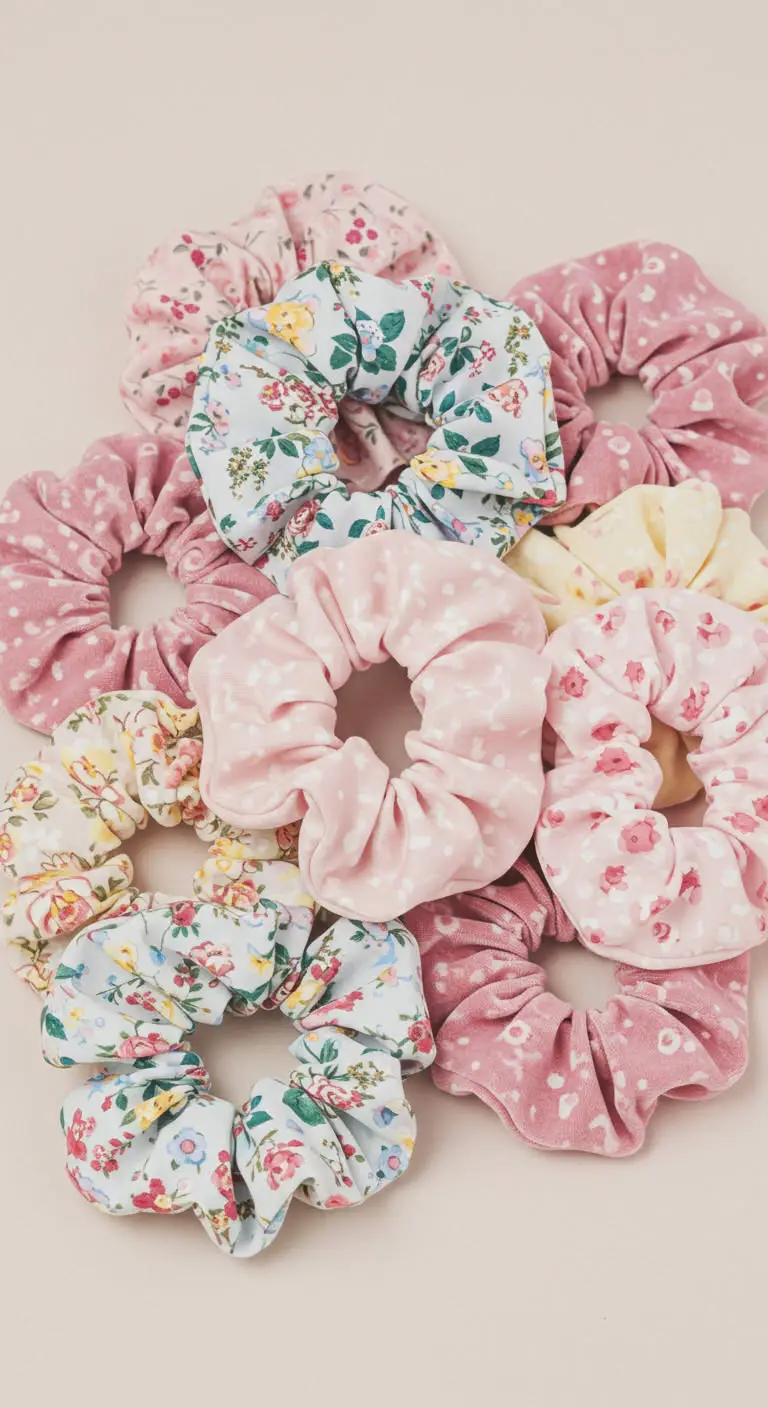
An old shirt you never wear turns into four scrunchies, and no sewing machine touches it. Fabric glue does the seam.
Cut a strip roughly four times longer than it is wide, fold it lengthwise with the pattern facing in, and glue along the raw edge.
Leave one short section open. Once it dries, turn it right side out, thread elastic through with a safety pin, knot the elastic, then close the gap with one last dot of glue.
Cotton holds its shape. Silky fabric slips out of the fold while the glue sets, so clip it or weigh it down.
18. Washi Tape Notebooks That Make School Supplies Look Like Yours
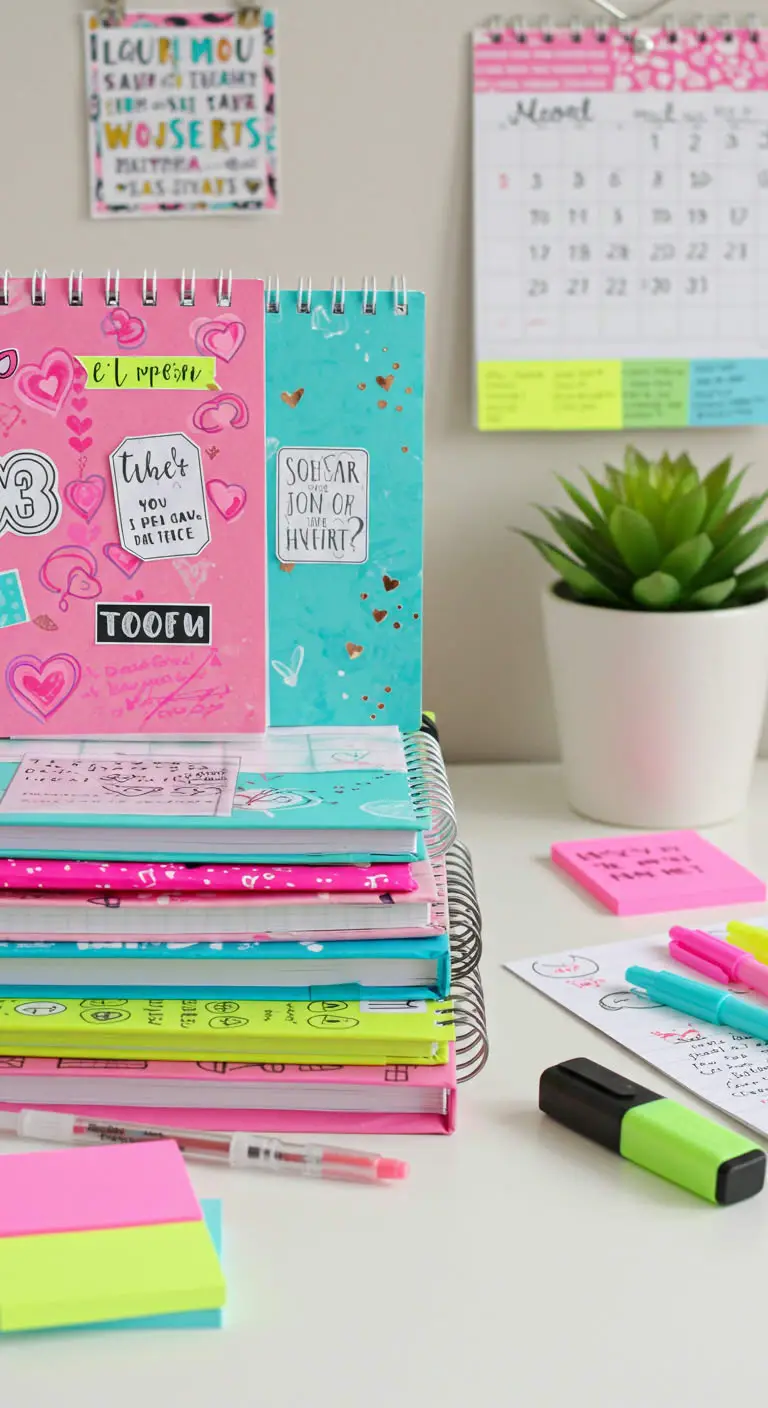
School issues you the ugliest possible notebook and expects you to carry it around for a year. Twenty minutes of washi tape fixes that, and it peels off cleanly if you ever need to hand it back.
Run the tape edge to edge and fold the overhang around to the inside cover. Stopping short of the edge is what makes it look like tape stuck on a book rather than a designed cover.
A plain composition book that looks identical to everyone else’s, so it gets picked up by mistake constantly.
Full coverage in two or three patterns that share a color, wrapped around the edges, spotted from across the room in a pile of bags.
Pair it with a matching pen pot and the whole desk starts to look intentional. These aesthetic craft ideas for study table go further with that.