11 DIY Birthday Card Ideas for a Modern Look

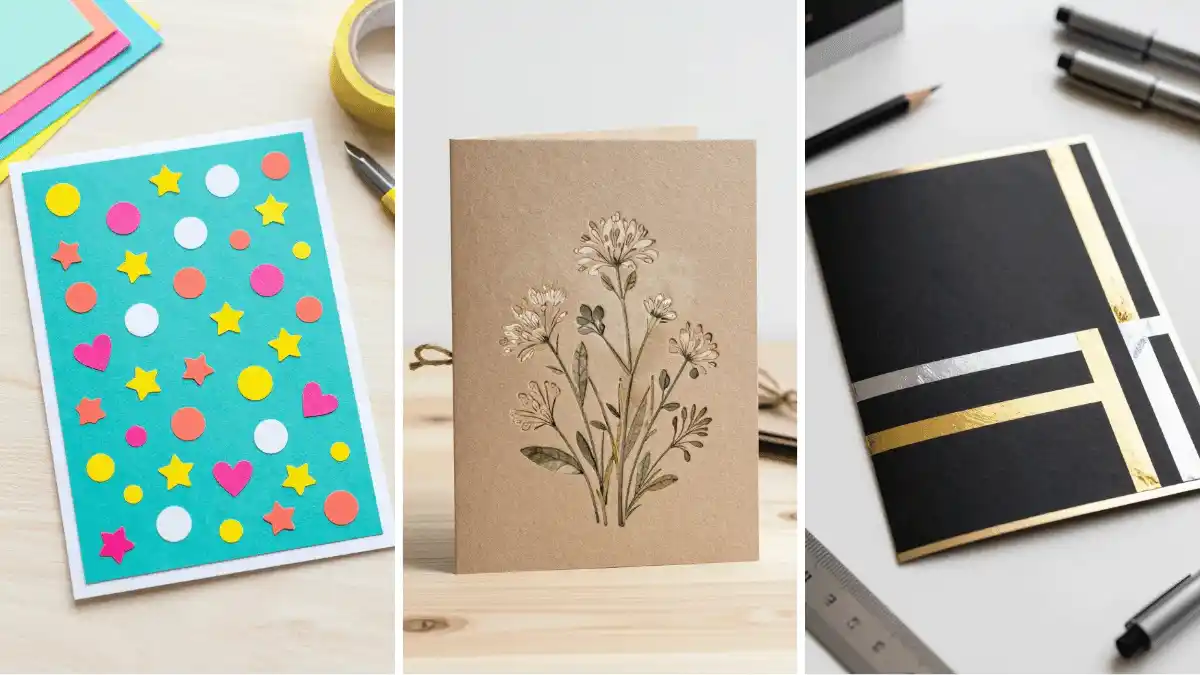
Ready to level up birthday greetings from meh to memorable? These 11 DIY card ideas are modern, playful, and totally doable in a sprinkle of crafty time.
Trust me, your friends will be jaws-on-floor impressed—and you’ll have a stack of chic cards to keep or gift.
Let’s dive into ideas that pop with color, texture, and personality. You bring the vibe; I’ll bring the creations.
FYI, you’ll want to bookmark these for quick weekends or last-minute celebrations.
1. Minimalist Monogram Card With Textured Cardstock
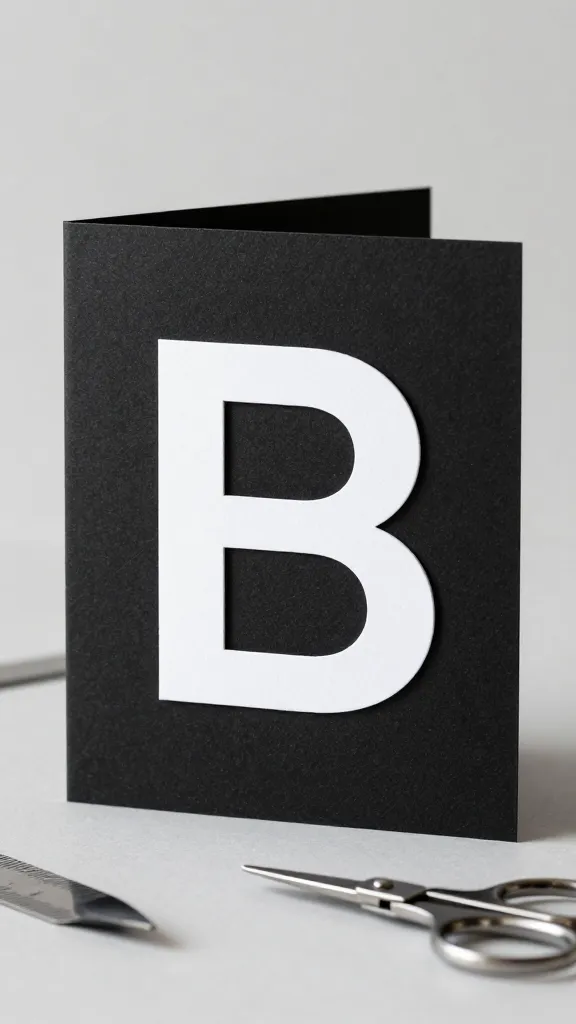
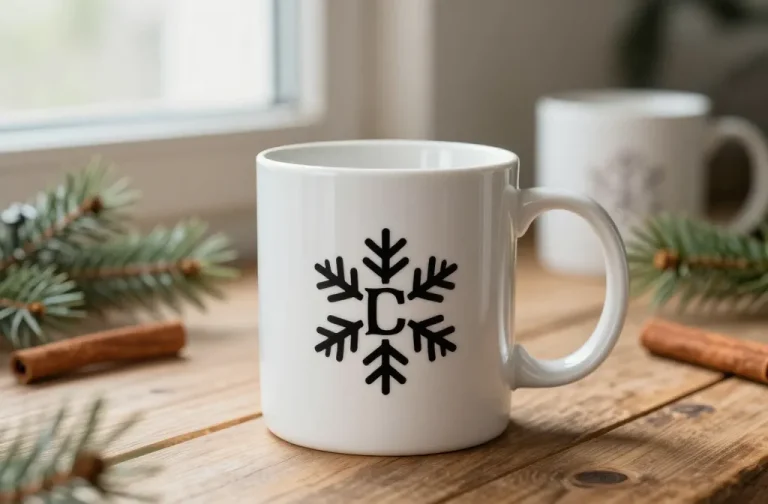
Picture this: a sleek, high-contrast card with a bold initial that screams modern chic. This monogram card uses texture over busy patterns for a refined vibe that feels upscale yet effortless.
- Materials: heavyweight black or white cardstock, textured or colored cardstock, adhesive foam dots, metallic pen or foil sticker, scissors, ruler.
- How to Make It: Cut a square base. Die-cut or hand-cut a large initial from contrasting cardstock. Adhere with foam dots for a floating effect. Add a slim metallic border or line around the edge for polish.
- Pro Tips: Keep lines crisp—use a metal ruler and a craft knife for clean edges. Use a magnetic mat to avoid slips.
Who will love it? Minimalists, modern home decor lovers, and anyone who wants a chic, gallery-style card. It’s your new go-to for birthdays that matter.
2. Watercolor Palette Burst Birthday Card
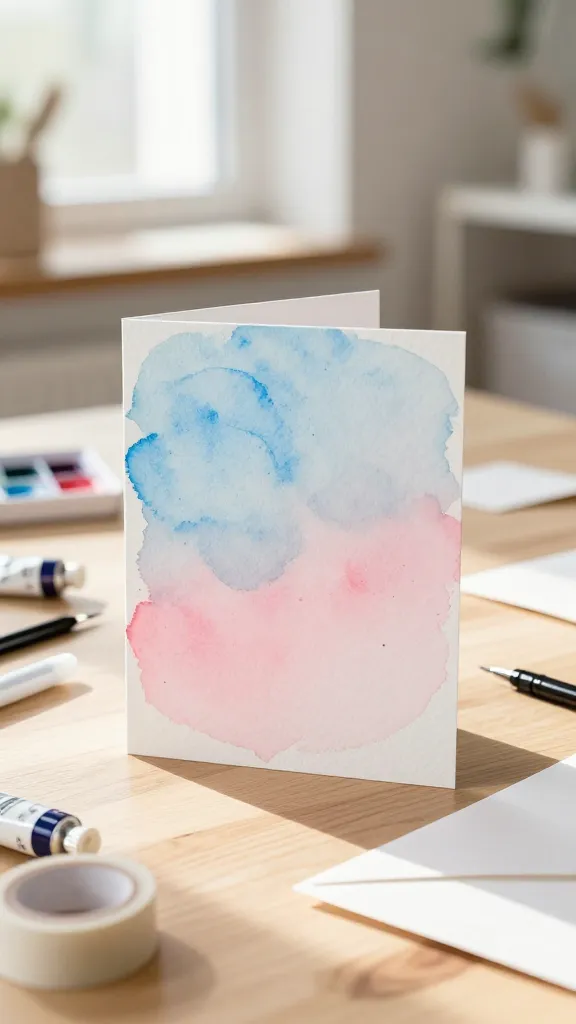
Think soft washes and bold pops—like a birthday morning sky turned into card form. Watercolor blends create a dreamy backdrop that feels handmade and luxe.
- Materials: watercolor paper, watercolors or brush pens, white gel pen, masking tape, black fineliner, blank envelope.
- How to Make It: Tape edges to keep a clean border. Paint a gentle gradient across the card. Once dry, splatter a few tiny droplets and write a bold birthday message with a fine liner.
- Styling Ideas: Add a subtle gold heat-embossed birthday word or a few silver stars for a celebratory touch.
Best for: those who love art-y vibes and a personal touch, perfect as a framed memento after the party.
3. Cut-Out Confetti Card With Cheery Messages
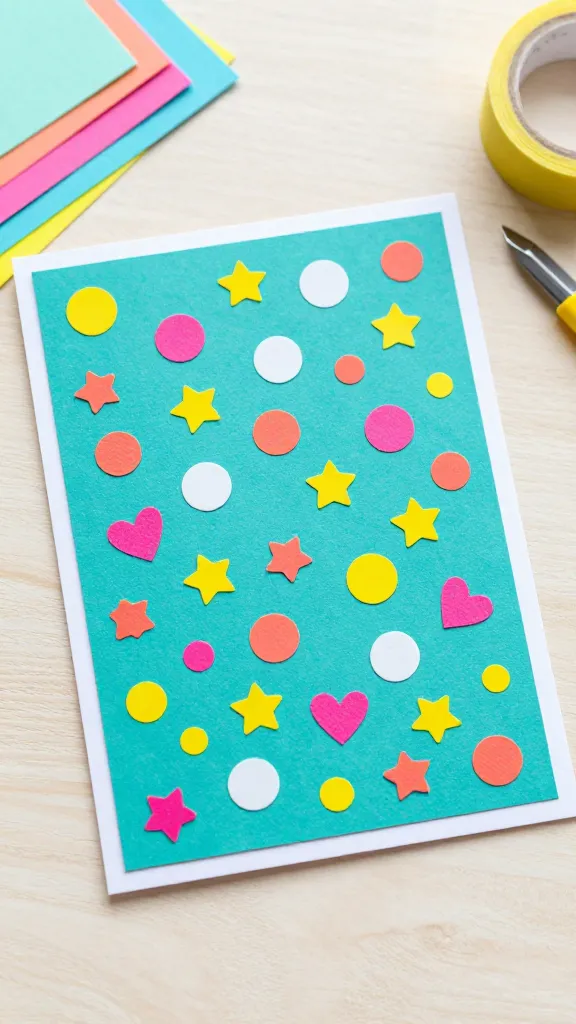
Confetti vibes without the mess: this card uses die-cut shapes layered over a bold color block for instant party energy.
Subscribe to DIY Craft Bloom
Get updates on the latest posts and more from DIY Craft Bloom straight to your inbox.
- Materials: colored cardstock, craft knife or scissors, small shapes die-cut or hand-cut, glue, double-sided tape, envelope.
- How to Make It: Create a large color block background. Layer confetti shapes (circles, stars, hearts) in contrasting shades using foam adhesive for dimension. Handwrite a warm birthday message or use a sticker alphabet.
- Pro Tips: Use a 1/4-inch border around the edge for a balanced look. Mix matte and metallic shapes for texture.
Who would love it? Creative friends who adore sparkle, and anyone who enjoys a playful pop of color on their desk.
4. Seed-Stamped Floral Card With Gentle Texture
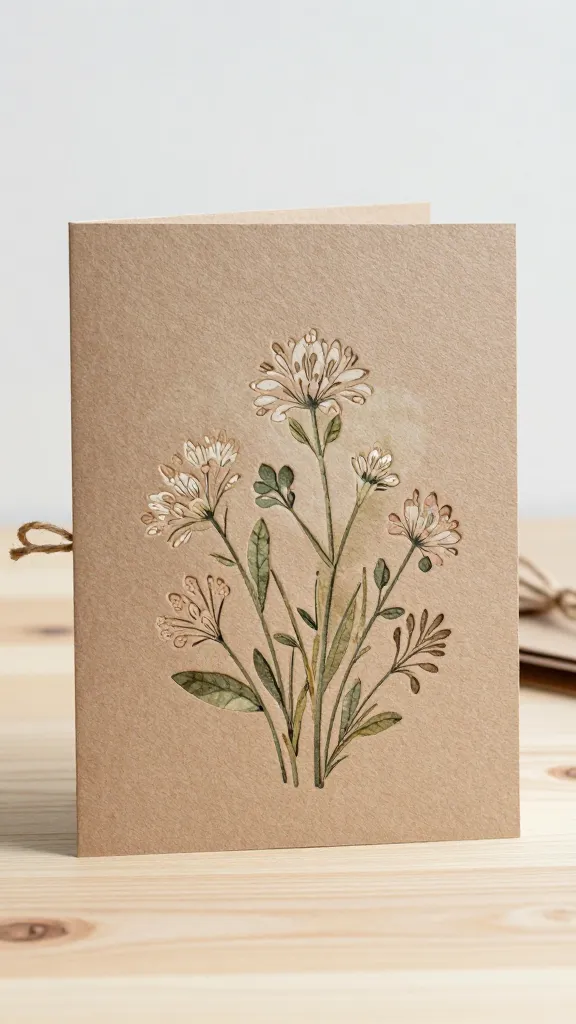
Botanical beauty meets eco-friendly charm. This card uses seed-embedded ink or stamped designs for a heartwarming, earthy feel.
- Materials: seed-embedded or stamp ink pad, floral stamp set, light watercolor wash (optional), kraft or cream cardstock, twine or ribbon for finishing.
- How to Make It: Stamp a bouquet along one edge or as a centered motif. Optional light wash behind the design to add depth. Tie a tiny bow with twine for a soft, nature-inspired finish.
- Customization Ideas: Choose flowers that symbolize the recipient’s birthday month.
Ideal for plant lovers, eco-conscious friends, or anyone who cherishes handmade textures and natural aesthetics.
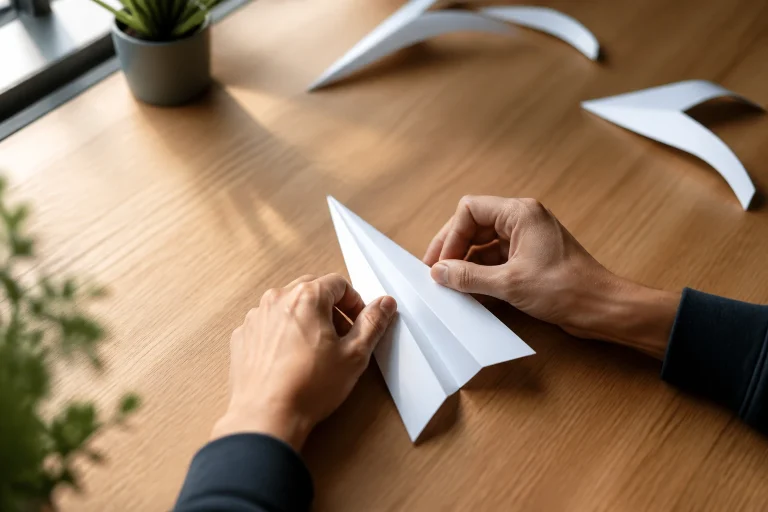
5. Modern Origami Fold Card
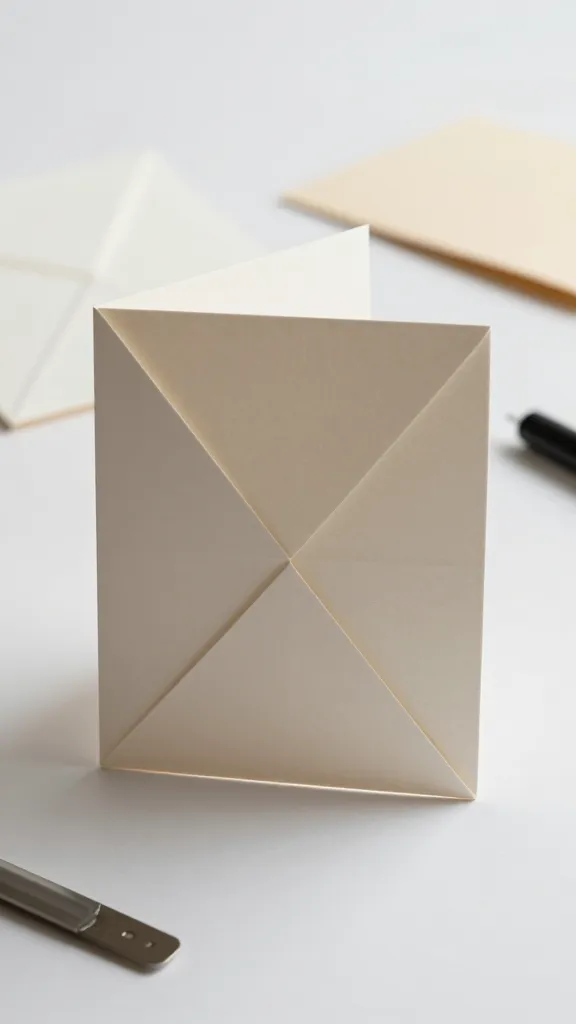
Geometric pleats and crisp folds give this card a striking architectural feel. It’s a conversation starter you can brag about in your Insta stories.
- Materials: two sheets of contrasting cardstock, double-sided tape, scoring tool, black marker for accents.
- How to Make It: Create a series of precise triangular or diamond folds on a panel, then mount it on a plain base. Write a short birthday message on the back of the fold or inside edge.
- Pro Tips: Use a bone folder to achieve sharp creases. Pre-cut the panels before folding for cleaner lines.
Who would love it? Fans of geometric design, architectural lovers, and anyone wanting a card with a wow-factor without glitter overload.
6. Interactive Slider Card For A Fun Surprise
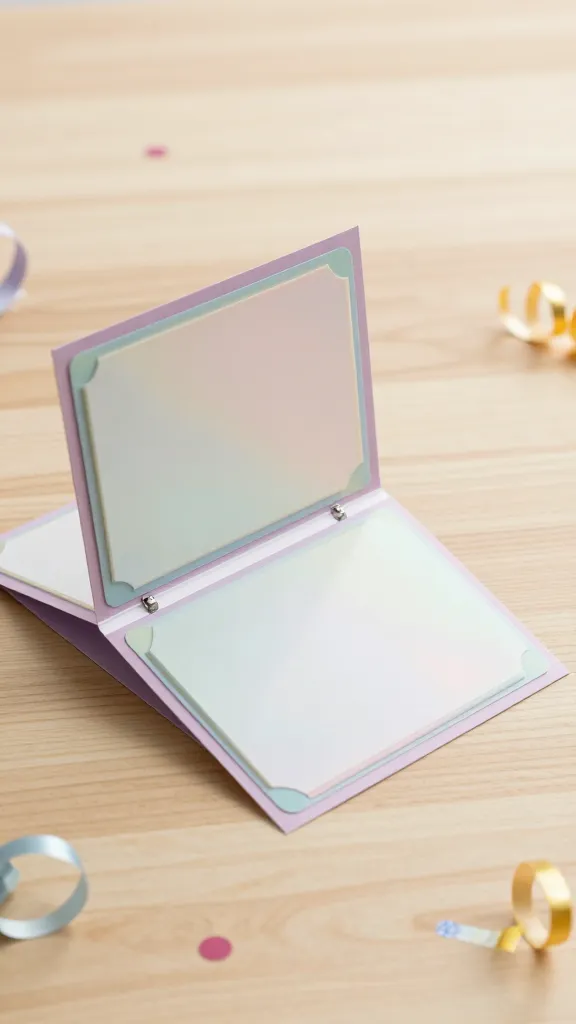
Seamlessly playful and surprisingly simple, this card reveals the birthday message as you slide a tab—like a tiny gift in a greeting card.
- Materials: sturdy card base, slim slider mechanism or a DIY tab method, colored paper for layers, double-sided tape, small embellishments.
- How to Make It: Build a sliding panel under a decorative frame. Attach your message so it reveals as the tab moves. Decorate with paper layers and a few accents.
- Pro Tips: Test the slide before final assembly to ensure smooth motion and avoid catching on edges.
Best for: playful friends, kids, or anyone who enjoys a little surprise with their sentiment.
7. Glitter-Free Glitter Typographic Card
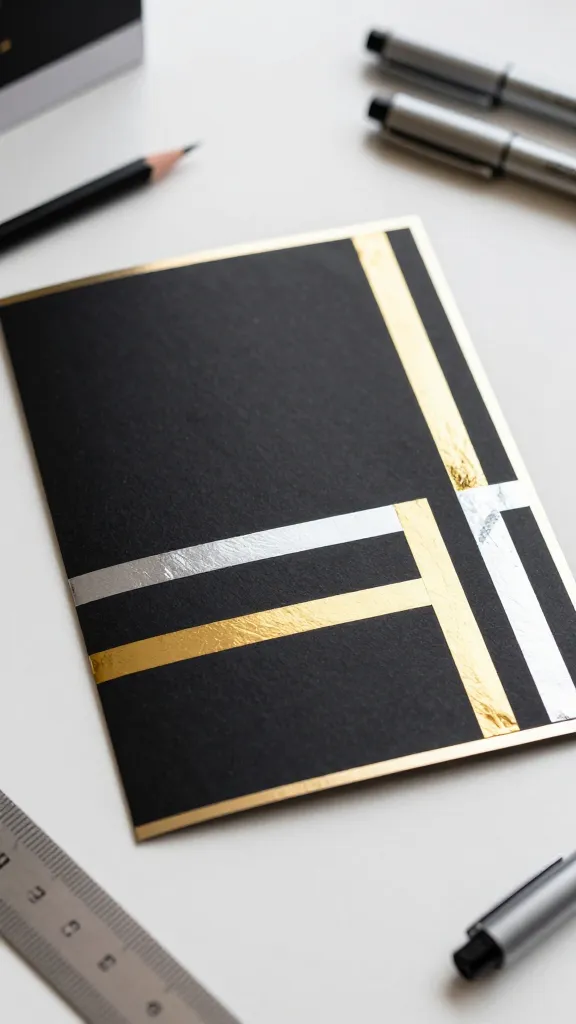
Yes, you can have shine without the mess. This card uses metallic ink or foil accents to create a bold, glossy birthday message.
Subscribe to DIY Craft Bloom
Get updates on the latest posts and more from DIY Craft Bloom straight to your inbox.
- Materials: white or black card stock, metallic gel pens or foil stickers, masking tape for crisp lines, ruler.
- How to Make It: Sketch block letters lightly, then trace with metallic ink or apply foil accents. Leave negative space around letters for a crisp, modern look.
- Styling Ideas: Frame the typography with a slim border or color block that echoes the foil color.
Who would love it? Minimalists who crave shine without glitter, and recipients who appreciate typography-forward design.
8. Neon Pop Card With Hand-Painted Accent
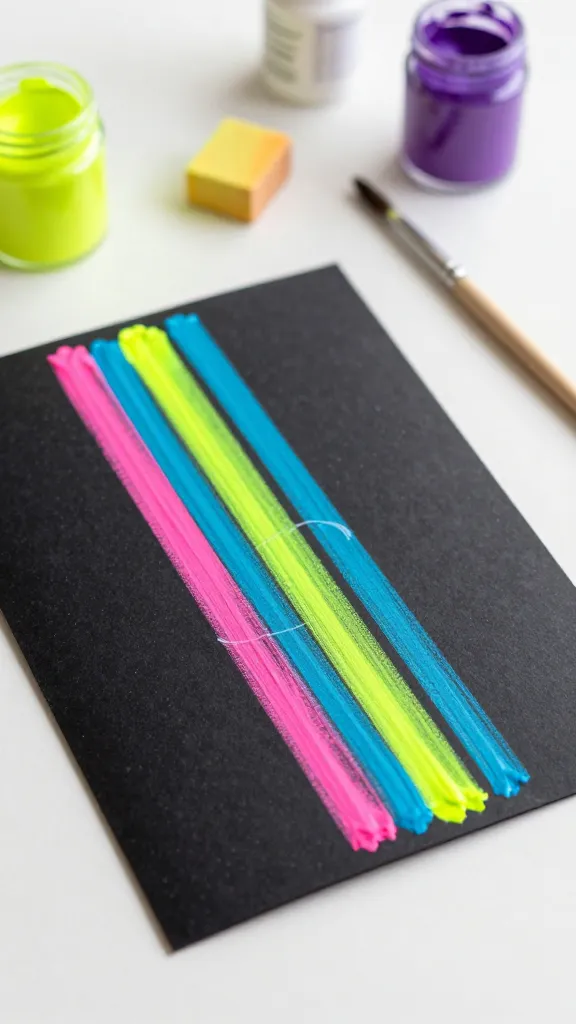
Bright, bold, and unapologetically modern. This card uses a neon color palette and a hand-painted accent for a playful party vibe.
- Materials: black or charcoal cardstock, neon acrylic paints or markers, paintbrush, soft erase, sealant (optional).
- How to Make It: Paint a broad neon stripe or block across the card. Add a hand-painted doodle or simple birthday message in white or another bright shade for contrast.
- Pro Tips: Seal with a light varnish to prevent smudging if needed; use masking tape to keep edges clean.
Customer base: teens, party-goers, or anyone who loves loud, fun color blocks on a card.
9. Textured Layered Card With Fabric Ribbon
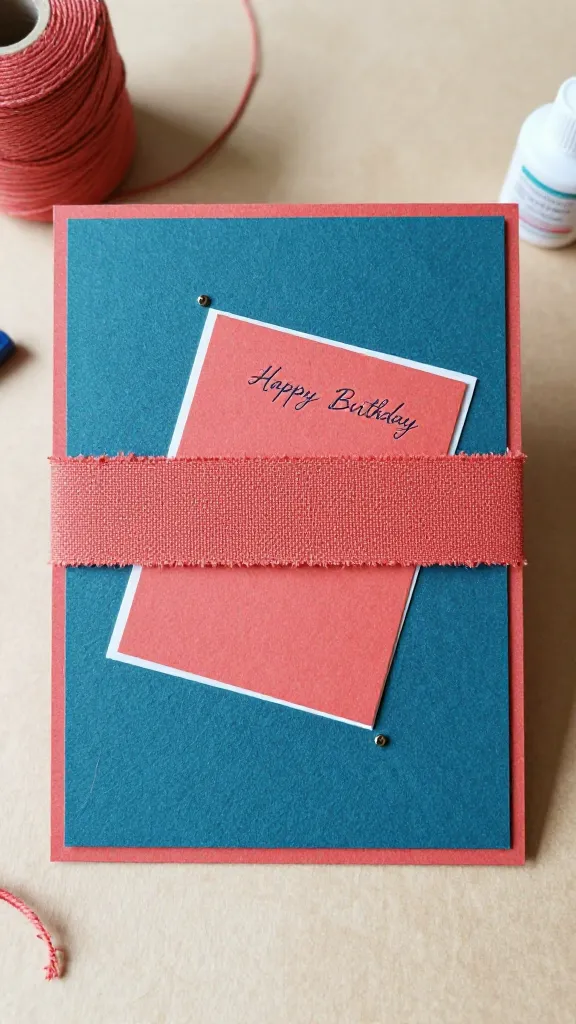
A tactile delight: fabric ribbons, linen textures, and layered cardstock create a cozy, tactile experience that begs to be touched.
- Materials: linen or fabric ribbon, coordinating cardstock layers, craft glue or double-sided tape, decorative brads or pins (optional).
- How to Make It: Create a base layer with a bold color, add a fabric ribbon band, and finish with a smaller accent card on top. Add a handwritten “Happy Birthday.”
- Pro Tips: Use fabric that’s easy to glue and won’t fray. A quick dab of glue on the ends keeps ribbons neat.
Perfect for: someone who loves cozy textures, handmade warmth, and a card that feels like a small gift in itself.
10. Card With Detachable Gift Tag
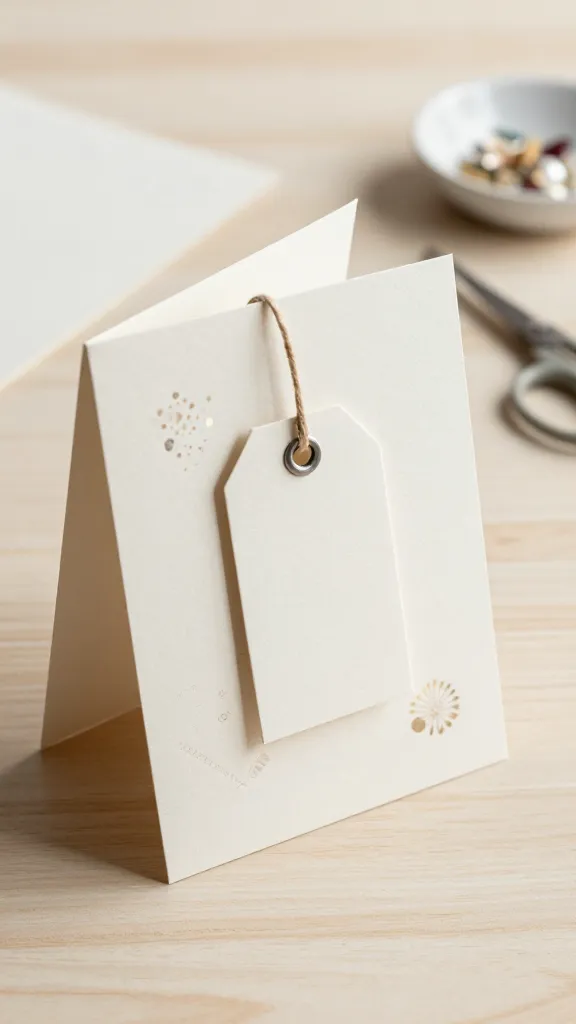
Double the delight: a standard card plus a tiny, removable gift tag tucked inside or attached with a string. It’s like a mini present attached to the card.
- Materials: sturdy card stock, small gift tag shape, decorative twine or string, eyelet (optional), adhesive, pocket or slits to hold tag.
- How to Make It: Create a small pocket or slit on the inside panel for the gift tag. Decorate the card front with a phrase and small embellishments. The tag can be pulled out for a message or a personal gift idea.
- Customization Ideas: Personalize tags with the recipient’s name or a tiny birthday wish they can keep.
Who will love it? The gift-giving crowd and anyone who loves a little “gift within a card” moment.
11. Textured Punch-Out Window Card
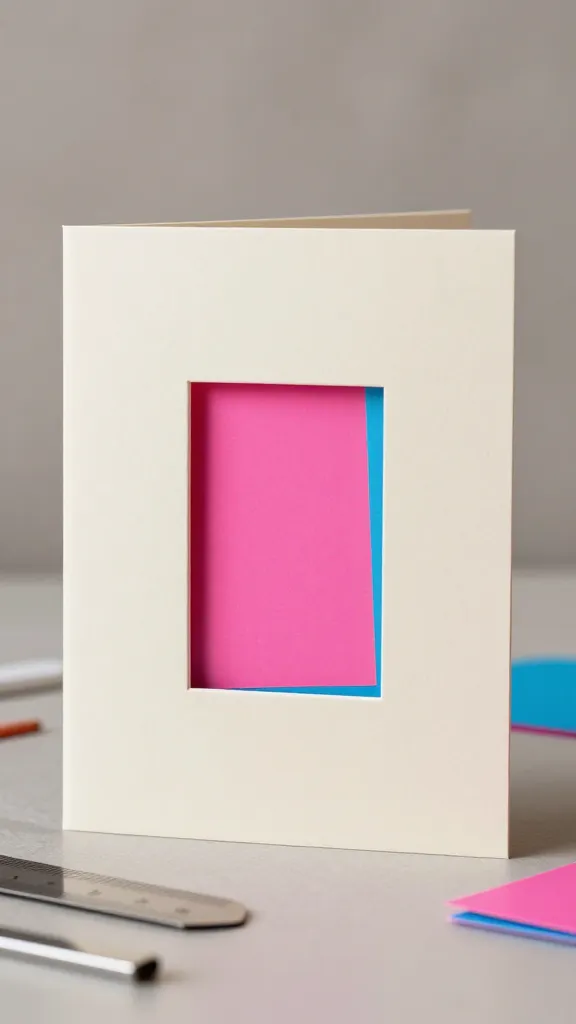
A little trick for major impact: a window cutout reveals a contrasting color or pattern behind it, creating an instant focal point that’s cinematic and stylish.
- Materials: sturdy cardstock, craft knife, cutting mat, ruler, contrasting colored paper for the window backing, adhesive.
- How to Make It: Cut a window shape in the front panel. Place a bright backing behind it and secure. Finish with a short, bold birthday message visible through the window or on the back.
- Pro Tips: Keep window edges clean by trimming with a craft knife and a straight edge. Try a simple geometric shape for a modern look.
Good for: design lovers who savor a clever reveal and a card you can swap colors to match any recipient’s style.