How to Bake Mugs After Painting (Step-by-Step)

You spent an hour painting the perfect mug — and then the first wash ruined it.
The paint faded. Maybe it peeled. The design you worked hard on is gone.
This happens because paint needs heat to bond to ceramic. Without that heat, it just sits on the surface. Water pulls it right off.
The good news? Baking your painted mug fixes this. It takes about two hours, uses your regular home oven, and the results last for years.
By the end of this guide, you will know the exact temperature to use, how long to bake, and what steps to follow. You will also know which paints work and which ones to avoid.
This method is used and tested by multiple craft sources, including DIY Inspired, Craving Some Creativity, and Drawlish. It works on ceramic and porcelain mugs.
Let’s get into it.
Why Baking Your Painted Mug Matters
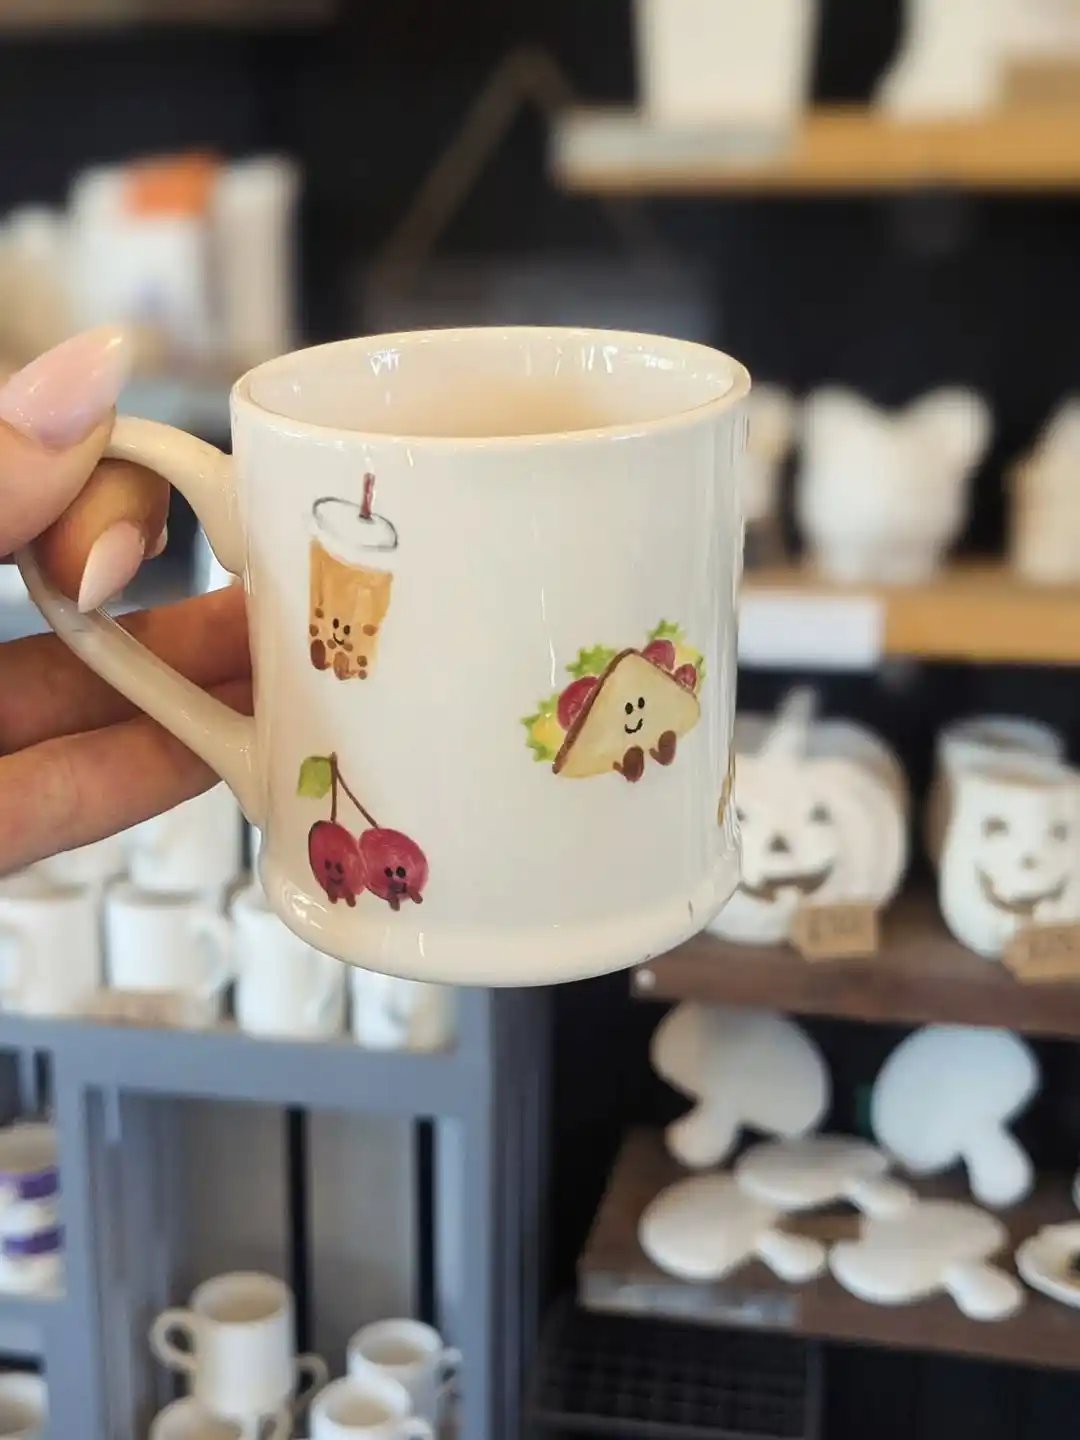
Baking is not optional. It is the step that makes your paint permanent.
When you heat a painted mug in the oven, the paint bonds to the ceramic surface. This is called curing. Without curing, acrylic paint stays loose. It will wash off in the dishwasher. It can even come off with a rough hand wash.
Think of it like this. Uncured paint is like a sticky note. It clings, but it does not last. Cured paint is more like glue that has dried. It is part of the surface now.
You have two options to cure paint. You can air dry the mug for 21 days. Or you can bake it in the oven for about 30 minutes. Air drying is slow and still does not make the mug dishwasher safe. Baking is faster and gives much better results.
One real-world example: the DIY Inspired blog painted a mug and baked it using this method. That mug is still in use more than five years later, after many dishwasher cycles.
The baking process is simple. But first, you need to make sure you are using the right paint.
Choose the Right Paint Before You Bake
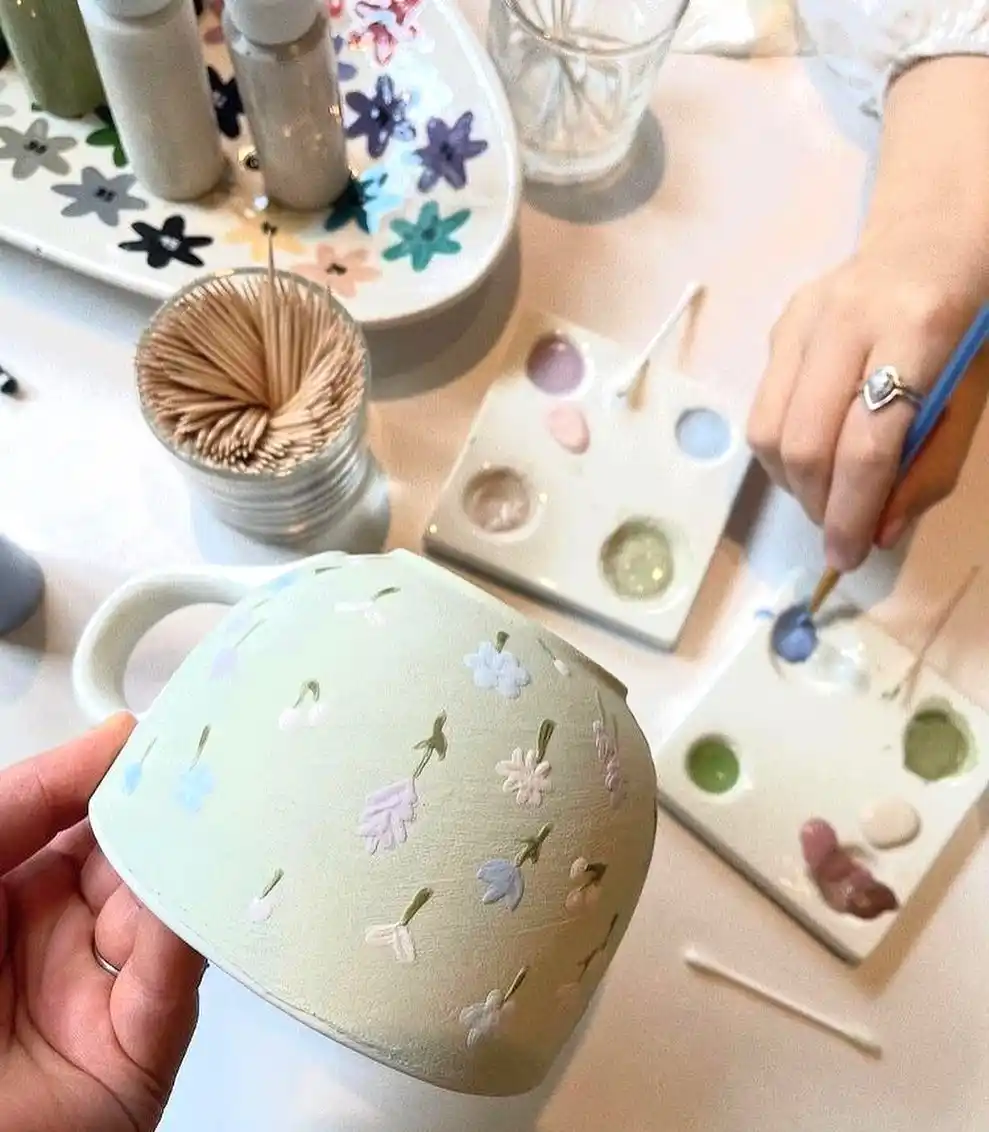
This is where most people go wrong.
Not all paints are safe to bake. Regular acrylic paint from a craft store is not designed for heat. Baking it can cause fumes. It may also crack or bubble. You need paint that is specifically made for ceramics or glass.
Here are the best options:
Pebeo Porcelaine 150 is a water-based paint made for porcelain and ceramic. Bake it at 300°F for 35 minutes. Once baked, it becomes dishwasher safe and microwave safe. It comes in glossy, shimmery, and pastel finishes.
DecoArt Glass Paint works on glass and glazed ceramic. Bake at 350°F for 30 minutes. It becomes top-rack dishwasher safe after curing. This is one of the most recommended options by craft testers in 2025.
Acrylic enamel paints (oil-based) are a solid choice too. They have a high gloss finish and become dishwasher safe once baked. They cost a little more than standard acrylics, but they hold up better.
Oil-based enamel paint pens like Sharpie Oil-Based or Artistro are great for writing and detailed designs. Easy to use, no brush needed. Bake them and they become top-rack dishwasher safe.
What not to use:
- Regular Sharpies (water-based): they will wash off and are not safe to bake
- Nail polish: do not bake it. It is not meant for this
- Mod Podge alone: heat ruins it. Do not bake Mod Podge
One more thing. Keep paint only on the outside of the mug. Do not paint the inside or the top inch near the rim. That is where your mouth touches. Even non-toxic paints are not designed for contact with food or drink.
How to Bake a Painted Mug — Step by Step
This is the part that most people rush. Do not rush it. Each step has a reason.
Step 1 — Let the paint dry completely
Subscribe to DIY Craft Bloom
Get updates on the latest posts and more from DIY Craft Bloom straight to your inbox.
Wait at least one hour after painting before you bake. Ideally, wait 24 hours. If the paint is still wet when it goes in the oven, it will bubble and blister. Dry paint bakes clean.
Step 2 — Place the mug in a cold oven
This is the most important rule. Do not preheat the oven first.
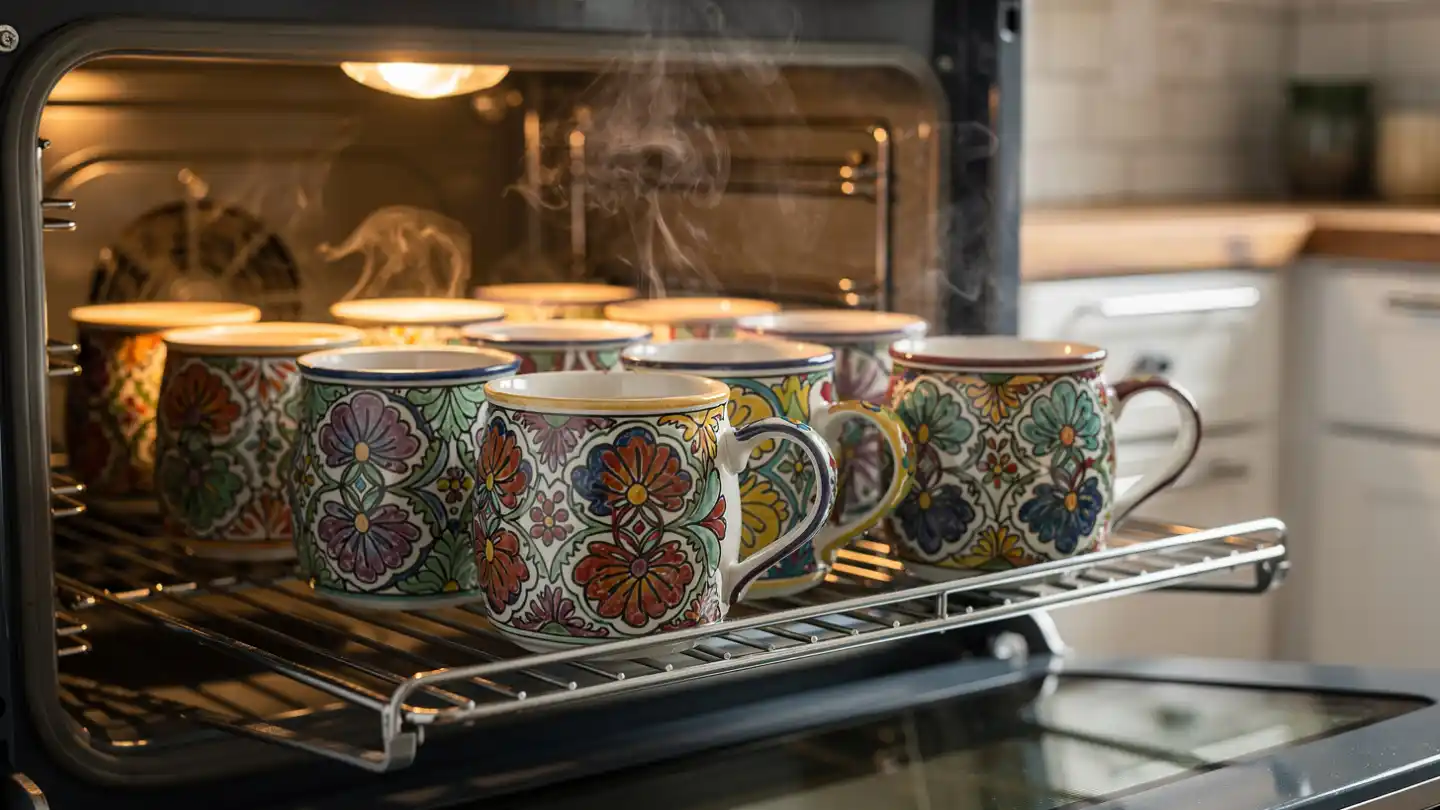
Put your mug on a parchment-lined baking sheet. Slide it into a cold oven. Ceramic heats slowly. If you put it into a hot oven, the sudden change in temperature cracks it. This is called thermal shock, and it can destroy your mug.
Step 3 — Set the oven to 350°F (175°C)
This temperature works across most ceramic-safe paints. It is high enough to cure the paint, but not so high that it damages your mug. Check your paint label to confirm it matches. Some paints use a different temperature (more on that in the next section).
Step 4 — Start the timer after the oven reaches 350°F
Do not start the 30-minute timer when you turn the oven on. Wait until it has fully preheated to 350°F. Then set your timer for 30 minutes. The mug needs 30 minutes at full heat, not 30 minutes of heating up.
Step 5 — Turn the oven off. Do not open the door.
When the timer goes off, turn the oven off. Leave the door closed. Let the mug cool inside the oven with the heat. This takes at least one to two hours. Opening the door too soon brings in cold air. Cold air on hot ceramic can crack it.
Step 6 — Wait 72 hours before using or washing
Once the mug is fully cool, take it out. But do not use it yet. Wait 72 hours. The paint needs this time to finish curing. Using it too soon can undo the baking.
Quick Reference:
Cold oven → 350°F → 30 minutes → oven off → cool inside oven (1 to 2 hours) → wait 72 hours → done.
Baking Painted Mugs
Air Dry First
Before introducing heat, let your painted ceramic mug air dry completely for 24 hours. This ensures all surface moisture evaporates, preventing the paint from bubbling or cracking in the oven.
The Cold Oven Method
Never place a ceramic mug into a preheated oven—thermal shock will shatter it.
Place your mug upside down on a baking sheet inside a completely cold oven. Turn the temperature to 350°F (175°C) and set your timer for 30 minutes once the oven reaches full temperature.
Gradual Cooling
When the baking time is up, turn off the oven. Leave the mug inside with the oven door closed for at least 1 hour until it cools down completely to room temperature.
Paint-Specific Baking Variations
Always check your paint label before baking. Different paints have different temperature and time requirements.
Pebeo Porcelaine 150: 300°F for 35 minutes. Lower temperature, slightly longer time. After cooling, it becomes dishwasher safe and microwave safe.
DecoArt Glass Paint: 350°F for 30 minutes. Standard method. Top-rack dishwasher safe after curing.
LM-Kreativ Ceramic Paint: 320°F (160°C) for 90 minutes. Longer bake time than most. Becomes permanently dishwasher safe once done. This is verified from the Amazon product listing.
Standard acrylic paint (no special label): 350°F to 360°F for 30 minutes. Results vary by brand. Hand wash only after baking. Not guaranteed to be dishwasher safe without a sealant.
One thing worth knowing: some paints say “no bake required” on the label. You can still bake them. Baking always improves durability, even when it is optional. The paint will last longer and hold up better to washing.
Subscribe to DIY Craft Bloom
Get updates on the latest posts and more from DIY Craft Bloom straight to your inbox.
Sealing Painted Mugs for Longer Life
Baking cures the paint. Sealing protects it.
A sealant is a clear coat you apply after baking and cooling. It adds a layer of protection over your design. This is especially useful if you used standard acrylic paint instead of a ceramic-specific formula.
Here are your options:
Mod Podge Dishwasher Safe is the most popular choice. Apply it after the mug is fully baked and cooled. Do not bake it. Heat ruins Mod Podge. Apply one thin coat, let it dry, then apply a second if needed.
Clear acrylic spray sealer is easy to use. Lay the mug on newspaper, tape off the inside with painter’s tape, and spray even coats on the outside.
Water-based polyurethane varnish also works. Apply it with a brush in thin layers.
No matter which sealant you use, keep it away from the inside of the mug. Also keep it at least one inch below the rim. That area should always stay paint-free and sealant-free.
One honest note: a home oven cannot make a mug fully food-safe. Only kiln firing at very high temperatures does that. For mugs you plan to drink from, keep all paint and sealant on the outside only.
Common Mistakes to Avoid
Baking a painted mug is simple. But a few mistakes can ruin the whole thing.
Mistake 1 — Putting the mug in a hot oven The mug will crack. Always start with a cold oven. This is not optional.
Mistake 2 — Taking the mug out while the oven is still warm Same problem. Cold air hits hot ceramic too fast. Let it cool inside the oven with the door closed.
Mistake 3 — Baking before the paint is dry Wet paint does not bake well. It blisters, bubbles, and looks terrible. Wait at least one hour. Twenty-four hours is better.
Mistake 4 — Using the wrong paint Regular water-based Sharpies will not survive baking. Standard acrylic paint without a ceramic formulation may not hold up either. Use paint that is labeled for glass or ceramic.
Mistake 5 — Cooking food in the oven right after baking paint Acrylic paint releases fumes when it heats. Do not bake food in the same oven session. Ventilate the room well. Wait before using the oven for cooking.
Mistake 6 — Scrubbing the mug after baking Even cured paint can scratch. Never use abrasive sponges or steel wool on the painted surface. Rinse gently. Use soft cloths.
Care Tips After Baking
Your mug is baked and sealed. Now you need to take care of it so it lasts.
Dishwasher: Use the top rack only. The top rack has less heat and water pressure. Pebeo and DecoArt paints hold up well in the top rack after proper baking.
Heat limit: Try to avoid dishwasher cycles that get above 120°F. Very hot water weakens the paint bond over time.
Hand washing: This is the safest method for any painted mug. Use mild dish soap and a soft cloth. Rinse well.
No scrubbing: No abrasive pads, no steel wool, no rough sponges on the painted area. Ever.
Microwave: Only put your painted mug in the microwave if the paint label says it is microwave safe. Pebeo Porcelaine 150 is. Most acrylic paints are not. When in doubt, skip the microwave.
Conclusion
Baking a painted mug is not complicated. You just need to do it right.
Start with a cold oven. Heat it to 350°F. Bake for 30 minutes. Turn it off and let the mug cool inside the oven. Then wait 72 hours before you use it or wash it.
The paint you choose matters just as much as how you bake it. Use ceramic-safe or glass paint. Avoid regular Sharpies, nail polish, and Mod Podge as your main paint. And always keep paint off the inside of the mug.
Now that you know how to bake mugs after painting, try it. Make one as a gift. Let your kid paint one. Test a design and see how it holds up.
With this method, your painted mug will stay beautiful through years of use.