Bracelet Ideas Using Wire: 18 Easy Crafts to Try

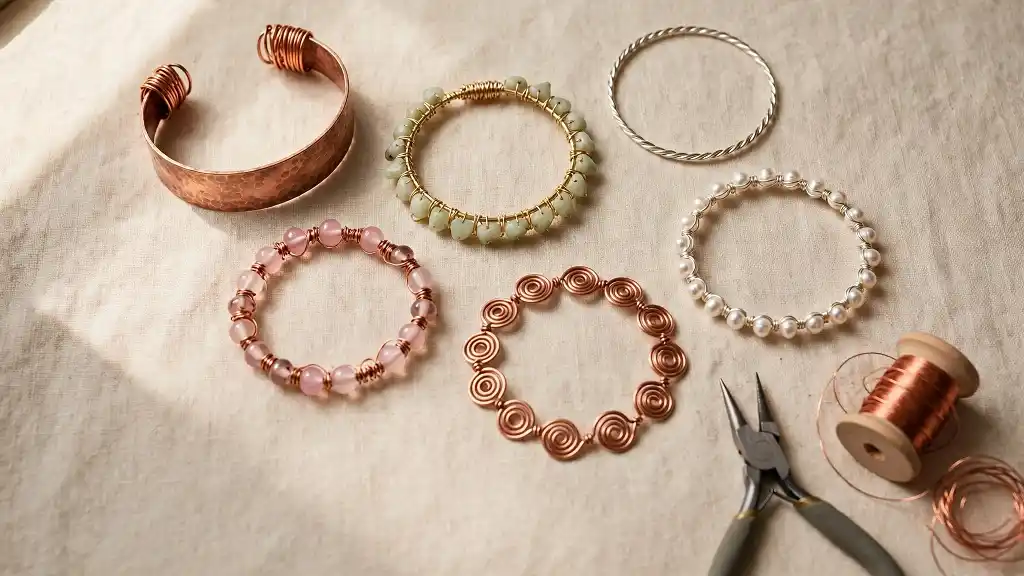
A spool of craft wire costs less than lunch, and with a pair of pliers it turns into something you would actually wear out of the house.
That is the appeal. No kiln, no soldering, no expensive tools sitting unused in a drawer.
Most store bought bracelets have the same problem. They either slide around or pinch, and everyone at the table owns the same one.
Wire fixes both. You bend it to your own wrist, you pick the beads, and you stop when it looks right to you.
The bracelet ideas using wire below run from a fifteen minute strung pearl strand to hammered cuffs, caged stones, spiral links, and thin bands built to stack three deep.
Some need nothing but wire and patience. Others use a handful of beads you probably already have in a jar somewhere.
Start with whichever one catches your eye. Skill comes from finishing things, not from picking the easiest project. Here they are.
4 Things That Make a Wire Bracelet Look Handmade, Not Homemade
Tap any card for the detail behind it.
Tap to see the tip.
The simplest bracelet is beads on a straight wire with a loop at each end. Lay your beads out by size first, because fixing the order later means unstringing the whole row.
Tap to see the tip.
No glue anywhere in wire work. A few tight turns of thin wire lock strands, beads, and joints in place, and a messy wrap can be unwound and redone as many times as you need.
Tap to see the tip.
Flattening a curve with a hammer or coiling thinner wire along a core adds depth without buying anything extra. Even spacing reads better than perfect coils, so keep a steady rhythm.
Tap to see the tip.
Measure against a ruler as you build, then bend leftover wire into an S hook and loop. Four extra chain links make it adjustable, which turns a personal piece into a giftable one.
Wire, pliers, and a jar of beads is the whole starting kit.
1. Graduated Pearls Strung on a Simple Wire Core
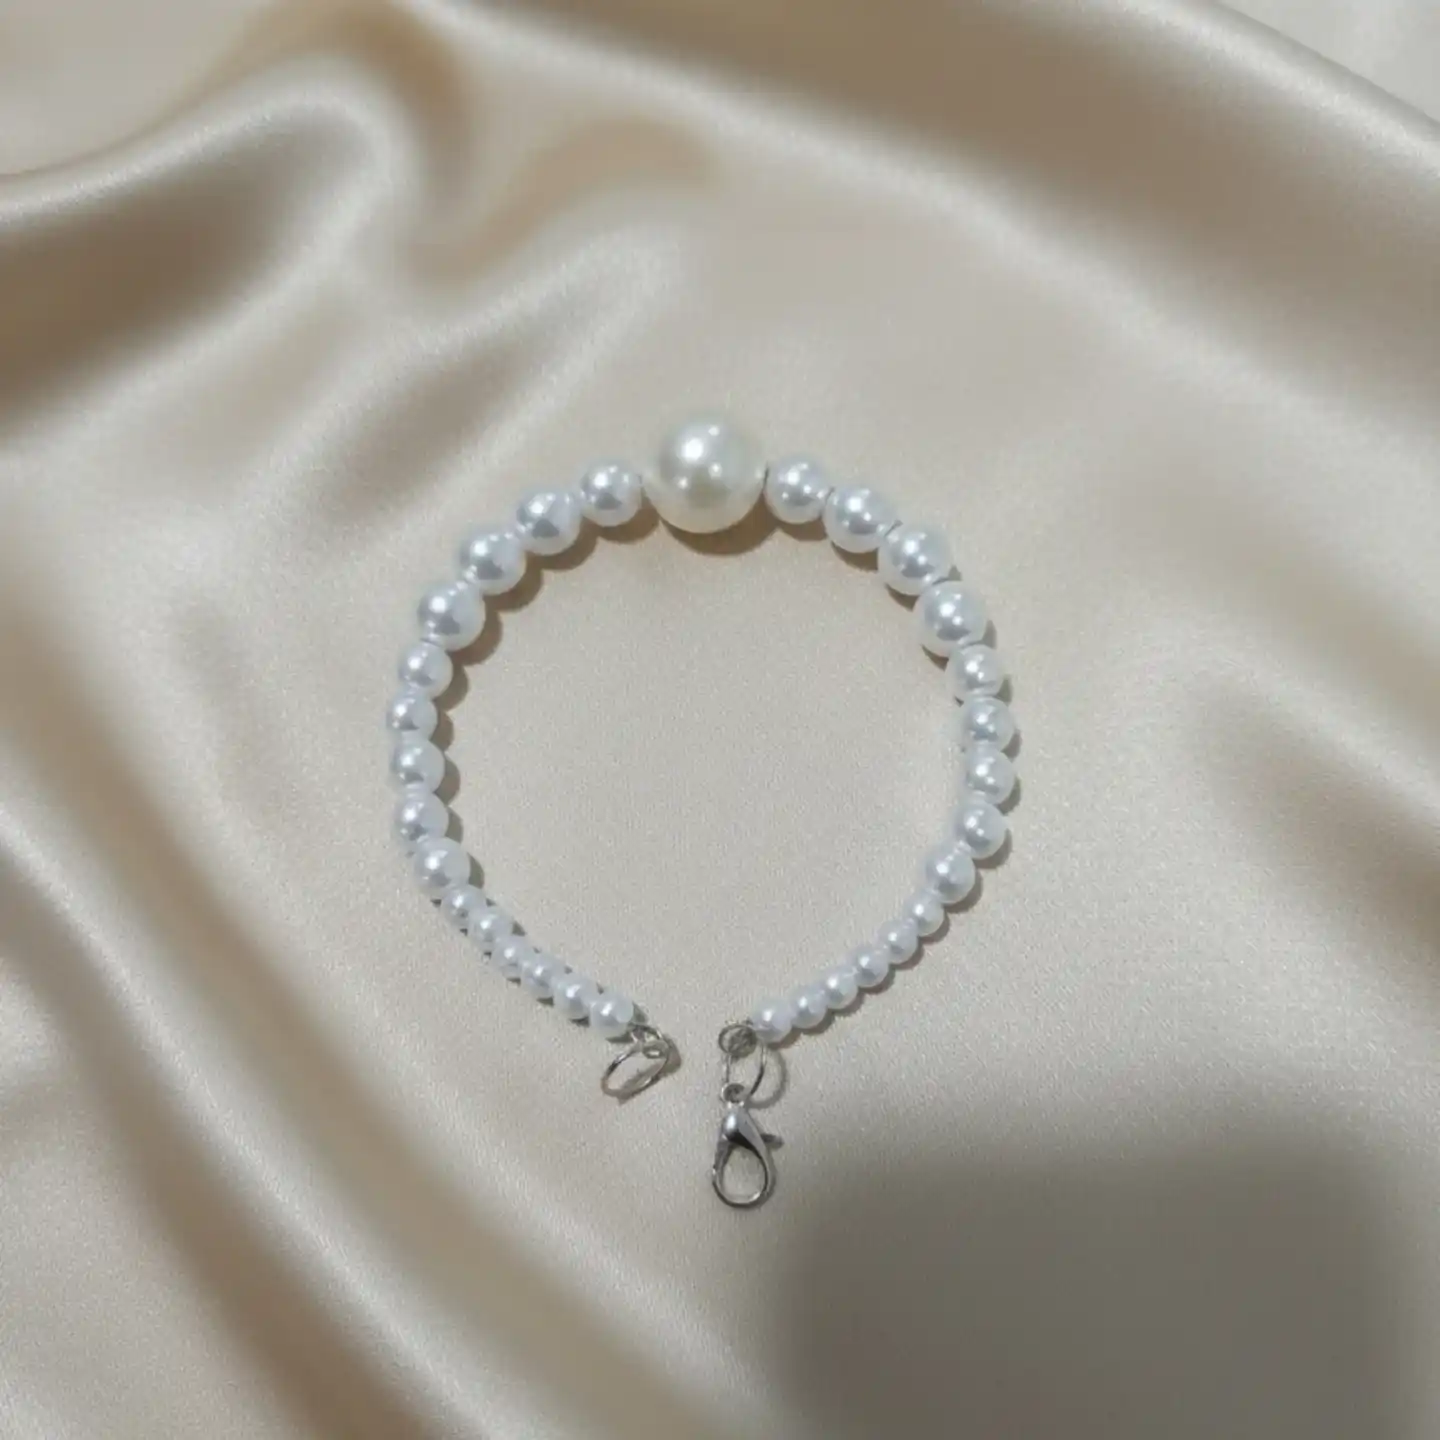
Sizing does the design work here. One large pearl sits at the top center, then the pearls step down in size as they travel toward the clasp, ending in small ones at the back of the wrist. No wrapping, no cages, no shaping.
The wire runs straight through and finishes with a loop at each end, one holding a lobster clasp and the other a plain ring.
This is the easiest project in the list and a good place to start if the wrapped designs look intimidating.
Sort your pearls into piles by size before you string a single one. Once they are on the wire, fixing the order means taking the whole thing apart.
Plain does not mean boring. One oversized pearl at the center is the only decision that separates this from a row of identical beads.
2. Pearl and Gold Wire Waves Held by Tiny Wraps

Look closely at the joints and the whole design makes sense.
Two beaded strands and two bare wire arcs cross each other in a soft wave, and at every crossing point a few turns of thin wire lock the pieces together. Nothing is glued. The wraps are the hardware.
What makes this one beginner friendly:
- Small round pearls sit flush on the wire, so no spacers are needed
- The bare arcs stay empty on purpose, which keeps the design from looking crowded
- A ready made toggle clasp finishes both ends, no clasp making required
- Wrapped joints are forgiving, since a messy wrap can be unwound and redone
Count your pearls per section before you wrap anything. Uneven strand lengths are the one mistake that shows on the wrist, and it is much easier to slide two beads off than to undo four sets of wraps.
3. Copper Spiral Triangles Linked With Stone Beads

Repeating one small shape is what turns a handful of wire scraps into a finished piece.
Every link here is the same triangle with a spiral coiled inside it, made over and over, then joined by beaded connectors so the chain bends comfortably around the wrist.
The beads do quiet work too. Milky white stones and dusty rose ones alternate, which keeps the eye moving instead of landing on one busy section.
Each bead sits on its own short wire with a loop at both ends, so a link can be swapped out later without rebuilding the whole bracelet.
Roll a tight spiral at one end of the wire, then bend the remaining length into three sides around it.
Bend five or six triangles and keep the best ones. Hand bent shapes vary, and picking the closest matches evens out the chain.
Thread one bead on a short wire, then wrap a loop at each end so the beads and triangles alternate.
Bend one end into an S hook and leave a plain loop on the other side to catch it.
A word of warning: keep the spirals flat against the table while you work. A spiral that lifts even slightly will snag on sleeves all day.
4. One Big Filigree Centerpiece With Simple Beaded Sides
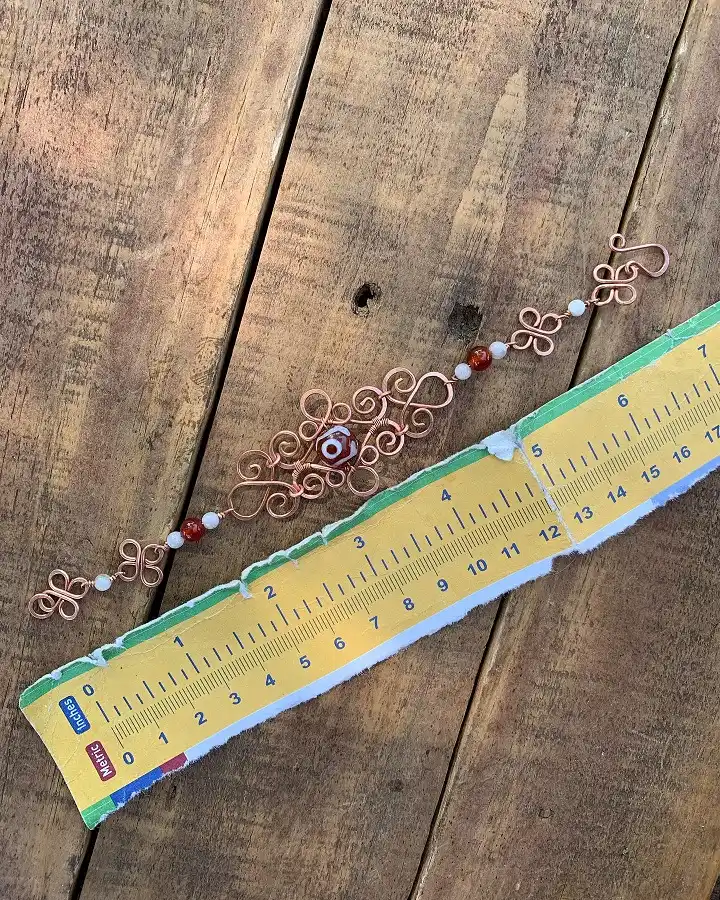
Not every part of a bracelet has to work equally hard. All the detail here sits in the middle: a wide panel of curls and swirls built around a single patterned bead, wrapped in place with fine copper.
Everything past that panel drops to simple bead links and small four loop clover shapes, which cost far less time and let the center stay the star.
That ruler in the photo is worth copying as a habit. Laying the finished chain along a ruler as you build tells you when to stop adding links, which beats guessing and then unwrapping three joints.
Build the centerpiece first while your hands are fresh and your patience is full. The side links go quickly once the hard part is behind you.
Subscribe to DIY Craft Bloom
Get updates on the latest posts and more from DIY Craft Bloom straight to your inbox.
5. A Stack of Three Slim Wire Bracelets in One Bead Color
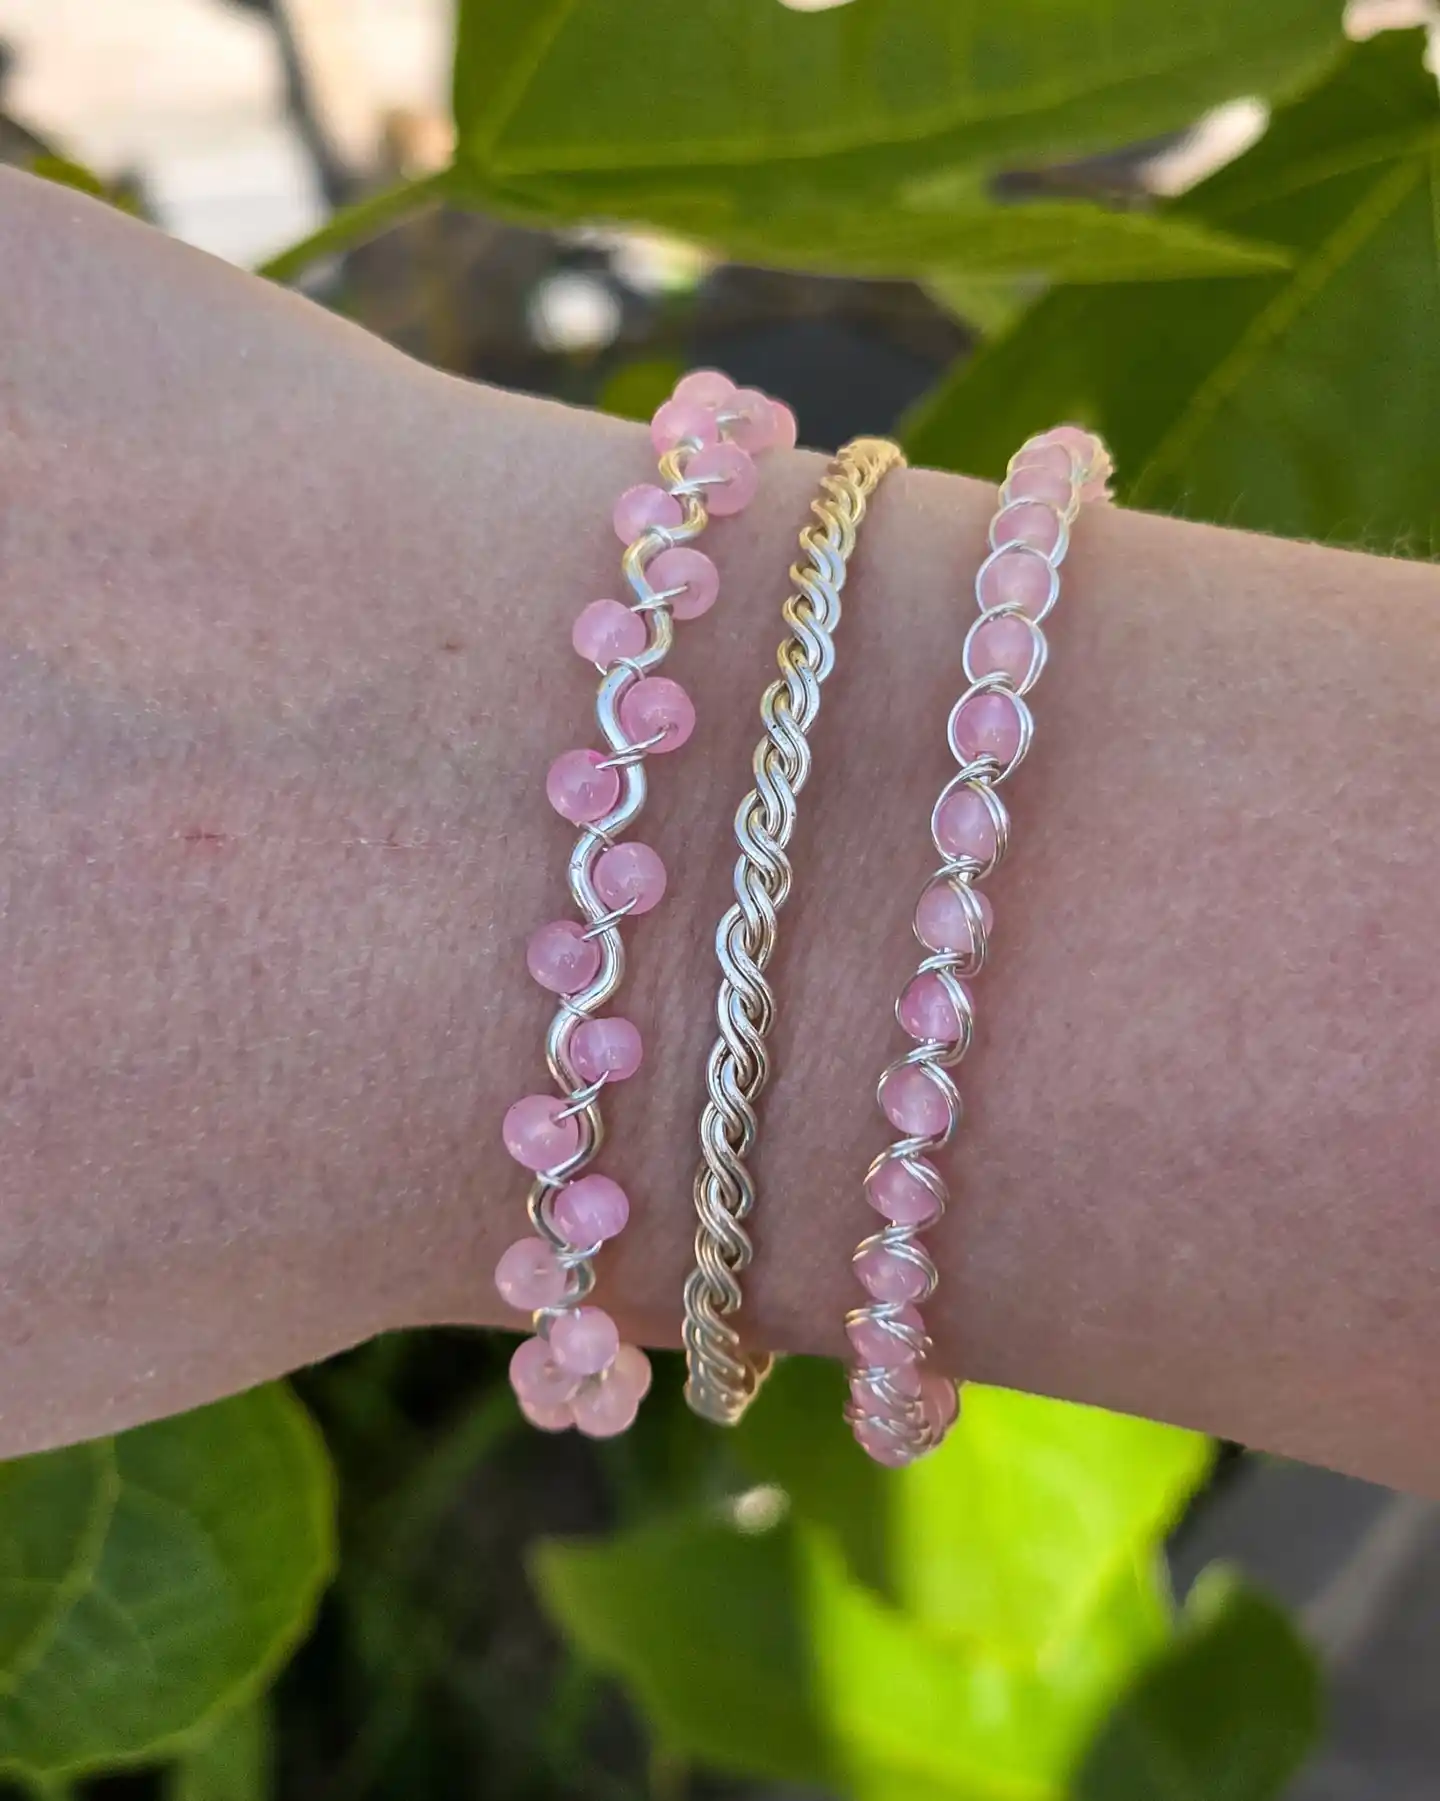
Stacking works best when the pieces agree on something. These three share the same soft pink glass beads and the same slim width, so they read as a set even though each one uses a different wire technique.
The outer two capture beads in silver wire loops. The middle one skips beads entirely and twists two wire strands into a rope.
Skinny bands stack better than wide ones. Three thin bracelets take up about the same wrist space as one chunky cuff, and the small gaps between them let your skin show through, which stops the stack from looking heavy.
| Beaded bands | Twisted rope band |
|---|---|
| Wire loops over each bead to hold it in place. | Two wire strands twisted together along the whole length. |
| Slower, since every bead gets its own wrap. | Fast, and forgiving if the twist is a little uneven. |
| Adds the color to the stack. | Gives the eye a plain place to rest between the beaded rows. |
| Beads sit proud, so the surface feels bumpy. | Smooth against the wrist, good as the middle layer. |
Make the plain twisted one first. It takes ten minutes, and finishing something quickly makes the beaded pair feel much less daunting.
6. Boho Zigzag Wire Weave Bracelet
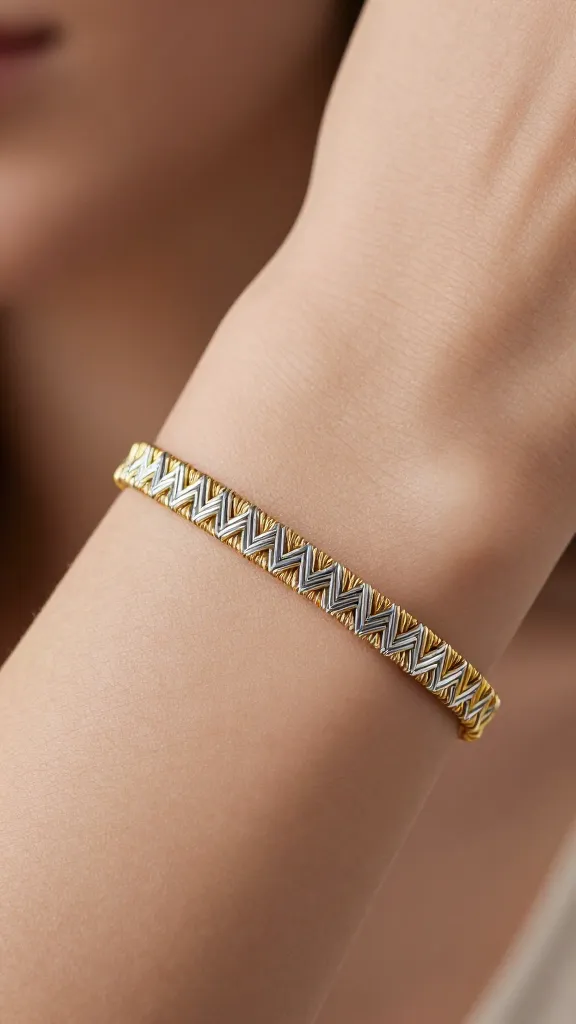
Picture this: a slim, shimmering bracelet that twists in a bold zigzag along your wrist. This design feels airy, modern, and casually chic—perfect for layering or standing alone as a statement piece.
Materials
- Thin craft wire (22–26 gauge) in gold or silver
- Wire bending pliers
- Wire cutters
- Optional beads for accent
How to Make It
- Cut a length of wire and bend into a gentle zigzag pattern with your pliers.
- Continue along the length, creating alternating peaks and valleys for a balanced look.
- Gather ends and twist to form a slender cuff; wrap the ends securely to close.
Pro Tips
- Slide tiny beads into the valleys before closing for a sparkly touch.
- Polish with a soft cloth to keep it gleaming.
This one shines best with a minimalist outfit—think sundresses or casual denim. You’ll love how the geometry reads as art on your wrist.
7. Big Green Beads Held by a Single Wrapped Wire
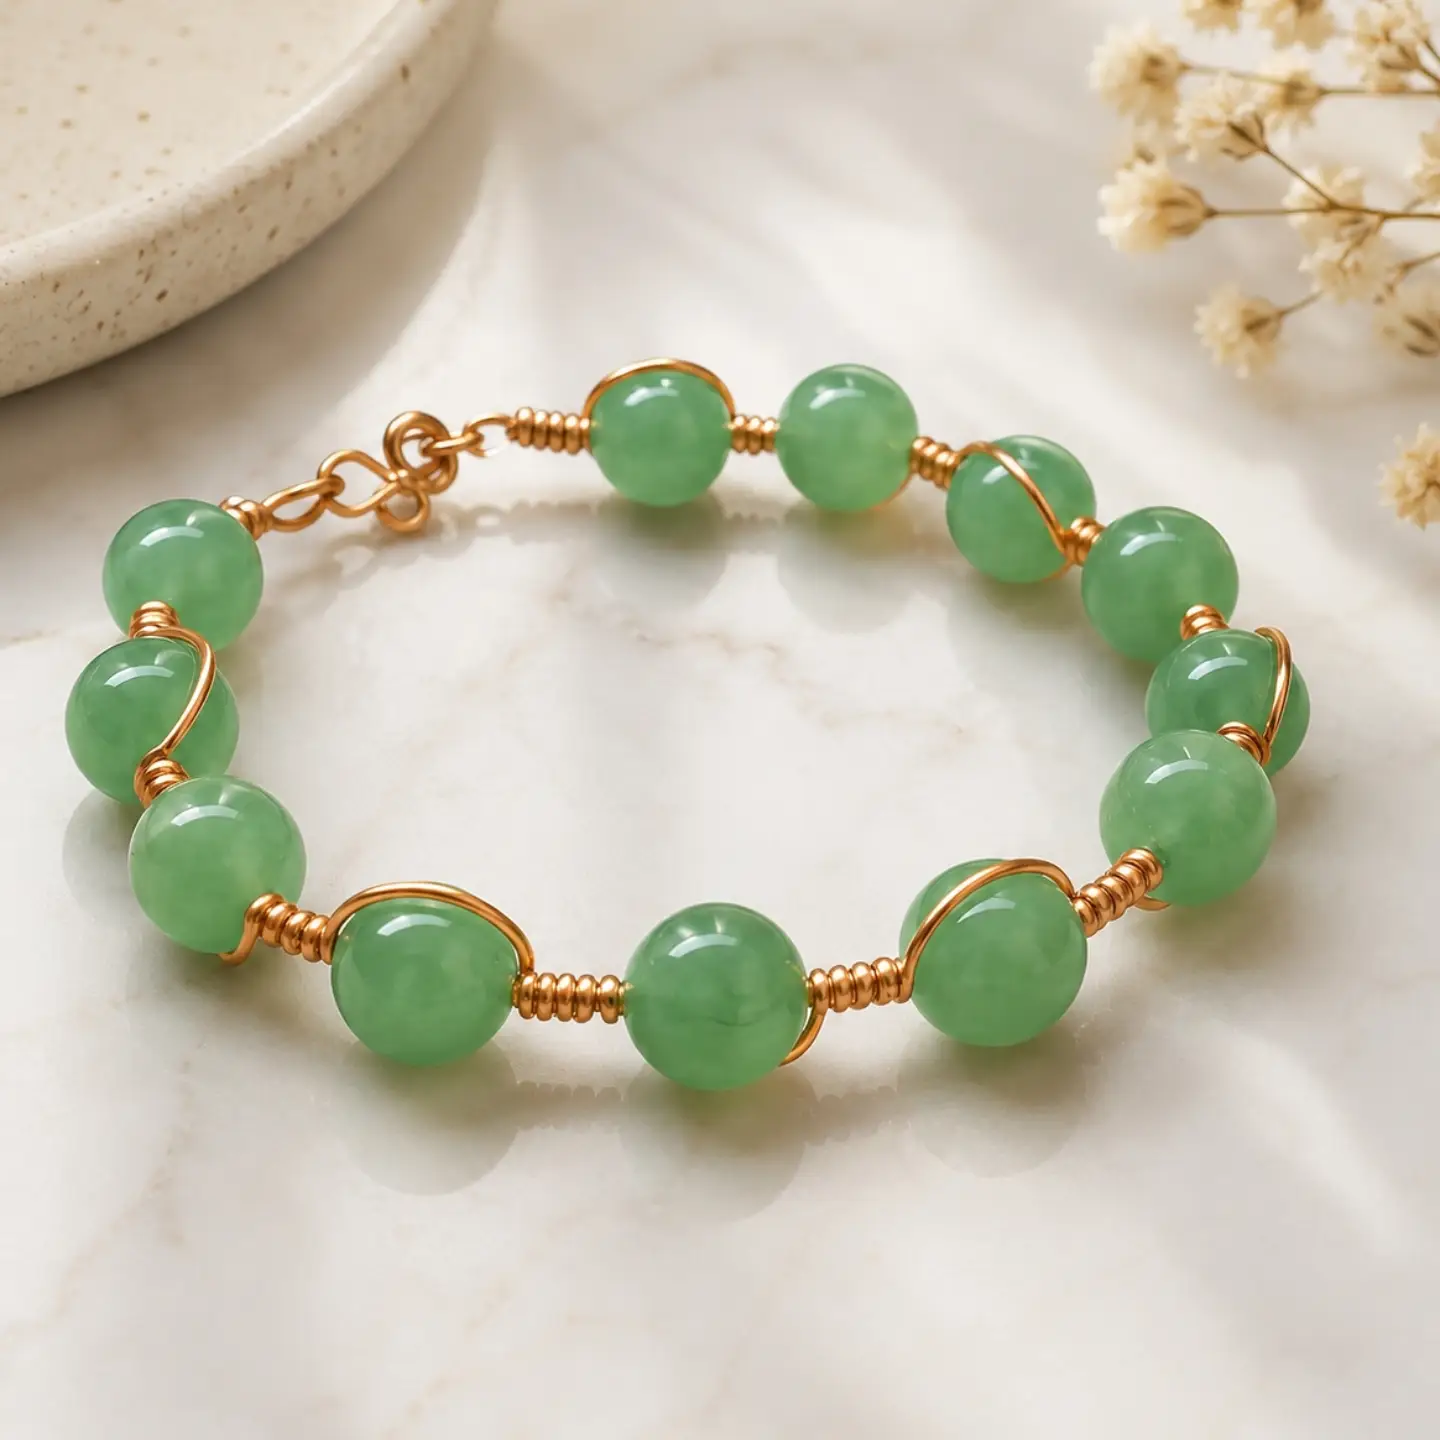
Only one continuous wire runs through this whole bracelet. It threads a bead, curves over the outside of it, comes back to the core, and coils a few tight turns before the next bead.
That little coil between beads is what keeps everything spaced and stops the beads from sliding.
Chunky beads make the technique easier, not harder. Large rounds give the wire a wide surface to hug, the coils have room to sit, and the whole piece fills a wrist with only ten or twelve beads.
Cut your wire much longer than the finished bracelet, roughly three times the length. Running out halfway means adding a join you will always see, and trimming the extra at the end costs nothing.
Keep the same number of coil turns between every bead and the rhythm stays even all the way around. Three turns each time is easier to count than trying to eyeball equal gaps.
8. Wire-Stamped Charm Bangle
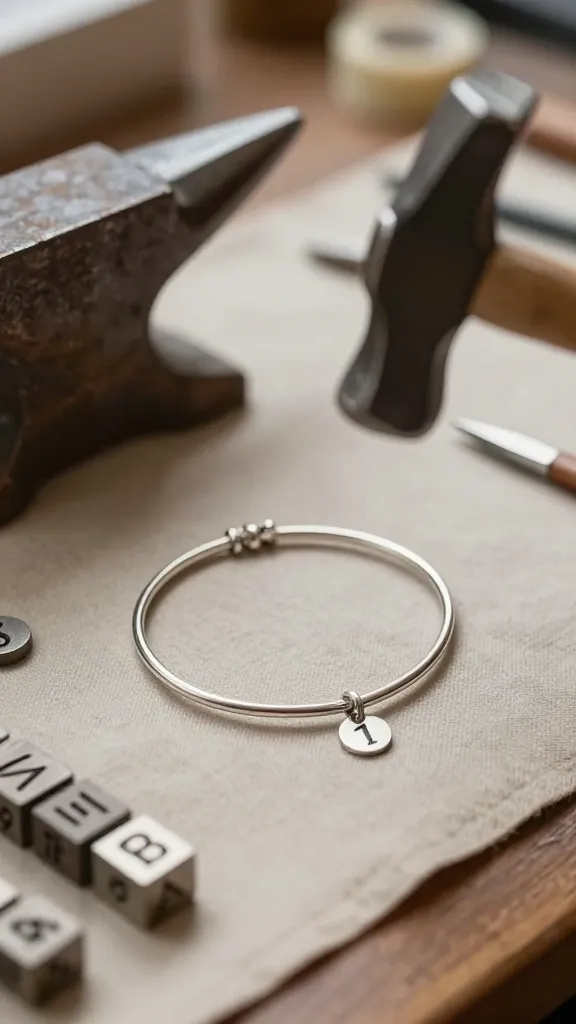
Channel a tiny charm shop vibe with a personalized, stamped-in-metal look. This bracelet is all about a clean silhouette and a single, meaningful charm on a wire cuff.
Materials
- Sturdy but flexible wire (20–22 gauge)
- Metal letter stamps or small charm
- Hammer and anvil or sturdy metal block
- Protective tape
How to Make It
- Form a comfortable cuff shape around your wrist with craft pliers.
- Place the charm or initial stamp gently on the wire and hammer for a flat, engraved look.
- Keep the ends smooth and tuck them in so there’s no sharp edges.
Imagine gifting this to a bestie with her initials, or wearing your own as a daily reminder. It’s simple, meaningful, and seriously adorable.
9. Silver Wire Cages Around Soft Lavender Beads
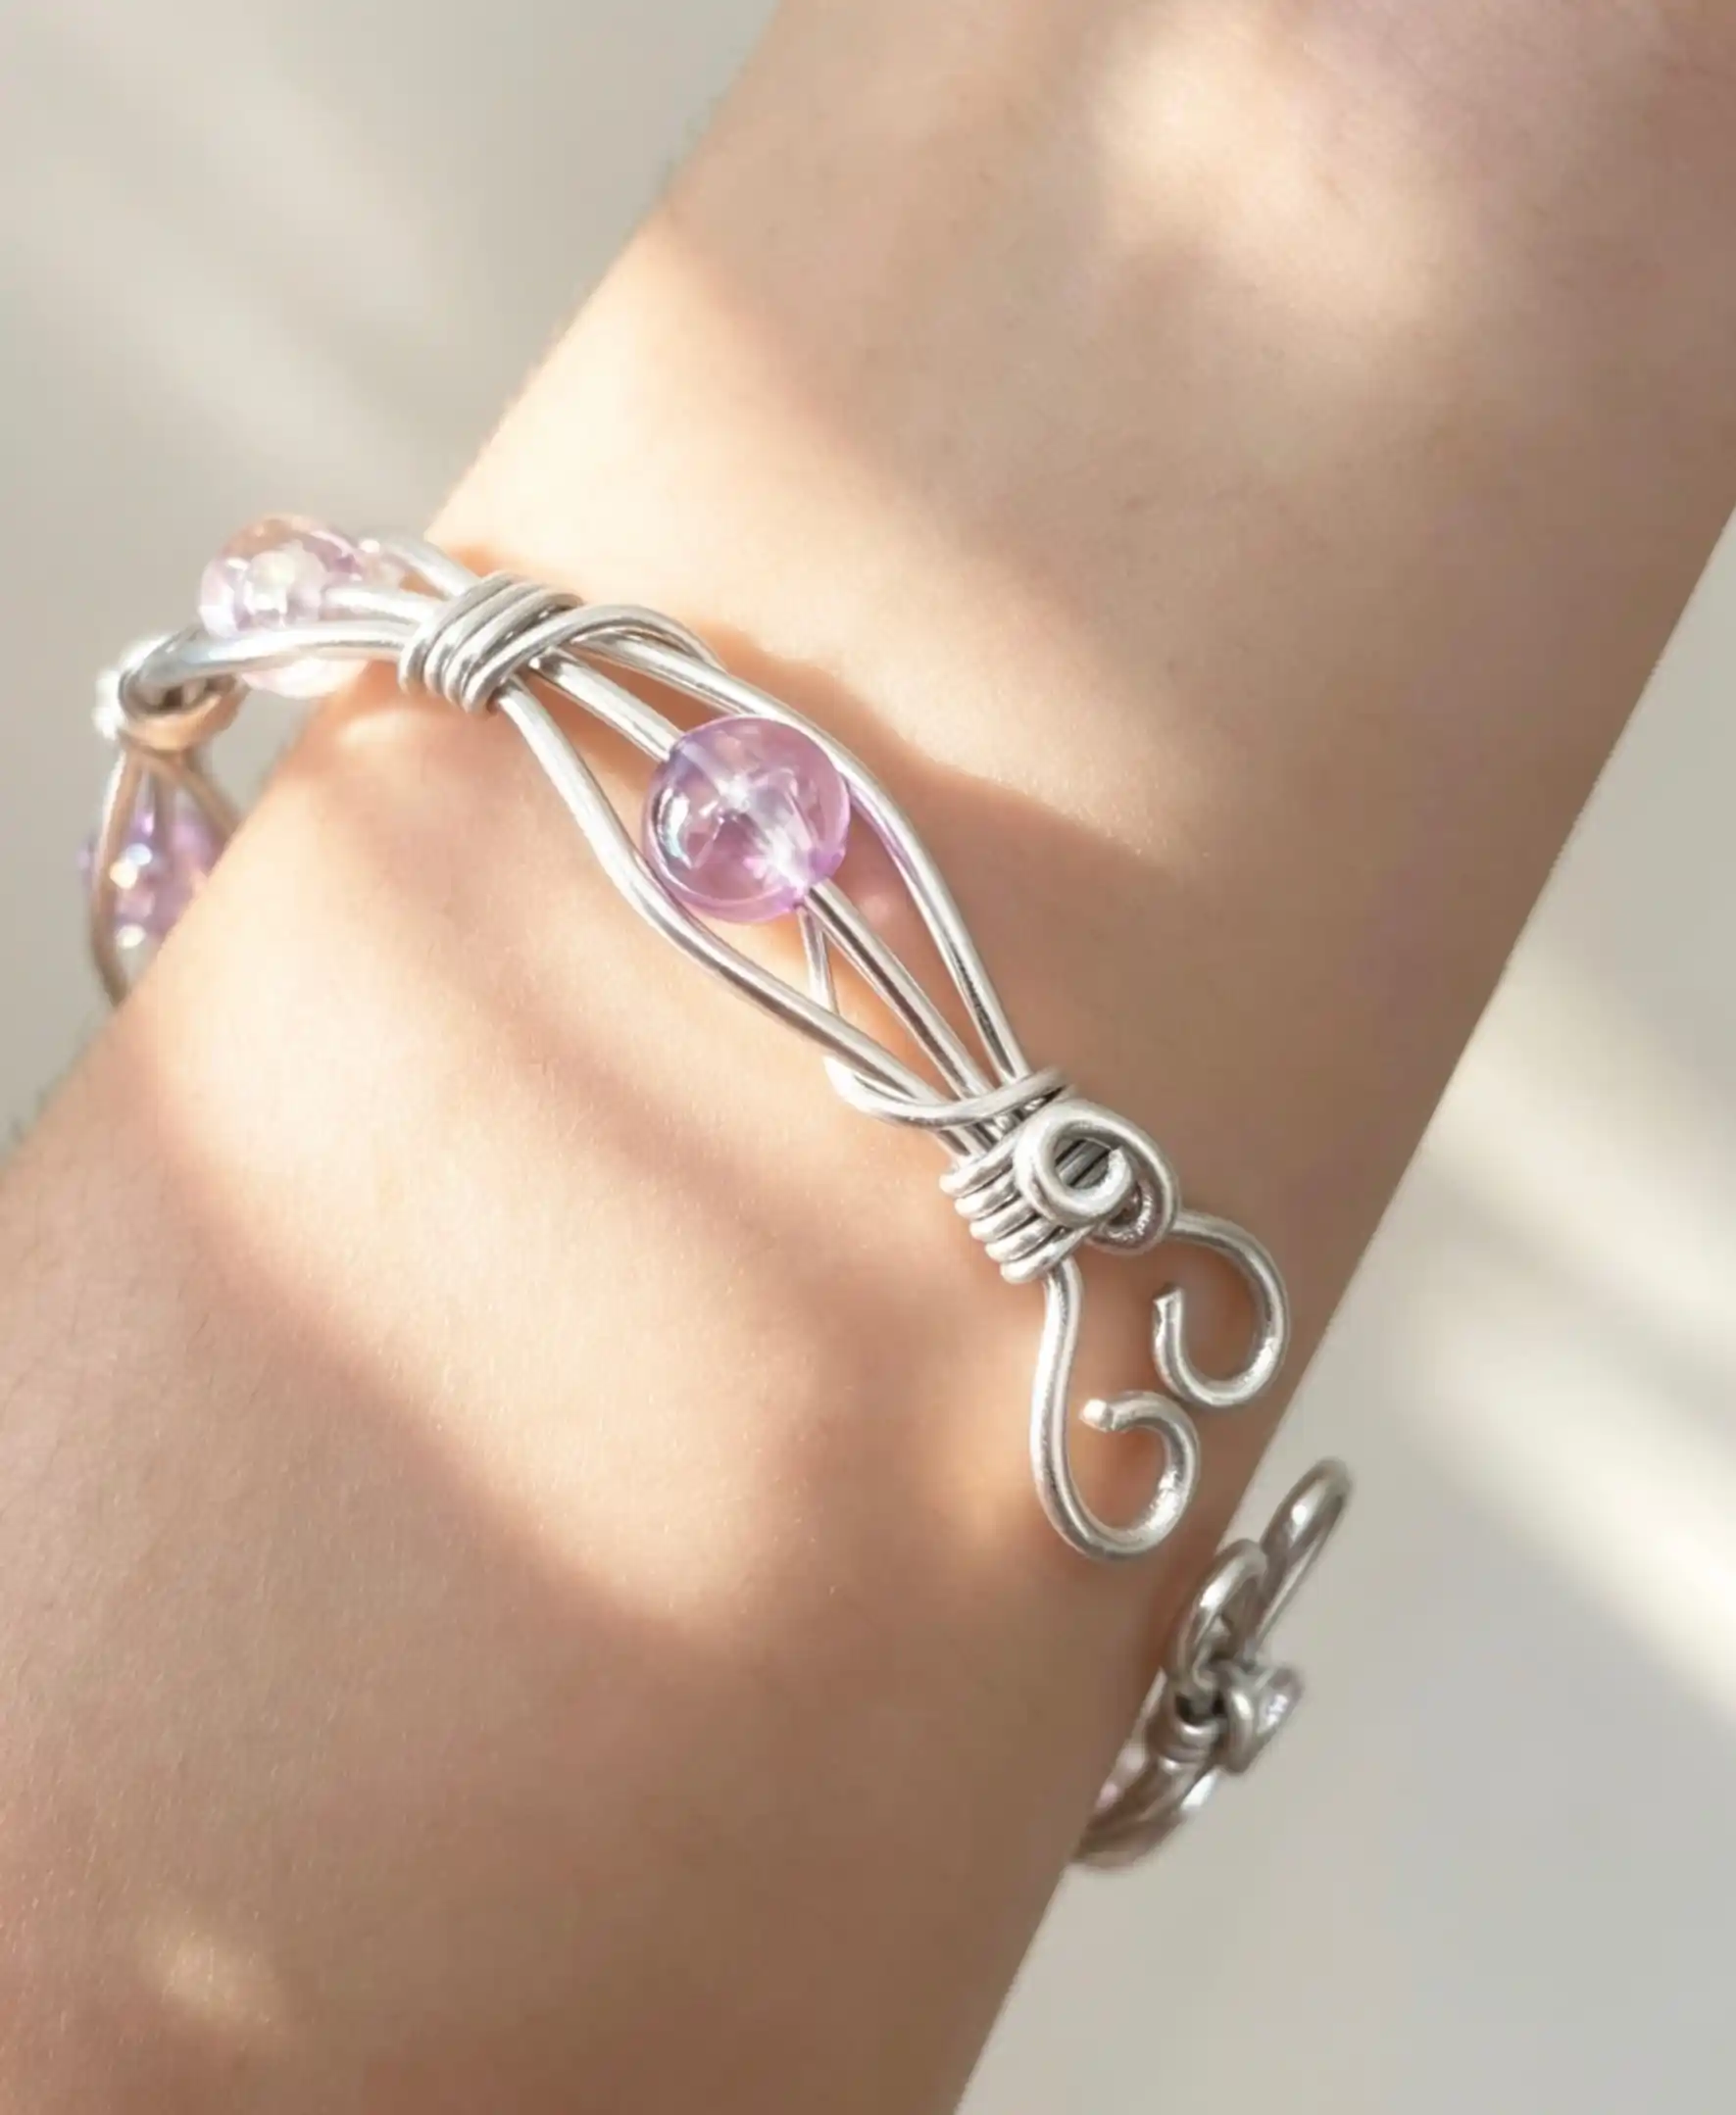
Four strands of silver wire run side by side down this bracelet, and at each bead they spread apart into an oval cage before pulling back together.
Tight bands of wrapping wire pinch the strands closed on both sides of every bead. The bead sits inside, visible from all angles, held without a single drilled connection showing.
The spacing between the pinch points is the whole design. Wrap too close to the bead and the cage flattens. Leave a little slack and the strands bow out into that soft oval shape.
Notice the clasp too: The leftover wire ends curl into an S hook and a matching loop, so the closure grew out of the build instead of being bought.
Use soft wire that bends by hand, since the strands need to spread and close repeatedly.
Wrap both sides of a bead before moving on, so it cannot shift while you work.
Pick clear or pale beads that let light through the cage.
Do not crowd the beads together. The cages need room to open.
Avoid dark opaque beads here. They hide behind the wire and the effect is lost.
Never trim the wrapping wire flush. Tuck the cut end under a coil.
10. Hammered Textured Wire Bracelet
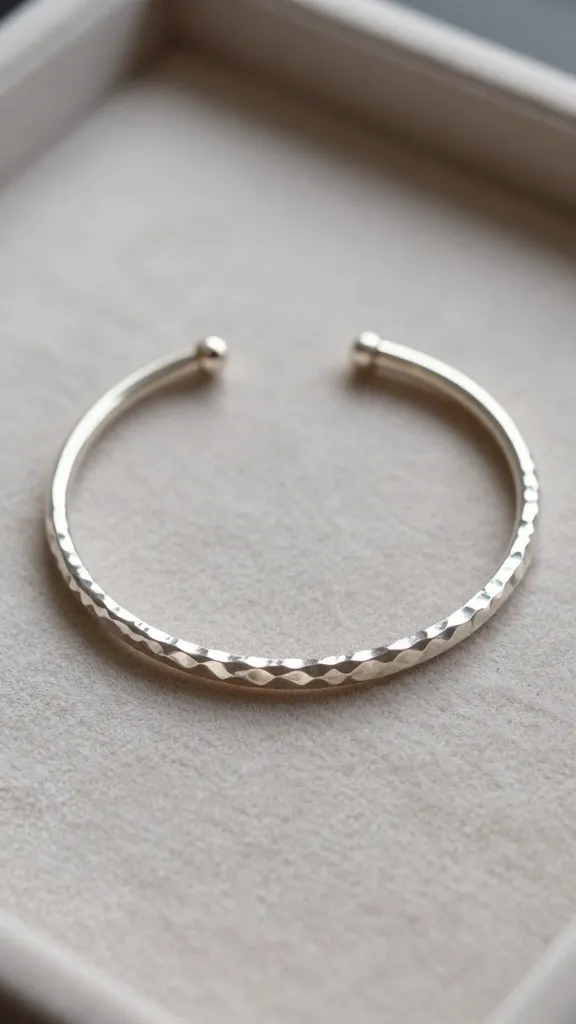
Texture tells a story. This bracelet catches light with every inch thanks to a hammered surface that feels artisan and tactile.
Materials
- Medium gauge wire (18–20)
- Hammer, small anvil, and chasing hammer for texture
- Pliers and wire cutters
How to Make It
- Shape the wire into a smooth, circular band for your wrist.
- Hammer the exposed surface in light, even taps to create uniform texture.
- Anneal if the wire becomes stiff, then reshape to fit.
The result is a bracelet that reads as “crafted with care.” It’s a closet staple that pairs with anything, from office chic to weekend casual.
11. Brass Wire Pods With an Adjustable Chain Tail

Compare this to the caged version and the difference is the extension chain.
Instead of a fixed length, a few large hand bent links trail off the end with a hook, so the same bracelet fits a slim wrist or a wider one depending on which link you catch.
The body follows a pod pattern. Two wires split around a pale bead, meet in a tight band of wrapping, then split again for the next one.
Beads sit at slightly different heights along the row, which gives the piece a hand made rhythm rather than a machine straight line.
Subscribe to DIY Craft Bloom
Get updates on the latest posts and more from DIY Craft Bloom straight to your inbox.
Adding an extension chain is the cheapest upgrade in wire work. Four extra links turn a piece that only fits you into one you can actually give away.
12. Double-Wire Stackable Cuff
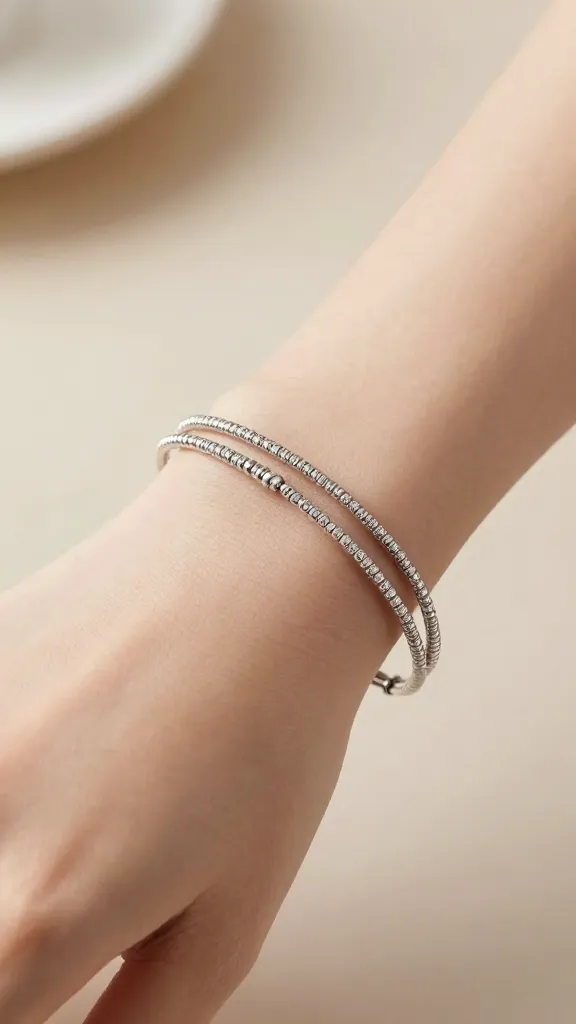
Two parallel wires, a dash of beadwork, and you’re wearing a modern, stackable cuff that looks like you’ve got your jewelry game on lock.
Materials
- Two lengths of flexible wire (20–24 gauge)
- Beads of choice (glass, seed beads, or tiny crystals)
- Beading needle (optional)
How to Make It
- Wrap a gentle curve around your wrist with both wires, keeping a consistent gap.
- String beads along one or both wires to taste before finishing the ends.
- Secure ends by twisting and tucking tightly, then trim excess.
Layer with other bracelets for a curated, just-right-mew vibe. It’s a playful, modern take on a classic style.
13. Hammered Copper Wave Cuff With a Coiled Band
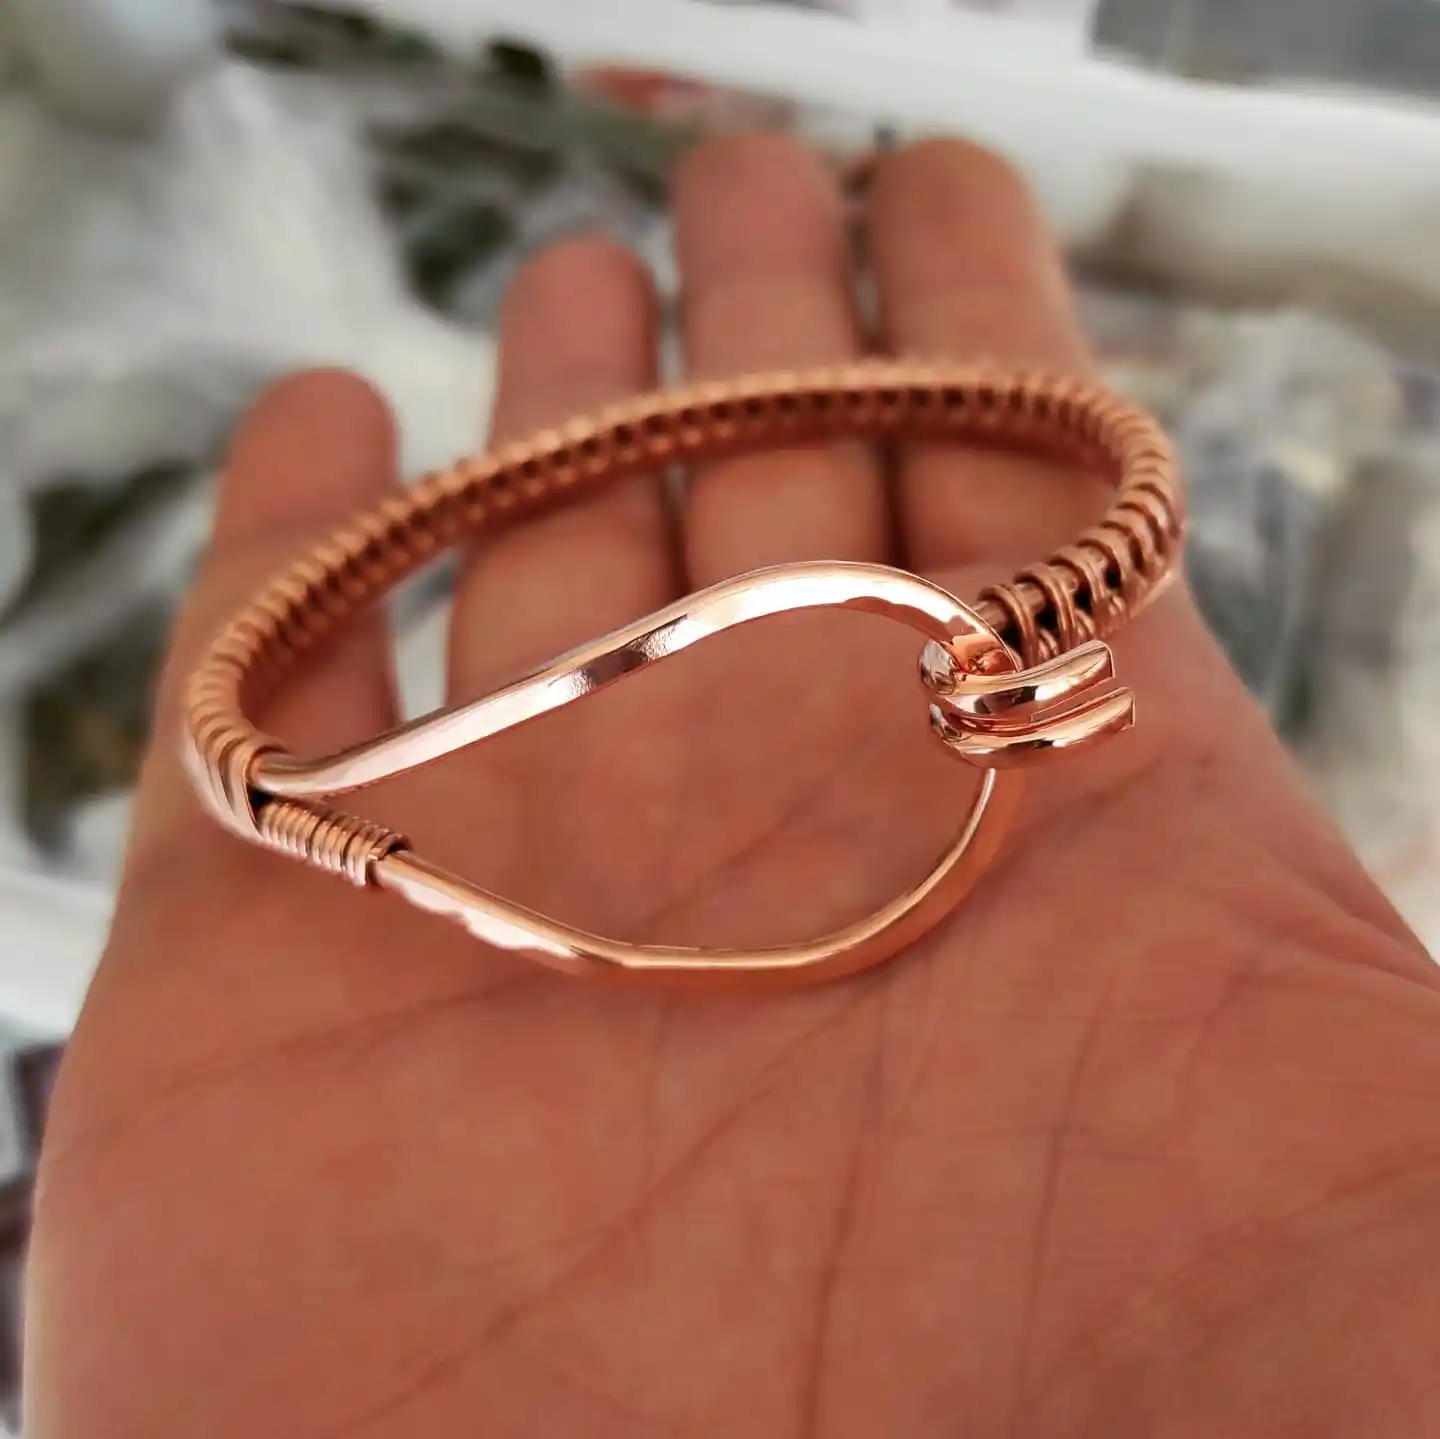
Two very different wire techniques share one bracelet here, and that contrast is the whole trick. The front is a single thick wire bent into a long S curve and flattened with a hammer so it catches light.
The back half is a plain core wire wrapped in tight, even coils of thinner wire, which adds grip and texture without any extra materials.
For a first attempt, work the curve before you coil anything. Bend the shape around a marker or a bottle, tap it flat on a hard surface, then wrap the remaining wire in one steady direction.
Even spacing matters more than perfect coils. Two soft bends in the wire mean the cuff opens just enough to slide over your wrist and springs back once it is on.
Hammering widens the wire where it bends, so the front reads as a solid band instead of a loop of wire.
Texture sits where nobody looks, so the wrapped section supports the design instead of fighting it.
Each cut end is rolled into a small loop, which hides the sharp tip and doubles as the closure.
14. Nature-Inspired Leaf Wire Bracelet
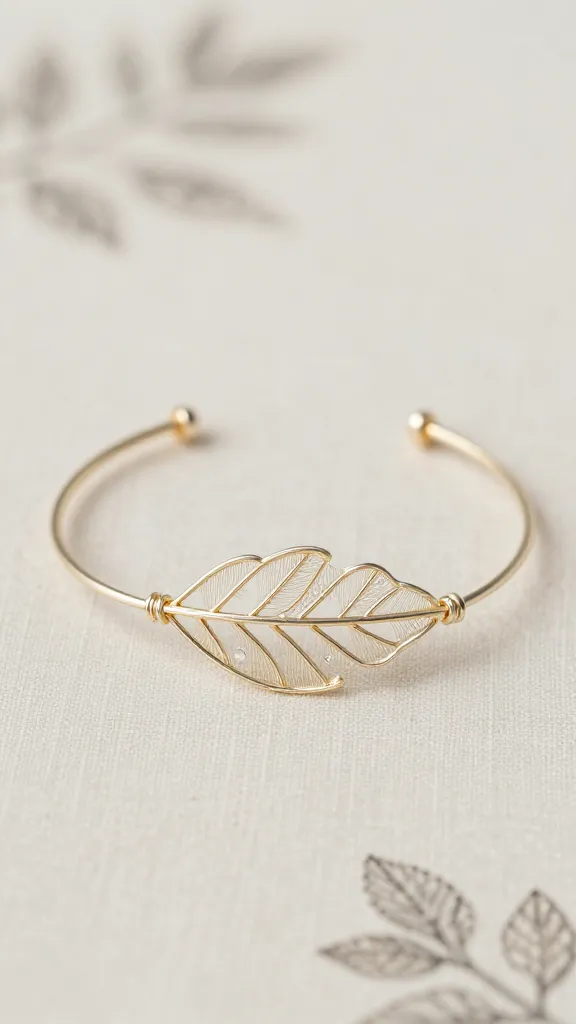
Bring the outdoors in with a delicate leaf-inspired silhouette sculpted from wire. It’s whimsical, airy, and endlessly charming.
Materials
- Fine wire (22–24 gauge)
- Beads for dew-like accents (optional)
- Round-nose pliers
How to Make It
- Shape the wire into a leaf outline, using gentle curves for a natural look.
- Create a vein line by twisting a thinner wire down the center.
- Attach to a slim cuff or shape into a standalone pendant bracelet.
Wear this with linen dresses or botanical prints for a nature-loving vibe. It invites compliments and smiles alike.
15. Geometric Diamond Arrow Bracelet
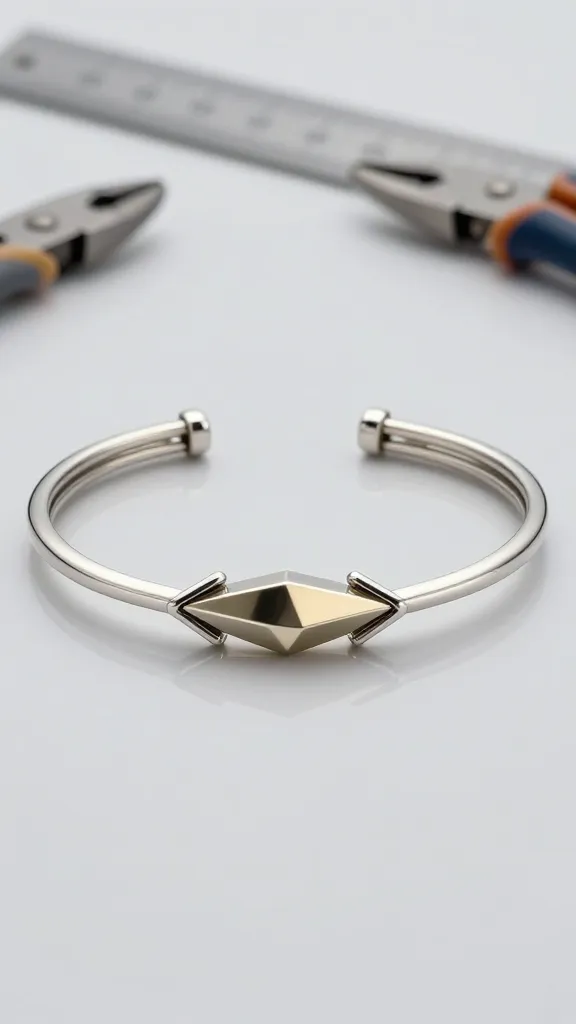
Geometric lovers, assemble. A crisp diamond motif, clean lines, and a fearless silhouette—this bracelet feels futuristic but wearable, especially in metallic tones.
Materials
- Medium gauge wire (20–22)
- Ruler or straightedge for precise angles
- Wire cutters and pliers
How to Make It
- Layout a diamond shape with precise angles, then wrap a second wire along the outer edge for a bold frame.
- Close the ends snugly and ensure symmetry before trimming excess.
Pair with a minimalist outfit for a futuristic touch or stack with other geometric pieces for a bold, curated stack. Seriously satisfyingly sleek.
16. Beaded Pearl Accent Bracelet
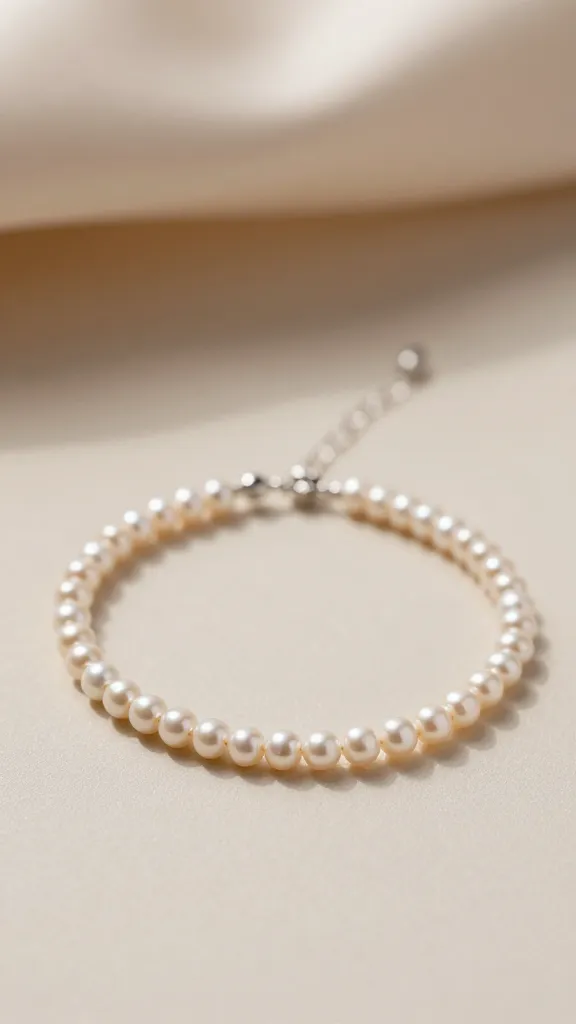
Elegance meets DIY in a bracelet that balances wire with tiny pearls or pearl-like beads. The result is timeless and camera-ready.
Materials
- Flexible wire (20–22 gauge)
- Small faux pearls or seed beads
- Beading needle (optional)
How to Make It
- Thread a few pearls onto the wire, spacing them evenly as you go.
- Wrap the ends to form a gentle cuff, keeping the beaded strand taut.
- Finish with a clean cap or a tiny charm if you like.
Dress this up for a wedding guest look or dial it down with a tee and jeans. It’s versatile enough for daily wear and special occasions.
17. Rainbow Wire Rainbow-Wrap Bracelet
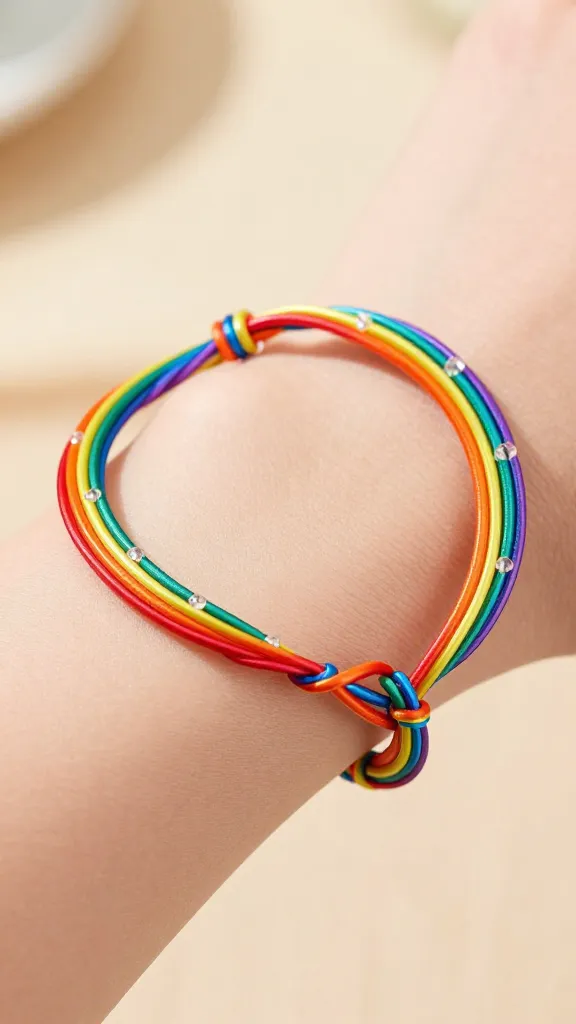
Color lovers, rejoice. A rainbow-wrapped bracelet that blooms with color in a smooth, continuous arc—bright, joyful, and totally YOU.
Materials
- Colored craft wire in several bright hues
- Thin pliers and cutters
- Optional tiny glass beads for sparkle
How to Make It
- Bend each color into thin arcs, then weave them together in a loose braid around a central spine of wire.
- Wrap securely around your wrist and tuck the ends away neatly.
This one is a mood lifter—fun to wear, even more fun to show off on social. It’s a burst of sunshine on your arm.
18. Minimalist Knot-Wrapped Wire Bracelet
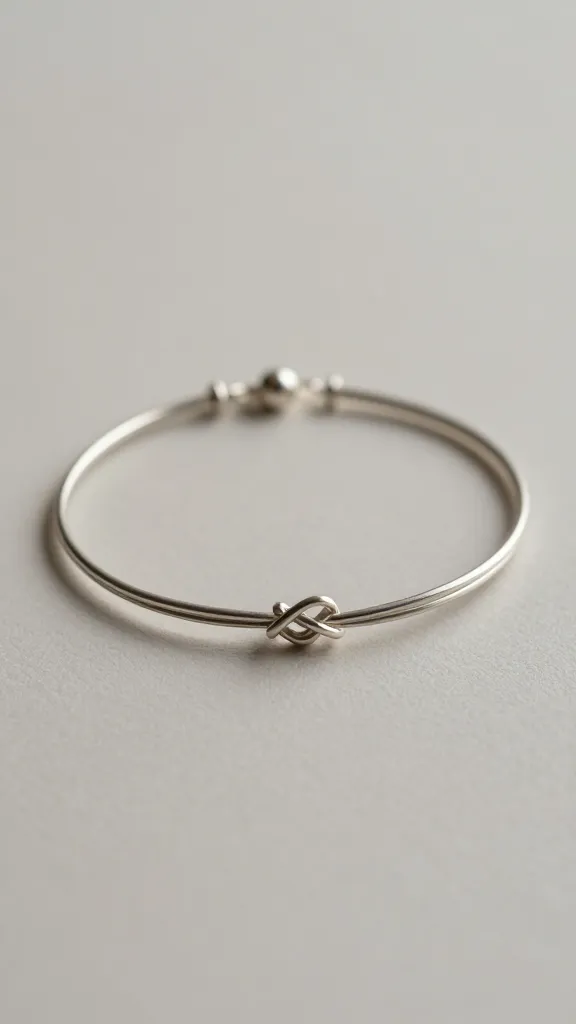
Less is more with a sleek knot-wrapped design that feels both chic and subtly edgy. It’s the kind of piece you reach for when you want “effortlessly stylish.”
Materials
- Flexible wire (20–22 gauge)
- Beads or small charms for a focal point (optional)
- Wire instructions for tight knots
How to Make It
- Shape the wire into a gentle bracelet loop, then wrap a second wire around to create a knot motif.
- Incorporate a bead at the knot if you want a subtle focal point.
The minimalist look makes it perfect for office wear, or paired with bolder pieces for a balanced stack. It’s a quiet, confident designer vibe you’ll reach for again and again.