14 Creative Craft Ideas for Kids Using Stuff You Already Have

The words “I’m bored” tend to land right when you have the least patience for them. School is out, the weather turned, and the screens have already had their turn.
What pulls you out of that hole is usually sitting in plain sight: cotton balls under the sink, leaves in the yard, a bag of pom poms from last year.
This roundup gathers 14 creative craft ideas for kids that lean on cheap, everyday supplies. Some come together in ten minutes, like paper face puppets a toddler can wave around the same afternoon.
Others stretch into a slow project, like a cotton ball blossom tree dabbed on one blossom at a time.
Every craft here does double duty. Pinching a clothespin, cutting paper, rolling clay beads, all of it quietly builds the small hand skills kids need for writing later.
They just think they are playing. Better still, each one ends with something to hang up, wear, or perform with, which is what makes a child ask to do the next one.
Match a project to the age at your table and start there.
1. Pom Pom Flower Picture
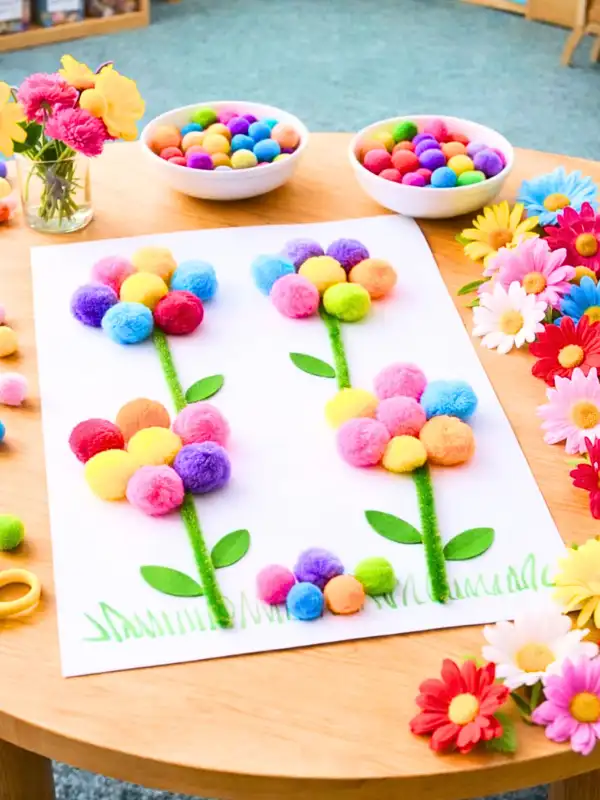
- Base: a sheet of white cardstock
- Petals: craft pom poms in mixed colors, six per flower
- Stem: a green pipe cleaner or a marker line
- Leaves: small felt or paper ovals
Group six pom poms in a ring for petals and press one more in the center. Glue them along the stem so each flower sits at a different height. Kids sort colors as they go, which sneaks in a little counting practice.
Fill the empty corners with a few loose pom poms and short grass lines. A full page looks finished instead of bare.
Supply note: tacky craft glue grips fuzzy pom poms far better than a glue stick, which lets them roll right off.
2. Leaf Bouquet with Silly Faces
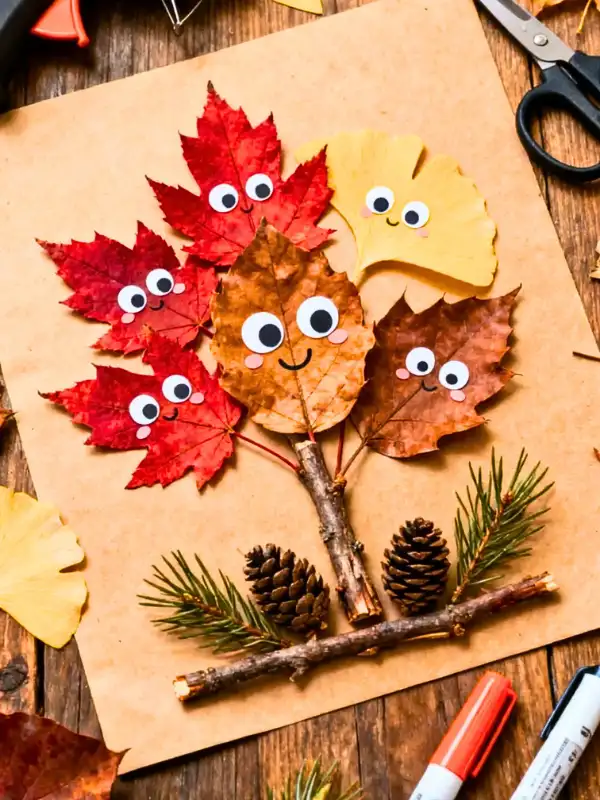
Real leaves turn into a bunch of little characters once you add eyes and a smile.
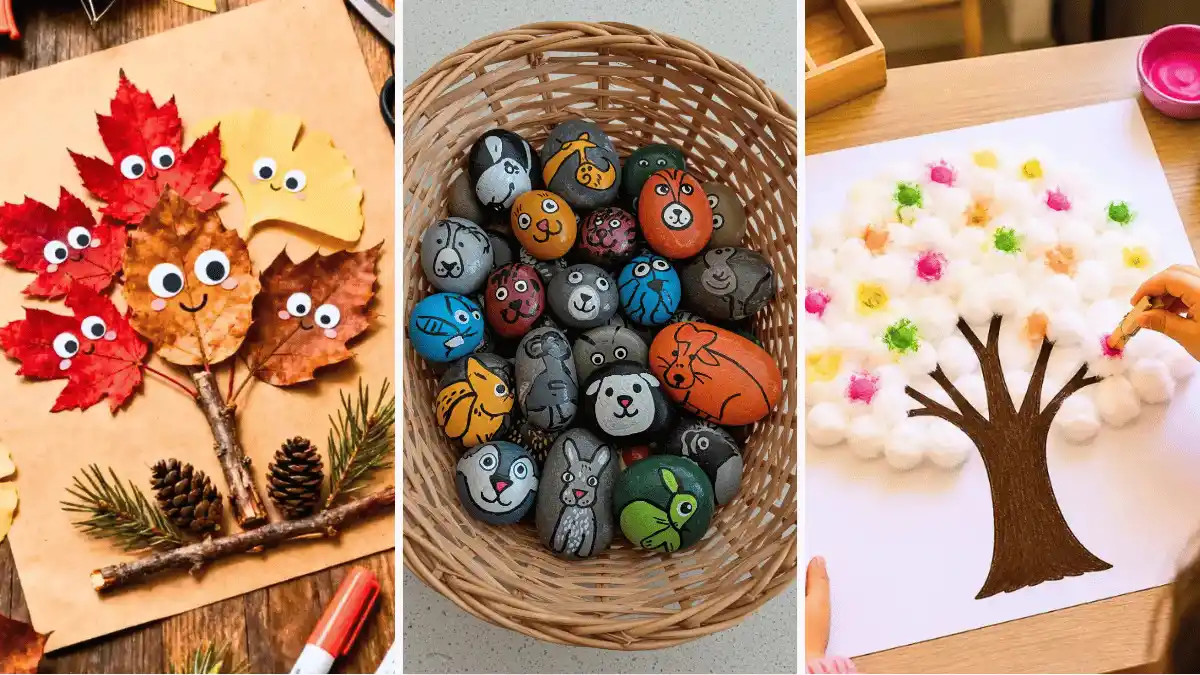
Collect fall leaves in different colors and shapes, then press them flat under a heavy book overnight so they stop curling.
Stick paper eyes and a marker smile on each one. Round googly eyes give them personality fast, and no two faces need to match.
Bundle the leaves around a few twigs and glue the whole thing to kraft paper.
Set pinecones and a sprig of pine at the base to anchor the bunch. The finished piece looks like a family photo of goofy leaf people.
Care tip: brush a thin coat of mod podge over each leaf so it stays flat and does not crumble in a month.
3. Cotton Ball Blossom Tree
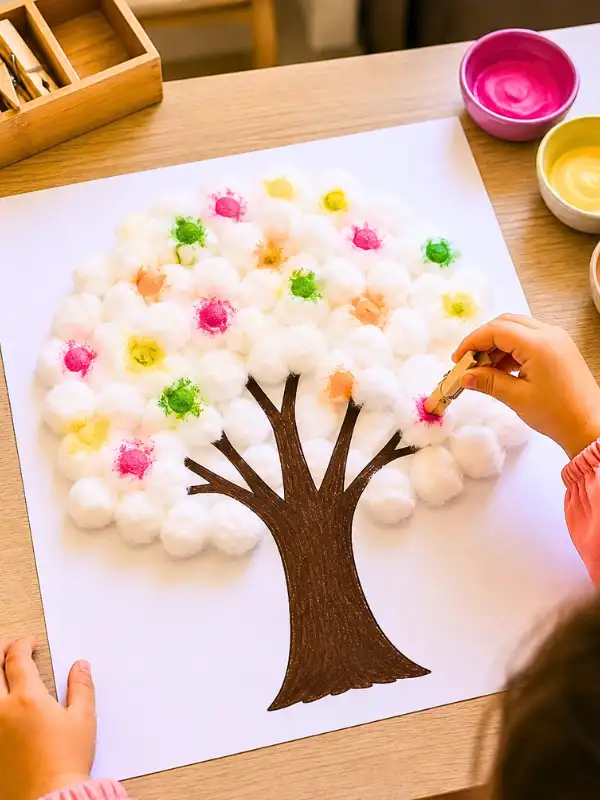
Draw a bare brown tree trunk in the middle of a page, or paint one if the child prefers. Kids then pinch cotton balls with a clothespin, dip them in dots of paint, and press them on as blossoms.
Why it works:
- Holding a clothespin builds the pinch grip kids need for a pencil later
- Dabbing paint onto cotton adds soft texture a flat brush cannot
- Plain white cotton balls fill the gaps so the tree still looks full
Scatter pink, yellow, and green blossoms across the branches. Leave some cotton white for a spring tree just starting to bloom.
Make it easier: pour each paint color into its own small bowl so little hands are not reaching across a messy palette.
4. Two Tone Paper Face Puppets
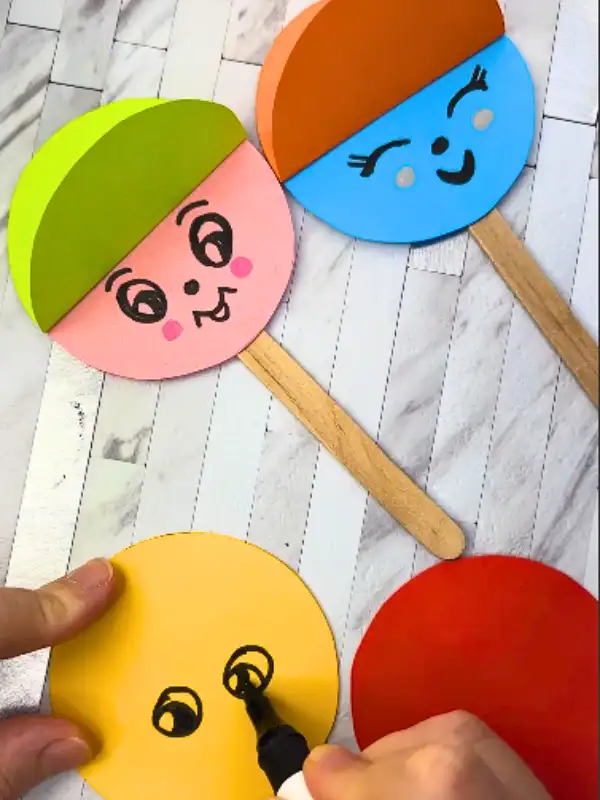
Best for: toddlers and preschoolers who want a quick craft they can play with right away.
Subscribe to DIY Craft Bloom
Get updates on the latest posts and more from DIY Craft Bloom straight to your inbox.
Cut a circle from colored paper for each face. Glue a curved strip of a second color across the top for hair, so a green cap sits on a pink face or brown hair on blue. Tape a craft stick to the back as a handle.
Hand the child a marker to draw the face. Big round eyes, rosy cheeks, and a small smile are all it takes, and every one comes out different.
Try instead: skip the stick and glue a magnet on the back to turn these into fridge decorations.
5. DIY Dream Catchers
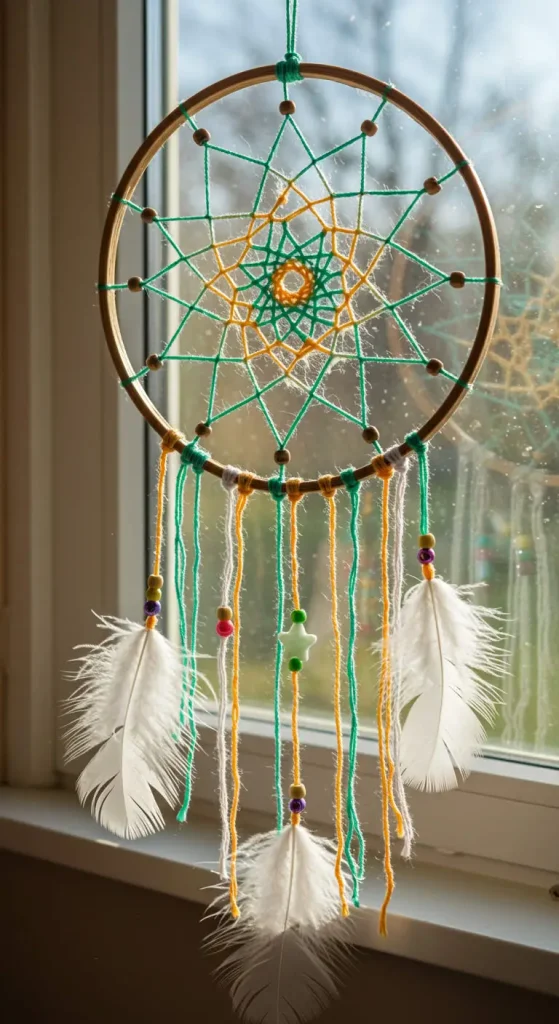
Best for: kids who like slower crafts they can fuss over and decorate for a while.
Cut a ring from cardboard or use a small embroidery hoop as the base. Wrap string back and forth across the middle in a loose crisscross web. It does not need to look neat, and a tangled web still catches the light.
Tie beads, ribbons, and feathers along the bottom edge so they dangle and move. Hang it near a window where a breeze can reach it.
Try instead: paper straws cut into short pieces work in place of beads if you have none on hand.
6. DIY Stained Glass Tissue Paper Art
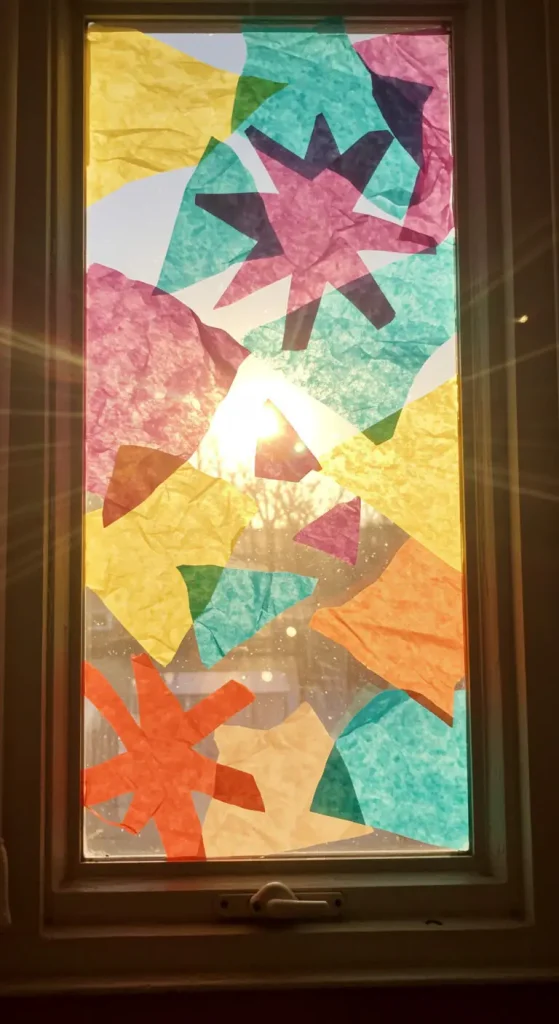
Colored tissue paper glued behind a black frame glows like real stained glass once sunlight hits it. Cut a simple shape out of black paper, then let the child fill the open space with torn tissue pieces layered over each other.
Placement note: tape the finished piece flat against a sunny window, since the light coming through is what sells the effect.
Skip this: thick construction paper for the colored parts, because it blocks the light instead of letting it shine.
7. DIY Painted Rock Animals
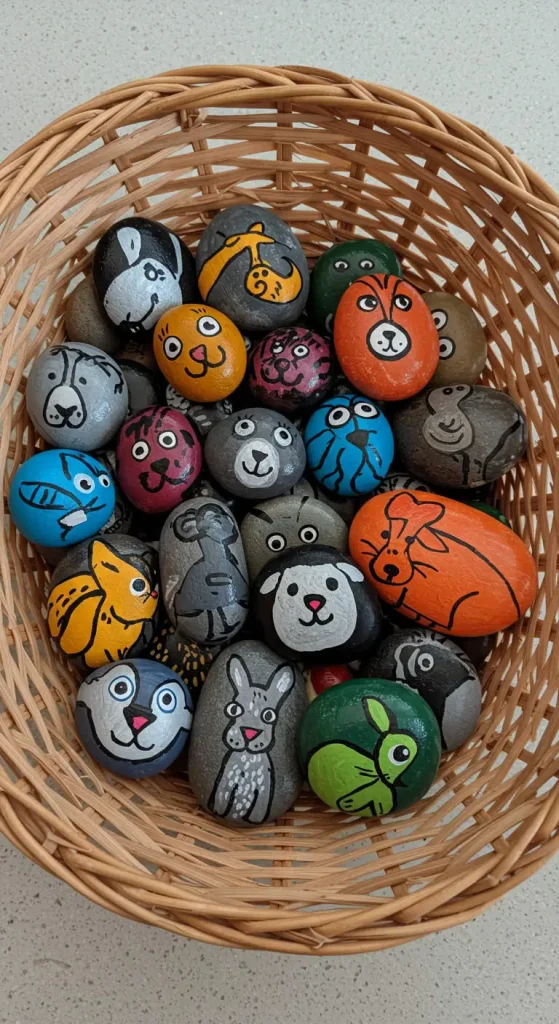
Smooth rocks from the yard or a park turn into a whole zoo with a little paint. Ladybugs, turtles, and fish are the easiest shapes to start with because the rock already suggests the body.
Wash and dry each rock first so paint grips the surface. Block in the main color, let it dry, then add spots, stripes, and a face with marker and googly eyes. Younger kids do the base coat while older ones handle the fine details.
Keep the painted rocks in a basket by the door, or tuck a few into the garden as a surprise for the next person who spots them.
The detail to steal: one dot of white paint in each eye makes every animal look instantly more alive.
8. DIY Popsicle Stick Photo Frames
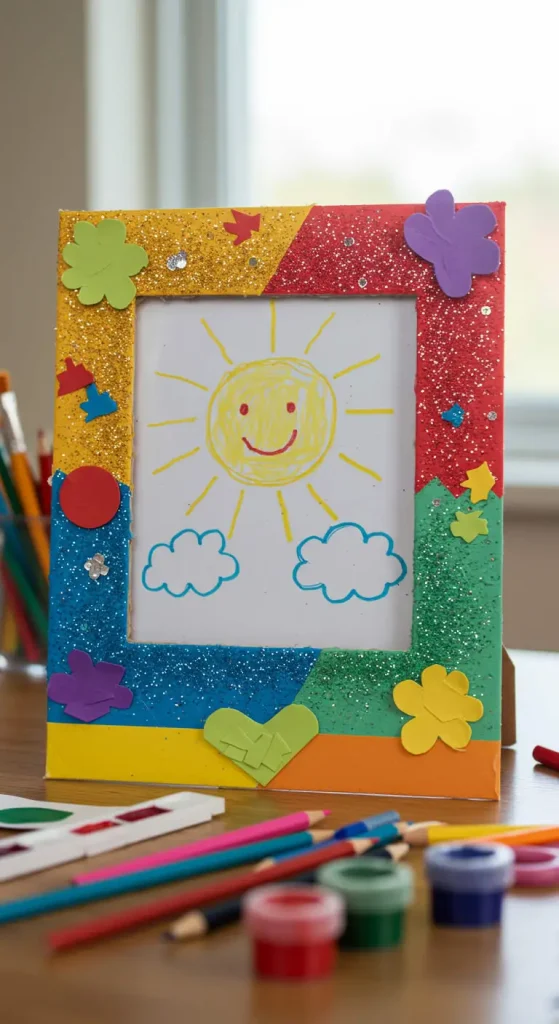
- Frame: four craft sticks glued into a square
- Color: paint or marker in the child’s favorite shade
- Extras: buttons, glitter, or beads glued around the edge
- Middle: one small photo taped to the back
Standing frames like these make good gifts for grandparents, and the child gets to choose the photo. That small bit of ownership keeps them invested through the drying and decorating.
Budget swap: leftover buttons from an old shirt cost nothing and look better than store bought gems.
9. DIY Yarn-Wrapped Letters
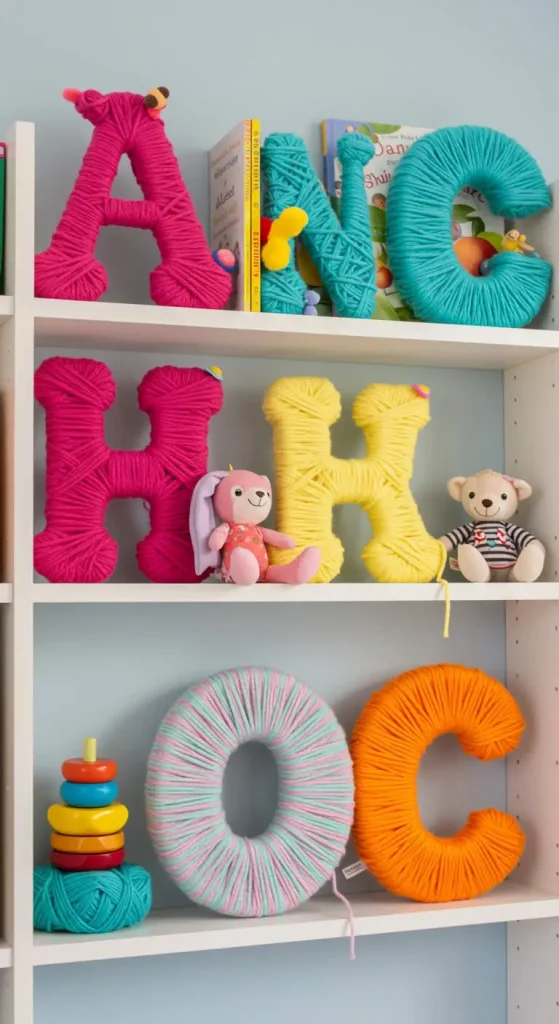
The build: a big cardboard letter, a ball of colorful yarn, and a bit of glue to start and finish the wrap.
Cut the first letter of your child’s name from thick cardboard. Dab glue on one end, press the yarn down, and wind it around and around until the whole letter is covered. Switch colors partway for stripes.
Prop the finished letters on a shelf or hang them above a bed. A row spelling out a name turns plain cardboard into real room decor.
Scale note: fat, chunky yarn covers a big letter far faster than thin string, which matters when small hands get tired.
10. DIY Paper Bag Puppets
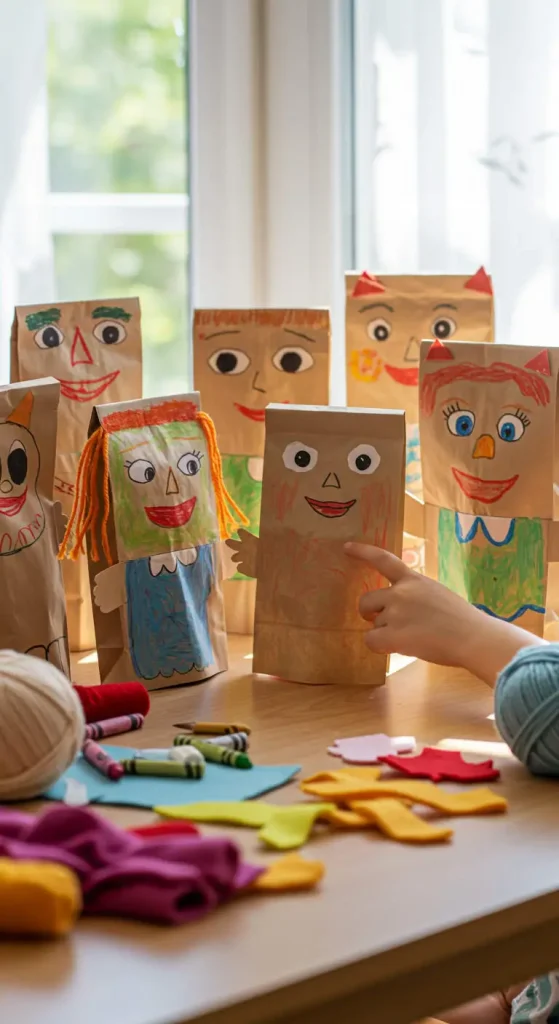
Paper lunch bags fold into instant puppets, and the flap at the bottom becomes a mouth that really moves. Turn the bag upside down and decorate that flap as a face, so the mouth opens when a hand slips inside.
Subscribe to DIY Craft Bloom
Get updates on the latest posts and more from DIY Craft Bloom straight to your inbox.
Add paper ears, arms, and hair with glue, plus any scraps lying around. A dog, a lion, a monster, whatever the child dreams up.
Why it works: the moving mouth turns a flat craft into a toy, and kids will run their own puppet show for an hour afterward.
One small change: draw a tongue inside the folded mouth for a fun surprise when the puppet talks.
11. DIY Paper Roll Owls
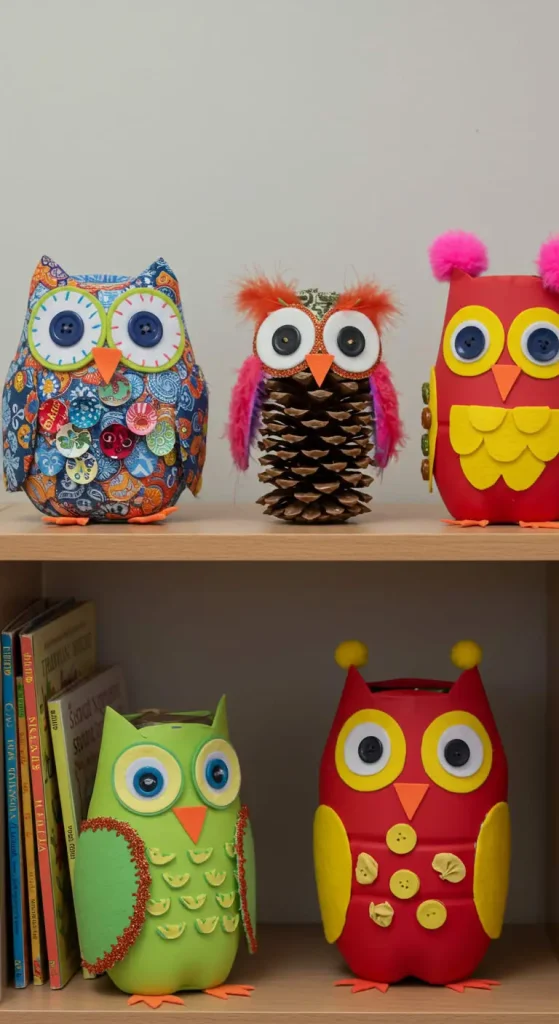
Toilet paper rolls make a perfect owl body once you pinch the top. Flatten one edge inward and two little ear points pop up on their own. That single fold does most of the work.
Paint the roll a bright color and let it dry fully before anything else touches it.
Rushing this step smears the face later. Glue on googly eyes, cut small wings from scrap paper, and draw a beak with marker.
Line a few up on a shelf and give each one a different face. Grumpy, sleepy, surprised. The personalities are what make kids laugh.
Supply note: white school glue holds paper wings fine, so save the hot glue gun for a grown up.
12. DIY Salt Dough Handprints
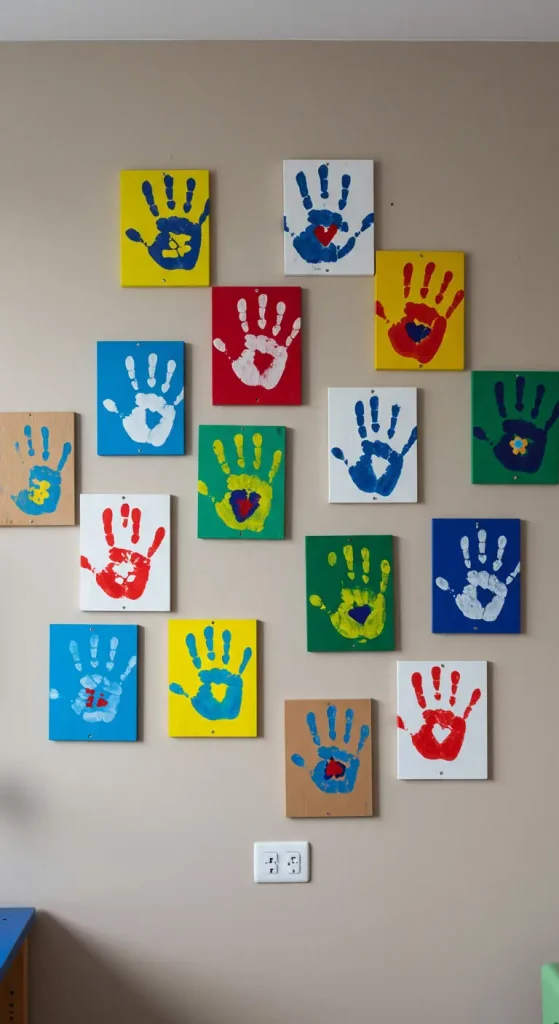
- Dough: 1 cup flour, half cup salt, half cup water, mixed by hand
- Shape: roll flat, press a handprint in the center, cut a circle around it
- Bake: low oven until firm, then cool completely
- Finish: paint the print and add the date on the back
Kids love pressing their own hand into the soft dough, and that print freezes their size at this exact age. Parents keep these for years. Grandparents ask for copies.
Care tip: brush a coat of clear sealer over the paint so the keepsake does not chip in a drawer.
13. DIY Collage Art
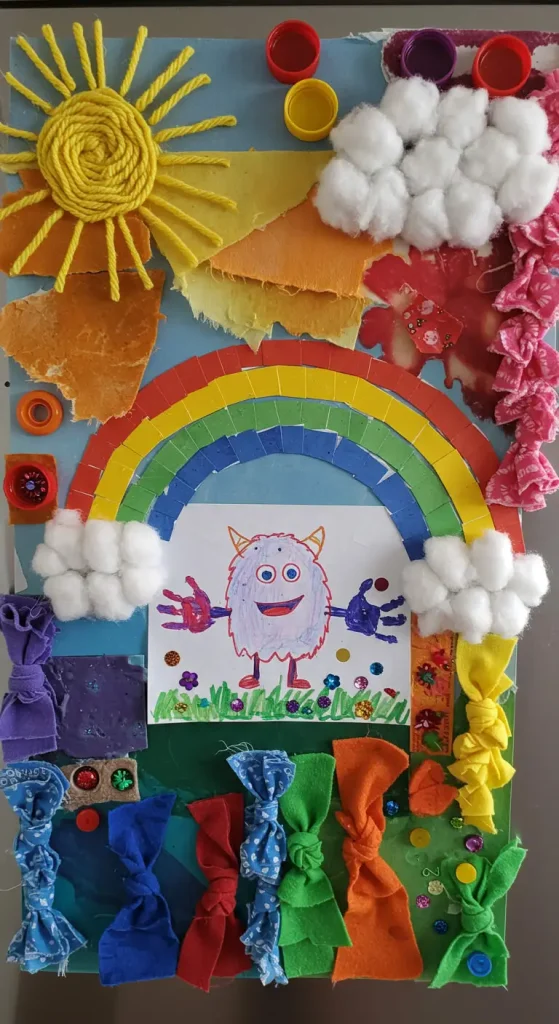
Simple version: old magazines, a glue stick, one sheet of cardstock, and total freedom to cut whatever they like.
Let kids hunt through pages for colors, animals, and shapes that catch their eye. Cutting practice happens without them noticing. Arrange the pieces before gluing so they can move things around and change their mind.
Once the layout feels right, glue it all down and hand over the markers and stickers for extra detail. No two collages ever come out the same, which is the whole point.
Style note: a theme like “things that are blue” gives younger kids a starting rule when a blank page feels too big.
14. DIY Clay Bead Necklaces
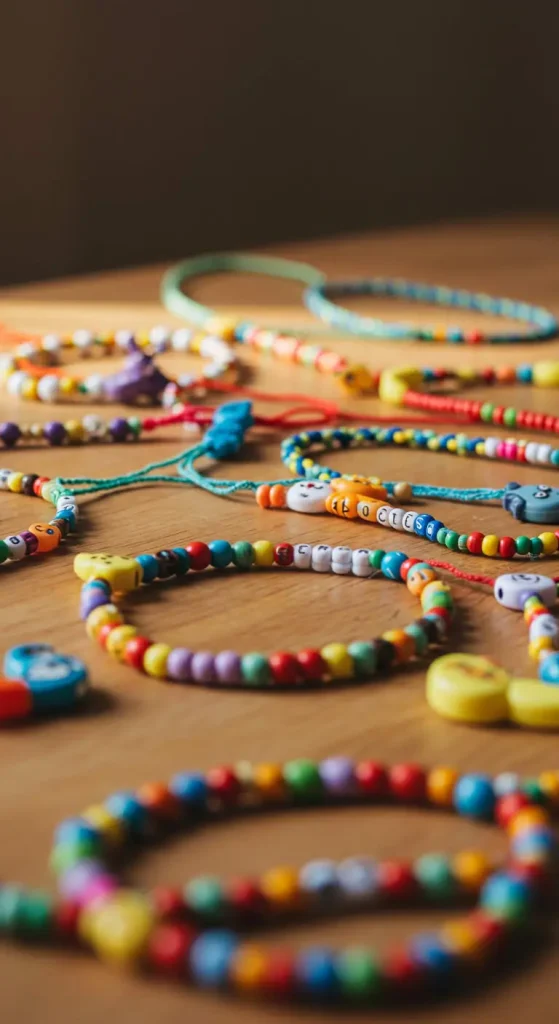
Small clay beads let a child build jewelry from scratch and wear the result the same week. Roll air dry clay into little balls, then poke a hole through each one with a toothpick before it sets.
Why it works:
- Rolling beads strengthens the same hand muscles kids use for writing
- Air dry clay needs no oven, so an adult is not stuck babysitting a bake
- Bright paint hides any lumpy, uneven shapes underneath
String the dry beads onto elastic cord and tie it off. A wobbly bead pattern reads as handmade, not messy.
Drying time: give the beads a full day before painting, or the clay stays soft in the middle.
Conclusion
Kids’ crafts work best when nobody is chasing a perfect result. A lopsided owl, a smudged handprint, a leaf face with crooked eyes, all of it reads as charm, not failure.
That freedom to mess up is exactly what gives a child the nerve to try the next idea on the list.
Grab whatever supplies you already have and let your kids take the lead from there.
Save this post for the next slow afternoon, and come back whenever you need a fresh project to pull out of your back pocket.