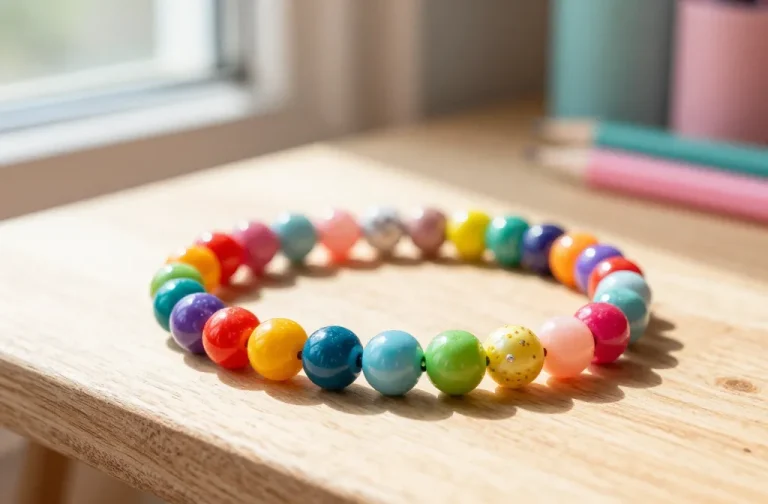
15 Birthday Party Friendship Bracelet Ideas

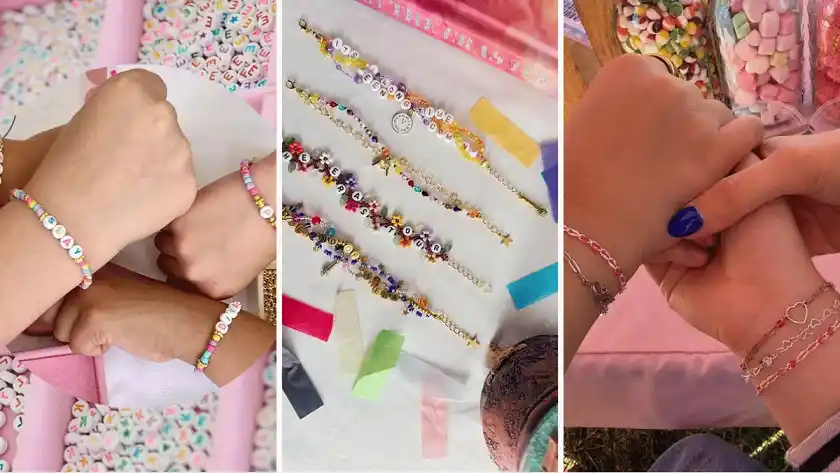
The bracelet table is the part of a birthday party that either runs itself for a full hour or falls apart in ten minutes.
Most of the time it comes down to setup. One giant bin of beads turns into a grabby pile, thin elastic snaps while a kid is still holding it, and the guest who cannot tie a knot yet gives up and drifts off toward the snack table.
These 15 birthday party friendship bracelet ideas are sorted by what actually happens at a real table with real kids.
Some are no knot, so younger guests can finish on their own. Some use chain and a clasp, which is what tweens will still be wearing next month instead of leaving in a drawer.
There are fast ones for a short window, slower charm builds worth a full hour, and small fixes like felt trays and pre cut floss that keep beads off the carpet.
Pick the one that fits the ages coming through your door, or run two side by side so nobody stands around waiting for a turn.
1. Chain Bracelets for Guests Who Are Too Old for Bead Threading
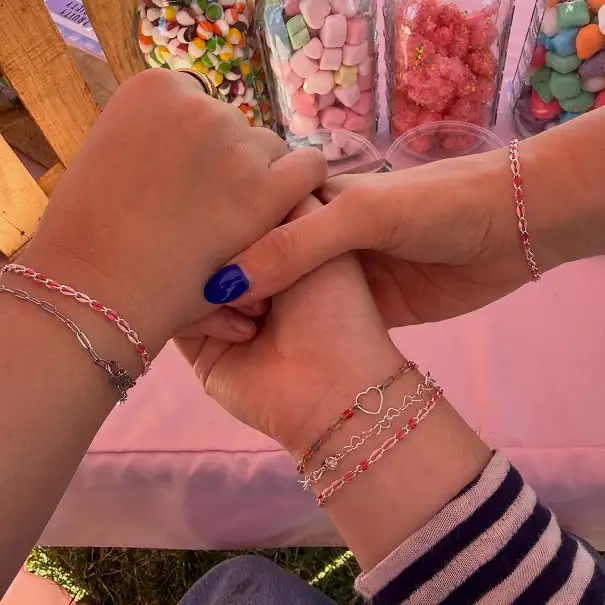
Not every guest list wants to sit and string seed beads.
The wrists here are stacked with slim silver paperclip chain, red and pink beaded strands, a small heart outline and a tiny bow charm, and behind them sit jars of candy on a pink cloth.
Two stations, one table, and nobody stands around waiting.
The choice worth thinking about is how the bracelet closes, because it changes who can make it and how long it takes.
| Stretch cord | Chain and clasp |
|---|---|
| Any age can thread it alone. | Needs pliers and steady hands, so about age ten and up. |
| Stretches out over a few months of wear. | Holds its shape and gets worn long after the party. |
| Cheap enough to make three each. | Costs more, so plan on one good one each. |
Run both if your guest ages are spread out. The little ones stretch and knot, the older ones clasp and stack.
2. Matching Chain Bracelets So Nobody Feels Left Out
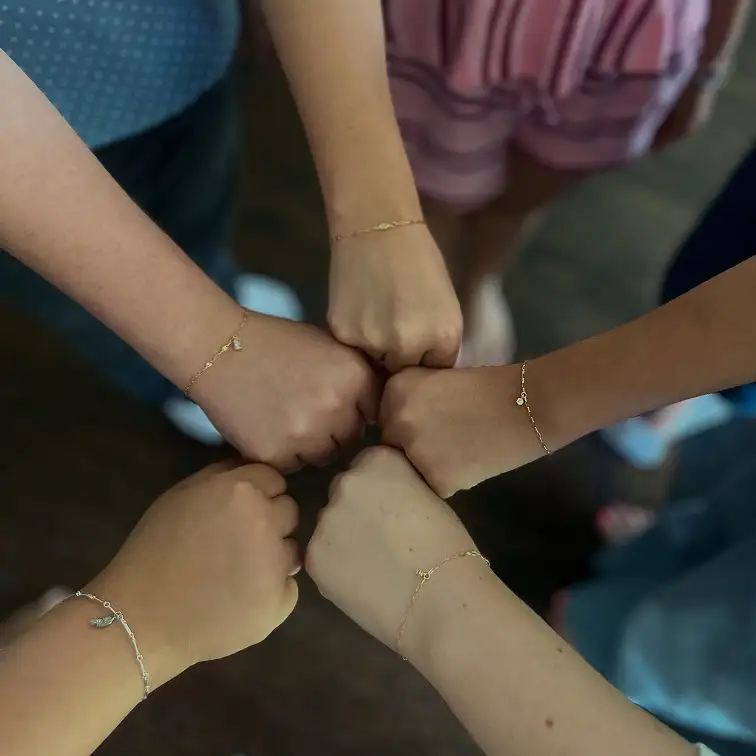
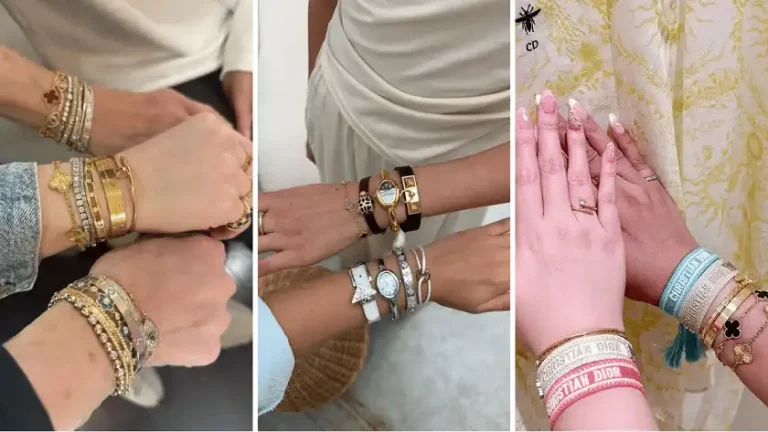
Five wrists in a circle, five thin chain bracelets that read as a set from across the room. Look closer and they are not identical.
One carries a small green drop, another a clear stone, another a tiny gold link charm. That gap between “matching” and “identical” is the whole idea.
For a birthday party, this solves the age problem. Tweens who have decided plastic beads are for little kids will still wear a fine chain with one charm on it.
Buy plain chain bracelets with a lobster clasp, set out a shallow bowl of small charms, and let each guest choose one to attach with a jump ring. Two pairs of small pliers covers a table of six if you float between them.
The group shot at the end is the real party favor.
Same chain on every wrist is what makes the circle photo work.
Picking their own is what stops the trading and swapping later.
A clasp chain fits any wrist at the table, so no bracelet gets remade.
3. Loaded Charm Bracelets With a Clasp and Extender
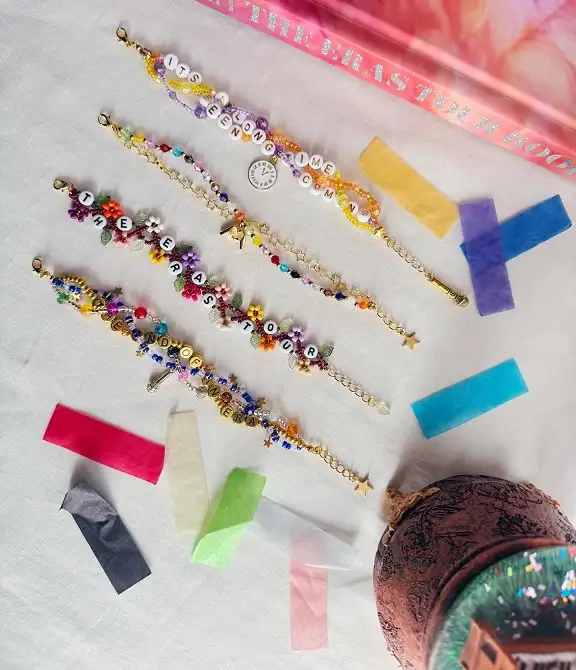
Charm bracelets sound like a two hour project until you start from a finished chain.
These four are packed with flower beads, star charms, pearls and white letter beads spelling out short lines, and every one ends in a real clasp with an extender chain hanging off it.
The extender is the part people skip, and it is the reason the same bracelet fits a nine year old cousin and her mom.
Set the table up so guests are decorating, not building. Pre attach the clasp yourself the night before. At the party they only add beads and charms.
Give this one a full hour. A bracelet this loaded is closer to twenty minutes per guest than five.
4. Felt Circles That Stop Letter Beads Rolling Off the Table
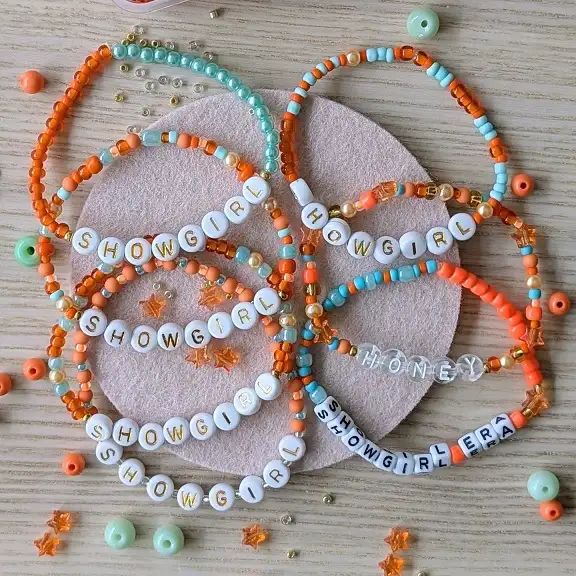
Those pale felt rounds under the bracelets are doing real work.
Beads sit still on felt instead of rolling to the table edge and vanishing under the couch, which is the most annoying thirty seconds of any bead party.
The palette here stays tight, orange and teal and mint with white letter beads and a few gold spacers, so eight bracelets spelling eight different words still look like one collection.
A cereal bowl traced onto craft felt is the right size. No sewing, no edges to finish.
Refill as they go. A full jar tipped out is a full jar on the floor.
Subscribe to DIY Craft Bloom
Get updates on the latest posts and more from DIY Craft Bloom straight to your inbox.
Spell it on the felt left to right first. This is how you avoid a bracelet that reads backwards.
Felt costs almost nothing and doubles as the thing each guest carries their finished bracelet home on.
5. Short Word Bracelets on Stretch Cord for Younger Hands
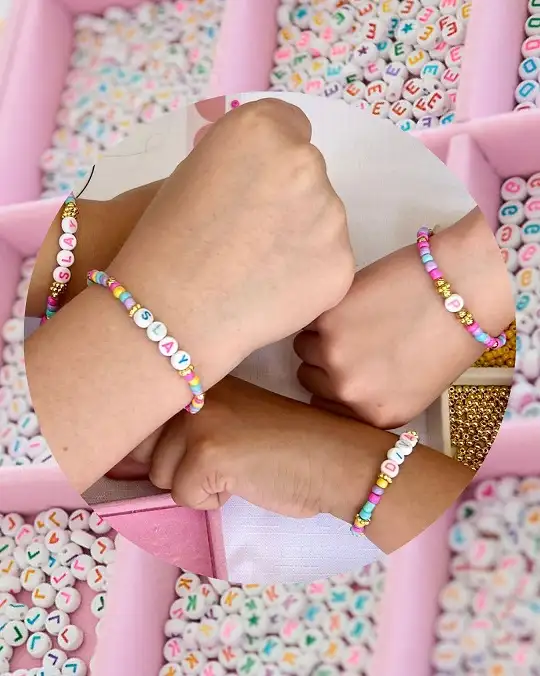
Kids who cannot tie a knot yet can still finish one of these on their own. Clay heishi discs slide onto stretch cord quickly, the words are short, three or four letter beads at most, and there is no clasp to fasten and no wrist to measure.
The bins in the background are the other half of the setup: letter beads sorted so a six year old is not digging through a mountain looking for a P.
Use 0.8mm elastic rather than the thin stuff. Finish every knot yourself with a double knot pulled tight, then a dab of clear glue, and let them dry on a tray while the cake comes out.
6. Beaded Initial Bracelets On Stretchy Cord
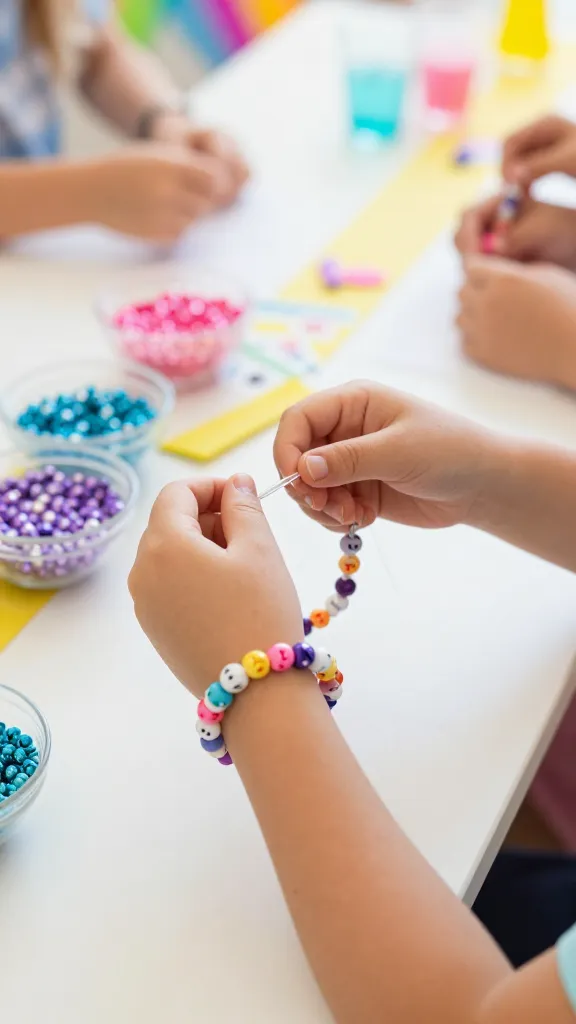
Give everyone a personalized bracelet they can actually make themselves with alphabet beads and stretchy jewelry cord.
This no-knot option is perfect for younger party guests or kids who get frustrated with traditional braiding. They can spell their name, a friend’s name, or even fun words like “PARTY” or “BFF” between colorful spacer beads.
This activity moves quickly, so it’s ideal if you need something that won’t take the entire party time. Kids can even make two or three to swap with friends.
7. A Word Bar So Everyone Leaves With a Real Stack
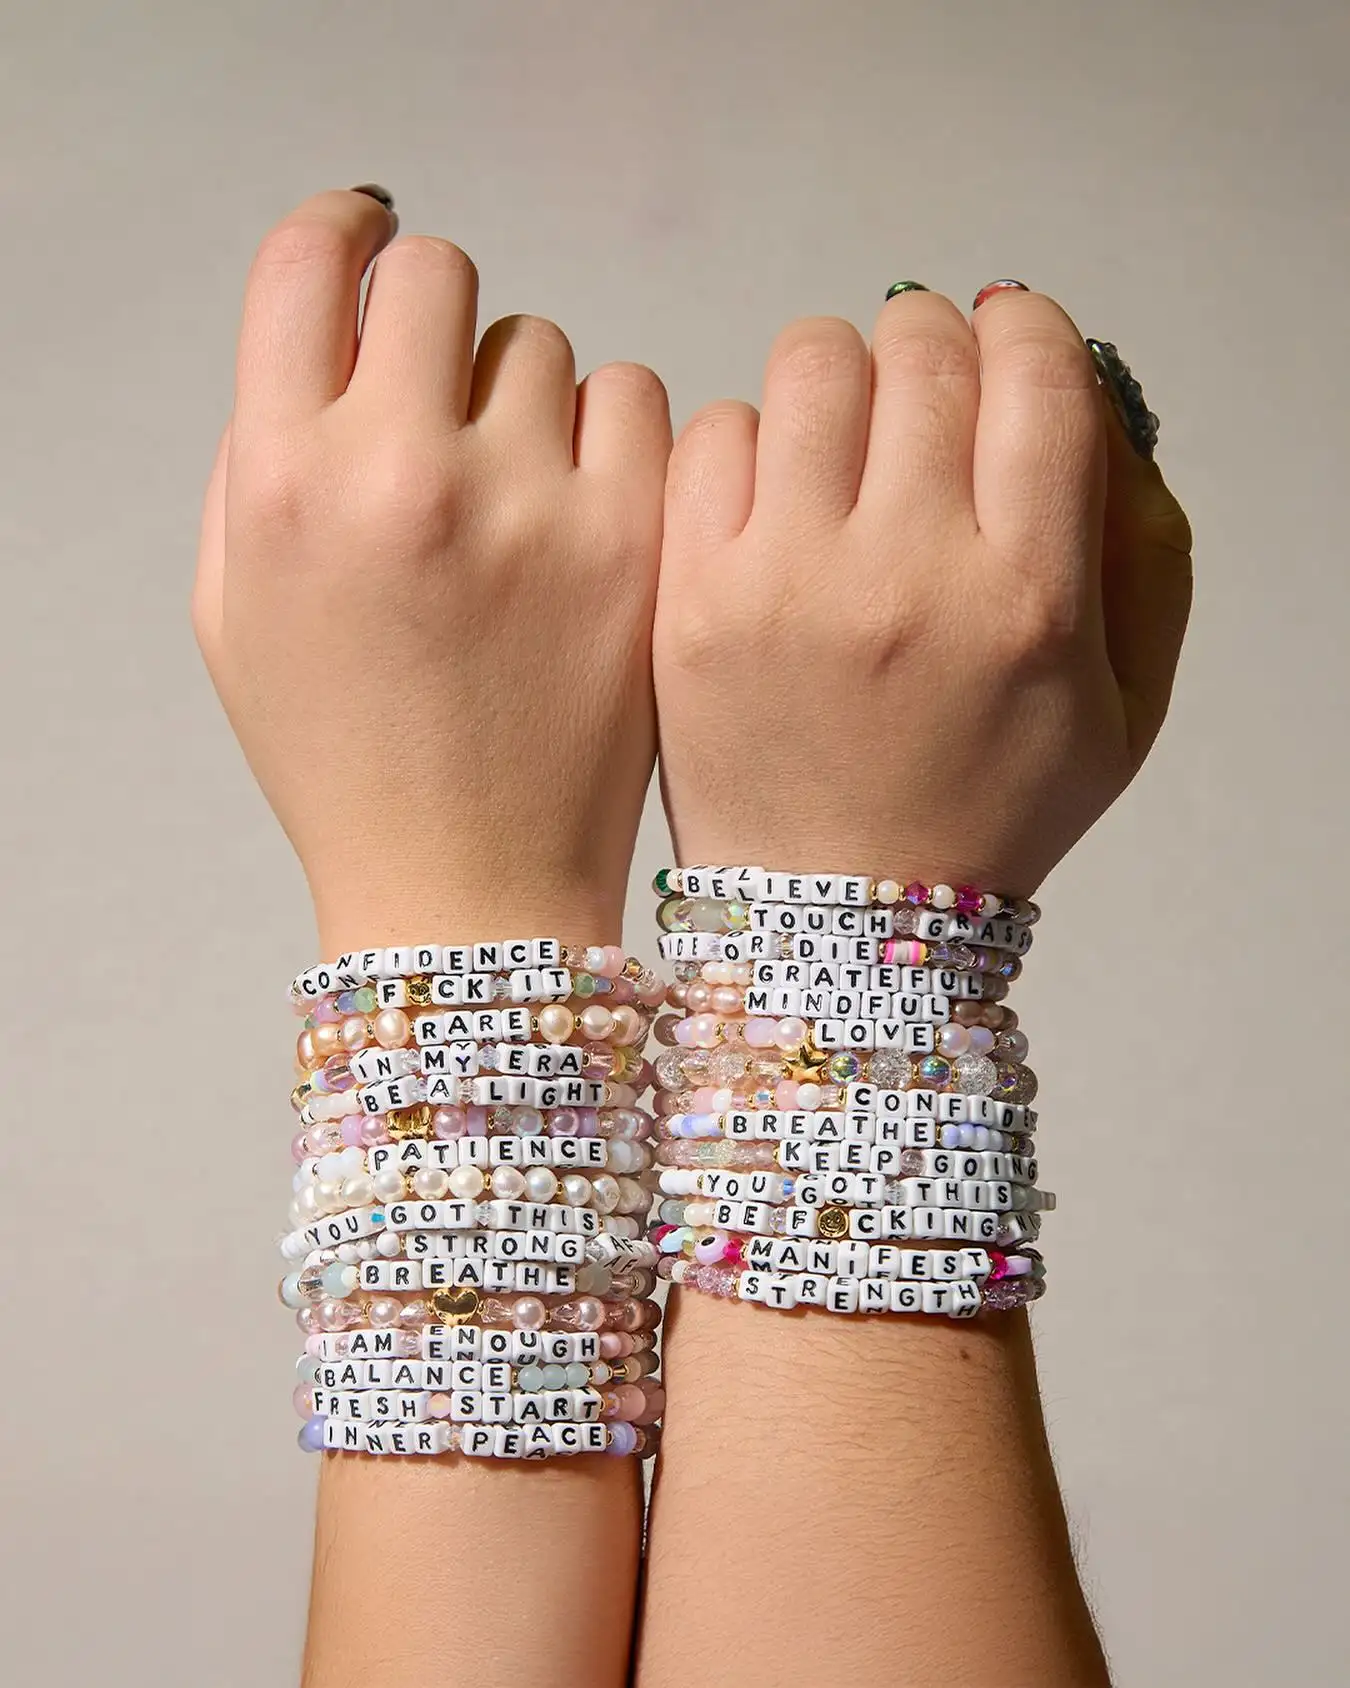
Guests almost always want more than one.
Two wrists here are stacked shoulder to shoulder with word bracelets, maybe fifteen on each arm, and the effect comes from repetition rather than from any single bracelet being special.
Each is the same simple build: small round beads in pale pinks, pearls and clear glass, one word in white square letter beads, sometimes a gold spacer or a heart between.
Print the word list yourself and tape it to the table. Left to invent their own, a table of twelve will produce at least one word you would rather not send home in a goodie bag.
Twenty options is plenty, and it keeps the line moving because nobody sits there thinking.
8. Rainbow Chevron Bracelets With Pre-Cut Strings
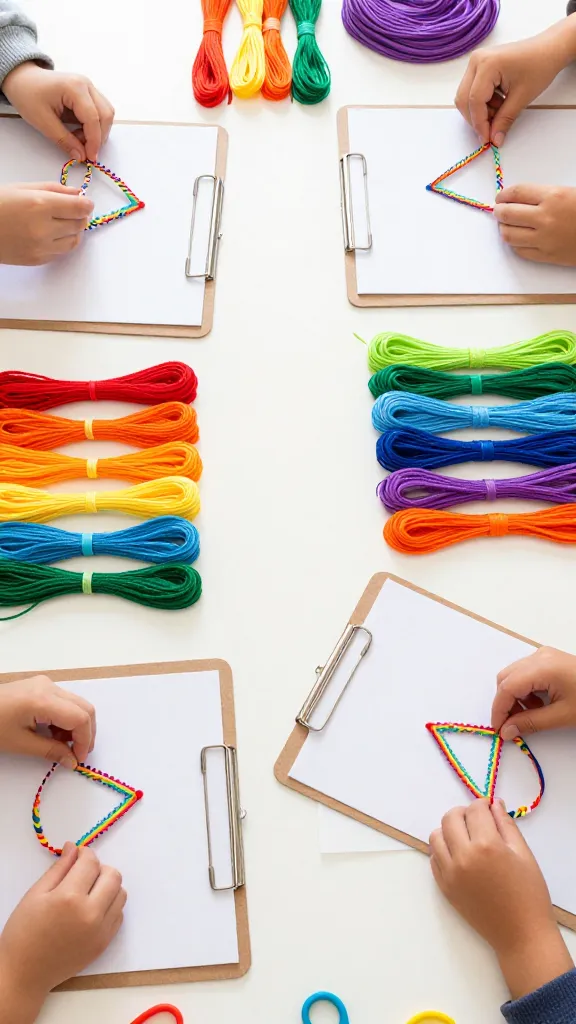
The classic chevron pattern never goes out of style, and it’s actually way easier than it looks.
Set up a bracelet-making station with pre-cut embroidery floss in every color of the rainbow, organized by shade so kids can grab their favorite combinations without hunting through a tangled mess.
The chevron creates those iconic arrow-like stripes that scream “summer camp friendship bracelet” in the best possible way.
This one works perfectly for ages eight and up who have the patience for knotting. The finished bracelets look intricate enough that kids feel genuinely proud wearing them.
8. Themed Color Stations Instead of One Giant Bead Pile
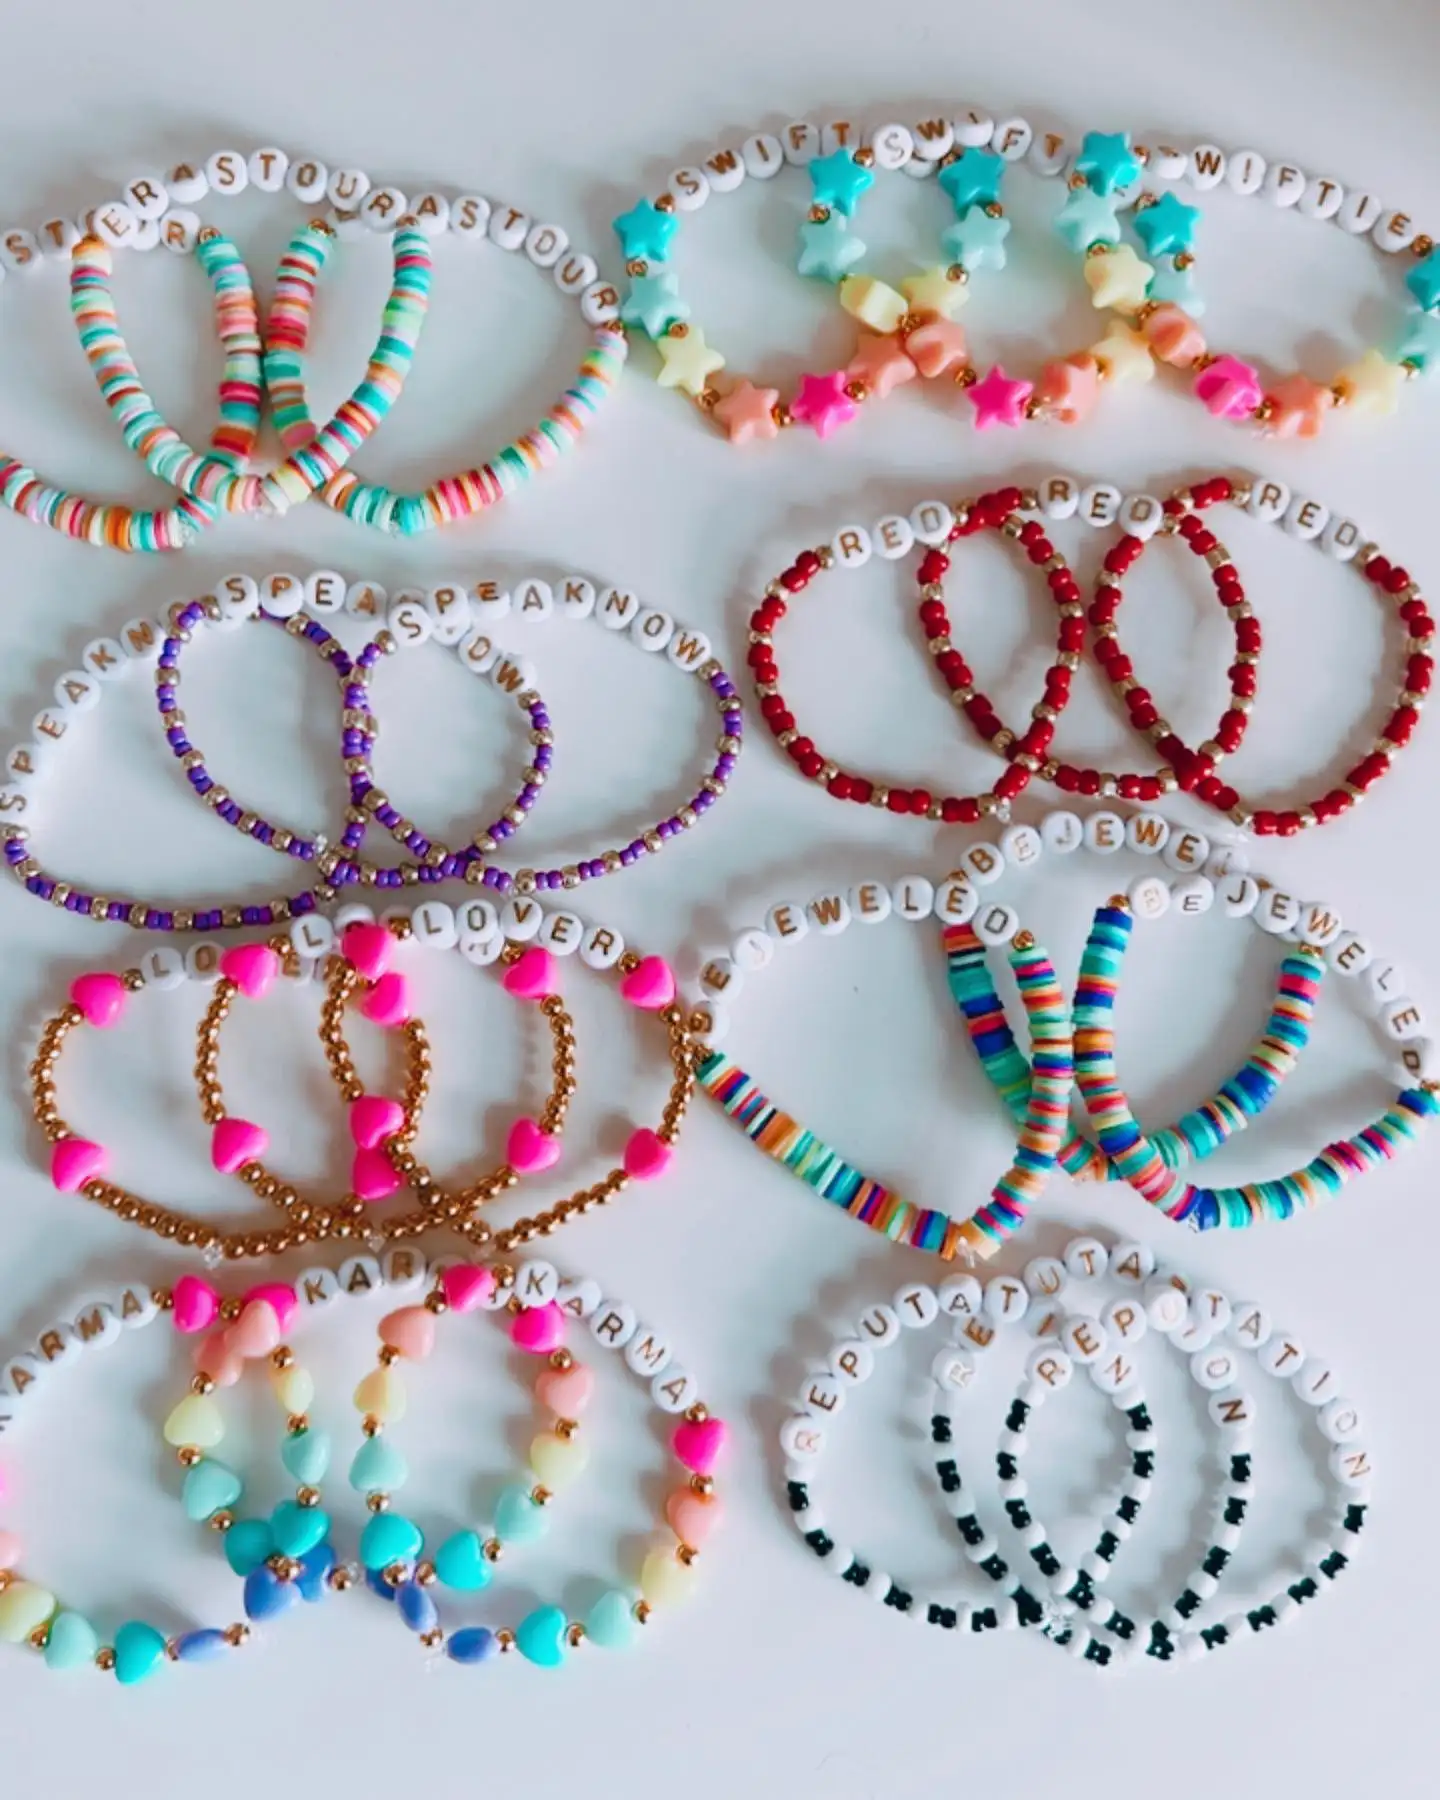
Eight little groups, eight color stories, laid out on a white table with nothing overlapping. Purple with gold, red with gold, hot pink hearts, mint and blue clay discs, black and white, pastel stars, rainbow heishi.
Each group is a set of three or four bracelets built from a small handful of beads, and that limit is what makes them look designed rather than random.
One shared bin of every bead you own creates a slow, grabby scrum. Small themed trays fix it.
Guests move between stations, each tray holds six to eight bead types, and a bracelet gets finished in minutes because there is almost nothing to choose from.
Guests end up with a small stack that actually goes together, which is the part they will still be wearing next month.
9. Glow-In-The-Dark Thread Bracelets For Evening Parties
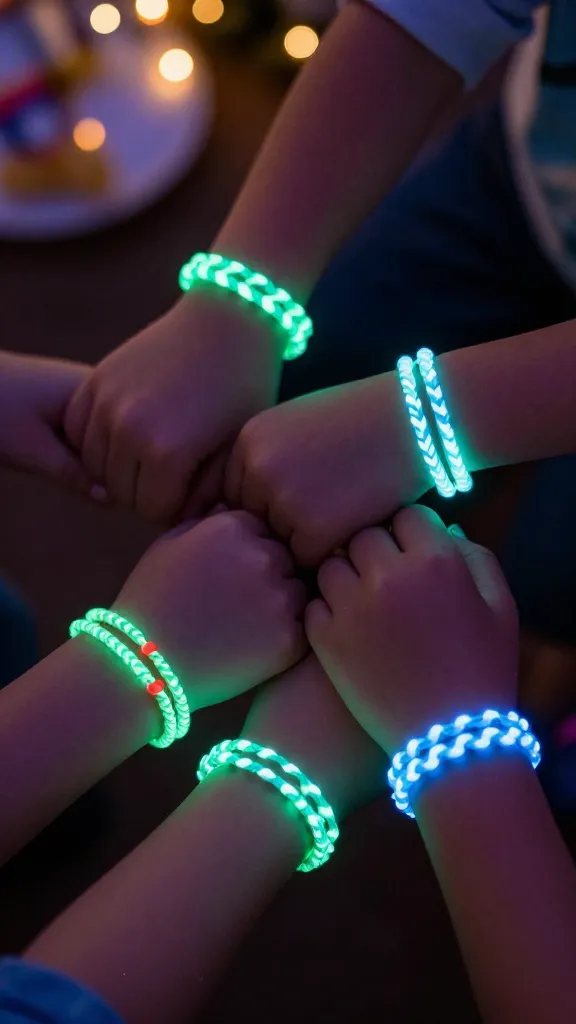
Take friendship bracelets to the next level with glow-in-the-dark embroidery floss that lights up when the sun goes down.
These are absolutely perfect for evening birthday parties, sleepovers, or glow-themed celebrations. Kids will flip when they realize their creation actually glows, and you’ll look like the coolest party host ever.
These make incredible party favors because the surprise factor doesn’t wear off—every time they wear it at night, it’s like rediscovering a secret superpower.
10. Charm-Embellished Braided Bracelets
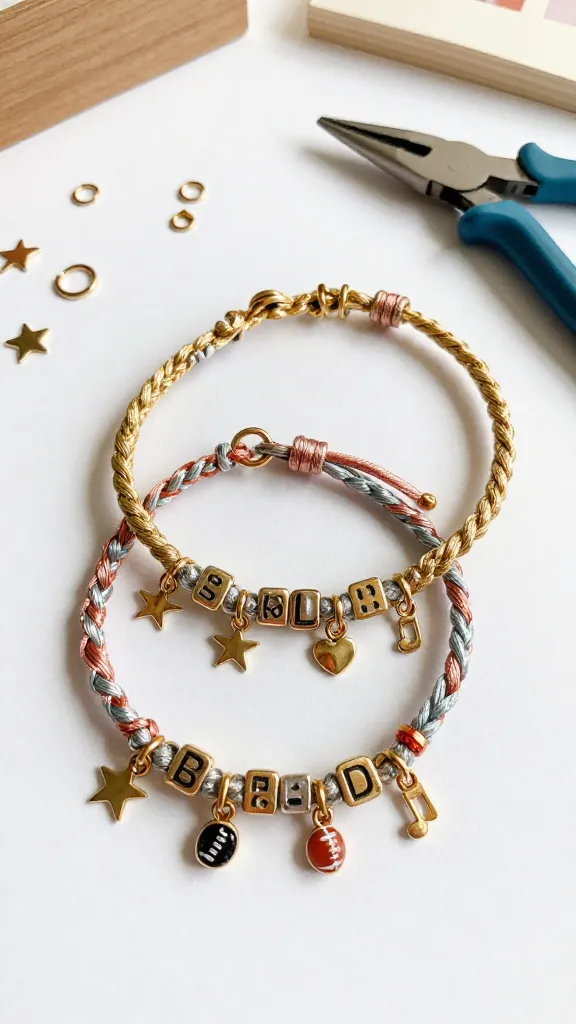
Combine traditional braiding with dangling charms for bracelets that feel more like jewelry than camp crafts.
This hybrid approach gives kids the satisfaction of braiding while adding sparkle and personality through little metal charms. Think tiny stars, hearts, musical notes, sports balls, or whatever matches your party theme.
Subscribe to DIY Craft Bloom
Get updates on the latest posts and more from DIY Craft Bloom straight to your inbox.
Add a lobster clasp closure instead of the traditional tie so these bracelets can actually be taken on and off without scissors.
These feel more sophisticated, making them perfect for tween birthday parties where kids want something that looks less “crafty” and more like something they’d buy at a store.
11. Tie-Dye Embroidery Floss Friendship Bracelets
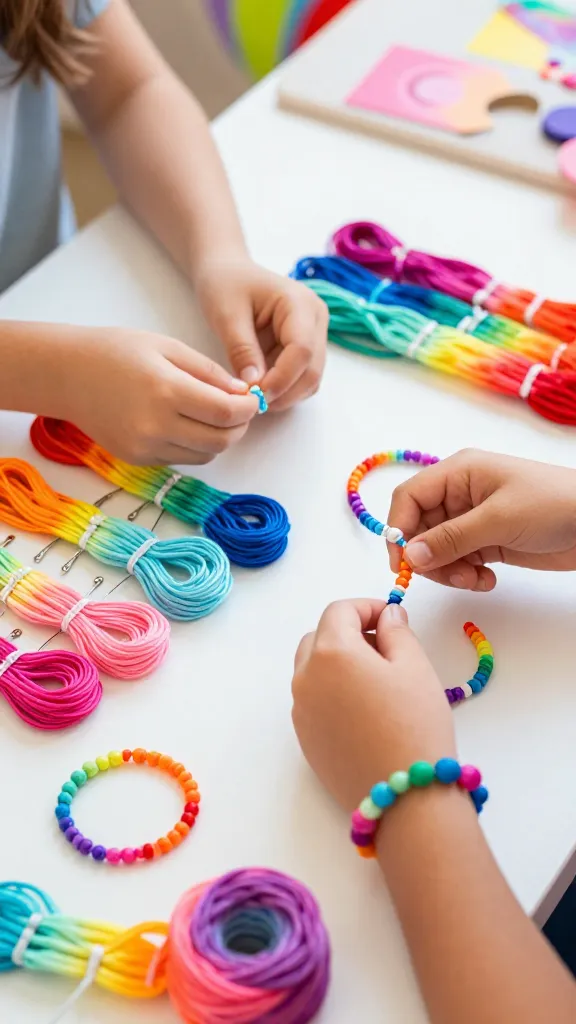
Why settle for solid colors when you can have tie-dye? Variegated embroidery floss creates an automatic ombre or rainbow effect without any extra effort.
The color shifts as kids knot their bracelets, creating unique patterns that look complicated but require zero additional skill.
Show kids sample bracelets made with different color combos so they can see how the tie-dye effect plays out.
Some might want all variegated threads for maximum color explosion, while others prefer one tie-dye strand with solid accent colors. There’s no wrong answer, and the variety means everyone’s bracelet looks totally unique.
This is perfect for kids who want an impressive-looking result without learning complicated patterns—the thread does the visual work for them.
12. Washi Tape Wrapped Bracelet Cuffs
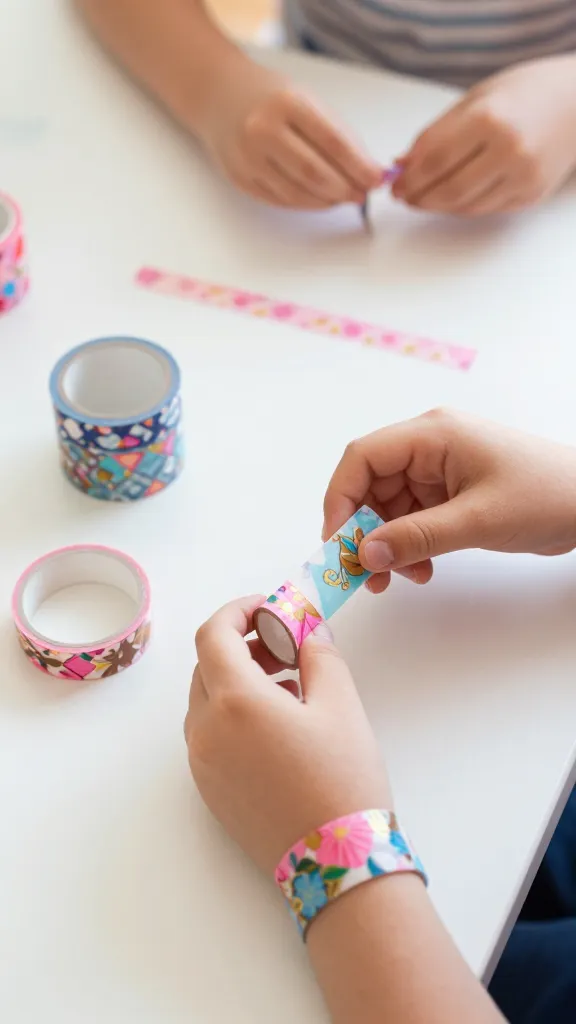
For the craft-loving kids who don’t have the patience for knotting, washi tape bracelets offer instant gratification with endless design possibilities.
These wide cuff-style bracelets get wrapped in colorful or patterned washi tape, creating bold statement pieces in minutes.
FYI, this is the perfect backup activity for younger siblings who want to participate but aren’t quite ready for detailed threading.
Let kids layer different tape patterns, add sticker embellishments, or draw designs with metallic markers.
These come together so quickly that kids can make several to match different outfits or trade with friends.
13. Macramé Square Knot Bracelets With Beads
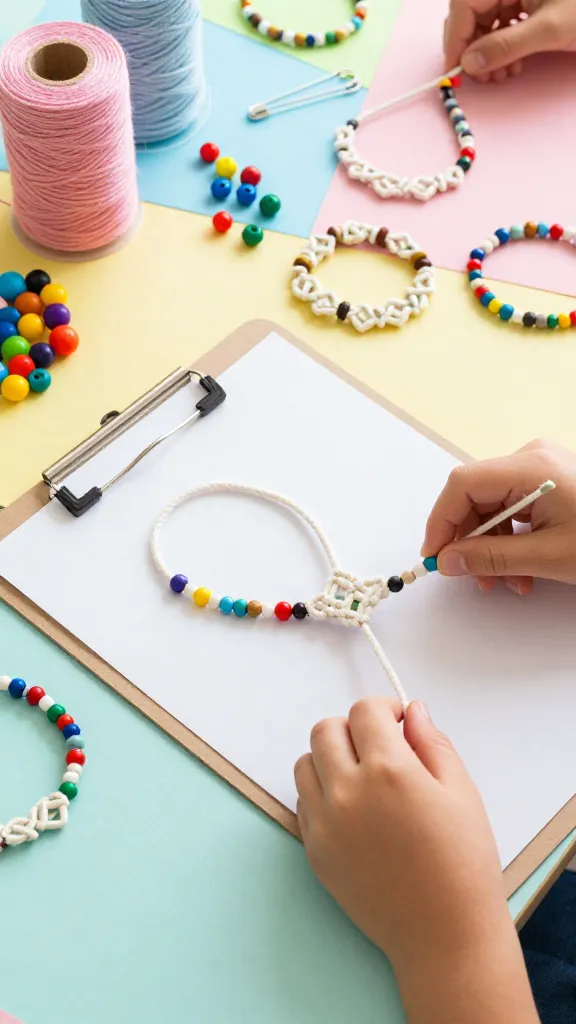
Introduce kids to basic macramé with square knot bracelets that look intricate but use just one repeating knot.
Thread beads onto the core strands between sections of knotting for pops of color and texture. This technique creates a slightly thicker, more substantial bracelet that feels special and handmade.
These bracelets have a bohemian, beachy vibe that older kids and teens especially love.
They’re adjustable with sliding knots, so they actually fit properly instead of cutting off circulation or falling off.
14. Perler Bead Charm Friendship Bracelets
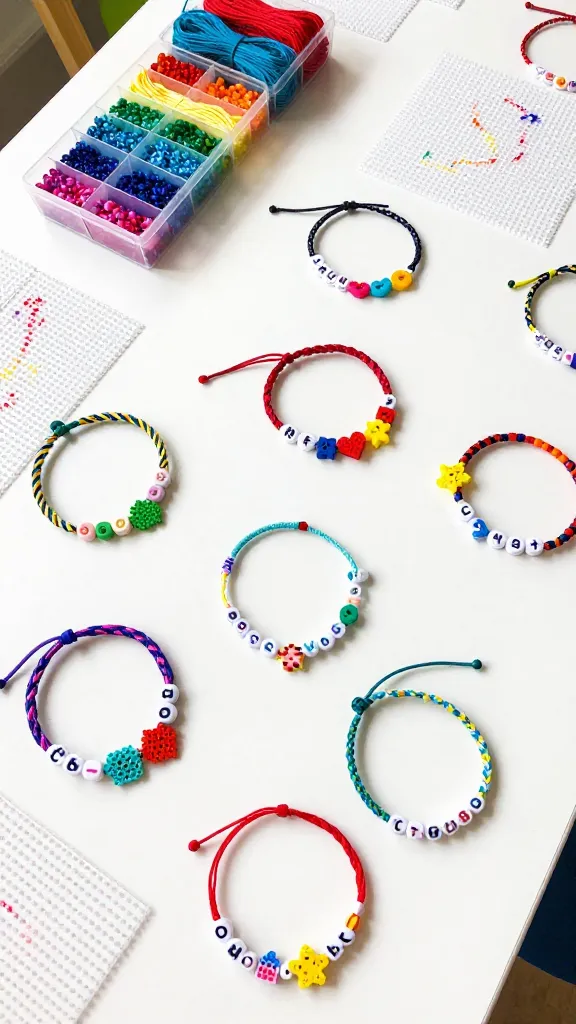
Combine two beloved crafts by creating tiny Perler bead designs that become charms for friendship bracelets.
Kids design mini pixelated hearts, stars, initials, or birthday cake icons on small pegboards, then an adult irons them into permanent plastic charms.
Attach these custom creations to simple braided or twisted cord bracelets for totally personalized party favors.
The pixel art aspect appeals to kids who love video games or digital design, while the bracelet component satisfies the friendship bracelet tradition.
You’ll love this one because it combines crafts without requiring you to buy entirely separate activity supplies.
15. Friendship Bracelet Decorating Station With Pre-Made Bases
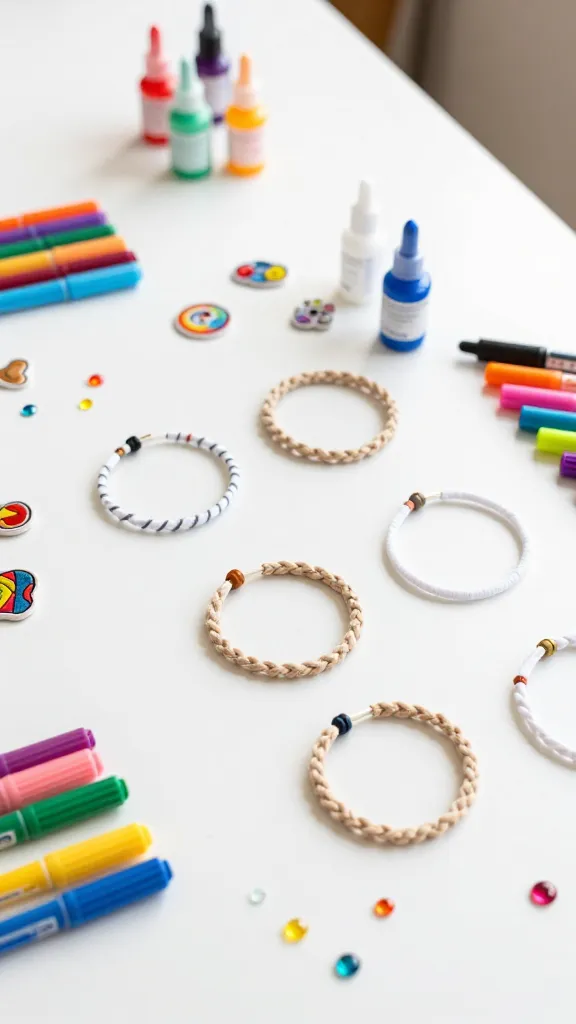
Not every kid loves the knotting process, but they might love decorating!
Set up a station with pre-made simple braided bracelets (you can make these ahead or buy inexpensive ones) and let kids customize them with fabric markers, puffy paint, tiny iron-on patches, fabric glue and gems, or embroidery over the top.
This transforms basic bracelets into personalized masterpieces without the time commitment of starting from scratch.
The pre-made bases also mean zero frustration over tangled thread or uneven braiding. Kids leave with something they’re actually proud of, which is the whole point of party crafts anyway.