
How to Make a Wreath Base from Scratch

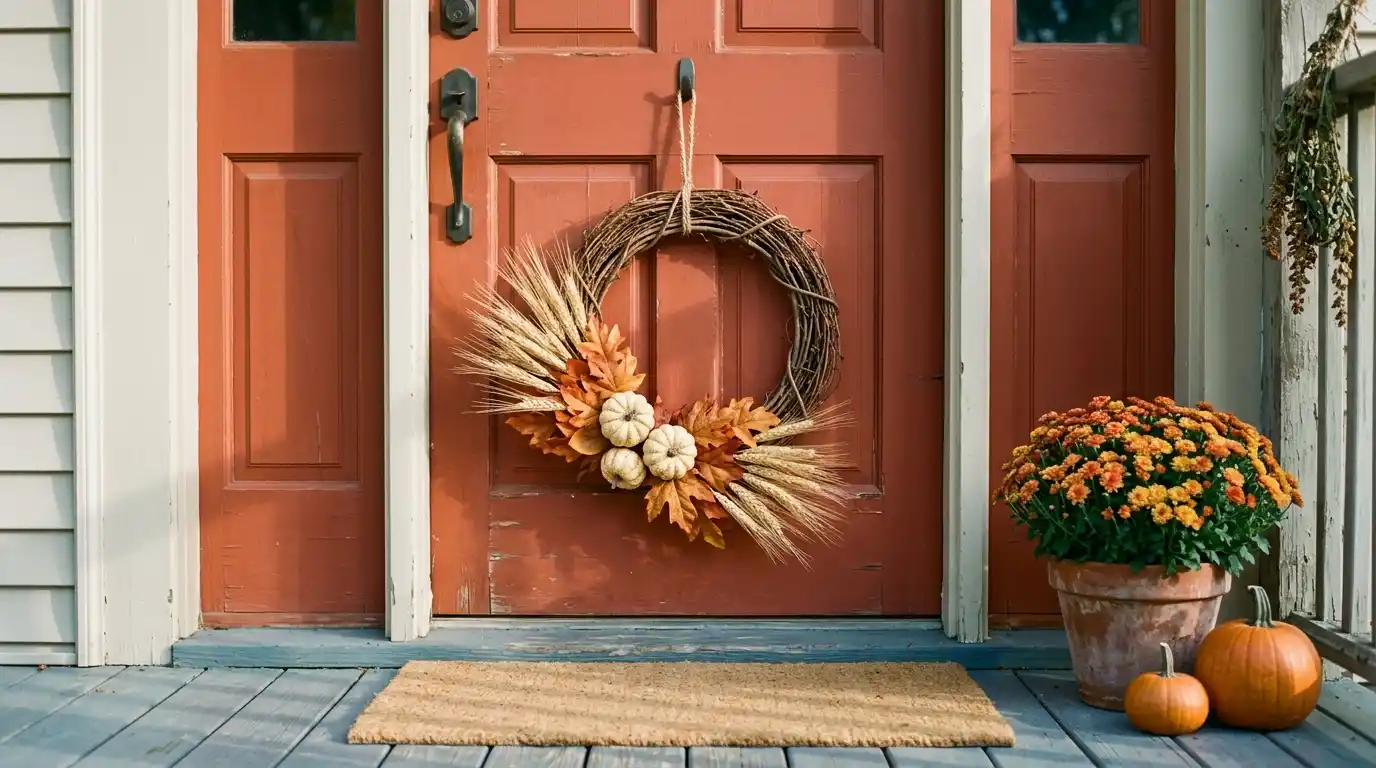
A plain grapevine wreath base at the craft store can cost $12 to $25. That is often more than the flowers, ribbon and pinecones you plan to put on it. Meanwhile, the fence line behind your house or your neighbor’s overgrown trellis may hold enough free vine for three of them.
This guide shows you how to make a wreath base from scratch using wild vines and a few things already in your house. You won’t need a foam ring, a metal frame or hot glue. By the end, you will have a sturdy, round 14-inch base that can hold heavy decor and last for years.
The method works because fresh vines are full of water. Wet vines bend into a circle without snapping, then harden in that shape as they dry. The natural twists and knots lock each layer in place, so the base holds itself together.
Here is the honest timing. Cutting and cleaning the vines takes about 30 minutes. Shaping the wreath takes another 30 to 45 minutes. Then it needs about a week to dry before you decorate it. Fall is a good time to start, because many vines have dropped their leaves but still bend well.
Grab your gloves and pruners, and head outside.
Grab These Before You Head Outside
Almost everything here is already in your garage or kitchen drawer.
- Sharp pruning shears or garden clippers
- Garden gloves and long sleeves
- A 5-gallon bucket (or a round pot about 12 inches wide)
- Green floral wire, 22 or 24 gauge (or kitchen twine)
- Wire cutters (or an old pair of scissors)
- An old sheet or tarp to work on
- An old towel
- A bathtub or large bin (only for stiff vines)
- Wild grapevine (the classic choice)
- Honeysuckle vine
- Wisteria
- Kiwi vine
- Willow branches
Your 9-Step Vine Map
- Cut 15–20 vines, each 6+ feet long
- Strip off leaves, tendrils and short side shoots
- Soak stiff vines for 2 hours (skip if fresh)
- Coil the thickest vine around a 5-gallon bucket
- Weave in new vines, always moving clockwise
- Tuck loose tips deep into the coil
- Wire the ring at 12, 3, 6 and 9 o’clock
- Dry flat for 7 days
- Add a wire hanging loop at the top
Cut 15 to 20 Vine Lengths That Are at Least 6 Feet Long
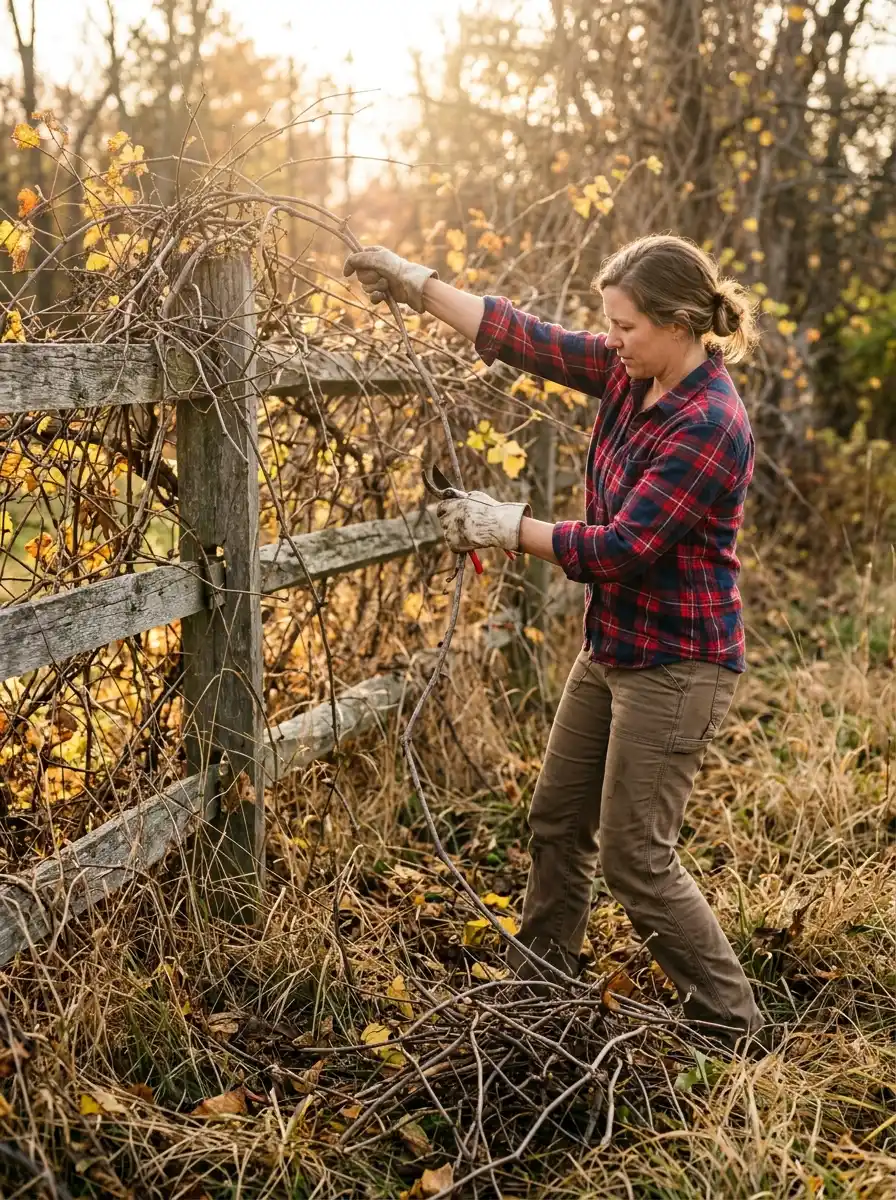
Length matters more than thickness here. A 6-foot vine wraps around a 14-inch ring about 1½ times, which means fewer cut ends to hide later. Shorter pieces work, but you will spend more time tucking.
Look for vines between pencil-thin and about ½ inch thick. The thin ones bend with the least effort and fill in gaps. The thicker ones give the base its strength.
Cut each vine low, near where it comes out of the ground. Then pull it down slowly, hand over hand, like you’re hauling in a rope. If it snags on a branch, cut it free instead of yanking, because a hard pull can split the vine.
Before you cut a big pile, test one piece by wrapping it around your fist. If it curves without a cracking sound, you found a good vine.
Always ask before cutting on land that isn’t yours.
Poison ivy loves to climb the same fences and trees as wild grapevine. Its leaves grow in groups of three, and its older vines look hairy. If you spot it tangled in your vines, skip that whole patch. The oil stays on bare vines even after the leaves fall.
Strip Every Leaf, Tendril and Side Shoot Before the Vine Dries
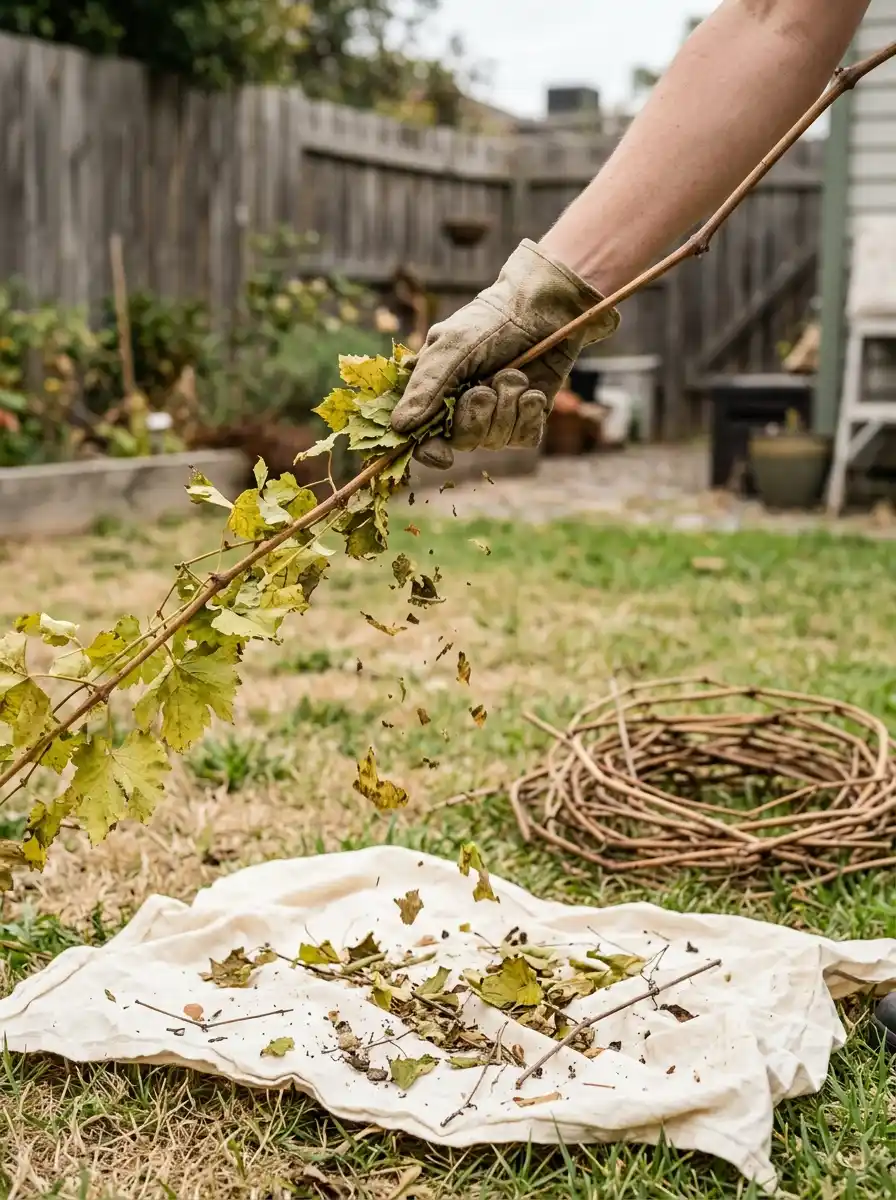
About 15 minutes of stripping now saves you from a wreath that sheds crumbly brown leaves all over your front door later.
Work outside or over an old sheet. With your gloves on, grip the thick end of the vine and slide your other hand down toward the tip. Most leaves will pop off as your hand passes.
Then deal with the extras:
- Pull off the curly tendrils (the thin springs that grab onto fences).
- Clip off side shoots shorter than 12 inches.
- Keep side shoots longer than 12 inches, because they become bonus wrapping material.
Do this on the same day you cut. Fresh leaves slide off clean. Leaves that dry on the vine turn crispy and break into tiny bits that get stuck in every gap.
Soak the Vines for 2 Hours If They Crack When You Bend Them
If you cut your vines today, you can probably skip this step. Fresh vines hold plenty of water. Vines that sat in a pile for a few days, or dried ones you bought, are a different story.
Do the bend test first. Bend one vine into a tight U shape about 4 inches across. If you hear a crack or see the bark split, the vine needs water before it can take a curve.
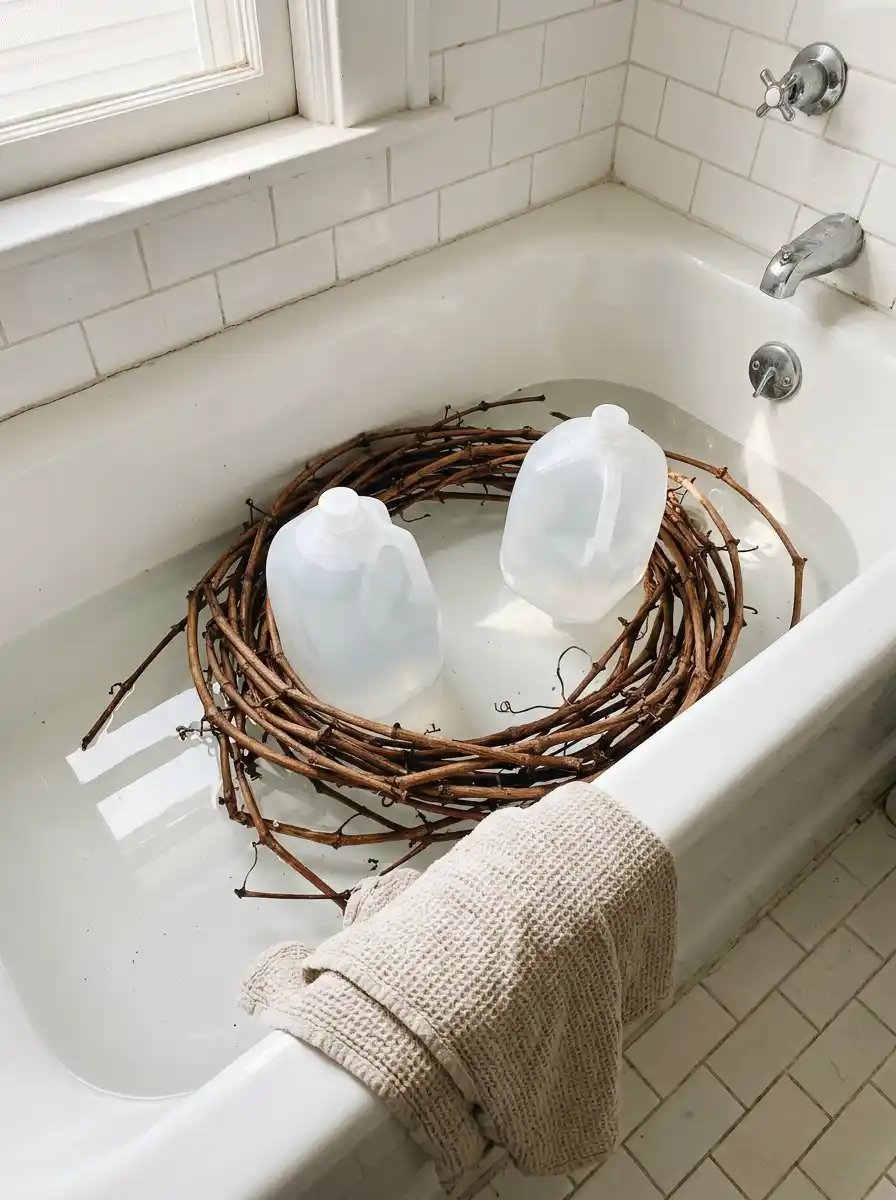
Fill your bathtub with about 6 inches of warm water. Lay the vines in and set something heavy on top so they stay under, such as two full milk jugs or a brick wrapped in a towel to protect the tub. No tub? A kiddie pool or a big storage bin works too.
Leave them for 2 hours. Very dry vines may need to soak overnight, around 8 to 12 hours. Repeat the U-bend test before you pull them all out.
Lay the wet vines on an old towel and start shaping within the hour. They stiffen again as they dry.
Subscribe to DIY Craft Bloom
Get updates on the latest posts and more from DIY Craft Bloom straight to your inbox.
Before soaking, curl each long vine into a loose circle. It fits in the tub better, and it comes out already wanting to curve, which makes the next step much faster.
Make a Wreath Base from Scratch by Coiling Your Thickest Vine Around a 5-Gallon Bucket

Pick the fattest, longest vine in your pile. This first ring is the backbone of the wreath, and every other vine leans on it.
Hold the thick end against the outside of the bucket, about 2 inches below the rim. Wrap the vine once around the bucket to make a circle. Where the vine meets its starting point, clip the two together with a clothespin or binder clip so the circle can’t slip bigger.
Slide the ring up and off the bucket. Wrap the rest of the vine around the ring itself, spiraling it like a candy-cane stripe, with one twist every 4 to 6 inches.
Your ring should measure about 13 to 14 inches across. If you don’t have a bucket, a round laundry basket or a large flowerpot works the same way.
Don’t worry if it looks thin and floppy. It firms up as you add more vines.
Weave Each New Vine Over and Under the Ring, Always Moving Clockwise
Ten to fifteen more vines will turn that skinny ring into a full, sturdy base. Add them one at a time.
For each new vine:
- Poke the thick end into the ring between two strands, about 3 inches deep, so it’s anchored.
- Wrap the vine around the ring clockwise, with one twist every 3 to 5 inches.
- Stop when about 12 inches of the tip is left, and let it hang for now. You’ll tuck it in the next step.
Start each new vine about a quarter of the way around the ring from where the last one began. This spreads the thickness evenly, so the base doesn’t end up fat on one side and skinny on the other.
Keep the wraps snug but not tight, because pulling hard squeezes the ring into an oval.
Stop when the base is about 2 to 3 inches thick. Save a few of the thinnest vines for the final layer, since they’re best at hiding gaps.
If one vine goes clockwise and the next goes counterclockwise, they cross in X shapes. That leaves lumpy bumps and gaps you can see through. Use the same direction for every vine, every time.
Tuck the Loose Tips Deep into the Coil So Nothing Pokes Out
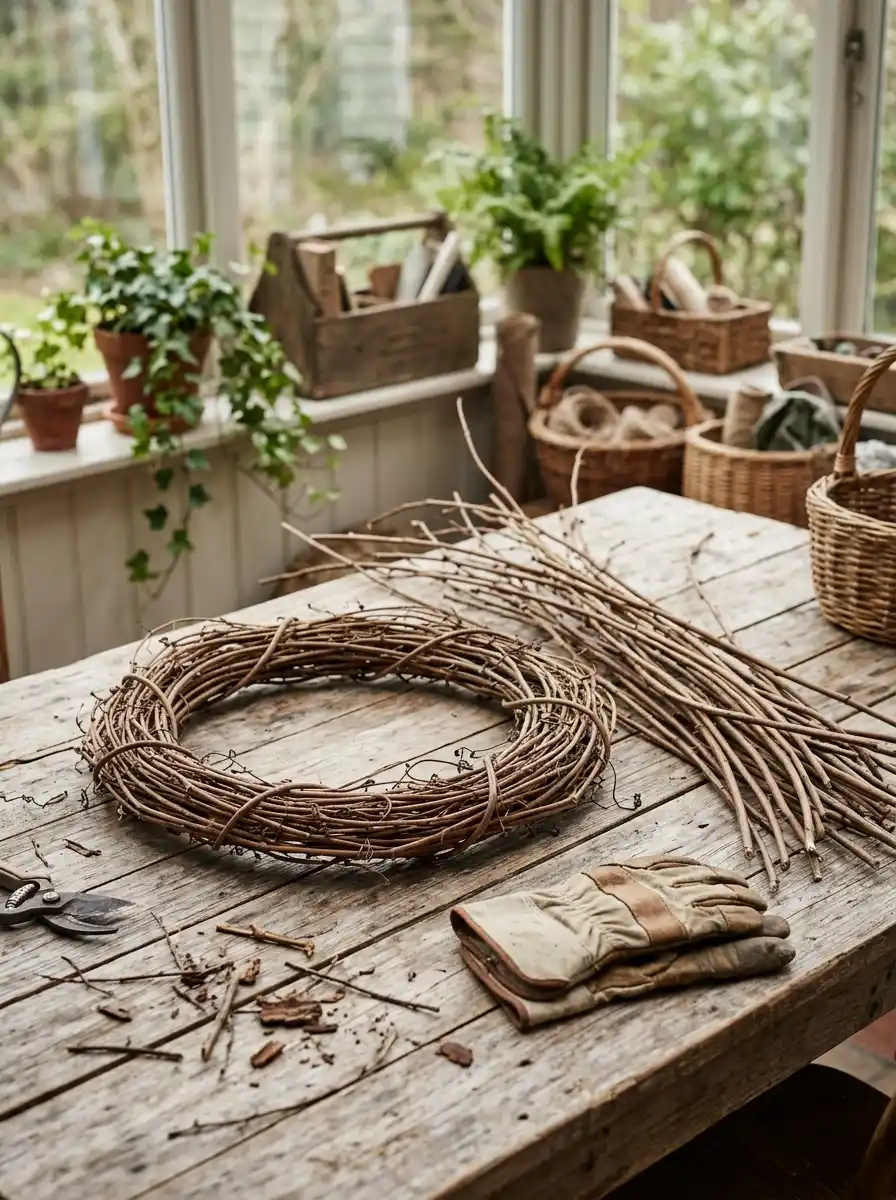
Every vine you added left a tail behind, and loose tails snag on doors, coats and ribbon.
Take one tip and push it toward the center of the ring, sliding it between two or three strands. Follow the same direction you wrapped. Feed in at least 3 inches so the vines grip it firmly.
If a tip is too stiff and starts to split, cut it shorter with your pruners so the end lands on the back of the wreath, where no one will see it.
The thick starting ends often stick out too. Trim those flush with the ring on the back side.
When you’re done, run your gloved hand around the front. Nothing should catch on your glove.
Bind the Ring at 12, 3, 6 and 9 O’Clock with Green Floral Wire
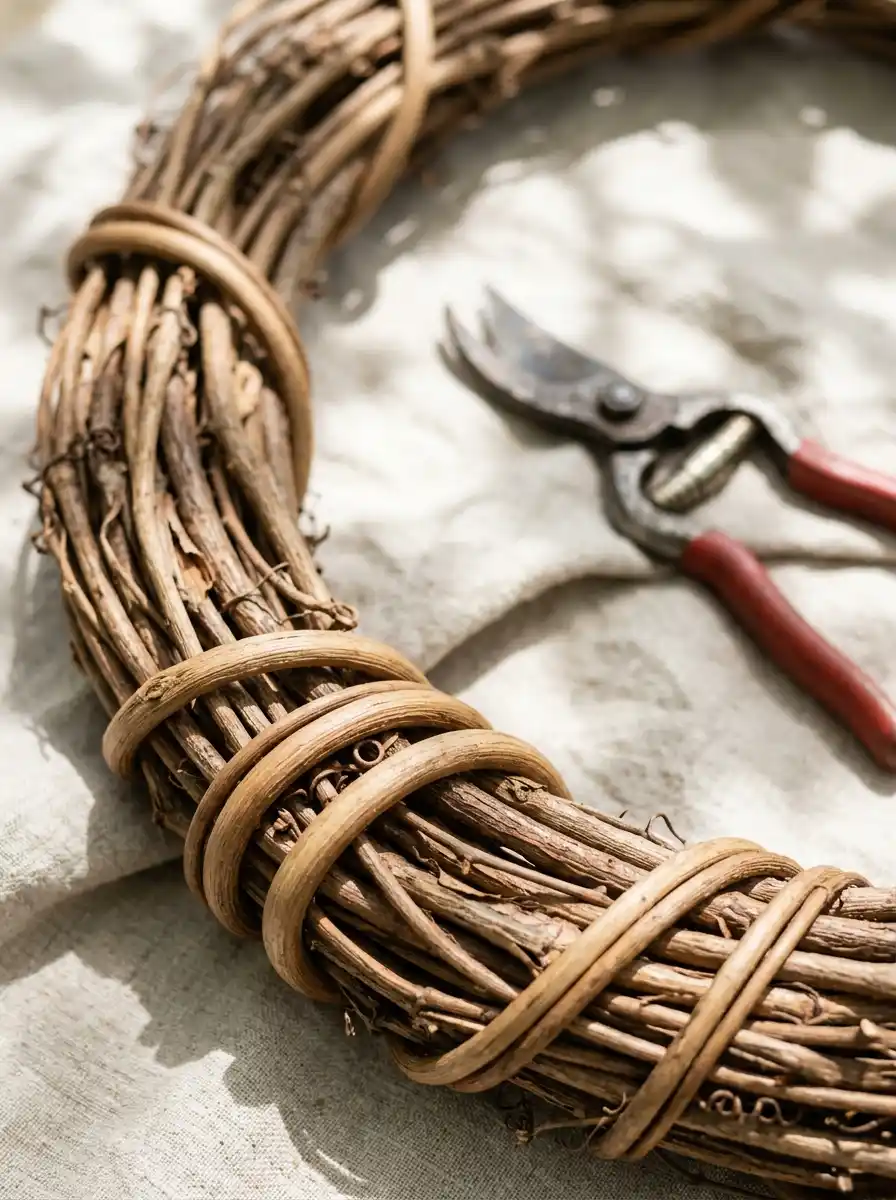
Does the wreath twist or wobble when you lift it by one edge? That’s normal at this stage. The vines will shrink a little as they dry, and without a few ties, the layers can loosen and slide apart.
Before wiring, lay the wreath flat and look at it from above. Push any flat spots outward with your thumbs until the ring looks round.
Cut four pieces of floral wire, each about 8 inches long. Picture the wreath as a clock face. At the 12 o’clock spot, wrap one piece around the whole bundle 3 times. Repeat at 3, 6 and 9 o’clock.
Twist the wire ends together on the back with 4 or 5 turns. Trim the extra so about ½ inch is left, then press that end flat into the vines so it won’t scratch your door.
Subscribe to DIY Craft Bloom
Get updates on the latest posts and more from DIY Craft Bloom straight to your inbox.
No floral wire? Kitchen twine tied in a tight double knot works too. Your decor will hide it later.
Dry It Flat for 7 Days — Longer If Your House Is Humid

Wet vine feels cool and heavy in your hands. Dry vine feels light and sounds hollow when you tap it. That change is what you’re waiting for.
Lay the wreath flat on a shelf, a table or the top of a dresser, somewhere dry with some air moving around it. Don’t hang it yet. A wet wreath hanging from one point slowly sags into an egg shape.
Flip it over around day 3 or 4 so both sides dry evenly.
Soaked vines or a damp basement can stretch drying to 10 to 14 days. To check, scratch the bark with your fingernail on the back. Green and moist underneath means it needs more time.
A damp wreath sealed in a plastic bag or storage bin can grow white, fuzzy mold within days. Also skip the hair dryer or oven to speed things up. Fast heat can crack the vines.
Twist a Hanging Loop onto the Back at the Top

If you plan to add heavy decor like faux pumpkins or a cluster of pinecones, this loop has to carry all of it, so make it strong.
Turn the wreath over and decide which side is the front. Pick the side with the smoothest, fullest look. On the back, find the spot that will sit at the top.
Cut a piece of floral wire about 10 inches long. For heavy decor, fold it in half for double strength. Slide it behind 3 or 4 strands of vine, then twist the ends together to make a loop about 1 inch wide. Five or six twists will hold it.
Wrap the leftover wire tails around nearby vines so they’re hidden.
Before you call it finished, hang the wreath on a doorknob and give it a gentle shake. It should stay round and the loop shouldn’t slip.
A ribbon or jute loop works too if you prefer a softer look.
Make a Second, Smaller One Before the Week Is Out

Now you know how to make a wreath base from scratch, and the one drying on your shelf cost nothing but an afternoon.
Here’s your challenge for this week: grab the leftover vines and coil an 8-inch mini base around a coffee can while the weave is still fresh in your hands. Hang it on a cabinet door or a kitchen window.
Once your big base is dry, fill it with fall leaves, dried wheat or a few faux pumpkins.
Pin this to your fall crafts board so the steps are waiting the next time you spot a tangle of wild grapevine.
Vine Wreath Questions From Our Craft Inbox
Yes. Dried bundles need a long soak, so leave them in the tub overnight, run the U-bend test, and pick up the steps from coiling the first vine.
Late fall through early spring, after the leaves drop. Summer vines work too, but they take longer to strip, and they shrink more as they dry.
Yes. For a 20- to 24-inch wreath, use a hula hoop or a kiddie pool rim as your form. You’ll need 25 to 30 vines that are at least 8 feet long.
Yes, once it’s fully dry. For a soft whitewash, mix white paint with an equal amount of water and brush it on, or spray paint it outside in light coats.
Several years if it hangs indoors or under a covered porch. Remove the decor each season and redecorate the same base.