17 Fun Star Craft Ideas for Kids That Use What You Already Have

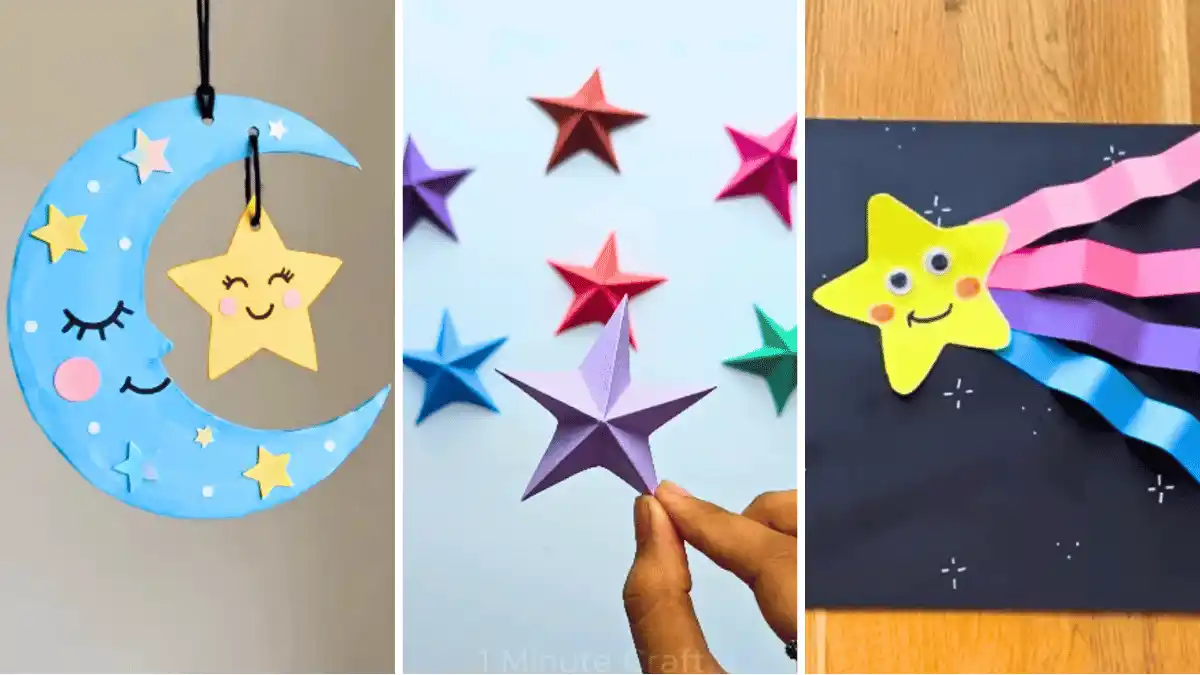
My daughter asked for a star on her bedroom wall and I said yes before checking what was in the craft drawer.
Three popsicle sticks, half a bottle of glue, some pom poms from a birthday bag. We made it work, and that scrappy little star stayed taped above her bed for most of a year.
That is how most of these came together. Paper, cardboard, glue, a cookie cutter, whatever the snack cupboard offered. Nothing here needs a special trip to a craft store, and nothing here falls apart by Tuesday.
The star craft ideas for kids below run from a five minute confetti page a toddler can manage to a folded origami star that will keep an eight year old quiet for an hour. Some hang on the wall. Some glow. One is slime.
Pick by the age of the child and the amount of mess you feel like cleaning. Everything else is written to be copied straight off the page.
1. Big Eyed Paper Stars Kids Can Draw Faces On
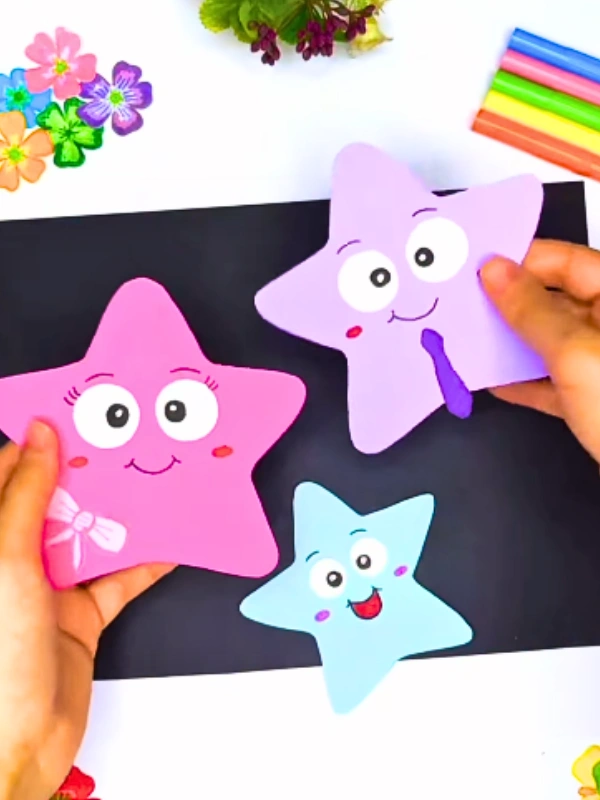
Copy this:
- Base: a chunky five point star cut from pastel craft paper
- Eyes: two large white circles with black centers, set close together
- Face: a marker smile with small colored ovals for cheeks
- Finishing touch: a tiny bow or teardrop shape glued near one arm
Rounded points do the heavy lifting here. Kids who cannot cut a sharp angle yet can trace around a cookie cutter and snip a soft curve instead.
Faces go on last, which means every star ends up with its own mood. One looks cheeky, another looks half asleep.
Beginner version: Skip the glue on eyes and draw them straight onto the paper with a black marker. Safer for toddlers, and nothing falls off later.
2. Folded 3D Stars for a Rainbow Wall Display
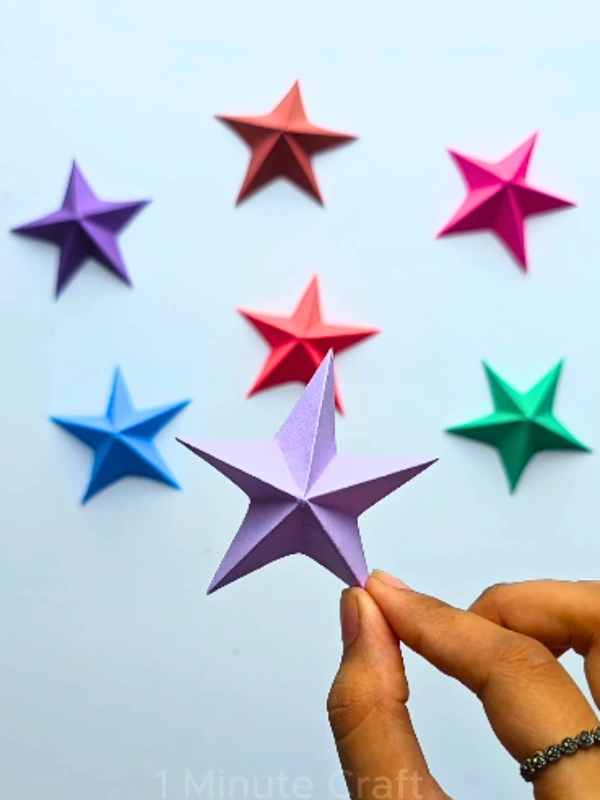
Folded paper stars like these turn a stack of colored squares into a whole wall.
Each one starts flat, gets creased into a fan of points, then pinched at the middle so the center lifts. That raised ridge is what catches the light and gives the star real depth.
Batch making is what makes star crafts for kids work in a classroom. Cut ten squares at once, hand them out, let each child pick a color.
Older kids pick up the folds fast and start coaching the younger ones without being asked.
Tape them straight onto a bedroom wall in a loose scatter, no frame needed. Small rolls of tape behind each point hold better than one strip across the back.
3. Sleepy Moon and Star Hanger for a Bedroom Door
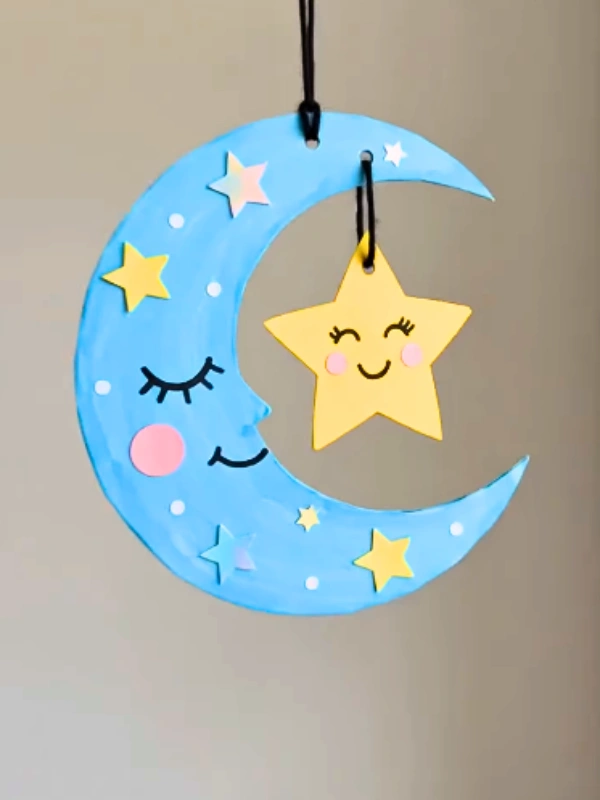
Best for: a calm afternoon project that ends up as real decor.
Blue paint across a crescent shape, a sleeping face, and a yellow star swinging inside the curve. Two pieces, two lengths of black cord.
Kids paint the moon, punch two holes with a hole punch, then thread the string so the star dangles in the open space.
Small white dots and scattered paper stars fill the empty areas on the moon. Cotton swabs make rounder dots than a brush and dry fast.
Let each child place the closed eyes themselves, since a low face reads sleepy and a high one reads cheerful.
Swap idea: Cut the moon from a cereal box instead of paper. Cardboard holds its shape and stops the edges curling while the paint dries.
4. Origami Star From One Square of Paper
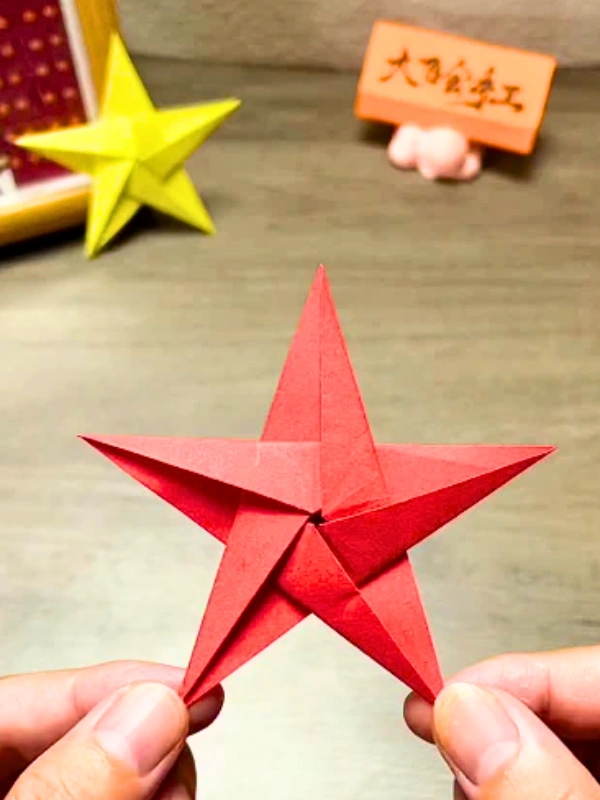
The build: one square, a set of folds, and no glue anywhere.
Sharp arms like these come from dividing the square into fifths first, then shaping each point with a crease down the middle.
Fingers do the entire job. Expect a few crumpled attempts before a clean one appears, which is the appeal for kids who like a puzzle.
Thicker craft paper holds the ridges far better than printer paper. Red and yellow read as classic here, though any solid color works, because the shadows inside the folds do all the decorating.
Age note: Around age eight and up for solo folding. Younger children can manage the early folds and hand it over for the tricky pinch at the center.
Subscribe to DIY Craft Bloom
Get updates on the latest posts and more from DIY Craft Bloom straight to your inbox.
5. Shooting Star Collage With Wavy Paper Tails
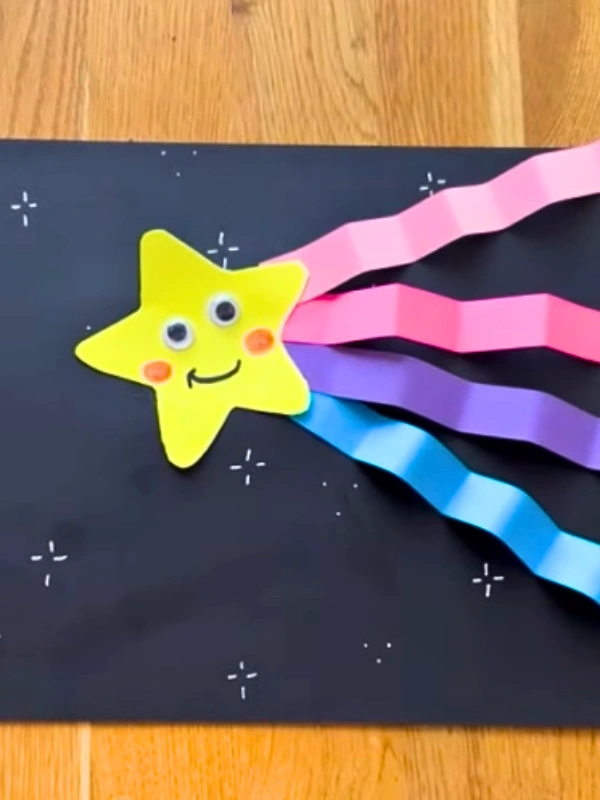
Wavy paper strips turn a plain star into a shooting one. Four ribbons of pink, purple and blue fan out across black card, each cut with a gentle zigzag along both edges.
Glue goes on the ends only, so the middles lift slightly off the page and cast a shadow. Among the easier star craft ideas for kids, this one gives the biggest result for the least cutting.
Why it works:
- Black backing makes every bright color look twice as strong
- Zigzag edges suggest speed better than a straight strip ever could
- Tiny white marks fill the sky without any extra cutting
Dot those white stars with a paint pen or the tip of a cotton swab. A few clustered in twos and threes look more like a night sky than an even grid.
6. Cardboard Stars Edged With Buttons, Pom Poms and Cereal
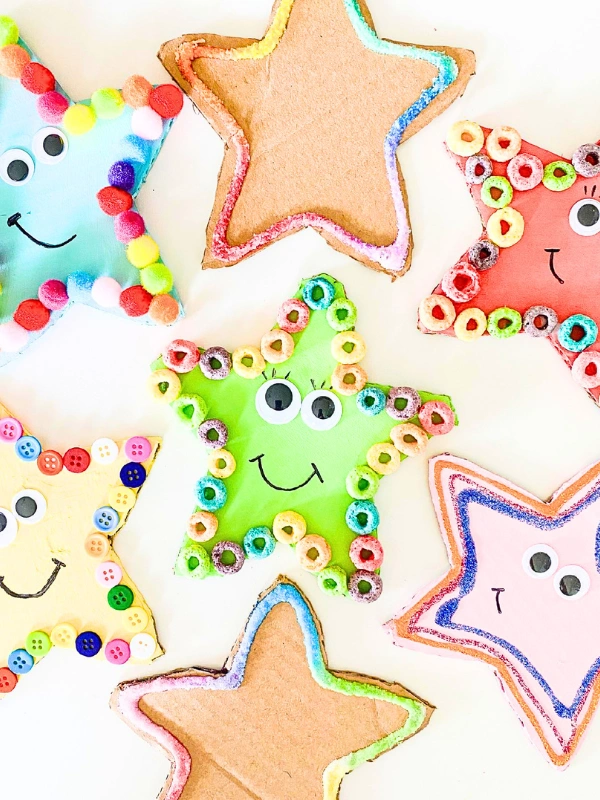
Cardboard cut from a delivery box gives these stars enough weight to carry buttons, pom poms and cereal rings without bending. Paint goes down first, faces second, then the decorations march around the outline in a border.
Placing small items one by one along an edge is quiet work, and it keeps little hands busy for a long stretch.
Supply note: Raid the snack cupboard. Ring shaped cereal glues down flat, adds color for free, and comes in a shade nobody has to mix.
Mess note: Squeeze glue into a shallow jar lid and let kids dip each piece. Far less waste than a bottle in a five year old hand.
The detail to steal: Leave one star plain with only a glitter outline. That gap gives the whole group room to breathe on a wall.
7. Craft Stick Stars With Pom Pom Dots
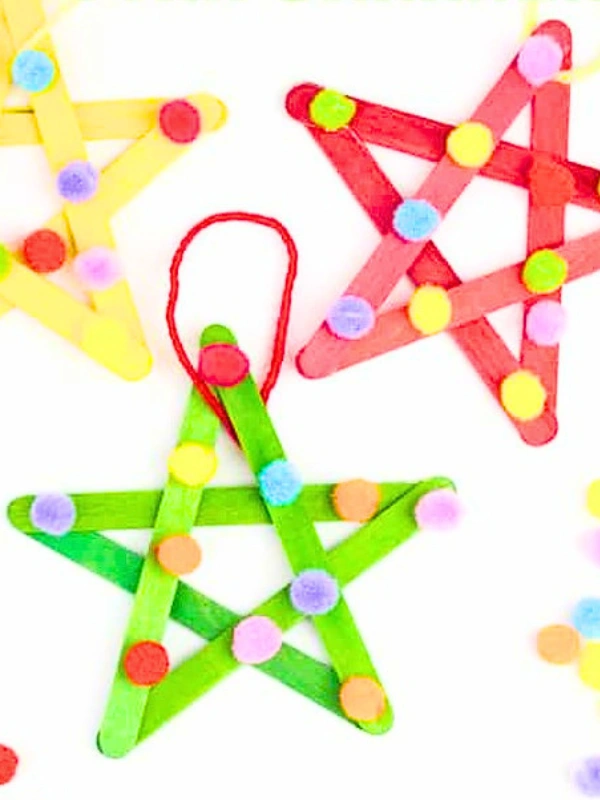
Four parts to copy:
- Base: five craft sticks laid into an overlapping star
- Color: one bright shade painted across the full frame
- Dots: small pom poms spaced along every stick
- Hanger: a loop of yarn tied at the top point
Laying the sticks out flat before any glue saves a lot of frustration. Show kids the weave once, over and under, and most manage it on the second attempt.
Single color painting keeps things tidy, while the pom poms bring in the rest of the rainbow. Few star crafts for kids hang this well on a doorknob or a window catch.
Drying time: Give the glued joints an hour before hanging, or they slide apart. Paint the sticks the night before if you want the build finished in one sitting.
8. Starry Night Painting
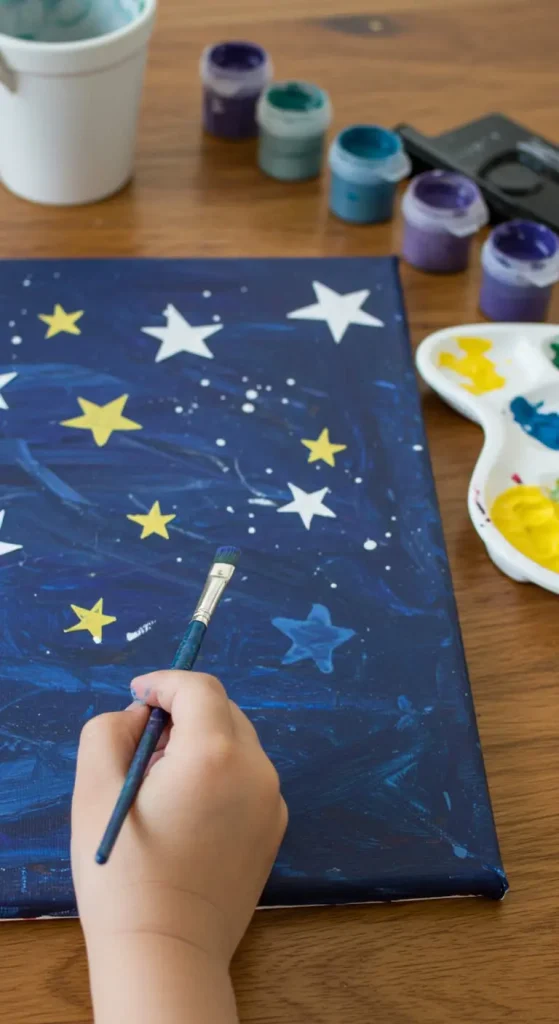
Black paper does half the work on this one. Kids sponge on loose swirls of blue and white, then let the two colors blur where they meet. Nobody needs a steady hand.
Stars go on once the base is touch dry. Dip the end of a cotton swab in white or yellow paint and press, lifting straight up so the dot stays round.
Glitter sprinkled over wet paint sticks without any extra glue. Shake the excess off over a tray and pour it back in the pot.
9. Paper Plate Star Wand

Quick build: paper plate, yellow paint, star stickers, one straw taped down the back.
Cutting the star from the middle of the plate leaves a nice raised rim on the arms.
That ridge gives little fingers something to grip while they paint. Two coats cover the printed surface better than one thick layer.
Straws bend under waving, so a wooden dowel or a chopstick holds up longer. Tape across the join in an X shape, then glue over the tape.
Safety note: Round the star points with scissors before handing it back. Waving and sharp corners do not mix.
10. Star Shaped Salt Dough Ornaments
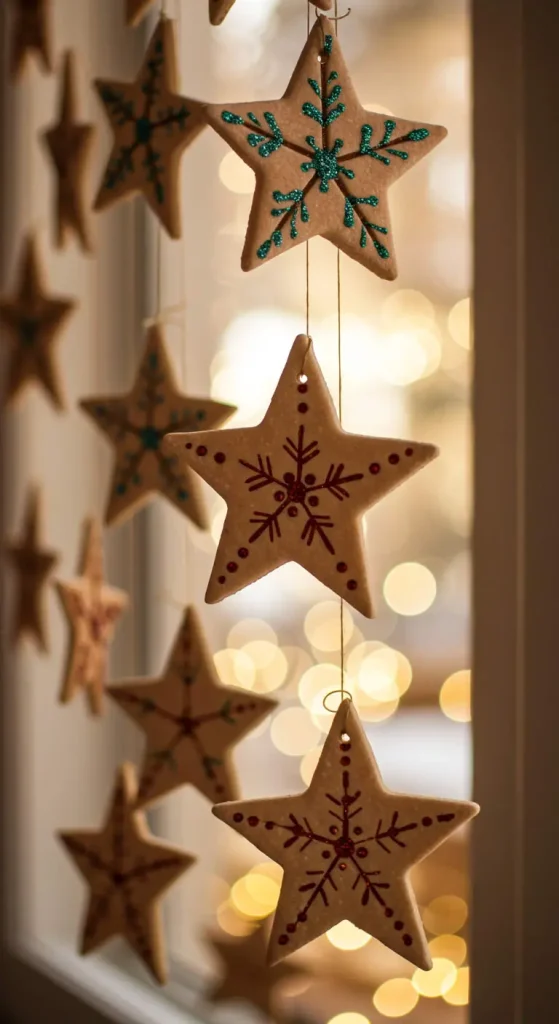
Salt dough costs almost nothing and comes together in a bowl: one cup salt, one cup flour, half a cup water.
Roll it thick, press a cookie cutter through, and poke a hole near the top arm with a straw before baking. Low heat for around two hours hardens them through.
Timing note: Bake on a weekday, paint the next day. Warm dough cracks under a wet brush.
Care tip: Seal finished stars with a coat of clear glue mixed with water. Salt dough softens in damp rooms without it.
Subscribe to DIY Craft Bloom
Get updates on the latest posts and more from DIY Craft Bloom straight to your inbox.
11. Glow in the Dark Star Wall
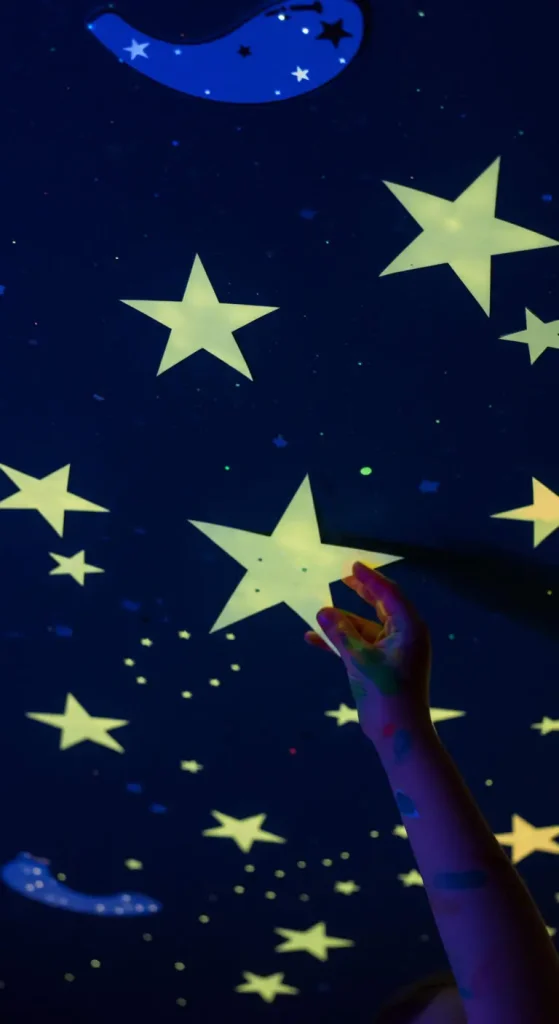
Good for: kids who stall at bedtime.
Star shapes cut from black card almost vanish in daylight, then light up once the room goes dark.
Glow paint needs a bright lamp overhead for a few minutes to charge, so hang them where the ceiling light reaches.
Two coats give a much stronger glow than one. Let the first dry fully, or the second drags and leaves streaks.
One small change: Cut the stars in three different sizes and cluster the small ones. Even spacing reads like wallpaper, uneven spacing reads like a sky.
12. Starry Sky Mobile
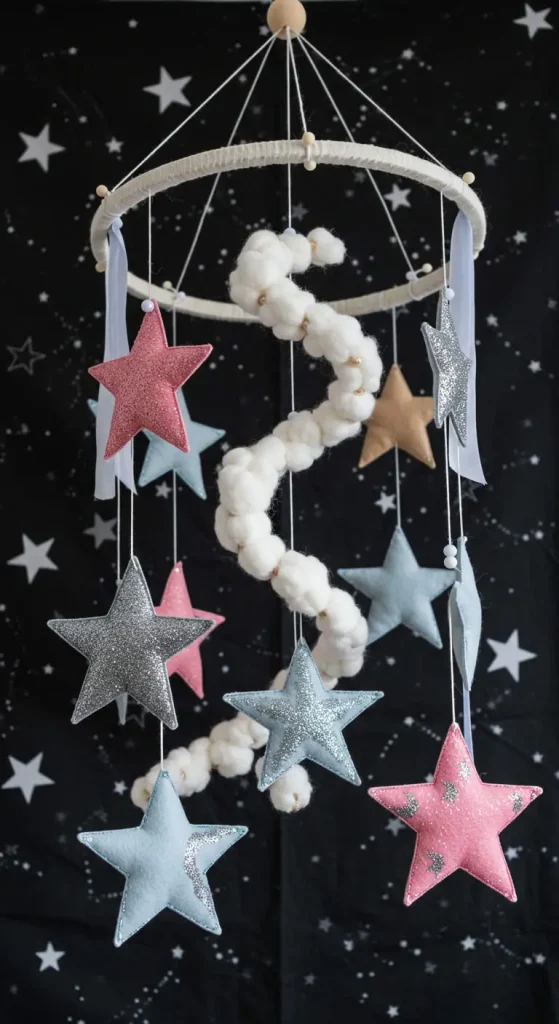
Four parts:
- Frame: a wooden dowel or a wire coat hanger
- Stars: foam or card shapes, decorated on both sides
- Strings: yarn cut to four or five different lengths
- Balance: heavier stars closer to the center
Double sided decorating matters here, since a mobile spins and shows its back. Foam holds up better than paper, which curls in warm air.
Placement note: Hang it near a window, well out of reach of the bed. Air movement keeps it turning on its own.
13. Starry Night Lanterns
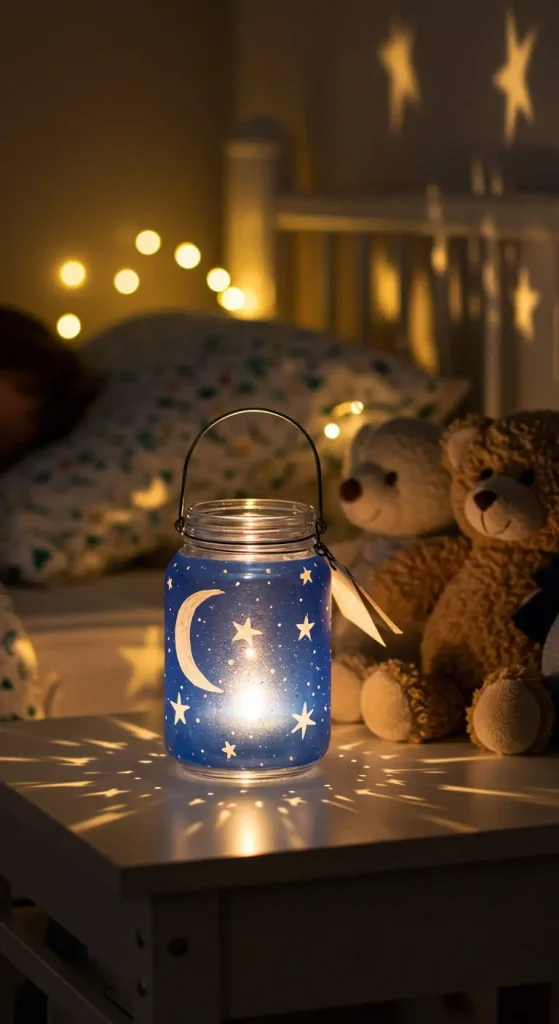
Empty cardboard tubes make a lantern in about ten minutes. Paint the outside black, let it dry, then punch small star shapes through the wall with a craft punch or the tip of a pencil.
Light comes from a battery tea light dropped inside. Real flames have no place here, and the LED kind throws a steadier pattern anyway.
Holes cast little shapes across the wall once the room dims. More holes means more light escapes, so start sparse and add as you go.
14. Paper Star Garlands

Bright paper stars strung along a length of yarn fill a wall fast. Cut them in pairs, glue one to each side of the string, and the garland hangs flat instead of twisting.
Why it works:
- Repeating one shape looks planned rather than random
- Mixed sizes keep the line from looking flat
- Yarn stretches across a window with two pieces of tape
Twenty stars cover roughly two meters with gaps between. Fold a stack of paper and cut several at once to save time.
15. Craft Stick Star Photo Frame

Glued sticks make a sturdy frame that survives being handled. Five sticks laid in the same over and under weave as a star leave a five sided gap in the middle, which is where the photo sits. Trim the picture to fit that shape rather than trying to force a square in.
Finish note: Paint before assembling. Brushing over glued joints leaves thick patches that never dry evenly.
Display tip: Tape a loop of ribbon to the back instead of a stand. Frames this light tip over on a shelf.
16. Starry Slime

Simple version: clear glue, a spoon of baking soda, contact lens solution added slowly.
Clear glue is the whole point. Glitter and star confetti hang suspended inside it like something floating in water, which white glue hides completely.
Add the confetti after the slime pulls away from the bowl, or it sinks and clumps.
Pour the activator in small amounts and knead between each one. Too much at once turns the batch stiff and rubbery with no way back.
Skip this: Leave out food coloring. Color muddies the clear base and the stars disappear.
17. Star Confetti Art
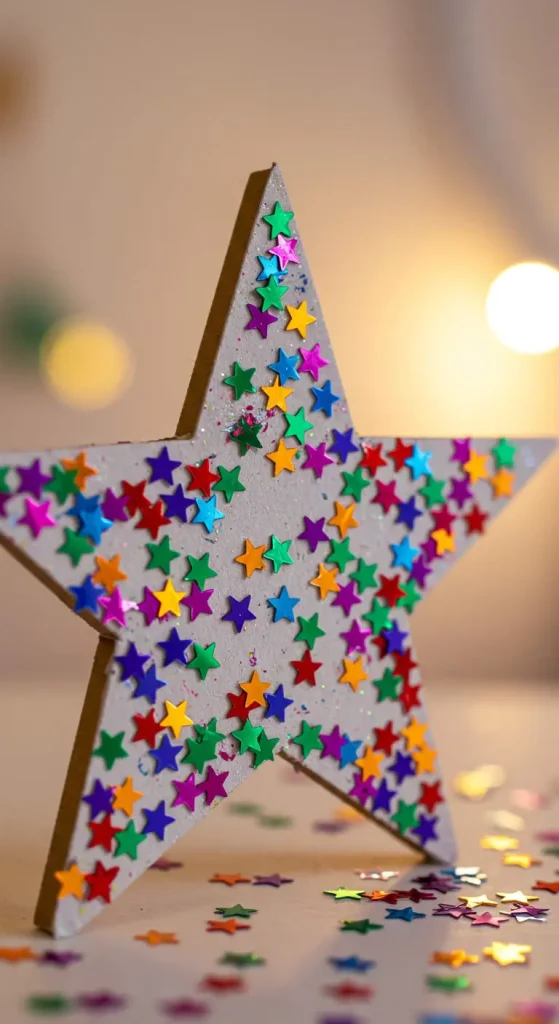
Best for: toddlers who want to glue more than cut.
Punching stars from scrap paper gives a jar of confetti in a couple of minutes, and the punching itself is half the fun. Scraps from other projects work fine, so nothing goes to waste.
Spread glue across the page first, then let them scatter handfuls over the top. Tip the sheet to shake the loose pieces back into the jar.
Try instead: Draw a big outline, a moon or a first letter, and fill only inside it. Gives the mess a shape.