18 Easy Craft Ideas For Room Decor Anyone Can Try

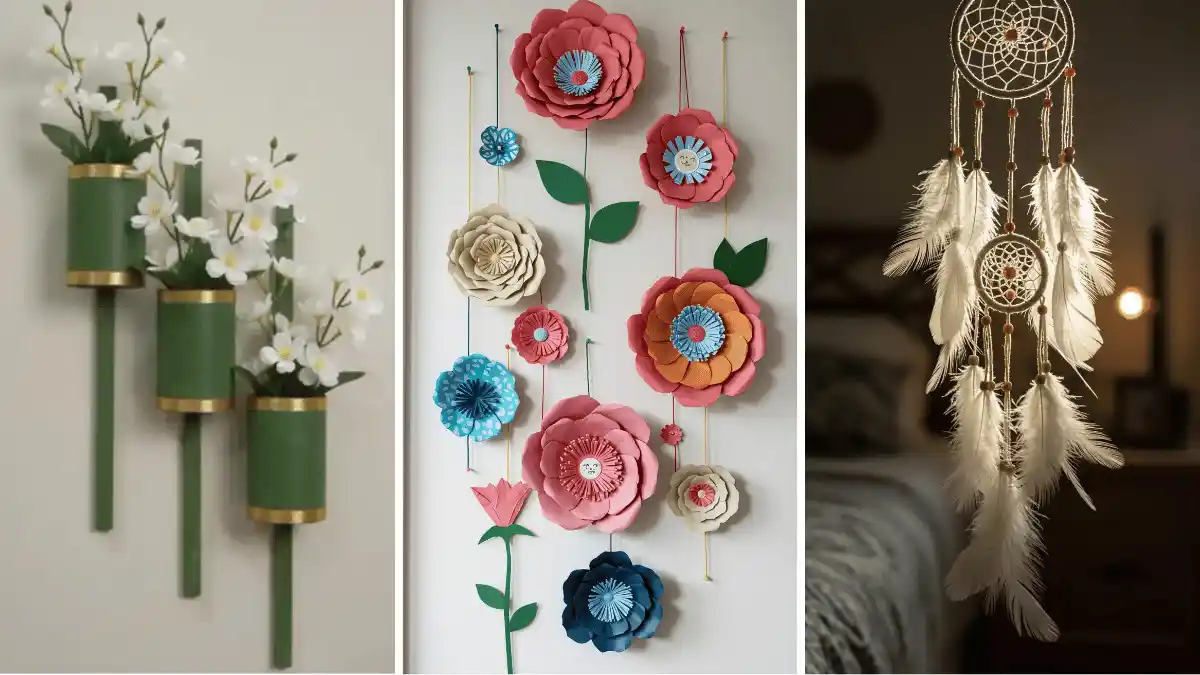
A blank wall or a boring shelf is not a big problem. It just needs a little attention. These 18 crafts turn ordinary supplies into pieces you would actually want to look at, and none of them ask for special tools or years of practice.
Some fill a wall with color, some soften a corner with light, and some just give you somewhere to pin up the notes you keep losing.
Grab what you already have around the house first. A mason jar, an old mirror, scraps of fabric, even smooth rocks from the yard can turn into something worth keeping.
Work through the list at your own pace, mix a few ideas together if you like, and use whatever colors match your room.
None of these will eat up a weekend or a paycheck, and every one of them leaves your space looking a little more like you.
1. Painted Craft Stick Affirmation Hanger
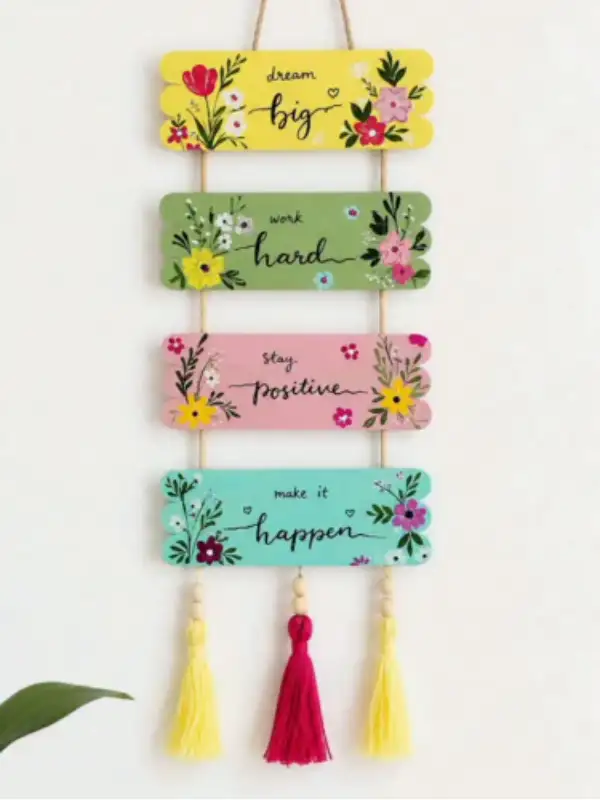
Four wooden craft sticks glued side by side into a small bar, painted in a solid color and finished with a hand lettered word or phrase, form the base of this piece.
Small painted flowers fill the corners of each bar, and jute cord threads through both ends to link the bars into one hanging strip.
Pick a phrase for each bar before you paint, since the words carry the piece more than the flowers do.
A basic paint pen handles the lettering better than a brush for anyone still working on steady handwriting, and a pencil guideline underneath keeps the words level.
Wooden beads slid onto the cord between bars add a small break in the color, and yarn tassels knotted at the bottom give the piece a finished edge.
Hang it near a desk or entryway where you will actually read the words during the day.
2. Floating Shelf With Built-In Warm Light
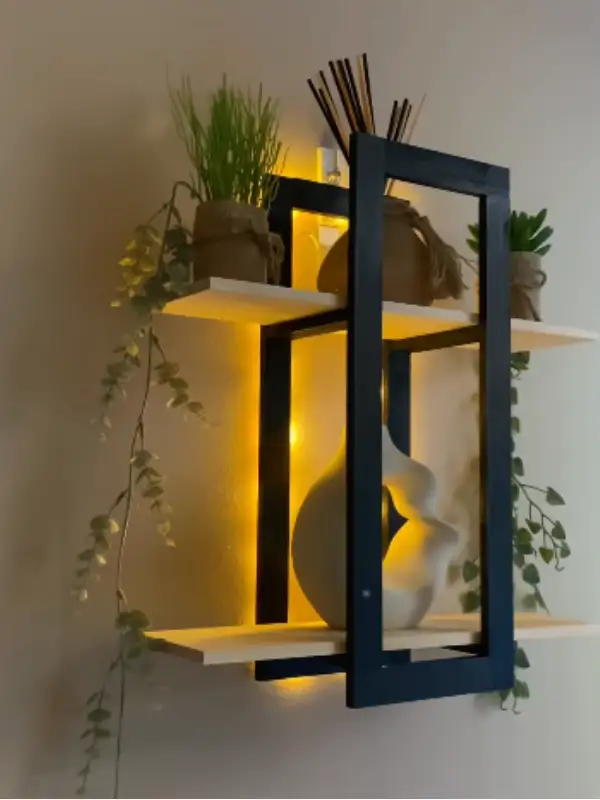
Two wood shelves sit inside a dark painted frame that runs behind and around them, and a strip of warm LED lighting tucked along the back edge glows out from underneath.
Plants, a woven basket, and a curved ceramic vase fill the shelves without crowding them.
Battery powered LED strips with adhesive backing stick directly to the underside of a shelf, so no wiring or outlet access is needed.
Painting the supporting frame a dark color, rather than matching the wall, gives the light something to stand out against once evening comes.
Leave a little open space on each shelf instead of filling every inch, since the gaps are part of what lets the glow show through.
This works well in a reading corner or beside a bed where a small amount of light goes a long way.
3. Staggered Tin Can Flower Sconces
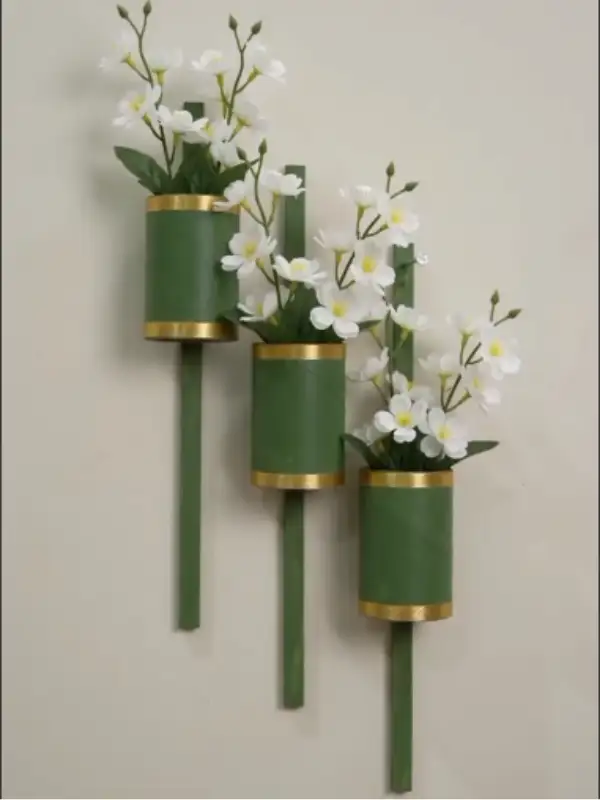
Three tin cans, each wrapped in a solid green paper or fabric and trimmed with a band of gold ribbon at the rim, hold faux white blossoms on long stems.
The cans mount onto narrow wood strips of different lengths, so the three sconces sit at staggered heights up the wall.
Cut the wood strips before wrapping the cans, since the staggered spacing is easier to plan on the wall itself with painter’s tape marking each height.
A hot glue gun holds the can to its strip better than tape, especially once the flowers add some weight near the top.
Faux stems mean the arrangement never needs water or upkeep, which makes this a good option for a stairwell or hallway you do not pass by often.
Group the three at slightly different depths, not just heights, for a little more dimension.
4. Painted Can Wall Garden
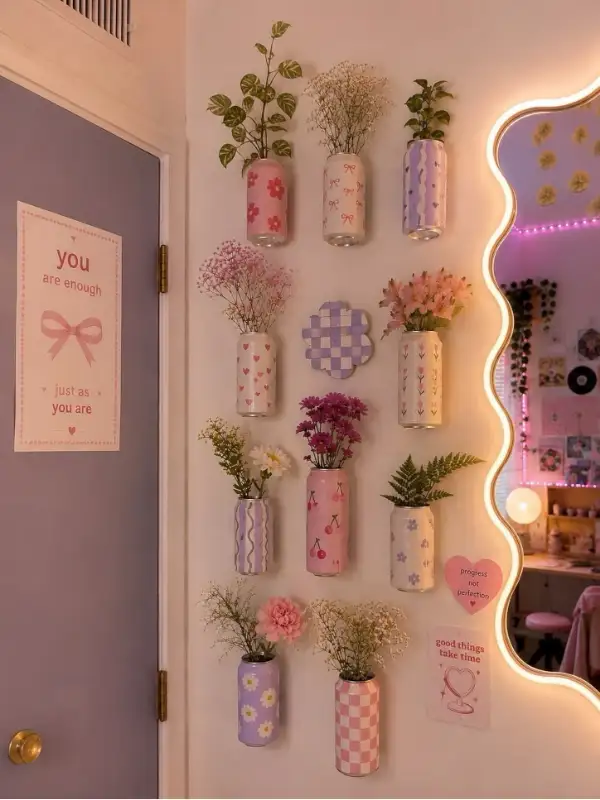
A cluster of cans, each hand painted with its own small pattern like florals, checks, or hearts, mounts in a loose grid on the wall and holds a mix of greenery, dried flowers, and fresh cut stems.
Paper decor pieces with short phrases fill the gaps between the cans.
Paint the cans first and let them dry fully before mounting, since working flat is far easier than painting a can already fixed to the wall.
Repeat two or three colors across the set rather than picking a new one for every can, so the grid reads as one collection instead of a mismatched pile.
Mixing real plant clippings with dried stems keeps the display from needing constant watering.
This suits a small wall by a door or beside a mirror where you want color without committing to a full gallery wall.
5. Yarn Ball String Light Tree
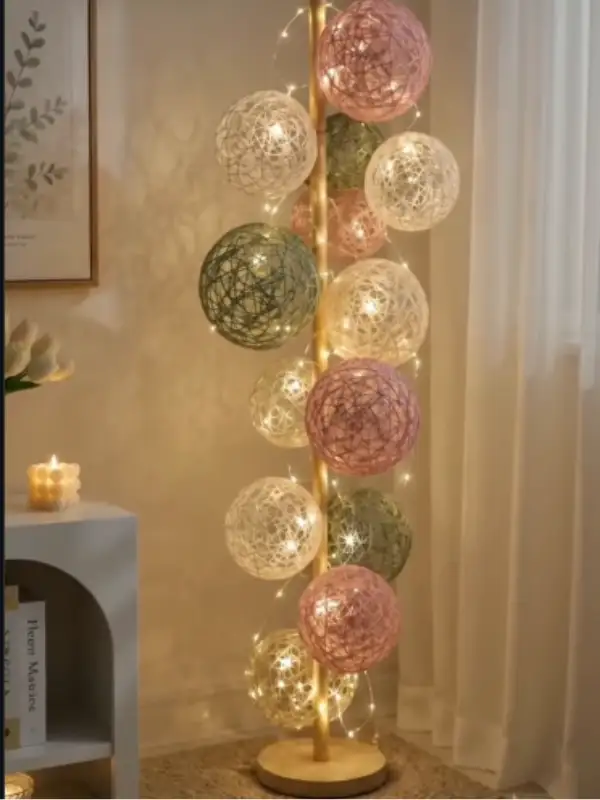
Balls of yarn wrapped around small balloons, coated in glue, and left to dry hollow, hang in clusters of soft pink, cream, and sage green along a tall wooden dowel.
Subscribe to DIY Craft Bloom
Get updates on the latest posts and more from DIY Craft Bloom straight to your inbox.
A string of warm fairy lights winds between the balls and up through the stand.
Popping the balloon once the glue has fully dried leaves a light, sturdy yarn shell that holds its round shape on its own.
Vary the ball sizes as you wrap them, since a mix of large and small balls looks more natural clustered together than a row of matching ones.
Slide the fairy lights through the balls as you attach them to the dowel, tucking a few bulbs inside the yarn shells so the light glows softly instead of shining out in a single beam.
This piece works best in a corner that stays dim in the evening.
6. Paper Flower Wall Art
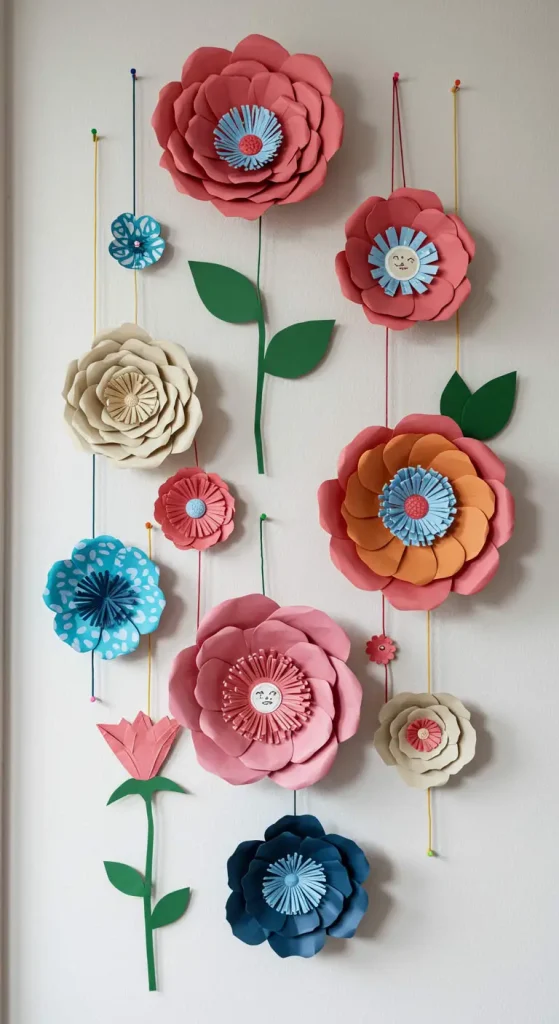
Cut flower shapes out of construction paper in a mix of sizes, then layer two or three shapes on top of each other before gluing them together.
That layering is what gives the flowers a bit of depth instead of looking flat against the wall.
Stick with two or three colors that already show up somewhere in your room, rather than grabbing every paper color you own. A tighter color range reads as planned instead of scattered, even though the process itself takes almost no skill.
Arrange the flowers in a loose cluster on a canvas, a piece of cardboard, or straight onto the wall with removable adhesive.
Leave some blank space around the edges so the cluster has room to breathe.
7. String Art Designs

Sketch your shape on paper first, whether that is a heart, an initial, or a simple outline, then tape the sketch to a wooden board.
Hammer small nails along the outline, leaving a little space between each one so the string has room to wrap.
Peel off the paper once the nails are in place, then wind colored string or embroidery thread back and forth between them. Crossing the string at different angles instead of going straight across fills in the shape and gives it more texture.
Hang the finished board somewhere it can catch a bit of light, like above a desk or beside a mirror, so the crossed threads throw small shadows.
Beginners should start with a simple shape before trying anything with sharp corners.
8. Washi Tape Picture Frames
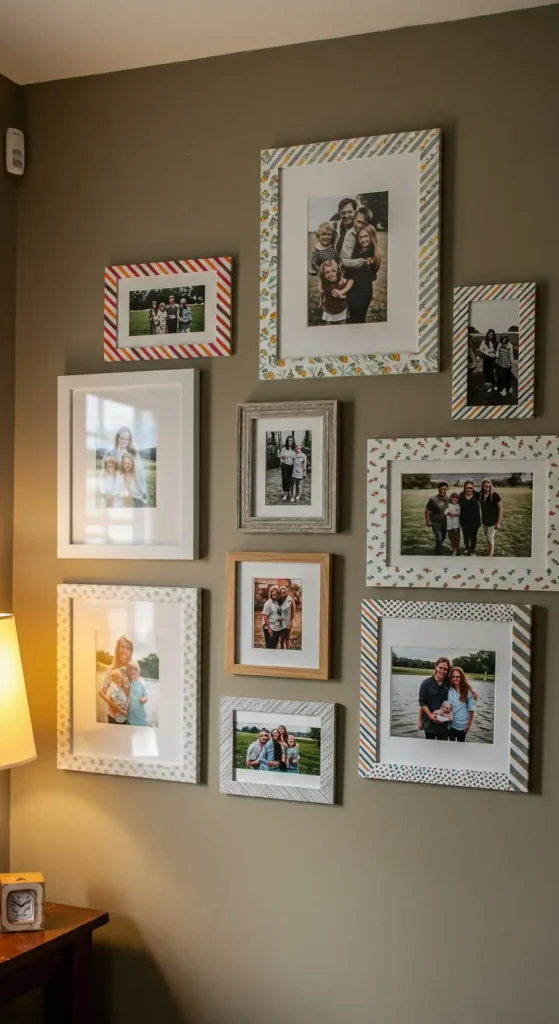
Skip real frames and outline your photos with strips of washi tape instead. Press one strip along each side of the photo so the corners overlap slightly, forming a simple border right on the wall.
Washi tape peels off cleanly, so this works well for renters or anyone who does not want nail holes in the wall.
Mixing a few patterns across the photos, rather than using one tape for all of them, keeps the wall from looking too matched.
Swap the photos or the tape colors whenever you feel like a change. It costs almost nothing to redo, which makes this an easy way to keep a gallery wall feeling current.
9. Dream Catcher
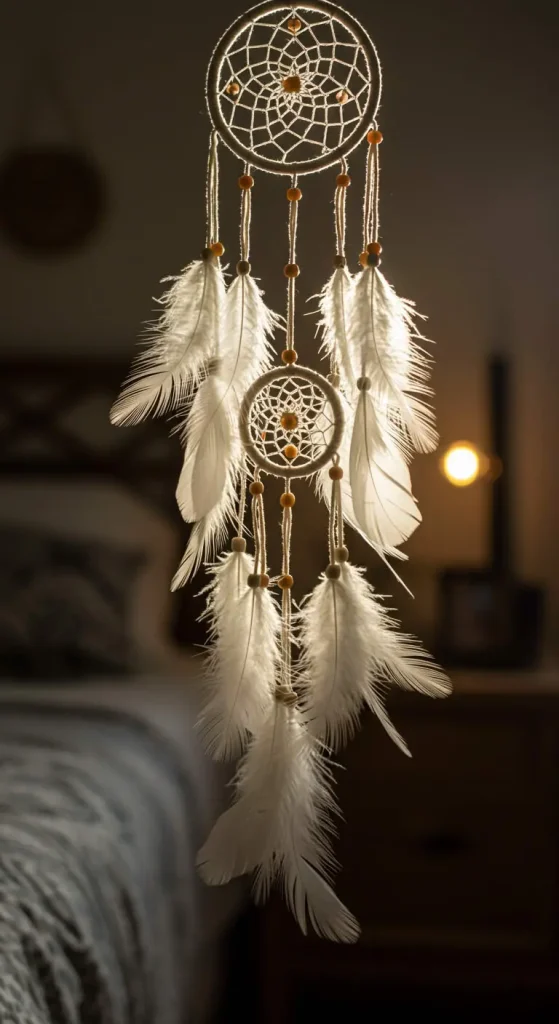
An embroidery hoop makes a sturdy base for this one, so start by wrapping it in yarn or ribbon if you want the ring itself to show color.
Tie a length of twine to the hoop and loop it across the center to build a loose web pattern.
Beads add weight and catch the light, so thread a few onto the twine as you go rather than gluing them on afterward. Feathers or small ribbon tails hanging from the bottom edge finish the piece without much extra effort.
Hang it near a window so the shadow moves across the wall through the day, or beside a headboard for a softer, boho feel in the bedroom.
10. Upcycled Tin Can Pencil Holders
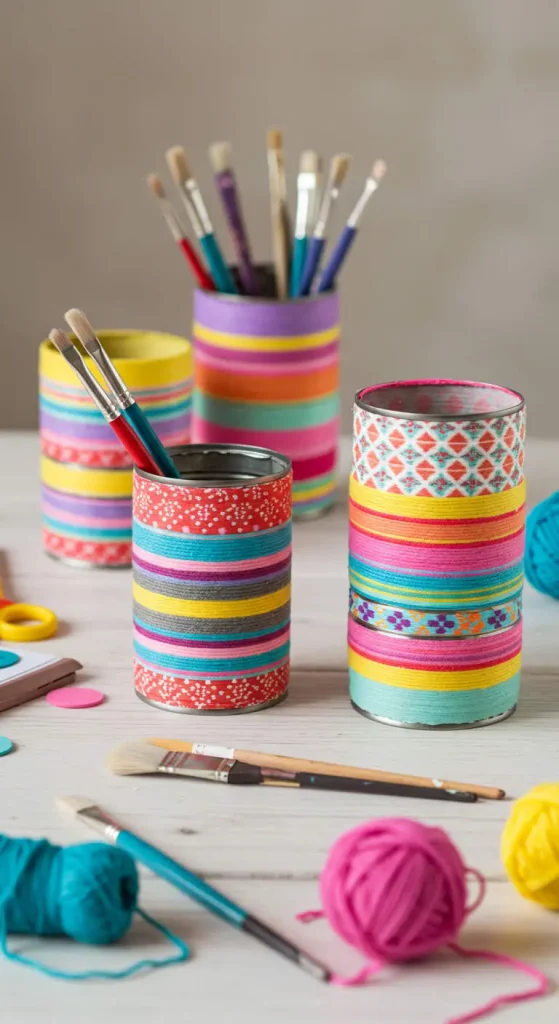
Rinse out an old tin can and check the rim for sharp edges before you start, since some cans need a quick pass with sandpaper.
Paint the outside in a bright color, or wrap it in fabric and glue the seam at the back where it will not show.
Twine wrapped around the base adds a bit of texture if the paint alone feels flat. Let everything dry fully before you use the can, so pens and brushes do not stick to wet paint or glue.
Group two or three cans together on a desk to hold pencils, brushes, or scissors. Reusing what you already have makes this one of the cheapest crafts on this list.
11. Painted Rock Paperweights

Look for smooth, flat rocks outside rather than jagged ones, since a flat surface is easier to paint and sits steadier on a desk. Wash off any dirt and let them dry completely before picking up a brush.
Small patterns, single words, or simple shapes work better than detailed pictures, especially if you are new to painting.
A coat of clear sealant once the paint dries keeps the color from chipping off with regular handling.
Subscribe to DIY Craft Bloom
Get updates on the latest posts and more from DIY Craft Bloom straight to your inbox.
Line a few painted rocks along a windowsill or a bookshelf, or use one to hold down a stack of loose papers on a desk. Kids can usually manage this craft with little help, which makes it a good one to do together.
12. DIY Fabric Wall Hanging

Old t shirts, scrap fabric, or thrifted material all work fine for this project, so there is no need to buy anything new.
Cut the fabric into long strips of roughly the same width for a tidy look, or vary the widths on purpose for something looser.
Tie each strip onto a wooden dowel, a curtain rod, or even a sturdy branch, spacing them close enough that gaps in the dowel do not show through. Trim the bottom edges straight across, or leave them uneven for a softer finish.
Hang the piece above a bed or on an empty stretch of wall where it can add some texture. Mixing a few fabric patterns keeps it from looking too uniform.
13. Fairy Light Photo Display
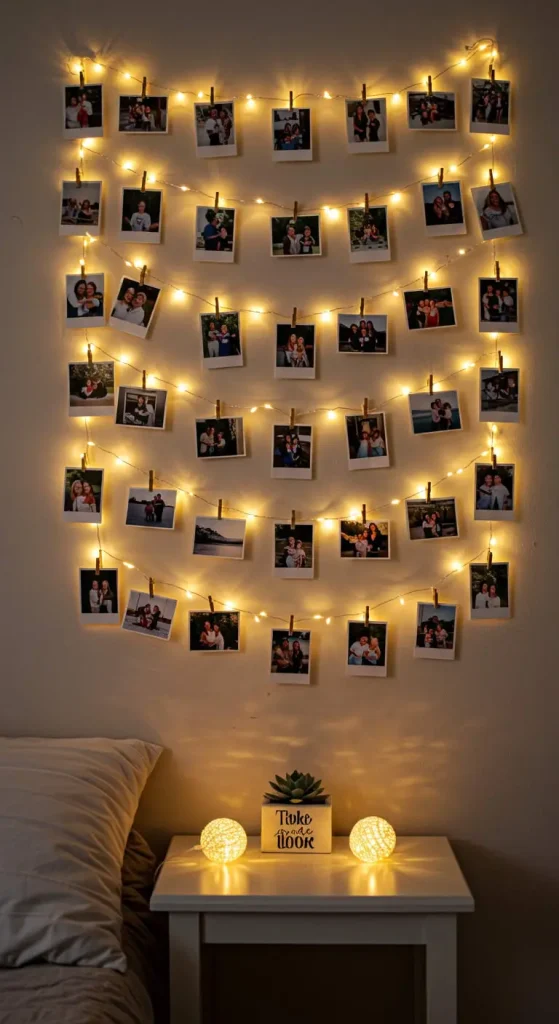
Pin a string of battery powered fairy lights along the wall using small removable hooks, then let the strand hang in a loose curve rather than a straight line. A gentle curve looks more natural than a tight, even row.
Mini clothespins clip printed photos straight onto the string, so there is no need for tape or frames. Print photos at a small, consistent size so the display does not look cluttered once everything is clipped on.
Switch out a few photos every month or two to keep the wall feeling fresh.
This works especially well in a bedroom or reading corner where soft light in the evening makes a real difference.
14. DIY Cork Board Organizer
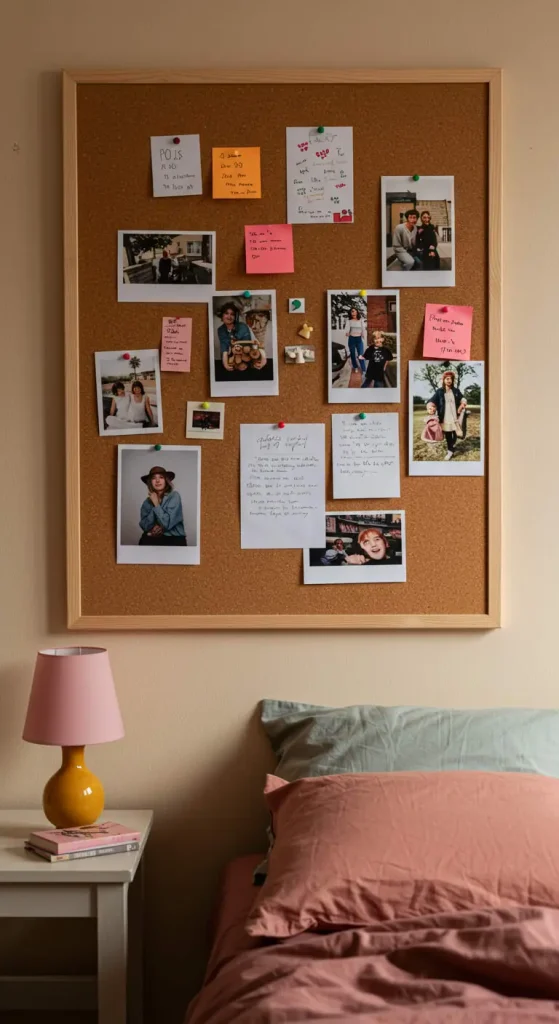
Start with a plain cork board and trim it down to a shape that fits your wall, whether that is a simple rectangle or something rounder. A craft knife makes cleaner cuts than scissors on thicker cork.
Wrap the frame in fabric, or paint the border to match your room instead of leaving the raw cork edge exposed. A thin coat of paint dries fast and still lets pushpins go in without cracking.
Mount it near a desk or entryway and use it for notes, reminders, or small photos you want to see every day.
A board like this solves the problem of loose papers piling up on a counter.
15. Upcycled Glass Bottle Vases
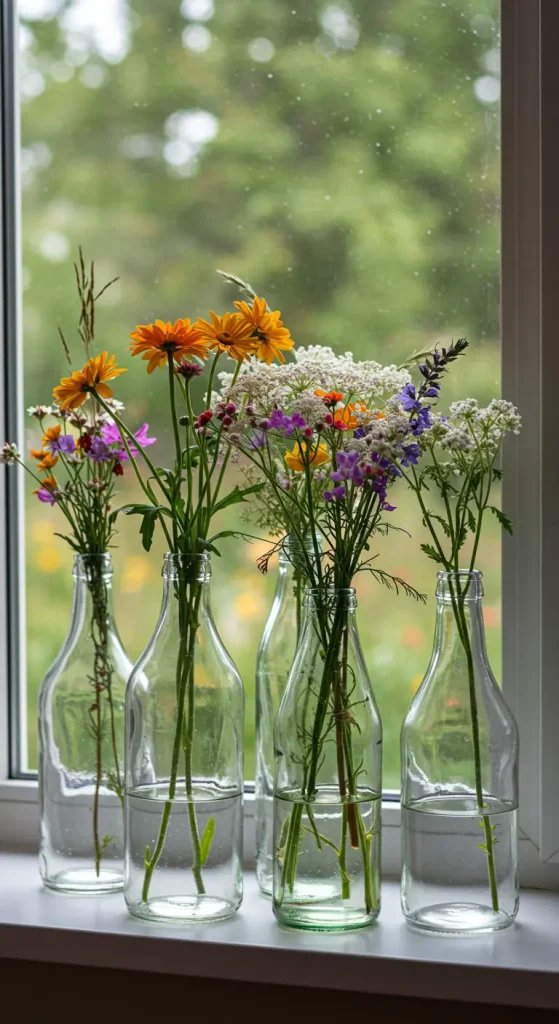
Soak an empty glass bottle in warm water to loosen the label, then peel it off along with any leftover glue.
Paint the outside in a solid color, or leave it clear if you want the water and stems to show through.
Fresh flowers work well in these, but dried stems or artificial blooms last longer and need no water at all. A narrow bottle neck also holds a single stem upright without much help from you.
Group a few bottles of different heights on a windowsill or a desk for a fuller look. It costs nothing beyond a bottle you already have and a bit of paint.
16. DIY Mirror Frame
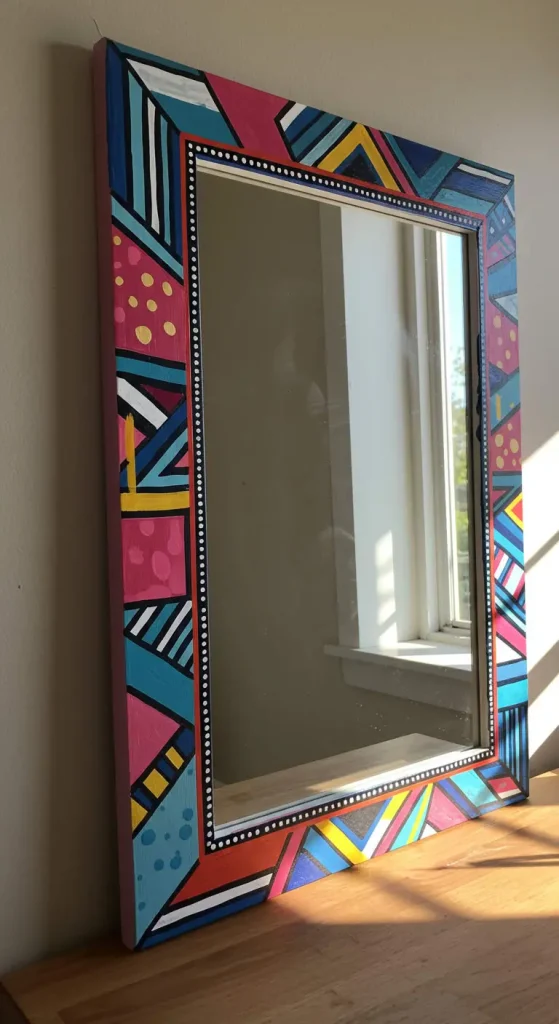
An old, plain mirror is really just a blank frame waiting for some attention. Glue small seashells, beads, or buttons around the border, working in sections so the glue has time to set before you move to the next side.
Painting the frame first, before adding any decoration, gives the pieces something to stand out against.
Let each layer dry fully, since rushing this step tends to knock loose pieces off before the mirror even goes on the wall.
Hang it somewhere it gets a bit of natural light, so the texture around the edge actually catches the eye. A single decorated mirror can carry a plain wall on its own.
17. Pom-Pom Garland
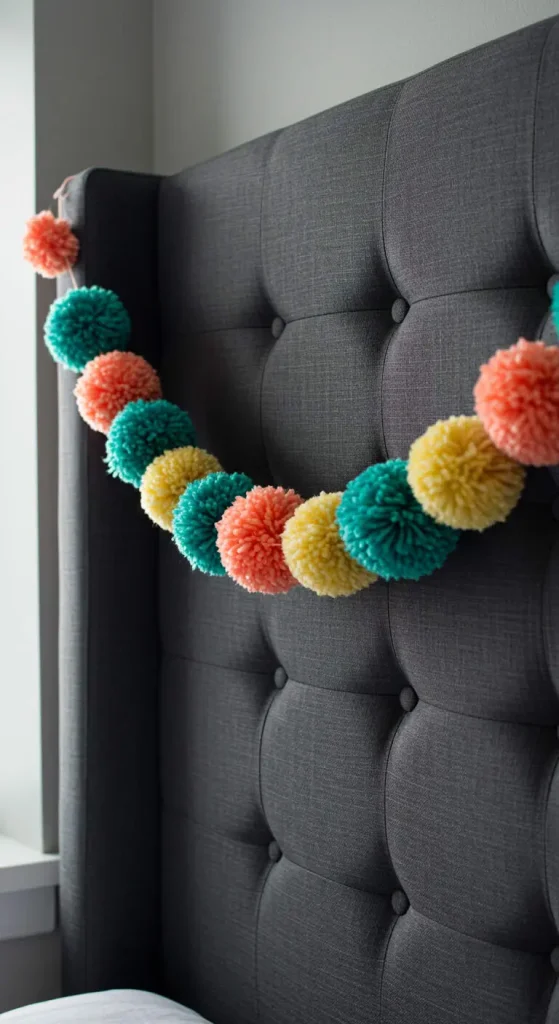
Wrap yarn around your fingers or a small piece of cardboard to build up a thick bundle, then tie the middle tightly and snip through the loops on each side. Fluff and trim the ends until it rounds into a proper pom pom.
Repeat that a dozen or more times in whatever colors suit the room, then knot each pom pom onto a length of string or twine, leaving even gaps between them.
Mixing sizes along the same strand keeps the garland from looking too even.
String the finished garland across a headboard, a window, or a shelf for an instant pop of color. It packs away flat too, so it is easy to store between seasons.
18. DIY Mason Jar Lanterns
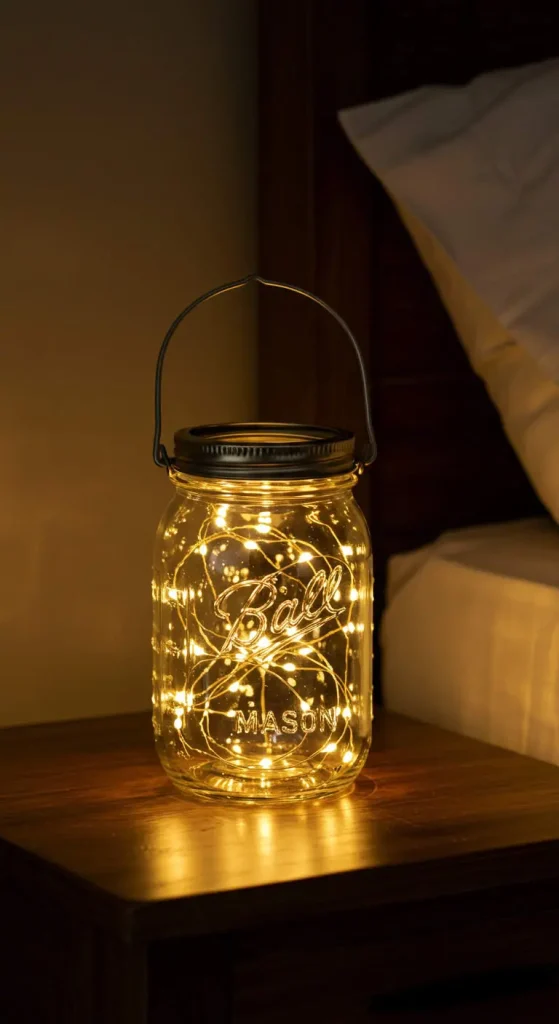
Grab an empty mason jar and peel off any leftover labels before you start. Paint the outside in a soft color, or coat it with frosted glass spray if you want the light to spread out instead of shining through in one spot.
Wrap twine or ribbon around the neck of the jar for a small finishing touch.
Drop a few LED tea lights or a short string of fairy lights inside once the paint has dried.
Skip real candles, since the glass can trap heat and the flame sits too close to the lid. Battery lights also mean you can move the jar around without worrying about wax or soot.
Set the finished jar on a nightstand, a windowsill, or a shelf where you want a bit of warm light in the evening.
Two or three jars in slightly different heights look better than one alone.