13 DIY 1st Birthday Card Ideas From Grandparents to Make This Year

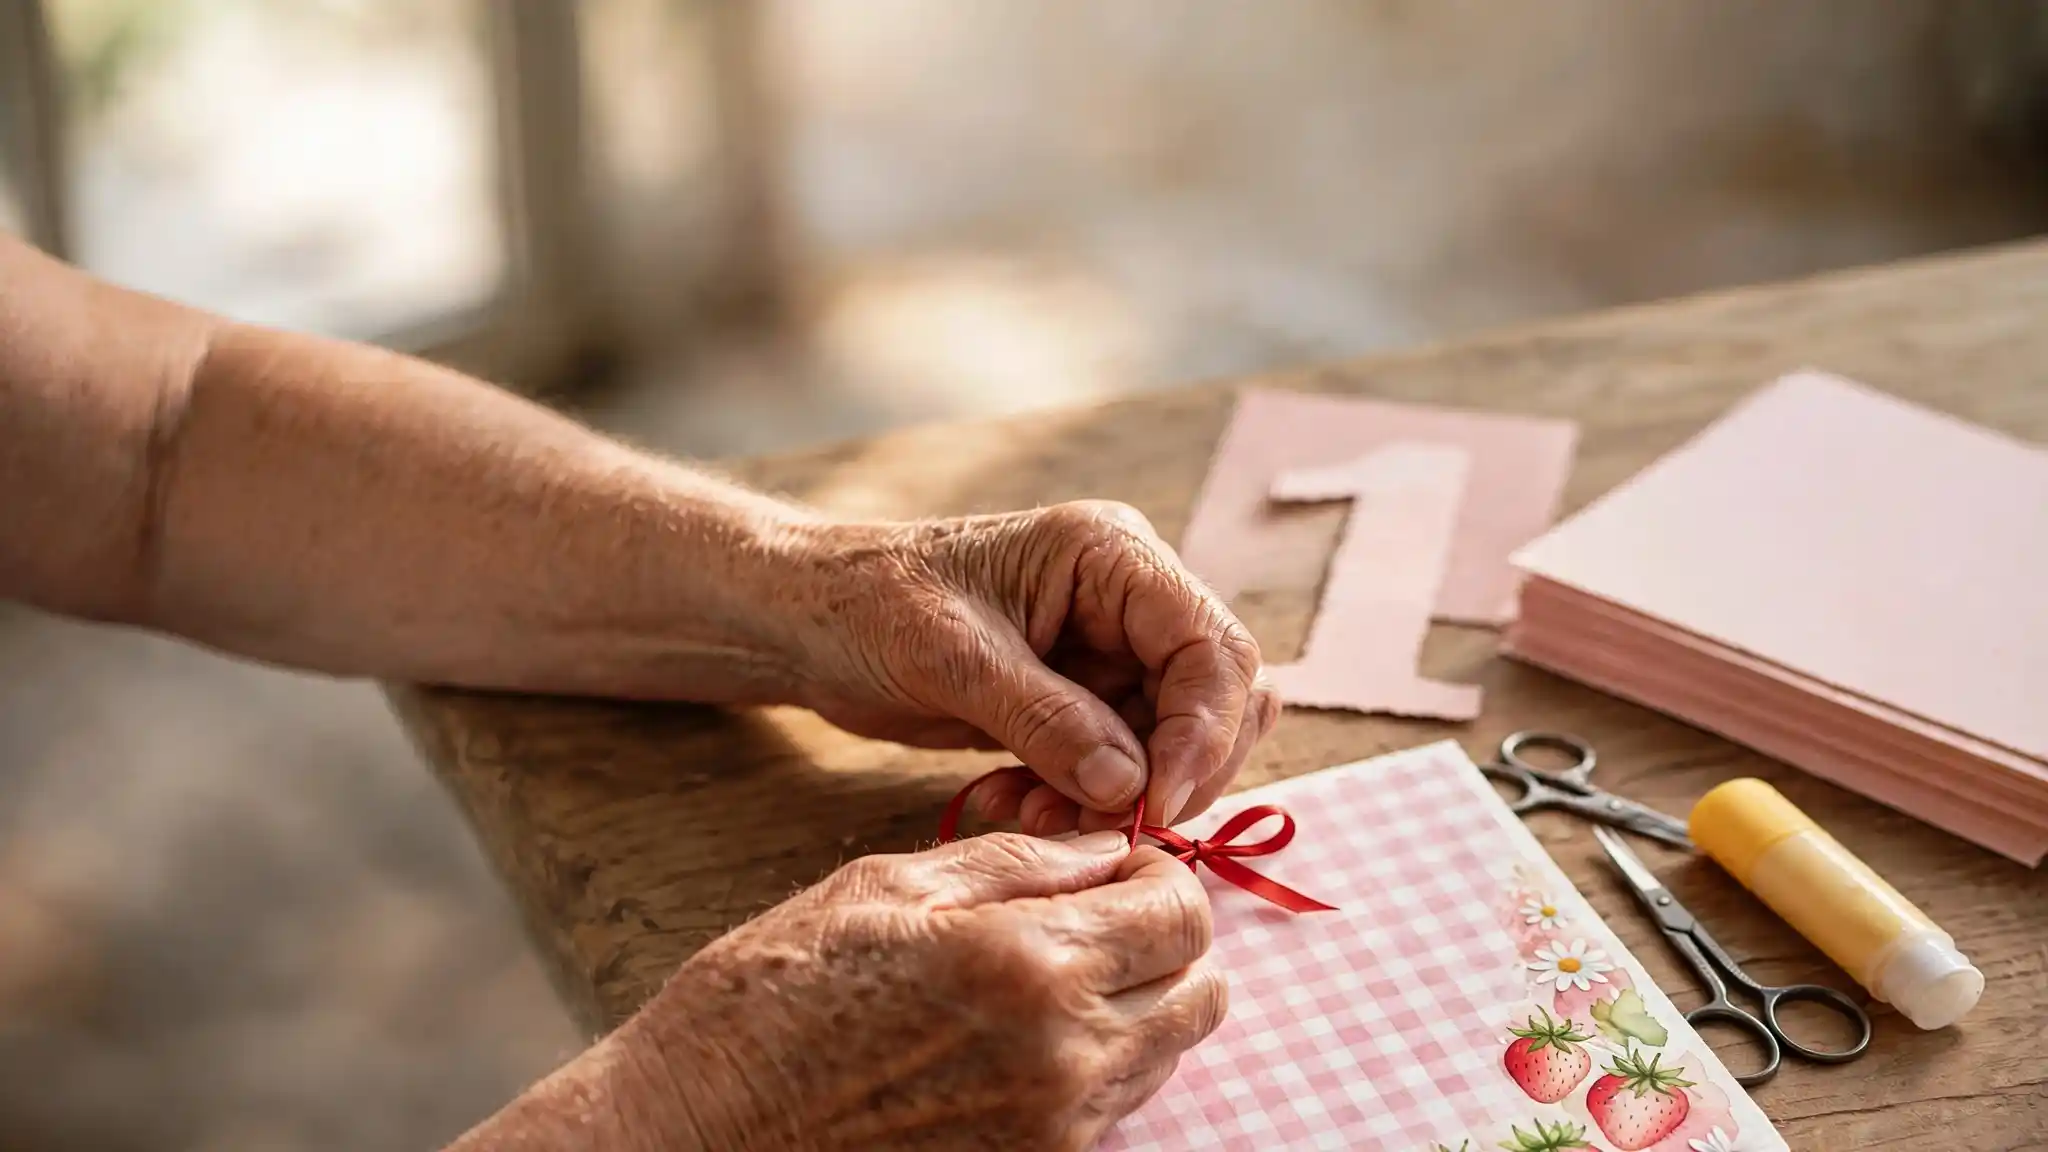
Grandparents want to make something for that first birthday, not just buy another card off a rack. The trouble is most handmade card ideas online either look too complicated for a Tuesday afternoon or too plain to feel special.
These DIY 1st birthday card ideas from grandparents solve that problem with real, doable techniques: a gingham background you can rule out with a straightedge, a die cut shape that turns the whole card into a numeral, a pun that only needs a pencil and a little nerve.
Some lean into dimension with foam tape and gems, others keep it down to one color and a lot of white space. None of them need a die cutting machine or years of scrapbooking experience, though a few reward patience if you have it.
Whether the birthday child is getting strawberries, fairies, or a hand painted panda on their card, there’s a version here that fits a grandparent’s skill level and the time they actually have. Pick the one that matches your style and get started.
1. A Strawberry Gingham Card Bursting With Berry Cheer
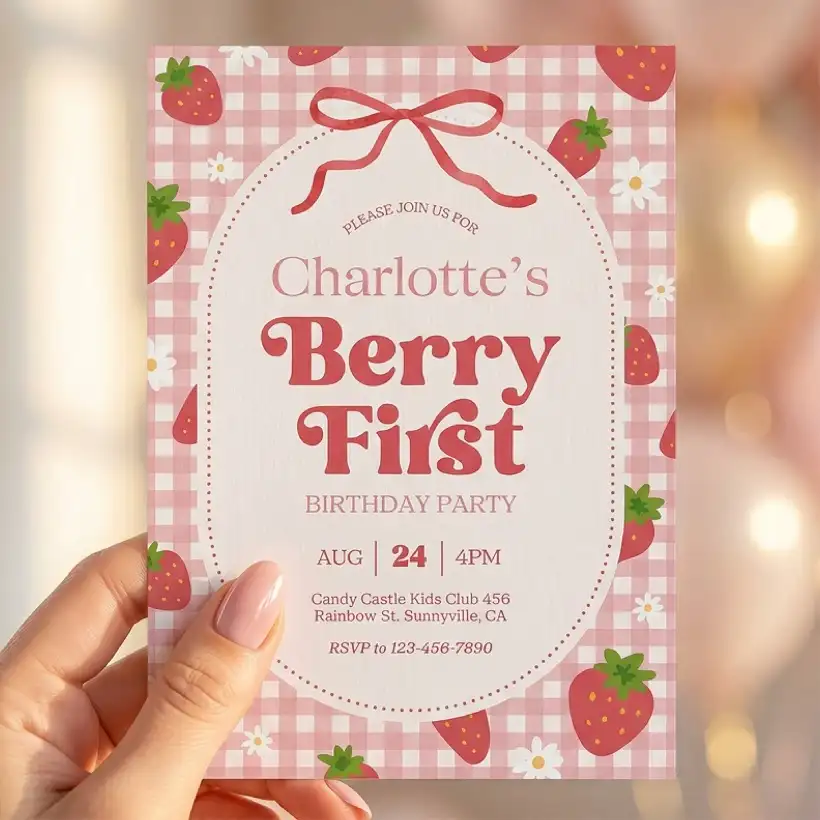
Pink gingham and ripe strawberries turn a plain card into a whole picnic scene. The pattern reads as summery and sweet without needing a single photo, which makes it an easy style to hand paint or print at home.
- Soft pink and white gingham background, easy to rule out with a straightedge and light pencil lines
- Clusters of watercolor strawberries and small white daisies scattered around the border
- A scalloped oval cut from plain cardstock to frame the greeting
- A hand tied ribbon bow in red at the top as the focal point
- A berry themed pun worked into the wording instead of a plain “happy birthday”
The bow is doing more work than it looks like. Add it last, once the layers underneath are dry, so it sits crisp instead of getting flattened into the glue.
2. A Dimensional Rocking Horse Card Worth Framing
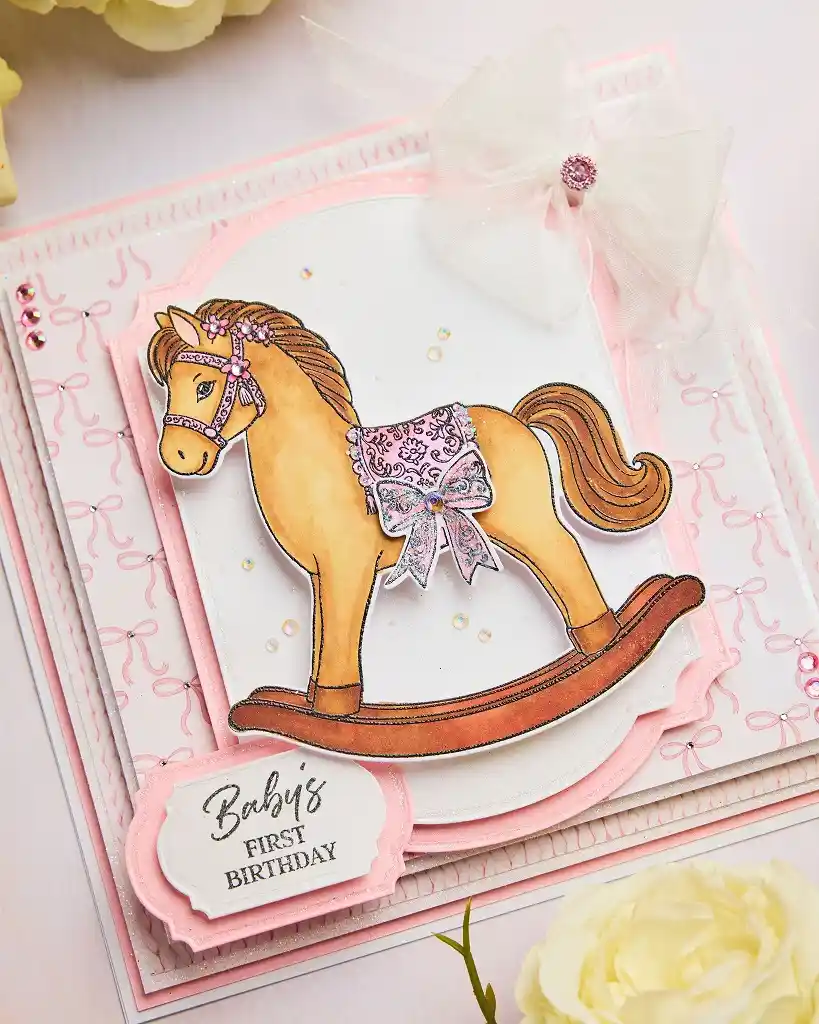
Dimensional die cuts like this rocking horse look complicated, but they come together in three passes.
The horse is stamped, colored, and fussy cut, then built up on foam tape so it lifts off the pink layered base.
A sheer organza bow and a scattering of clear gems finish it off, and a small tag at the bottom carries the sentiment instead of crowding the main image.
Ink the image, then color it in soft golds and pinks to match the base layers.
Trim close to the outline, then mount on foam tape so the image lifts off the card.
Add a sheer bow, a few gems, and a layered sentiment tag at the base.
3. A Wildflower Fairy Card for a Little Dreamer
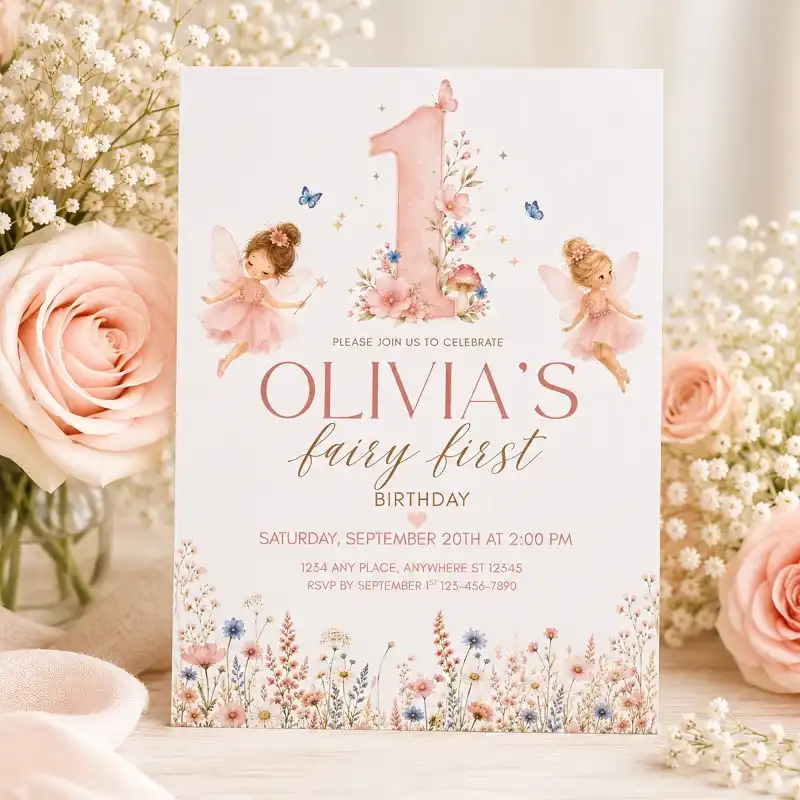
Soft pink watercolor fairies do most of the storytelling here. A large blush number 1 fills with tiny florals, two fairies with tulle-like wings float on either side, and a low wildflower border stretches across the bottom edge instead of sitting in one corner.
The name and wording sit in a soft rose script, which keeps the busy florals from feeling crowded above them.
Swap freehand fairies for small printed stickers, then hand paint the number and floral border yourself. The mix still reads as handmade.
Subscribe to DIY Craft Bloom
Get updates on the latest posts and more from DIY Craft Bloom straight to your inbox.
4. A Striped Number Card With a Strawberry Twist
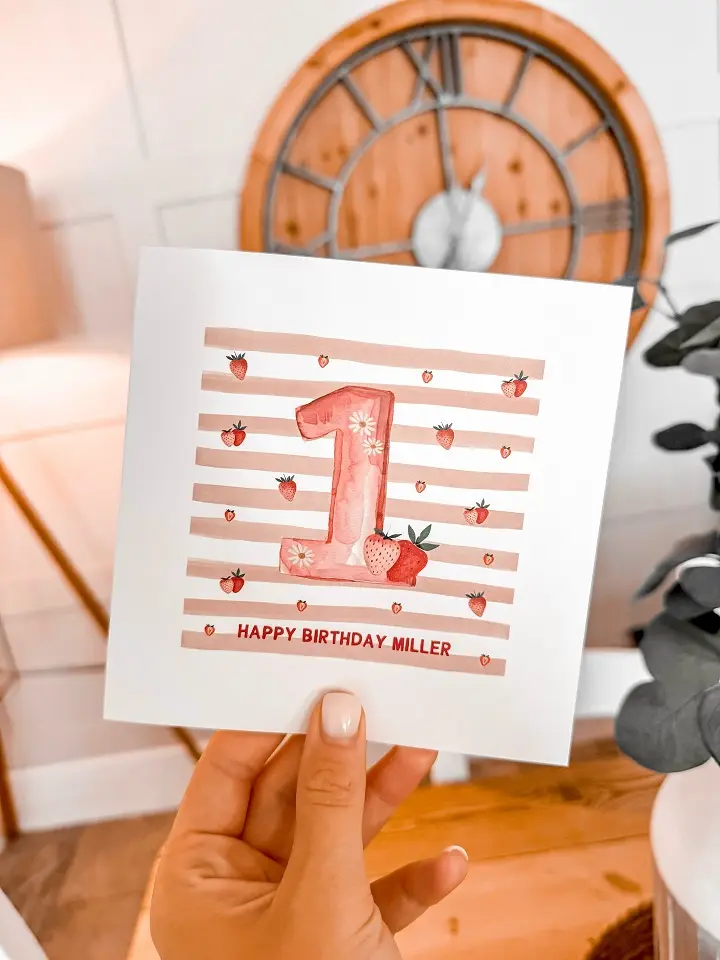
Stripes look intimidating until you break them into two simple approaches.
This card sets a big pink number 1, filled with tiny daisies, against soft horizontal stripes, then tucks a single strawberry at the base of the numeral and scatters smaller strawberries and daisies through the gaps between stripes.
| Precise stripes | Loose stripes |
|---|---|
| Mark rows with washi tape, then peel once dry for clean lines. | Paint freehand with a wide flat brush for a softer edge. |
| Best for a crisp, gift shop finish. | Best for a cozy, handmade feel. |
| Takes longer to tape and mask. | Faster, but harder to keep even. |
5. A Shaped Card Cut Straight Into the Number One
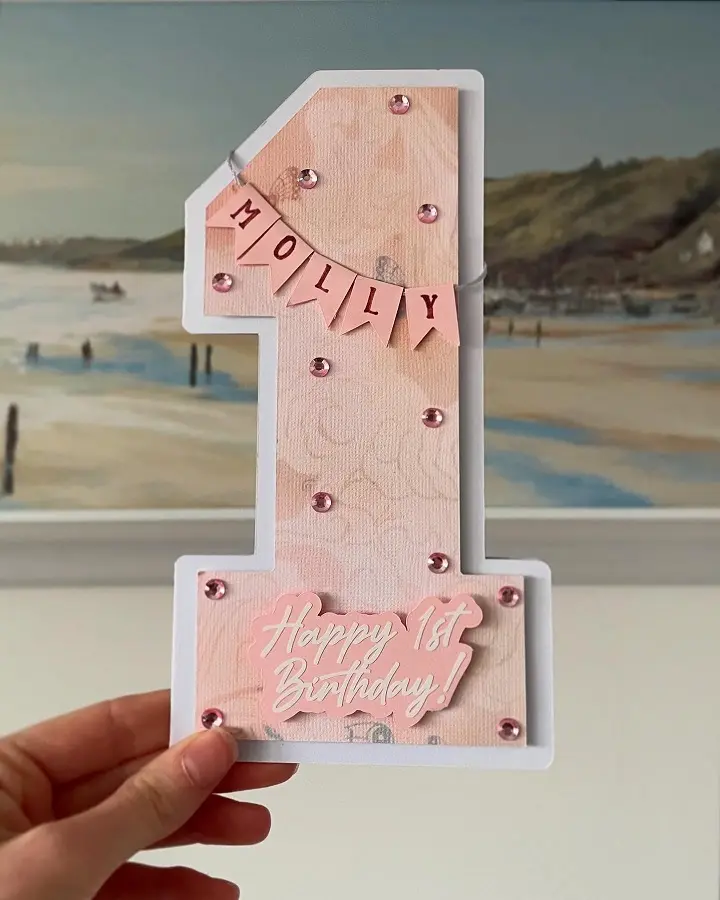
Cutting the whole card into the shape of a number is the boldest move on this list. This version dies the entire card into a numeral 1, layers marbled pink cardstock over a white base, and builds up the details in three simple layers.
The whole card takes the shape of the number 1, so the design carries itself.
A tiny pennant banner spelling the baby’s name adds a personal touch up top.
Pink rhinestones and a layered sentiment sticker finish it near the base.
A shape like this needs sturdy cardstock. Thin paper will bend at the narrow points of the 1 and lose its crispness fast.
6. A Pun Ready Duckling Card for Grandparents Who Like a Laugh
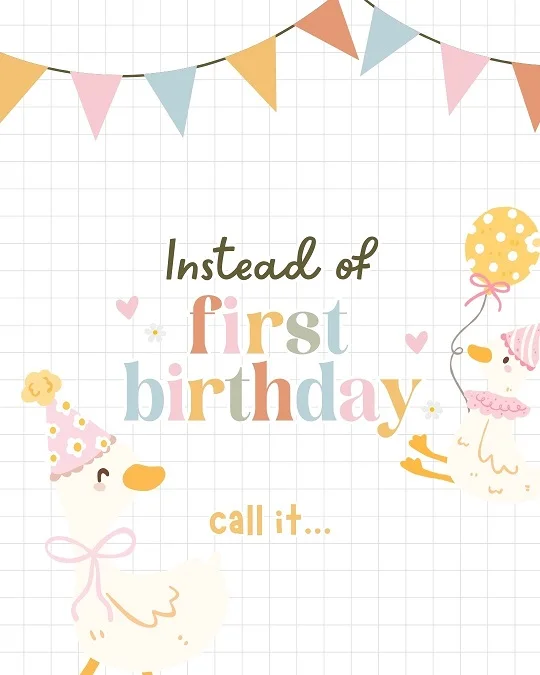
Grid paper, pastel bunting, and two ducklings in party hats set up a joke waiting for its punch line.
The graphic leans into the idea of renaming the first birthday, which grandparents can finish however they like, “ONEderful,” “one and done,” or a family nickname.
To recreate the look, you need a short list of pieces:
The wording is really the whole card here. Sketch the pun in pencil first and read it out loud before you commit to ink.
7. Daisy’s Card Proves Simple Can Still Feel Sweet
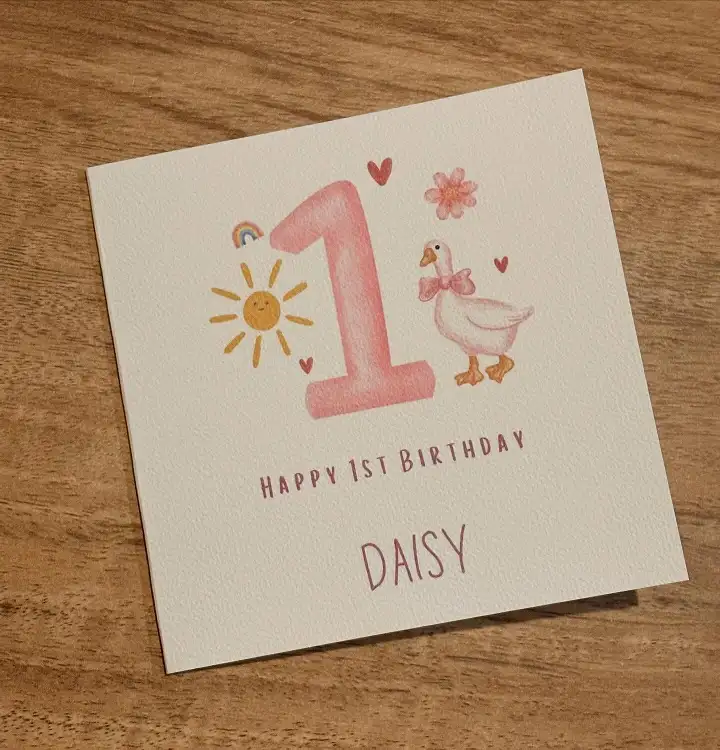
Daisy’s card proves restraint can carry just as much charm as glitter.
A soft pink number 1 anchors the page, a smiling sun and a tiny rainbow sit to one side, a single pink flower and a scattering of hearts fill the gaps, and a cream duck wearing a small pink bow stands beside the numeral.
The name sits underneath in simple maroon lettering, with plenty of white space left around it.
8. A Hand Painted Bear and Panda Cake Card
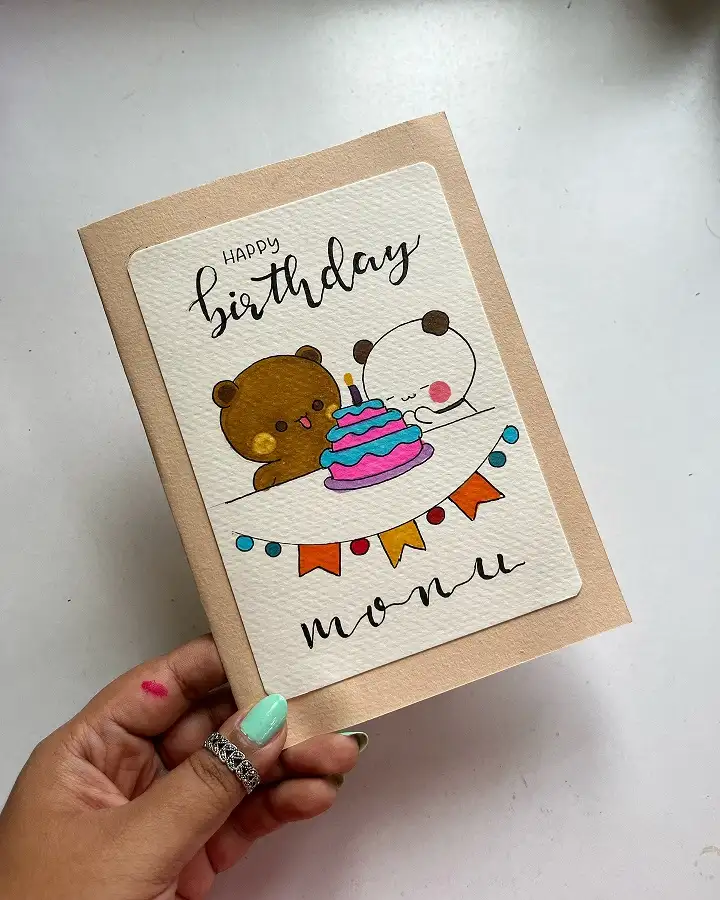
Hand painted cake toppers, one candle, two chibi-style animals leaning in, this card was clearly made with a steady brush and a little humor.
A brown bear and a white panda lean over a pink and teal layered cake, a hand painted bunting strand runs beneath them in orange, yellow, and teal, and the greeting sits in loose cursive script at the top and bottom, mounted on a kraft cardstock base.
Subscribe to DIY Craft Bloom
Get updates on the latest posts and more from DIY Craft Bloom straight to your inbox.
9. Pop-Color Pallet Card With Confetti Pocket
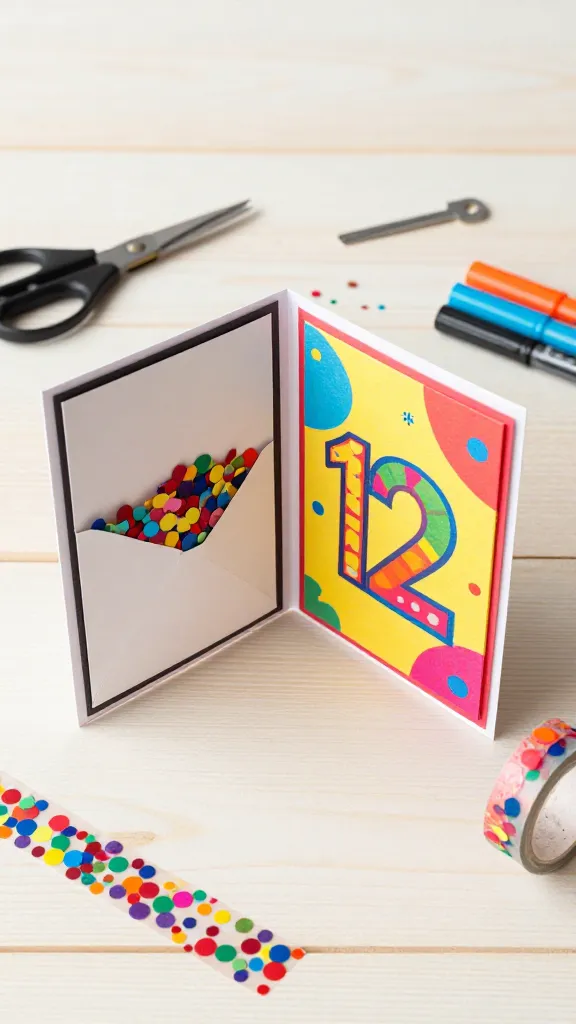
End the list with a party-in-a-pocket concept. A tiny confetti pocket tucked into the card bursts into color when opened, delivering a joyful surprise.
- Materials: sturdy card stock, confetti (safe plastic-free), double-sided tape, color markers, decorative washi tapes.
- Tools: scissors, scoring tool, corner punch (optional).
- Key steps: create a small pocket on the inside panel, fill with confetti, seal pocket, decorate the front with a bold birthday message, include a tiny “1” accent on the exterior.
Who’s this for? Anyone who loves a festive, playful finish. It’s a grand gesture that feels like a celebration card and a tiny party favor in one.
10. A Handprint Sunflower Card That Turns Tiny Fingers Into Petals
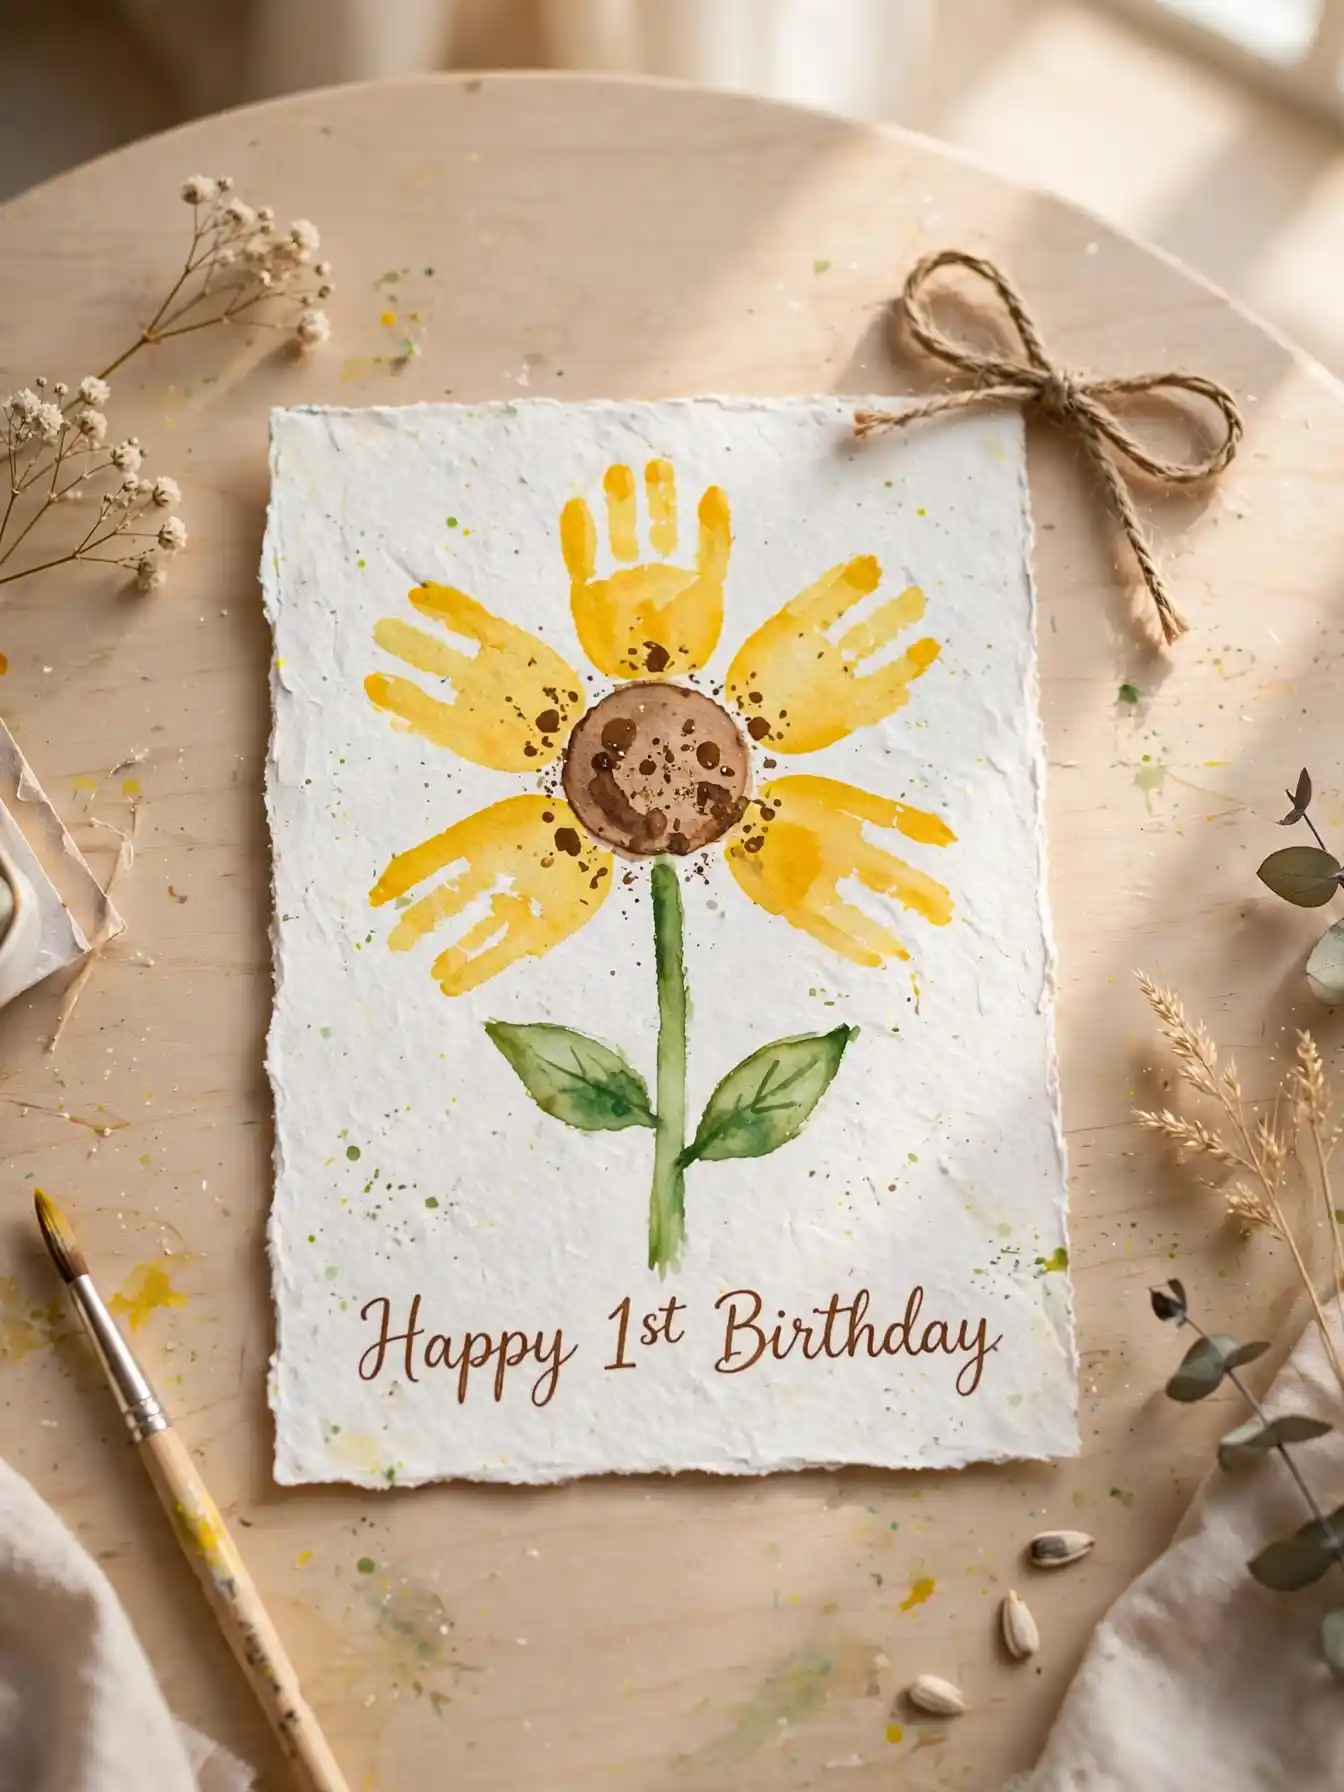
Grandparents love a keepsake they can point to years later, and a handprint sunflower delivers exactly that.
The baby’s palm and fingers, pressed in yellow paint around a small circle, become the petals almost by accident.
- Angle the press. Push the hand down at a slight angle so the fingers fan outward like petals instead of stacking flat.
- Add the center. Once the print is fully dry, paint a brown or amber circle where the fingers meet.
- Finish the stem. Add a green stem and two simple leaves below, then letter the greeting underneath in a steady hand.
Keep a spare sheet of scrap paper nearby. First handprints rarely land where you expect.
11. A Polaroid Window Card That Frames the Whole First Year
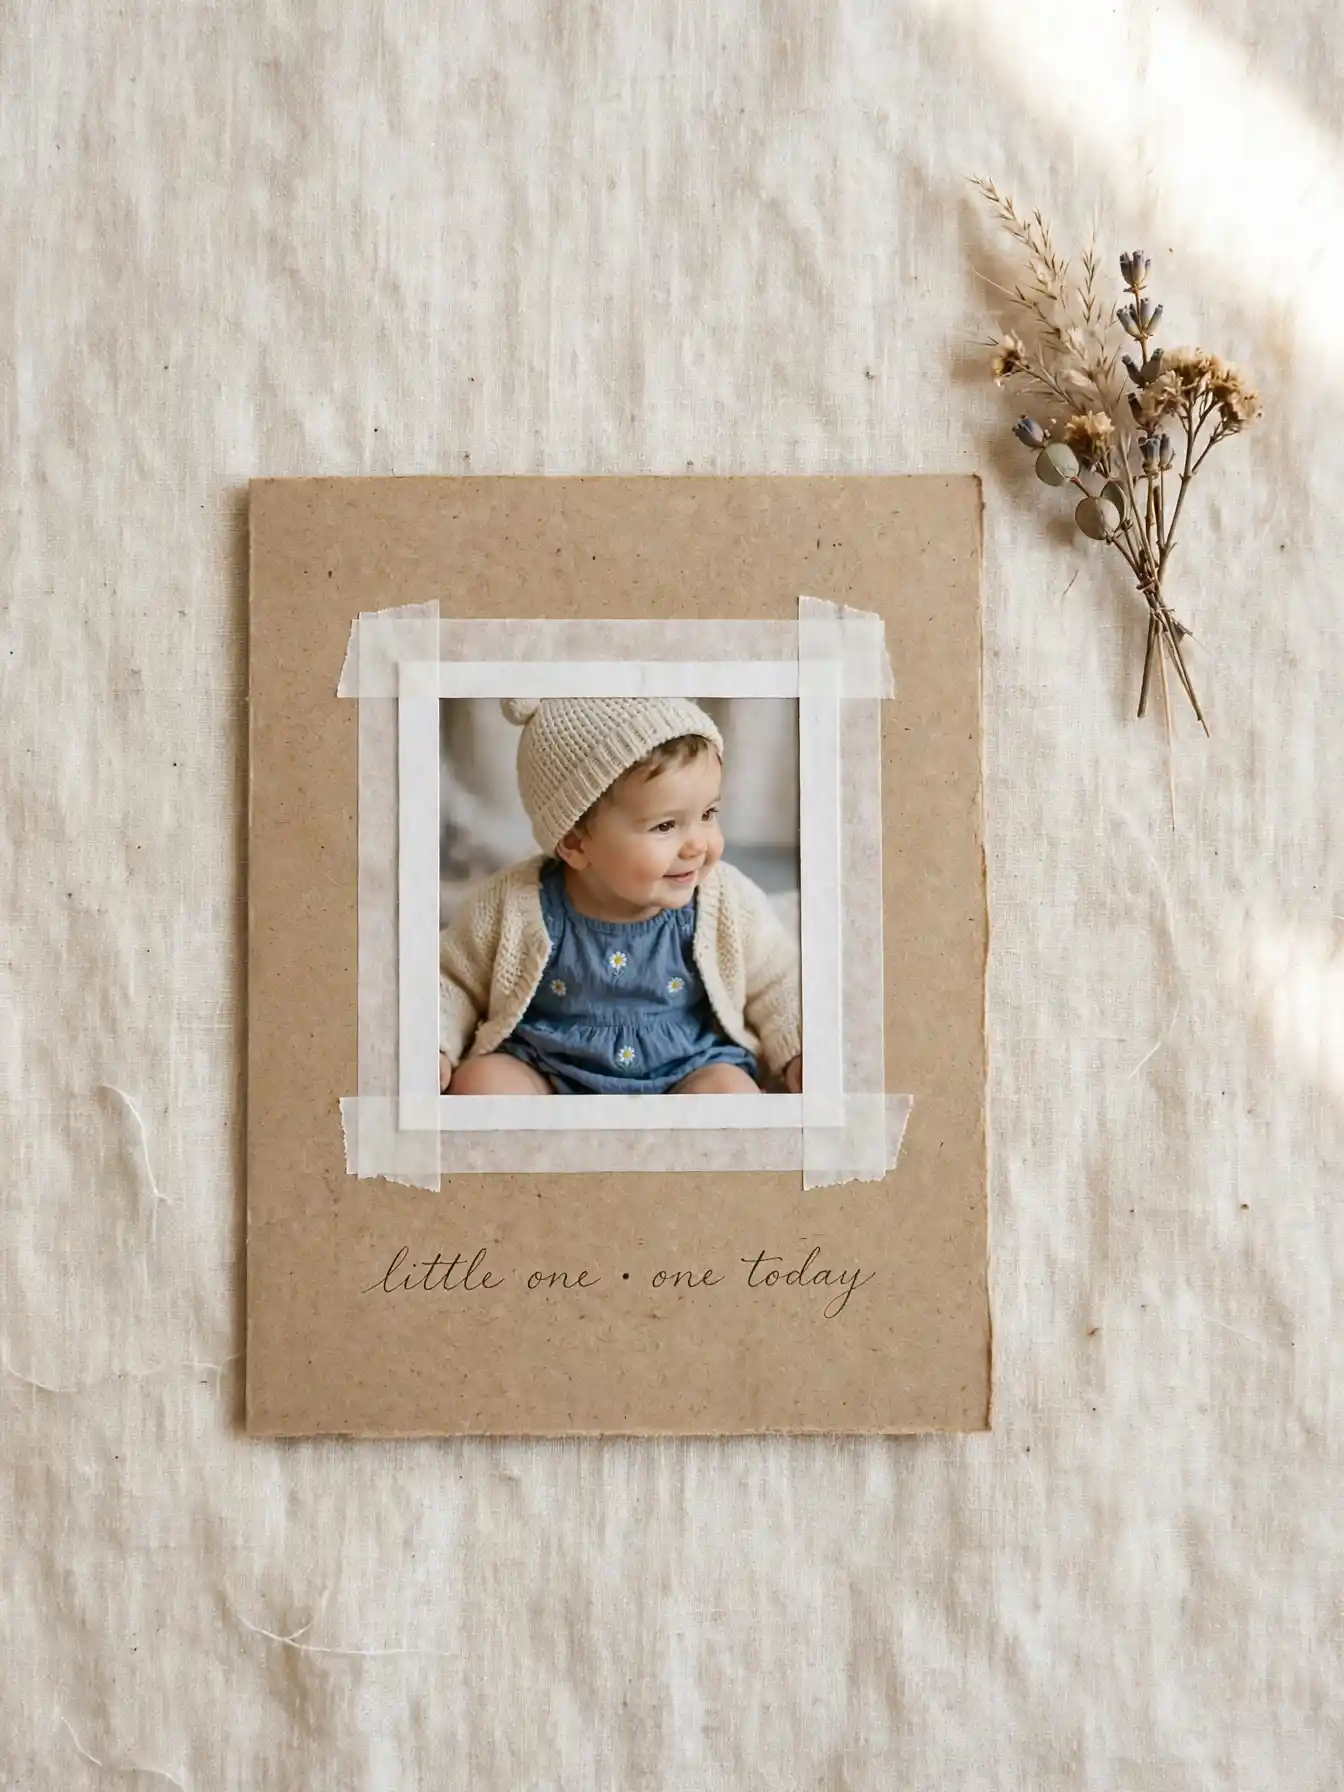
A polaroid style window turns any card into a tiny frame for a favorite photo, no envelope of loose photos required.
- A square window cut into the card front, sized just smaller than the photo behind it
- Washi tape or a thin marker line around the opening, styled like a polaroid border
- The photo mounted just behind the window so it peeks through when the card is closed
- A short caption in cursive beneath the frame, printed or hand lettered
Test the window size on scrap paper first. A photo even a few millimeters too small will leave gaps around the edges.
12. A Watercolor Ombre Number That Fades Like a Sunset
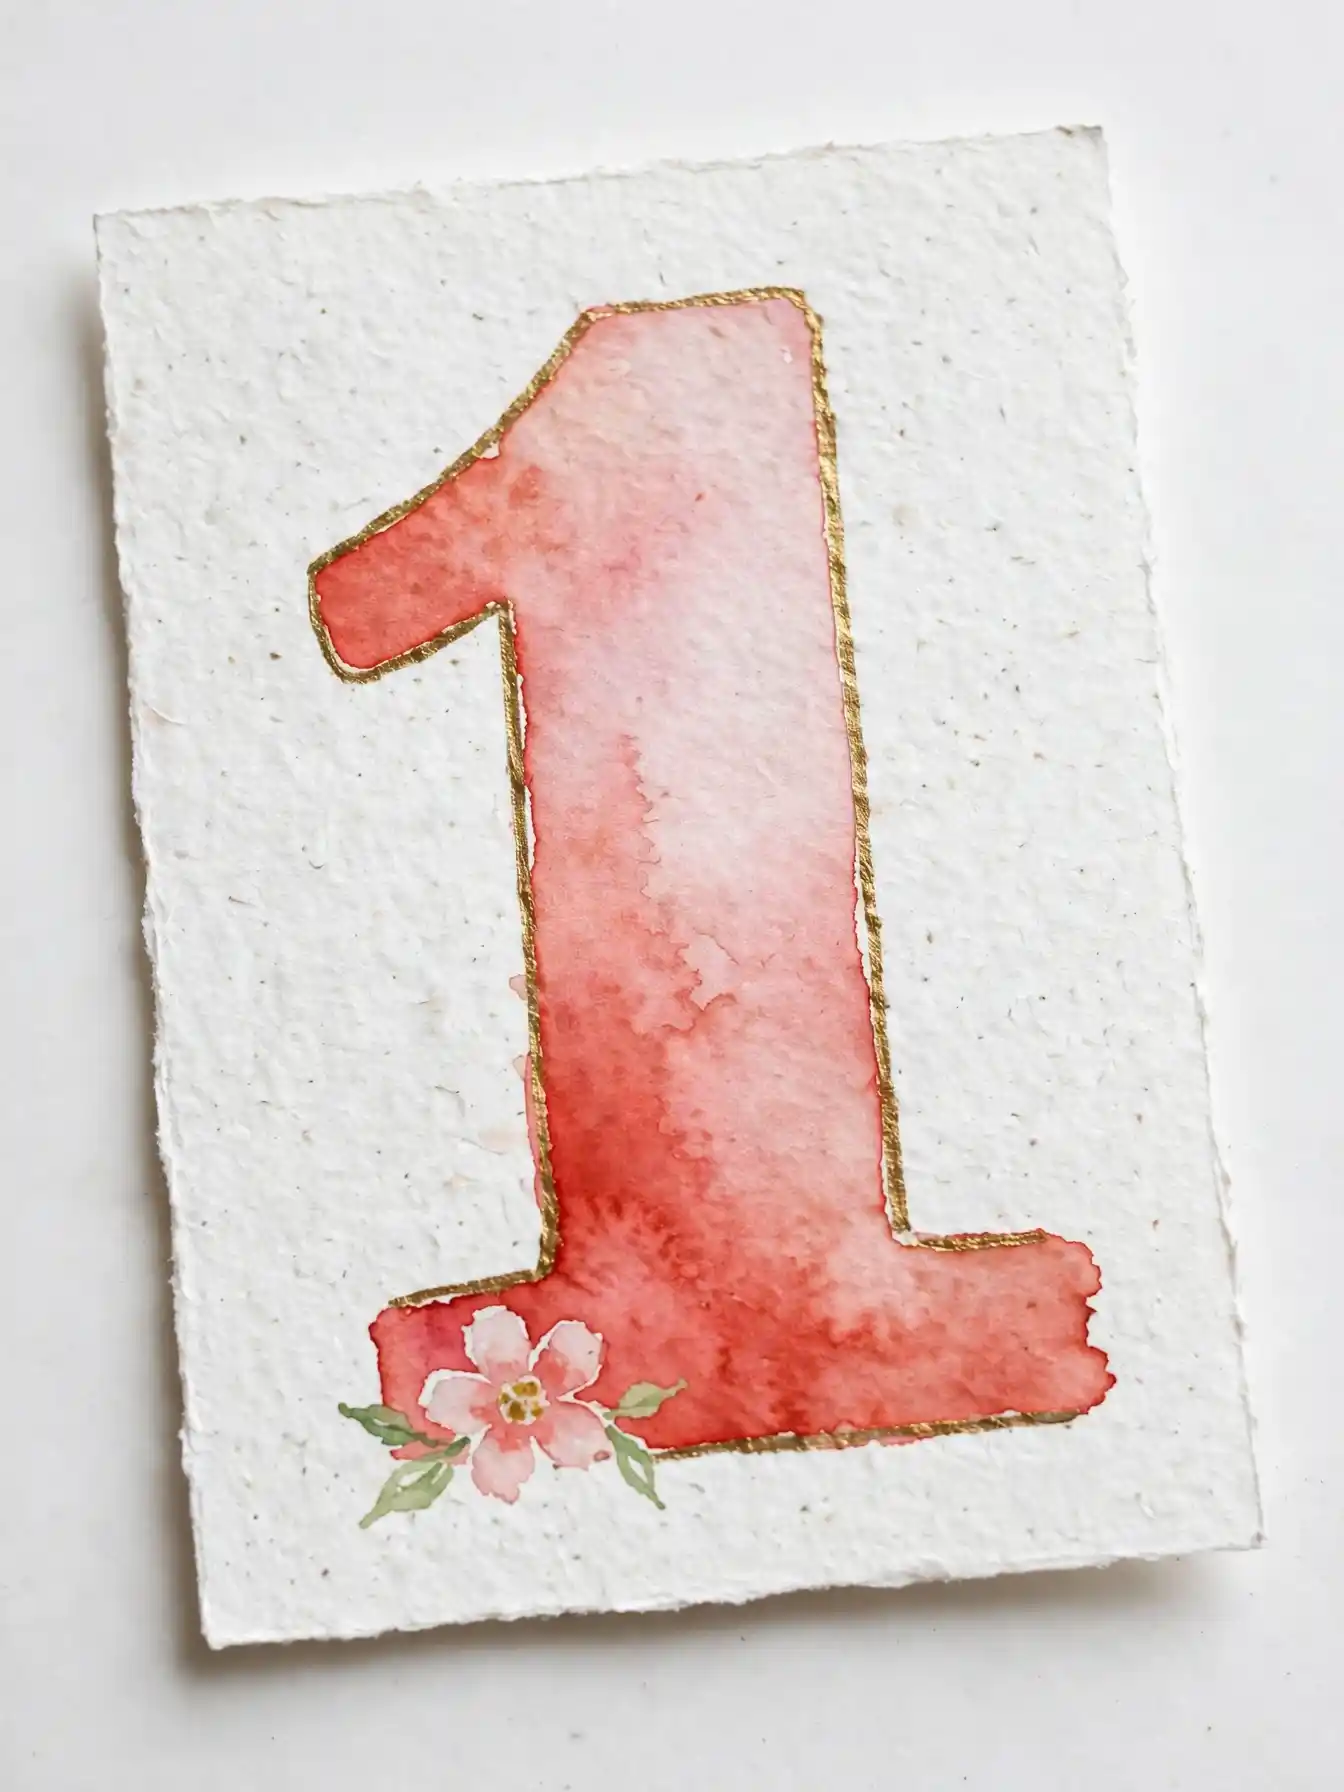
Watercolor ombre takes patience, not skill, since the fade does most of the work for you.
Wet the paper first, then drop deep coral at the base of a large number 1 shape and clean water just above it, letting the color pull upward and lighten on its own.
Once it dries, trace the outline in a thin gold paint pen and tuck one small painted flower at the base for scale.
The imperfect edges are the whole point. A too-neat ombre looks printed instead of painted.
A wet base color needs nothing but gravity and a little water to turn into a gradient.
13. A Pop-Up Balloon Card That Lifts the Number Off the Page
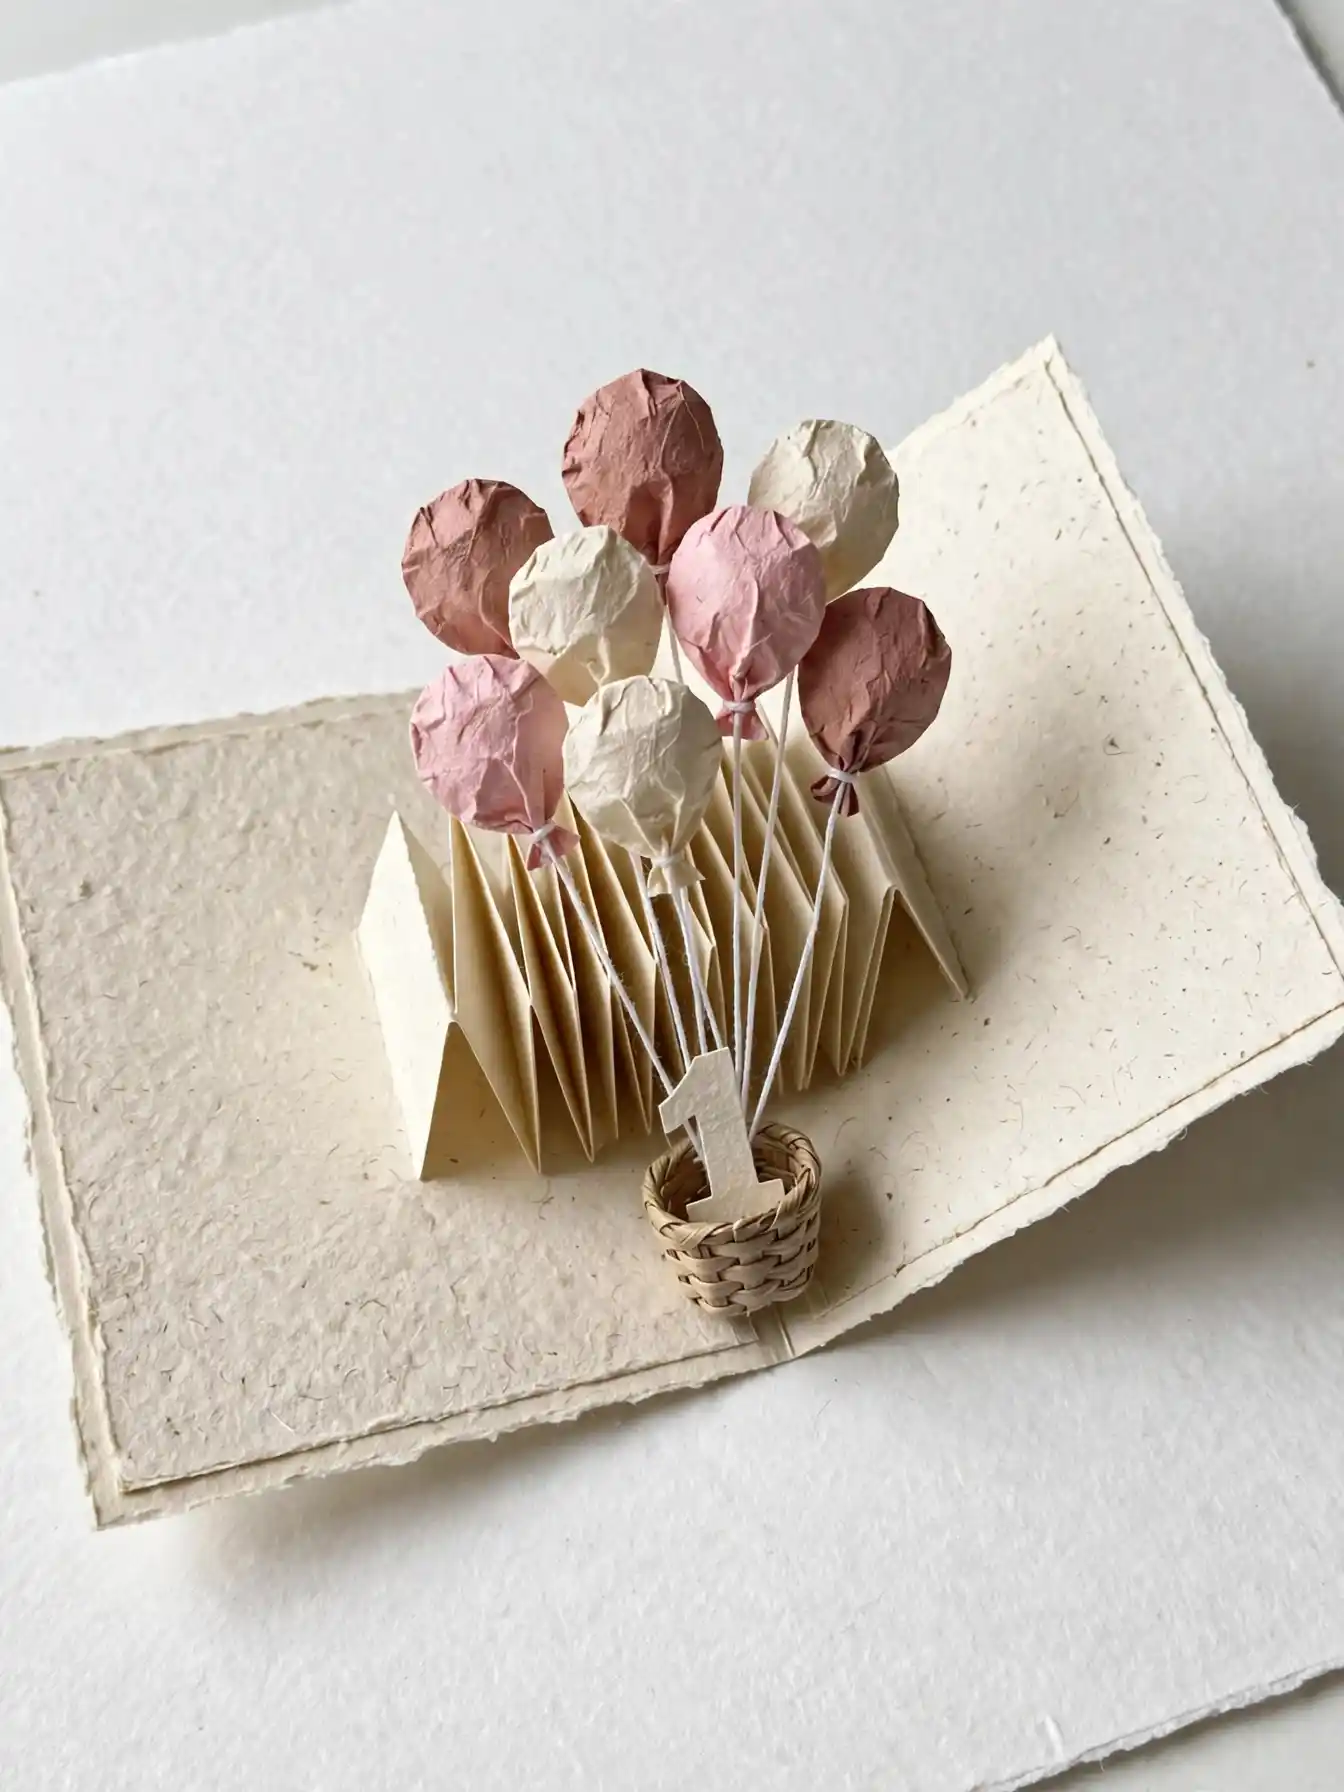
A bundle of balloons lifting off the page turns a flat card into a small performance.
An accordion fold strip glued inside the card pushes a cluster of hand cut balloon shapes upward when the card opens, each one tied with thread to a tiny basket holding the number 1.
Test the accordion fold on scrap paper first. Too many pleats and the balloons will not lift evenly.