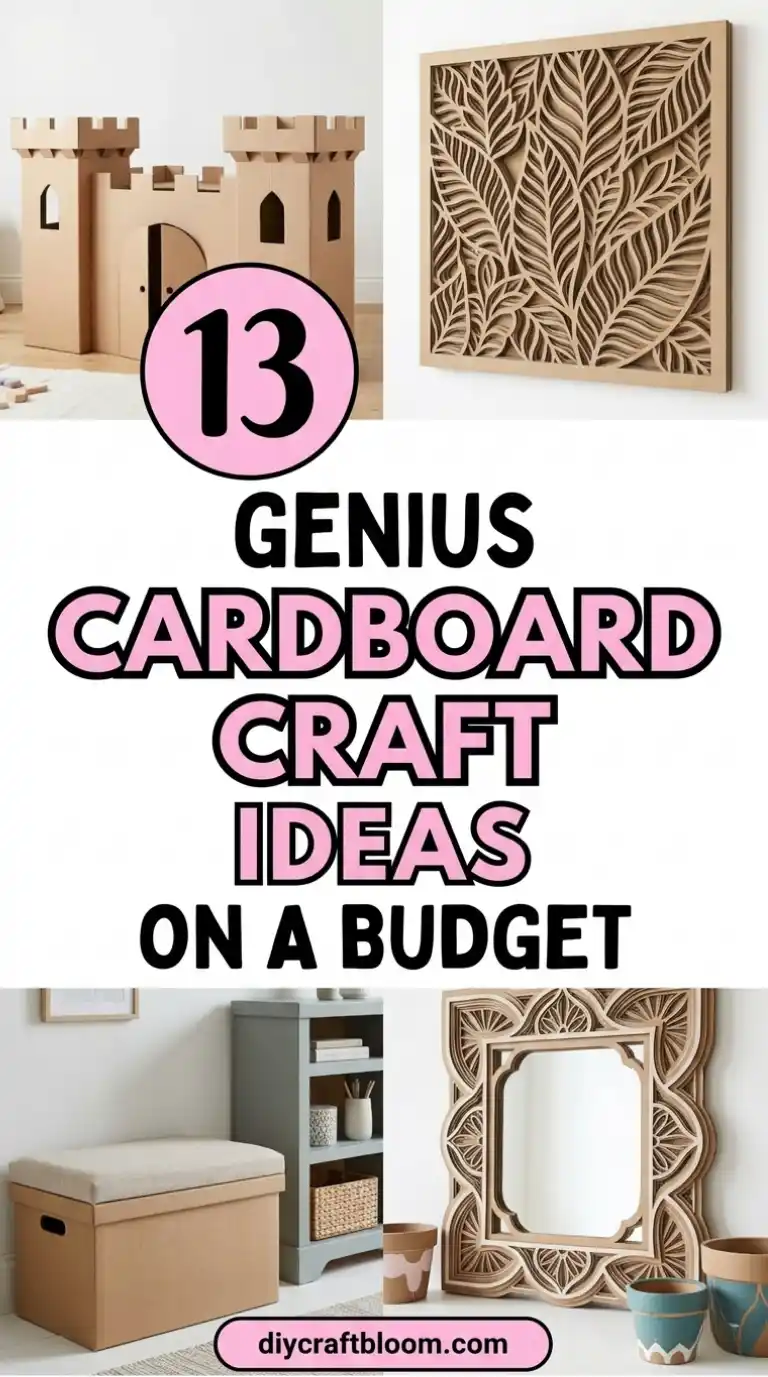
13 Cardboard Craft Ideas on a Budget That Look Way More Expensive

Budget-friendly decorating has become more popular than ever, and honestly, it makes sense.
Most of us want a home that feels stylish and personalized, but without constantly spending money on trendy decor pieces that may go out of style next year.
That’s one reason cardboard crafts have quietly become such a favorite among DIY lovers. Cardboard is easy to find, incredibly versatile, and surprisingly durable when used the right way.
With the right techniques, you can create storage boxes, decorative trays, organizers, and even statement decor pieces that look like they came from an expensive boutique.
Another thing people love about cardboard crafts is how customizable they are. You can paint them, texture them, wrap them in fabric, or add natural finishes to match almost any decor style.
If you’re ready to transform ordinary cardboard into something beautiful, here are 13 cardboard craft ideas on a budget that look way more expensive than they actually are.
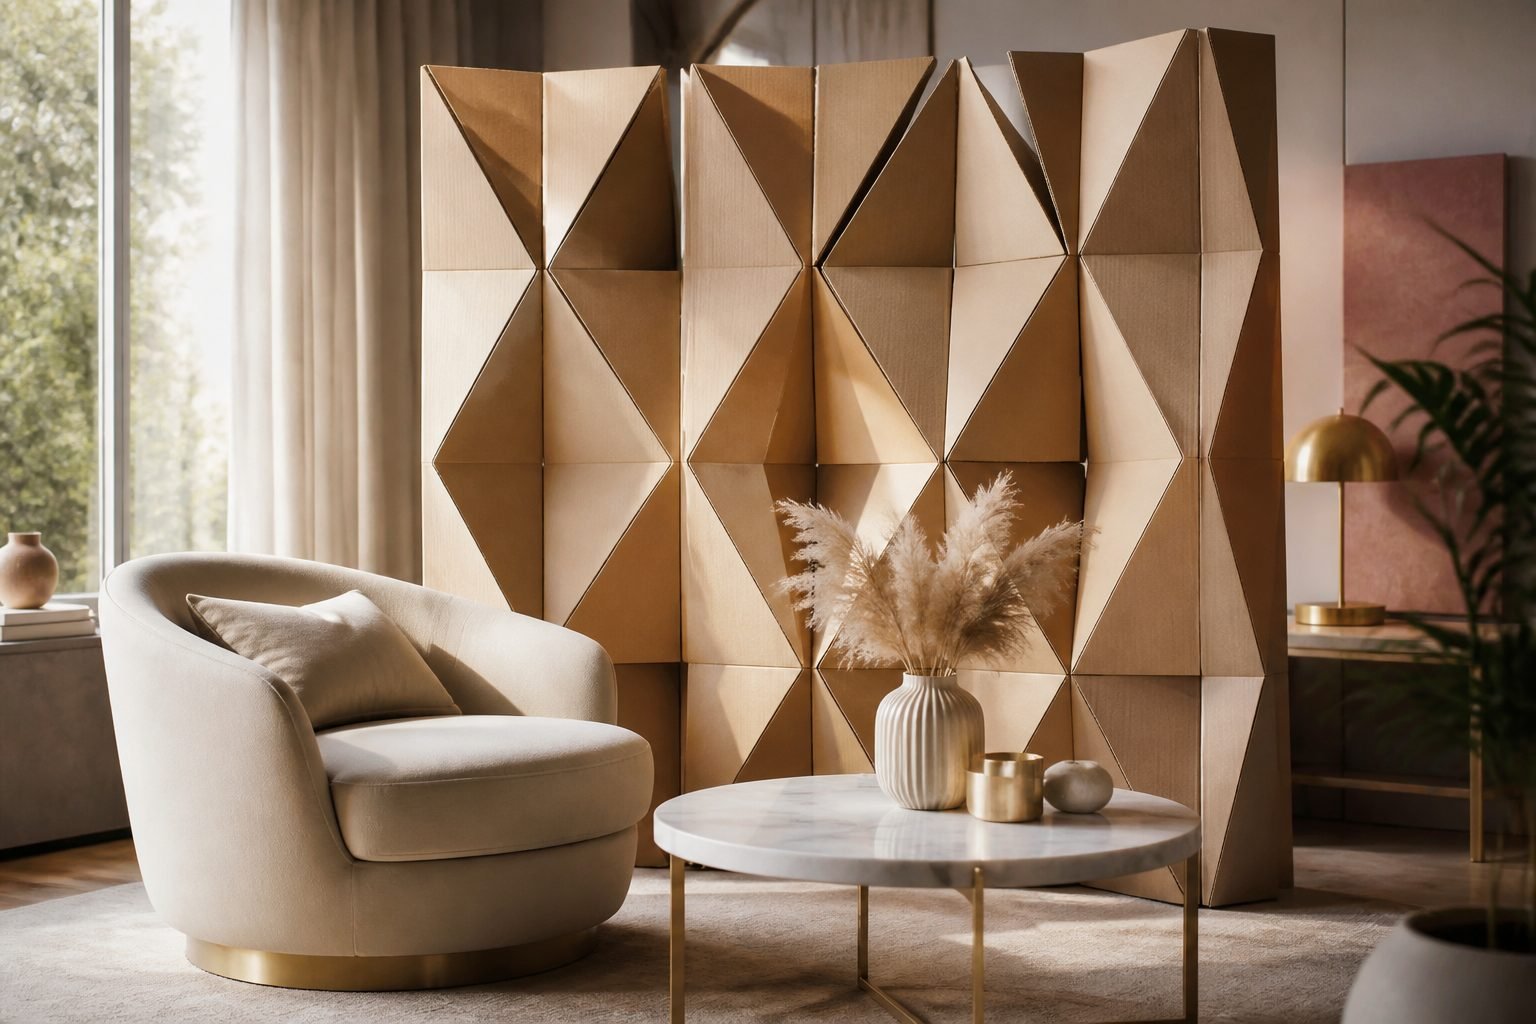
1. Geometric Cardboard Room Divider That Feels Luxe

Picture a sleek, sculptural room divider that turns a plain space into a gallery-worthy nook. This cardboard masterpiece adds depth with bold facets and a modern silhouette.
Materials
- Corrugated cardboard sheets
- Craft knife or scissors
- Hot glue gun and sticks
- Ruler, pencil
- Spray paint or acrylic paints (optional)
How to Make It
- Cut cardboard into long triangular prisms and square panels to form a modular divider.
- Glue pieces together at varying angles to create a dynamic, faceted surface.
- Optionally spray with metallic or matte paint for a high-end finish.
Pro Tips / Styling Ideas
- Place behind a console or sofa to create a focal backdrop.
- Use neutral tones with one accent color to keep it chic and versatile.
- Let natural light bounce off the facets for subtle shadows and drama.
Who would love it
Anyone craving architectural flair on a budget—great for living rooms, studios, or rental spaces.
2. Faux Marble Tabletops Made from Cardboard and Glue
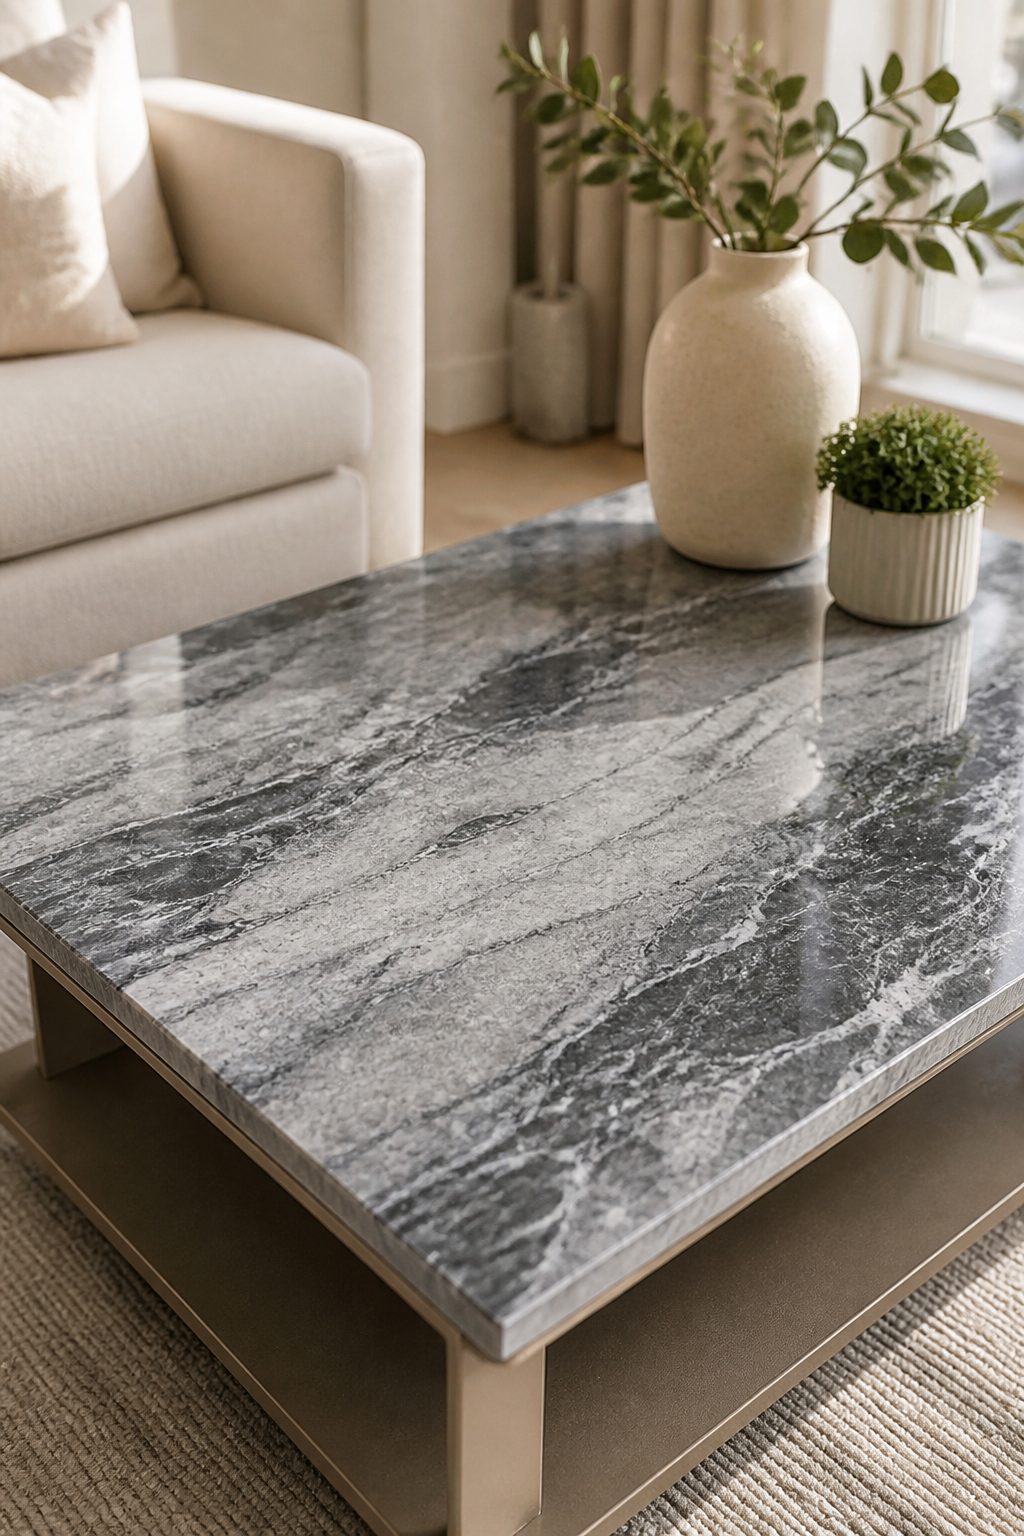
Marble vibes without the price tag? Yes, please. This faux marble tabletop uses cardboard as the base and a DIY marbling technique for a classy finish.
Materials
- Sturdy cardboard sheet (cut to size)
- Gesso or white acrylic primer
- Acrylic paints in gray, black, and white
- Glazing medium or gloss varnish
- Soft foam brush
How to Make It
- Prime the cardboard to prevent warping. Let dry.
- Swirl grays and blacks over the white base to mimic marble veins.
- Seal with a glossy finish to deepen the look of the veins.
Pro Tips / Styling Ideas
- Pair with gold or brass accents to amplify luxury vibes.
- Use as a coffee table centerpiece in a cozy living space.
Who would love it
Anyone who loves high-end surfaces but wants a lightweight, kid-friendly project.
3. Hanging Cloud Shelves Crafted from Cardboard

Soft, whimsical, and surprisingly sturdy—the perfect light-and-air look for a bedroom or nursery.
Materials
- Cardboard sheets of varying thickness
- Jute cord or decorative rope
- Craft knife
- Piercing tool or large needle
How to Make It
- Cut rounded, cloud-like shapes and stack them for depth.
- Drill small holes along the edges and thread with rope to create a hanging shelf.
- Secure a small board to hold lightweight decor or plants.
Pro Tips / Styling Ideas
- Paint in soft pastels or keep natural cardboard for a minimalist aesthetic.
- Hang in clusters at varying heights for a dreamy display.
Who would love it
Perfect for dorm rooms, kids’ spaces, or cozy reading nooks.
4. Cardboard Wall Art That Mimics Framed Canvas
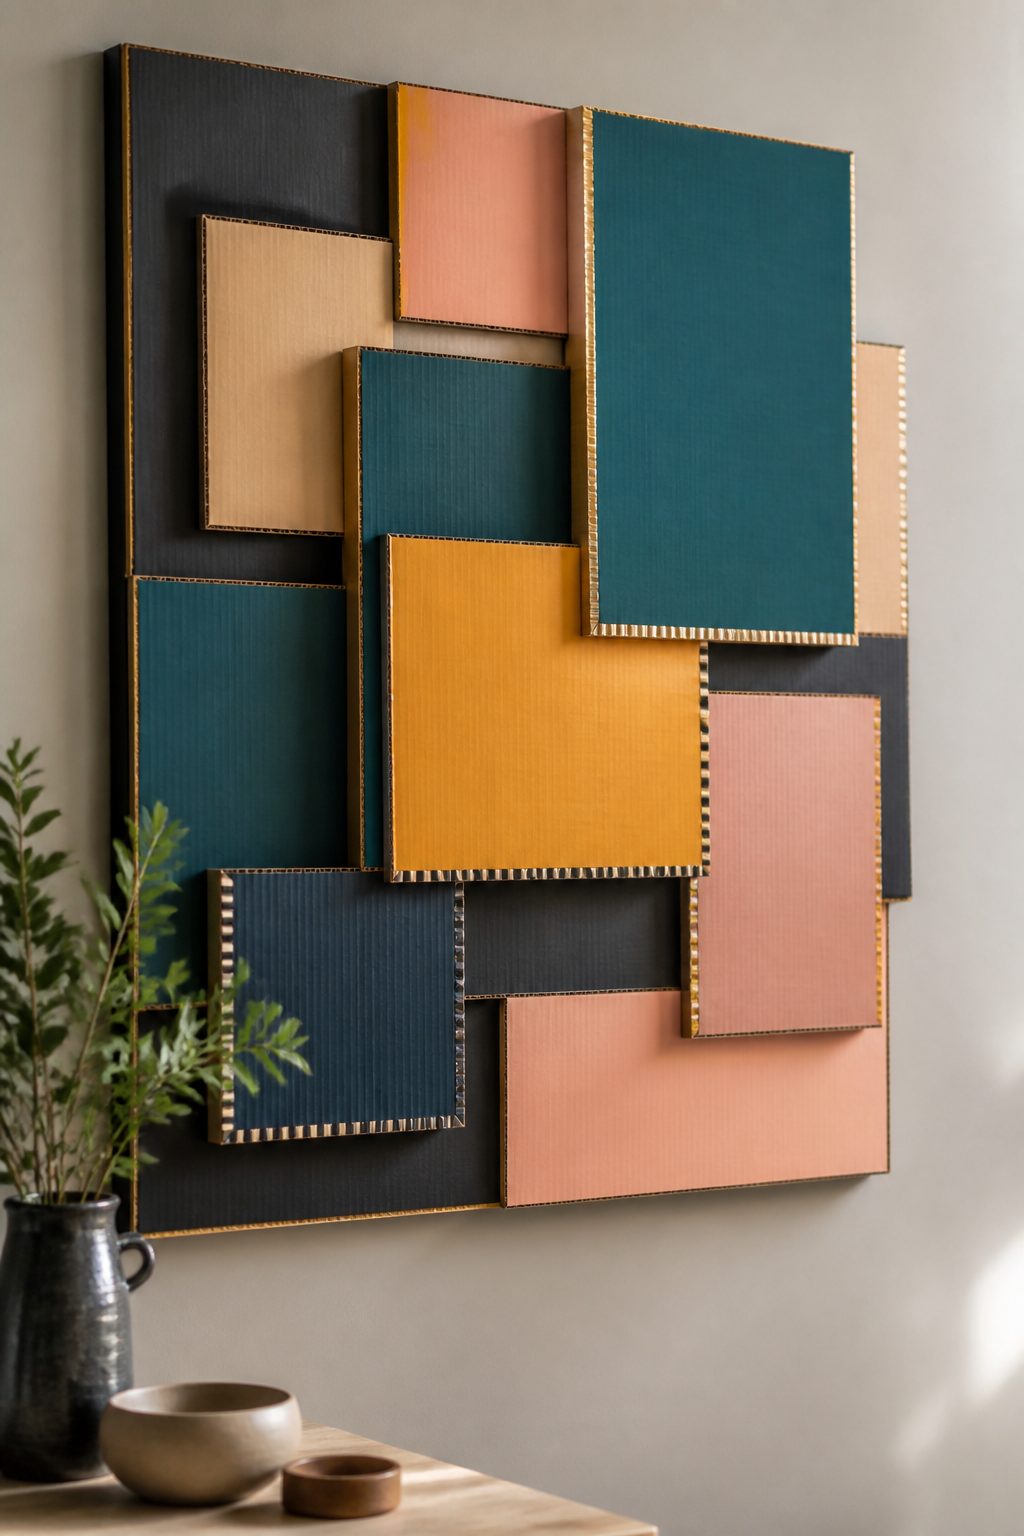
Turn a blank wall into a gallery-worthy canvas with layered cardboard and bold color blocks. It looks expensive, but it’s totally wallet-friendly.
Materials
- Cardboard sheets of two thicknesses
- Acrylic paints
- Packing tape or decorative washi tape
- Glue or adhesive spray
How to Make It
- Cut cardboard into rectangular panels in varying sizes.
- Layer and offset panels to create depth, then tape edges for a clean border.
- Paint bold color blocks or a cohesive color story across all panels.
Pro Tips / Styling Ideas
- Group panels in a grid or salon-style arrangement for maximum impact.
- Add metallic accents with a gold pen or foil tape for luxe vibes.
Who would love it
Subscribe to DIY Craft Bloom
Get updates on the latest posts and more from DIY Craft Bloom straight to your inbox.
Art lovers on a budget who still want a chic focal wall.
5. DIY Cardboard Plant Stand With Lofty Look

Bring greenery into your space with a tall, airy plant stand that looks costly but is crafted from cardboard tubes and shelves.
Materials
- Cardboard tubes (kitchen roll size or mailing tubes)
- Flat cardboard panels for shelves
- Hot glue, scissors, ruler
- Spray paint or colored paper for finish
How to Make It
- Cut the tubes into segments to form a tripod base and vertical support.
- Glue shelves at different heights to create a tiered stand.
- Wrap with colored paper or spray to hide seams and add style.
Pro Tips / Styling Ideas
- Use on-trend terracotta or sage tones to mirror natural decor palettes.
- Pair with hanging planters for a lush, layered look.
Who would love it
Plant parents and apartment dwellers seeking vertical charm.
6. Cardboard Photo Frames With Real Wood Accents
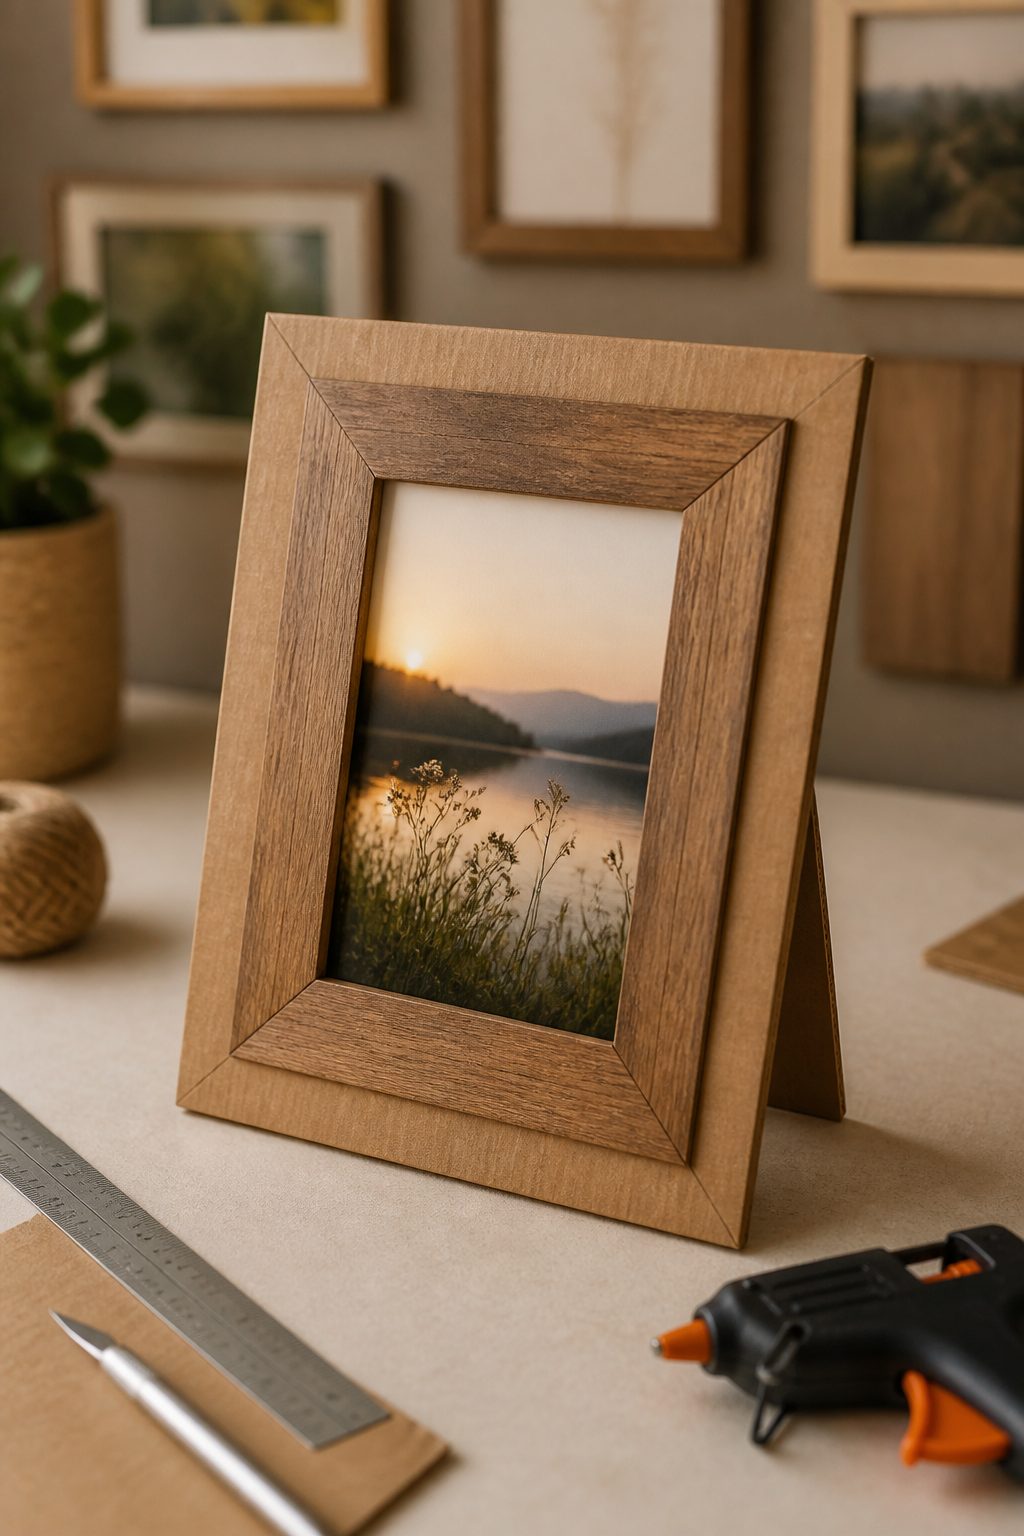
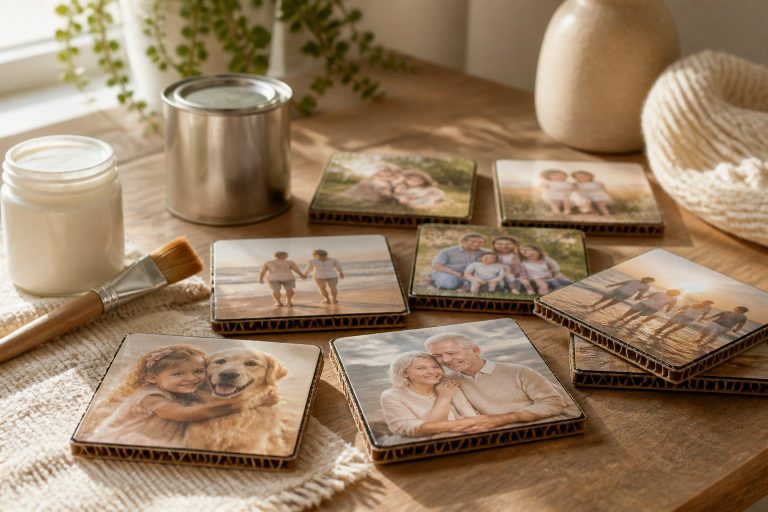
A warm, crafted frame that holds memories with a touch of rustic charm. Cardboard base keeps it affordable, while wood accents elevate the vibe.
Materials
- Cardboard sheets
- Wood veneer strips or faux wood contact paper
- Hot glue gun
- Ruler and craft knife
How to Make It
- Cut cardboard into frame shapes with a window in the center.
- Adhere wood veneer around the edges to create a warm border.
- Optionally paint or stain for contrast.
Pro Tips / Styling Ideas
- Line a gallery wall with mismatched sizes for visual interest.
- Use in a home office or living room to showcase cherished moments.
Who would love it
Memory-keeping folks who want a touch of natural warmth without buying expensive frames.
7. Cardboard Lanterns With Soft Glow

Ambient lighting that feels boutique and cozy. These lanterns glow softly through cutout patterns, giving off gallery-worthy shadows.
Materials
- Cardboard tubes or boxes
- PVA glue or hot glue
- LED tea lights (battery-operated)
- Craft knife, pencil
- Decorative paper or tissue for shade
How to Make It
- Cut decorative patterns into the cardboard to create lantern panels.
- Glue panels into a cylindrical or hexagonal lantern shape.
- Place a safe LED light inside and switch on for a warm glow.
Pro Tips / Styling Ideas
- Pair with a few candlestick-style holders for an elegant tablescape.
- Use in clusters of three at varying heights for drama.
Who would love it
Romantic vibes lovers and hosts who want ambiance on a budget.
8. Cardboard Bulletin Board With Painterly Border

Turn a plain cork or fabric board into a stylish centerpiece with a bold painted edge and cardboard frame.
Materials
- Old cork bulletin board or foam board
- Corrugated cardboard for frame
- Acrylic paints
- Glue or double-sided tape
How to Make It
- Cut the cardboard frame to size and wrap around the board with glue.
- Paint a punchy border or abstract pattern on the frame.
- Fix onto wall with appropriate mounting hardware.
Pro Tips / Styling Ideas
- Use as a rotating mood board for seasonal decor or goals.
- Accent with mini magnets or washi tape for a playful touch.
Who would love it
Note-makers, planners, and creative minds who crave a stylish workspace touch.
9. Cardboard Lampshade That Dares to Impress
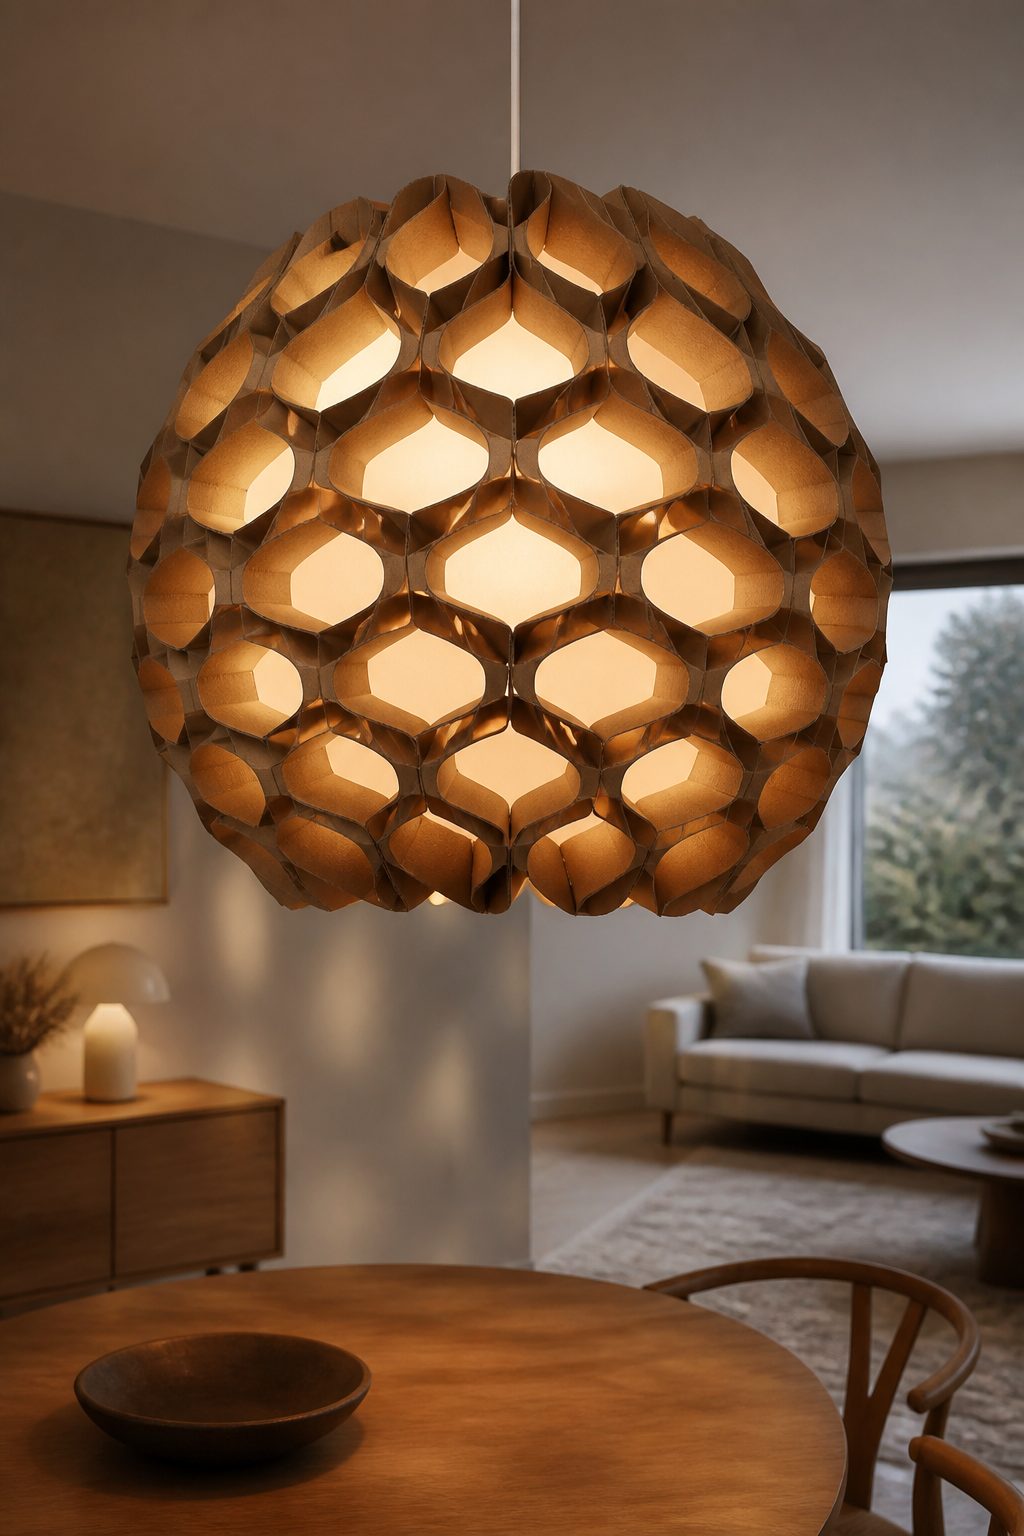
A sculptural lampshade that creates a soft, sculptural glow. It’s bold, architectural, and surprisingly easy to assemble.
Materials
- Cardboard sheets
- Lightweight lamp kit with shade ring
- Hot glue
- Spray paint (optional)
How to Make It
Subscribe to DIY Craft Bloom
Get updates on the latest posts and more from DIY Craft Bloom straight to your inbox.
- Cut interlocking rings or a honeycomb panel to form the shade.
- Attach to a lamp frame, ensuring even spacing for light diffusion.
- Finish with a coat of paint if desired to match your decor.
Pro Tips / Styling Ideas
- Hang above a dining table or reading chair for a focal light piece.
- Keep color neutral to blend with most interiors.
Who would love it
Design-minded folks who want a standout lighting piece without a design-store price tag.
10. Cardboard Fans and Wall Sculptures With Textile Accents

Texture-rich art that combines cardboard cutouts with fabric for a warm, handmade vibe. It’s whimsical and incredibly scalable.
Materials
- Cardboard sheets
- Fabric scraps or thin textile strips
- Hot glue gun
- Paint or dye (optional)
How to Make It
- Cut fan-like shapes or abstract silhouettes from cardboard.
- Decorate with fabric strips glued in patterns or waves.
- Arrange on the wall in a playful, asymmetrical layout.
Pro Tips / Styling Ideas
- Choose textiles in a cohesive color family for a polished look.
- Layer with a few floating shelves to create an artful wall vignette.
Who would love it
Textile lovers and boho-styled homes that crave warmth and texture.
11. Cardboard Mirror Frame With Luxe Metallic Edge
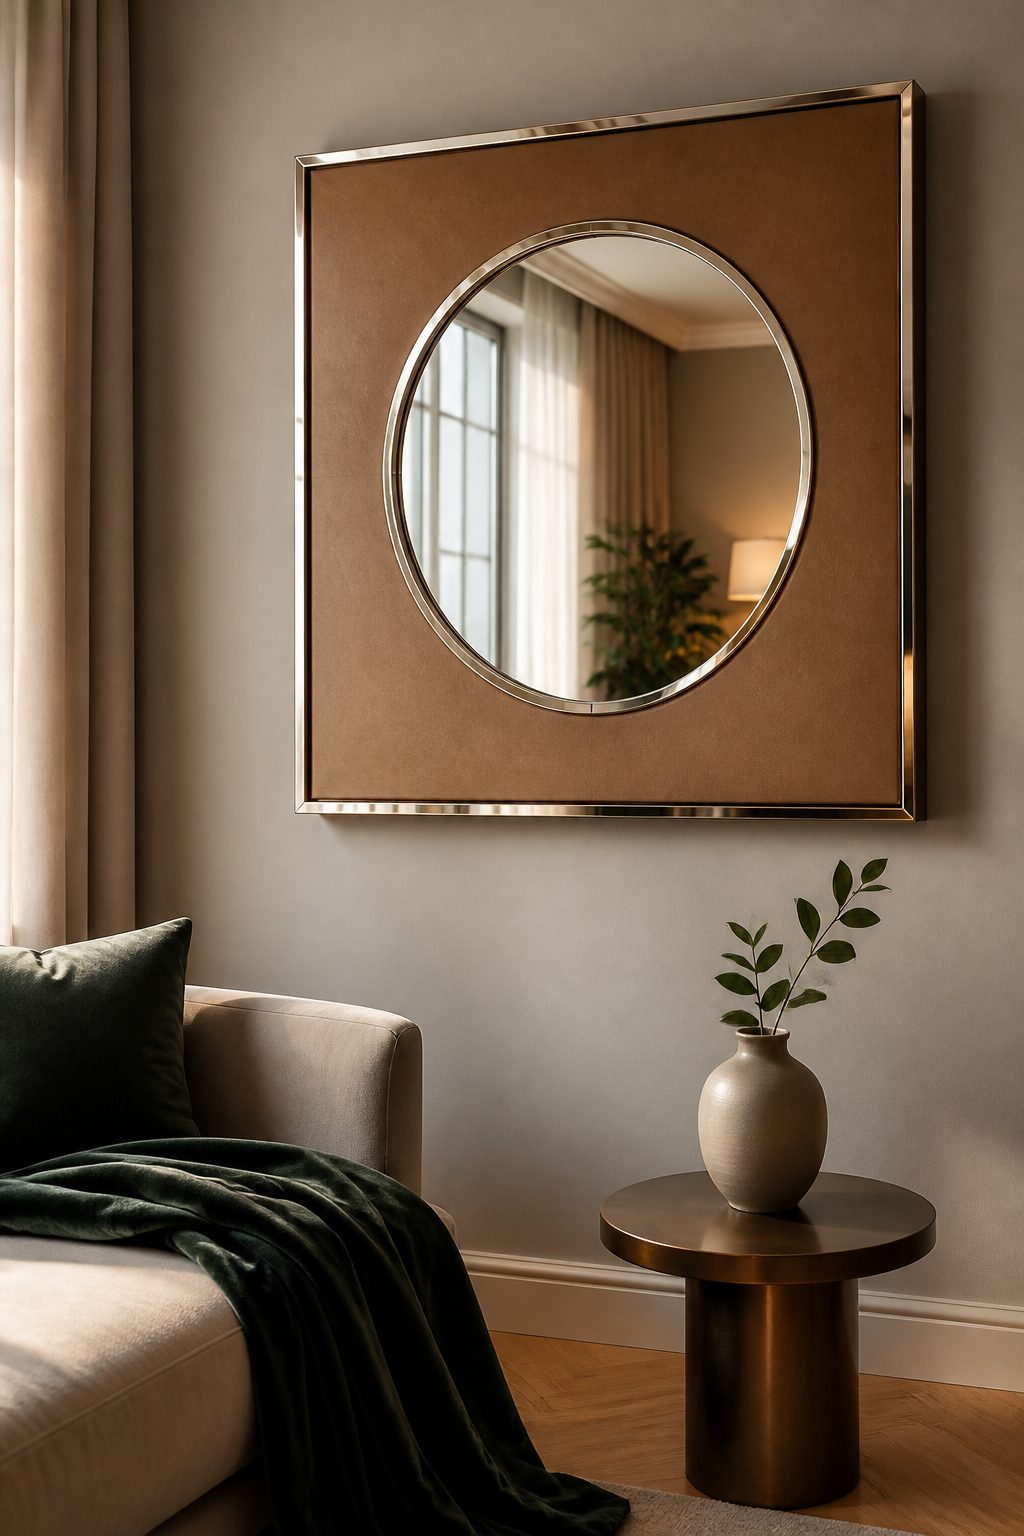
Mirrors instantly elevate a space; dress one up with a cardboard frame and shiny metallic edge for an upscale feel.
Materials
- Cardboard sheets
- Mirror or reflective acrylic sheet
- Metallic foil tape or paint
- Glue or adhesive spray
How to Make It
- Cut a cardboard frame to fit the mirror’s perimeter.
- Attach the mirror inside the frame and apply metallic edge trim for a luxe finish.
- Seal with a clear glaze to protect the surface.
Pro Tips / Styling Ideas
- Hang opposite a light source to enhance the metallic glow.
- Place in entryways or bathrooms for a high-end vibe.
Who would love it
Anyone who loves a glam flourish without the price tag of real metal frames.
12. Cardboard Cube Stacks for a Modular Side Table

Stacked cubes create a versatile, modular side table that looks polished and friendly to rearrange as needed.
Materials
- Cardboard boxes or thick sheets
- Hot glue or double-sided tape
- Paints or contact paper for finish
How to Make It
- Cut cubes of equal size and glue them into a compact tower or staggered arrangement.
- Wrap with decorative paper or paint for a clean, modern finish.
Pro Tips / Styling Ideas
- Use as a perch for a lamp, books, or a small plant.
- Experiment with different heights and configurations for a dynamic look.
Who would love it
Apartment dwellers and minimalists who want flexible, stylish furniture on a budget.
13. Cardboard Desk Organizer With Layered Trays

End desk clutter with a chic, tiered organizer that looks like it belongs in a design-forward workspace.
Materials
- Cardboard sheets
- Glue, scissors, ruler
- Accent paints or washi tape
How to Make It
- Cut a base panel and build up layered trays with borders to hold different items.
- Decorate with paint or tape for a polished finish.
Pro Tips / Styling Ideas
- Use in a home office to stash pens, clips, and notepads in style.
- Keep it monochrome for a refined, executive vibe.
Who would love it
Anyone who spends time at a desk and wants a tidy, stylish organizer to match their vibe.
Conclusion
Now you’ve got 13 completely unique cardboard crafts that look way more expensive than they are.
Which one will you start with first—or will you go full gallery wall mode and try several?
Grab your scissors, unleash your creativity, and make something you’ll proudly display or gift.
The best part: all of these are doable, budget-friendly, and seriously Pinterest-worthy.