Cardboard Craft Ideas for Seniors: 13 Easy DIY Projects

Not every hobby needs to be complicated to be meaningful. In fact, some of the most enjoyable activities are the simplest ones—like crafting with cardboard.
It’s lightweight, easy to cut, and incredibly versatile, making it perfect for seniors who want a relaxing creative outlet without stress or pressure.
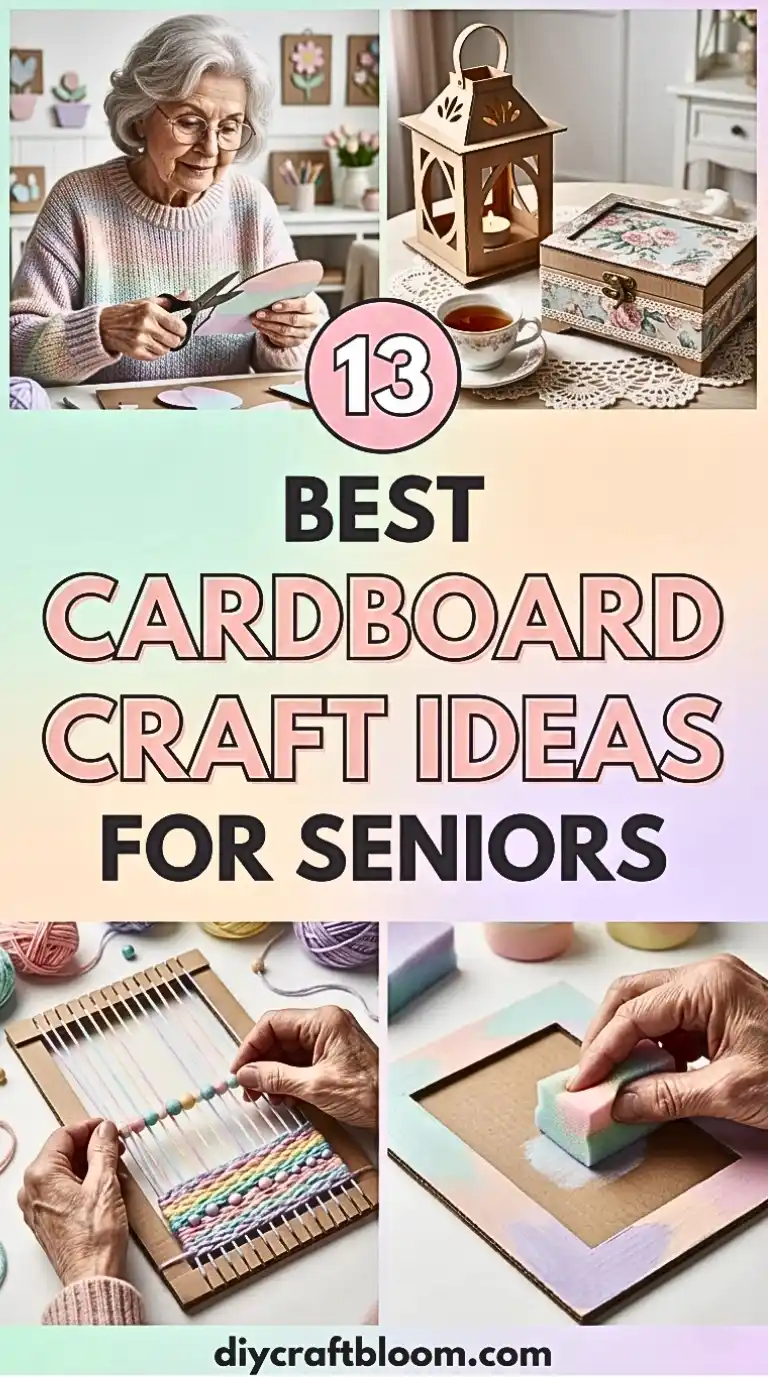
Whether it’s a decorative wall piece, a storage box, or a small handmade gift, cardboard crafts bring a sense of accomplishment that feels both personal and rewarding.
In this article, we’re sharing 13 cozy cardboard craft ideas for seniors that are fun, calming, and easy to try at home.
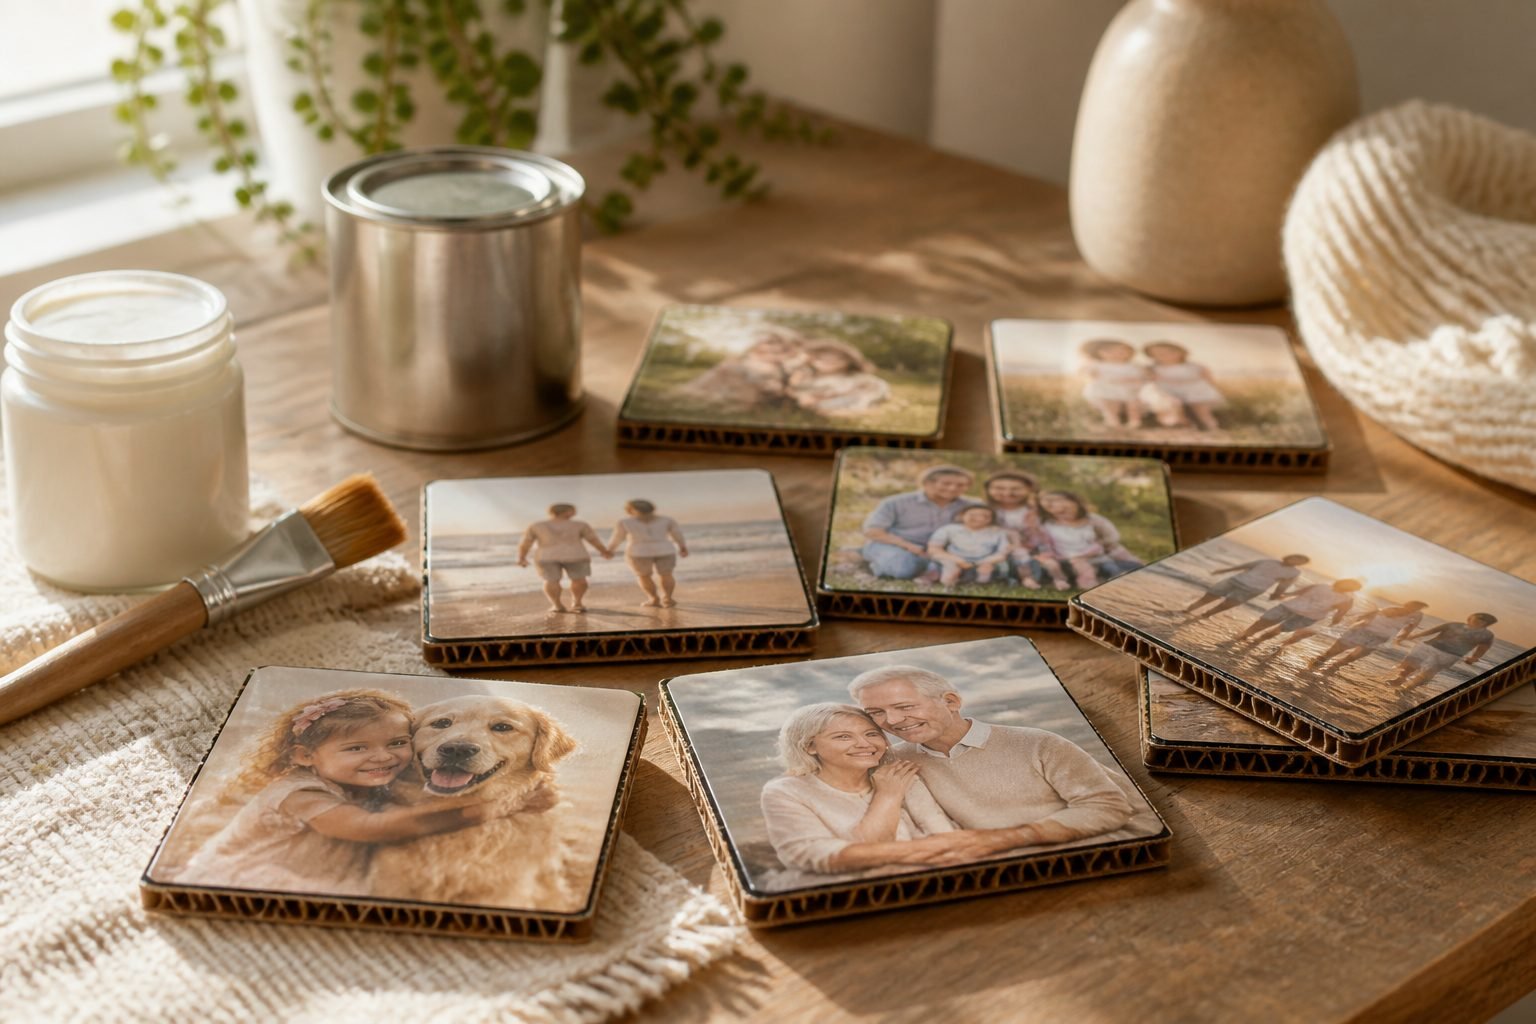
1. Cardboard Photo Coasters: Tiny Gallery on Your Table
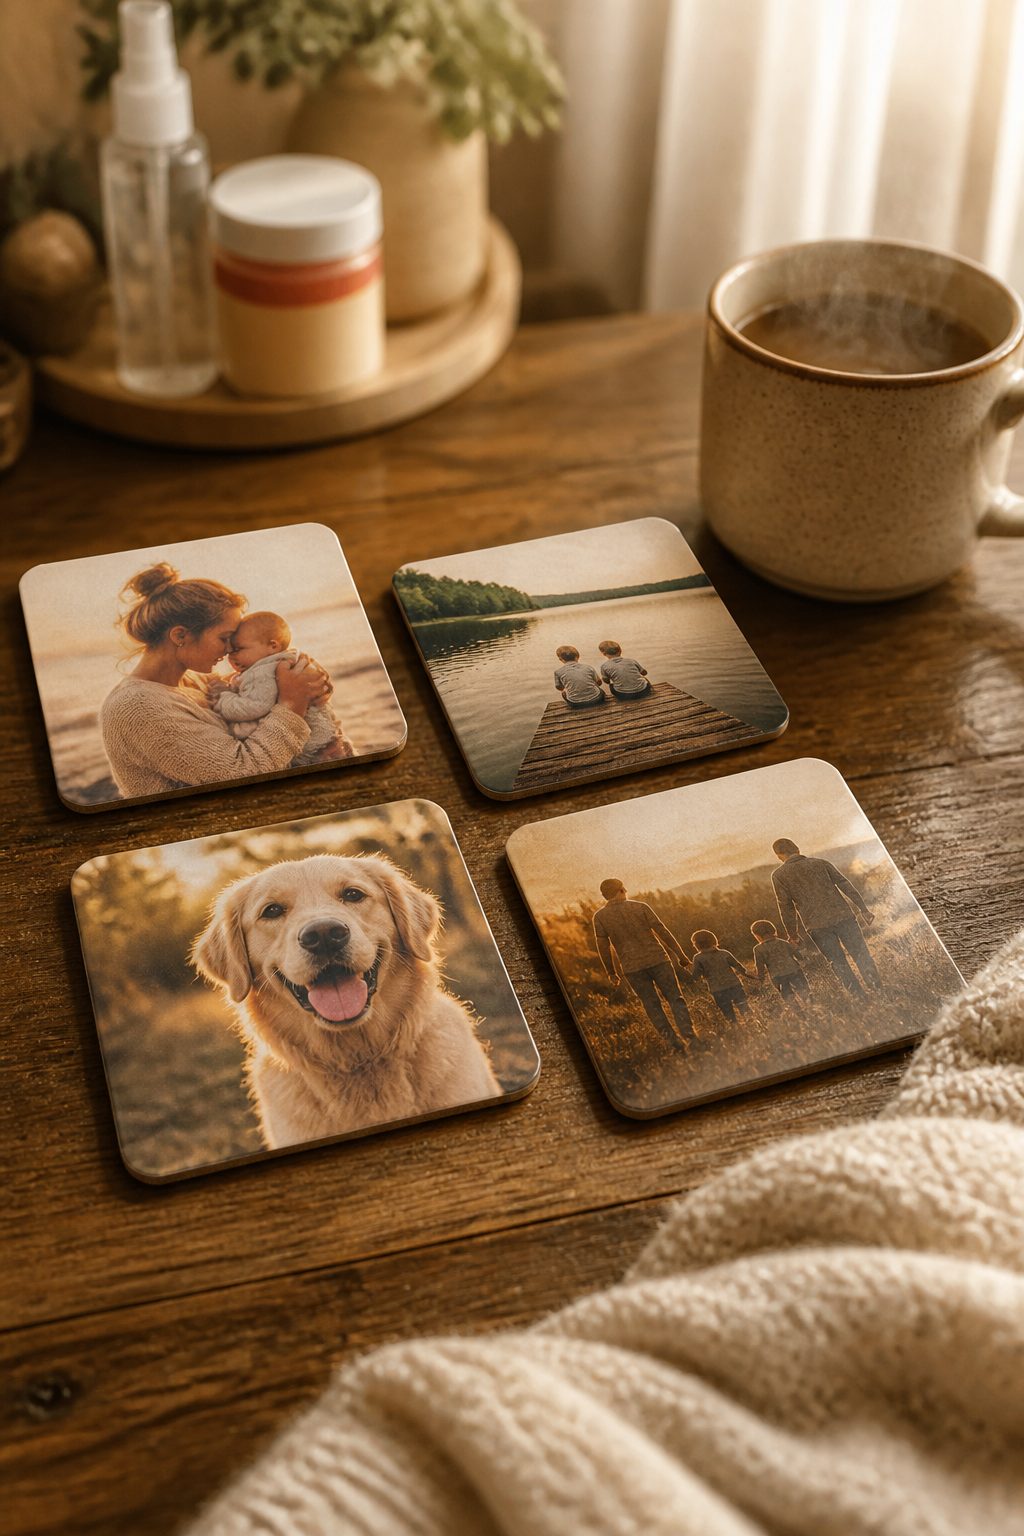
Imagine your favorite memories resting on your coffee table in little 4-inch frames that double as coasters. These Cardboard Photo Coasters turn everyday photos into a warm, artful set that’s portable and practical.
Materials Needed
- Rigid cardboard pieces (cut to 4×4 inches)
- Old photos or sturdy prints (glossy or matte)
- Mod Podge or craft glue
- Clear sealant spray
- Scissors or craft knife
How to Make It
- Cut cardboard into 4×4 inch squares. Smooth edges so they don’t snag.
- Adhere a photo to the front with Mod Podge, letting a thin border show around the edges.
- Seal with another layer of Mod Podge, then spray with clear sealant for durability.
- Let dry completely before using as coasters.
Pro Tips / Styling Ideas
- Decoupage a small fabric strip on the back for grip and coziness.
- Arrange a mini photo gallery on a coffee table tray for a personal centerpiece.
Who it’s for: A sentimental, homey touch that sparks memories—perfect for living rooms and den displays.
2. Cardboard Garden Markers: Label with Flair
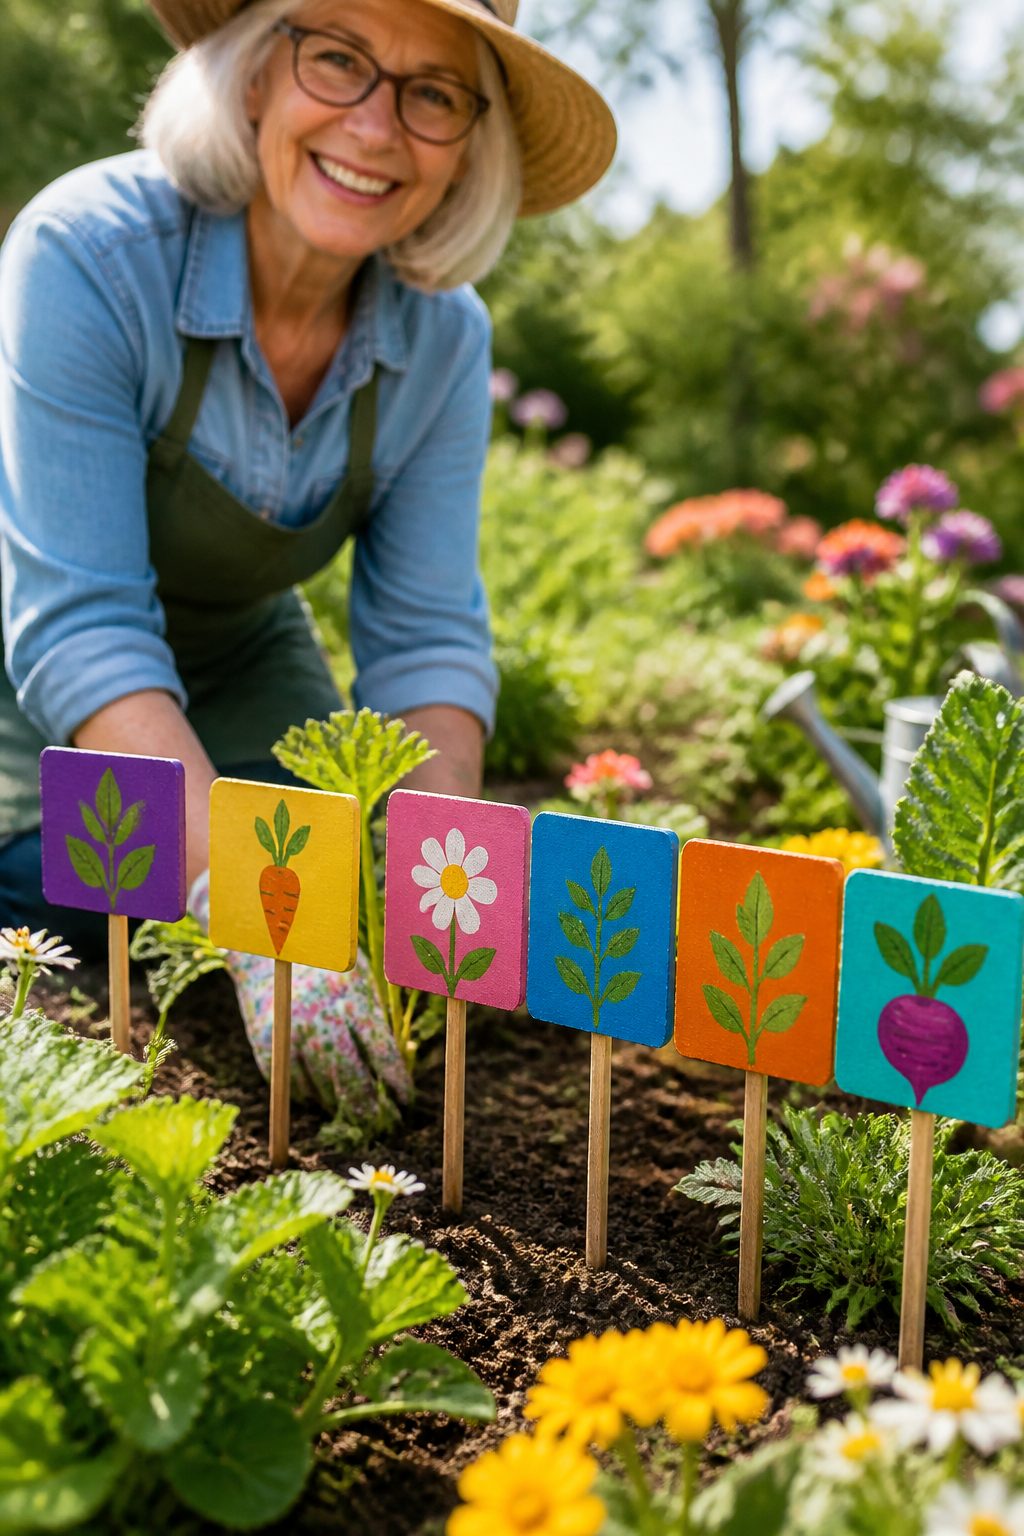
Bright, cheerful garden markers add personality to any outdoor bed. These Cardboard Garden Markers stay sturdy with a light coating of sealant and a splash of color.
Materials Needed
- Cardboard strips or folded cards
- Acrylic paints or markers
- Popsicle sticks or wooden dowels
- Waterproof sealant (spray or brush-on)
How to Make It
- Cut cardboard into rectangular signs, around 6×2 inches.
- Paint the plant name or decorative design on the front.
- Attach a dowel to the back with glue and let dry.
- Seal well to withstand weather.
Pro Tips / Styling Ideas
- Use bold, legible lettering for easy readability from a distance.
- Use them in pots or garden beds—super charming with a rustic garden vibe.
Who it’s for: Garden lovers and anyone who wants an organized, pretty outdoor space.
3. Cardboard Bird Feeder Box: Cozy Feathery Welcome
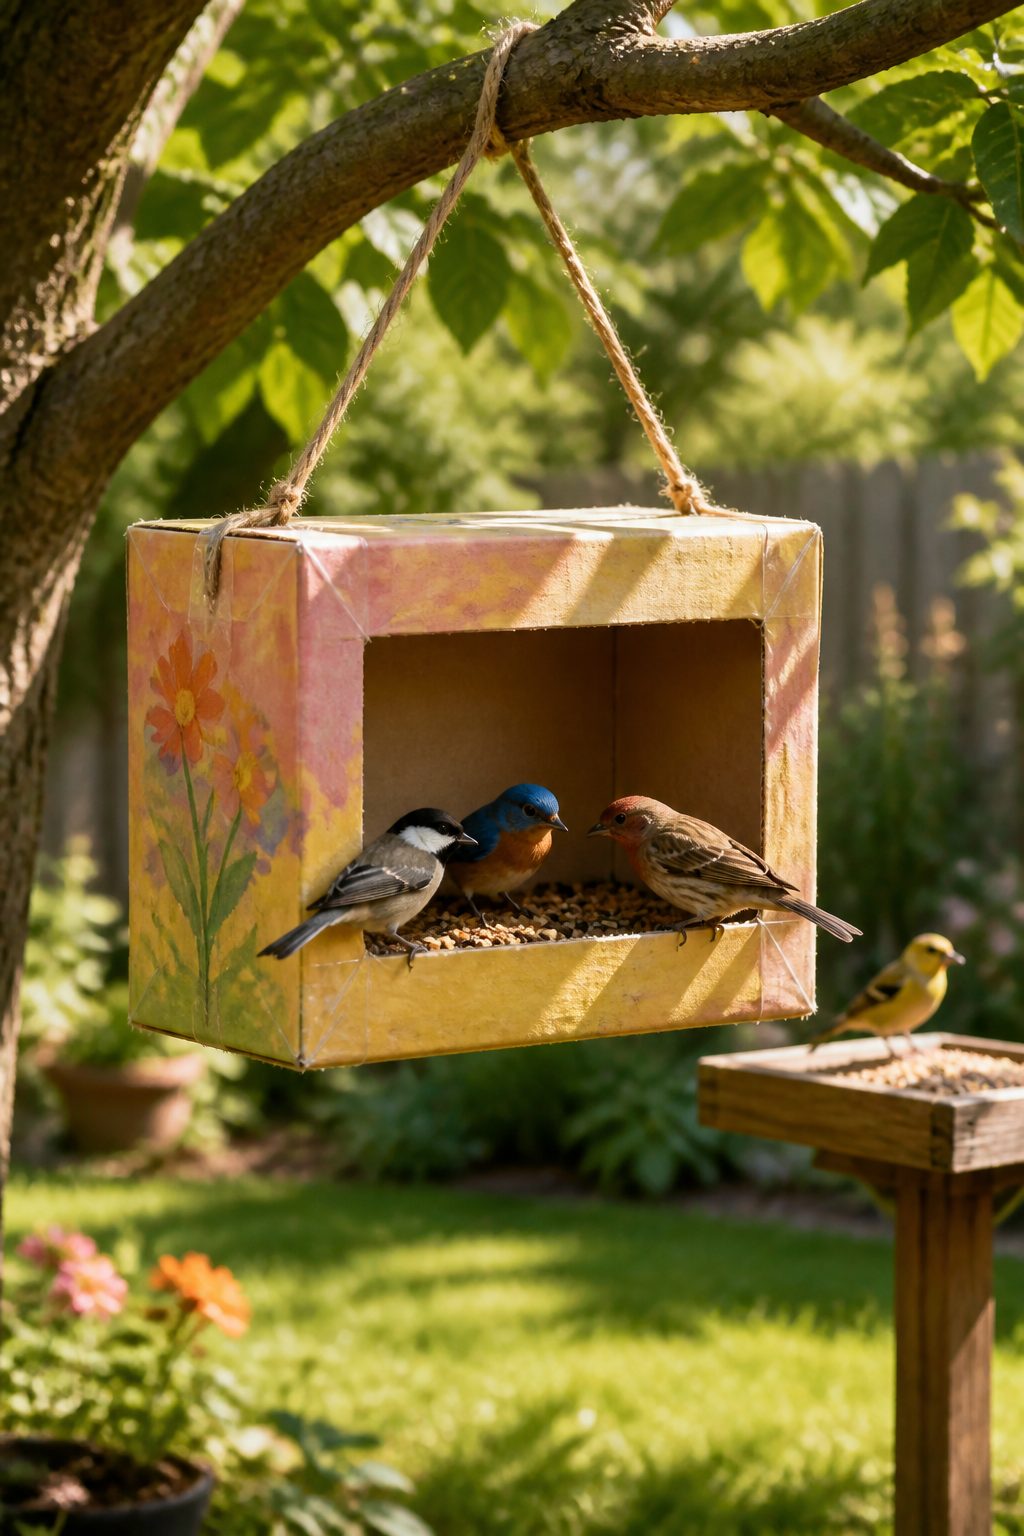
Turn a plain cardboard box into a charming bird feeder with a window view. It’s quirky, practical, and a delightful way to invite nature closer.
Materials Needed
- Cardboard box (small to medium)
- Clear packing tape
- Birdseed mix
- String for hanging
How to Make It
- Cut a small viewing window on one side and reinforce edges with tape.
- Fill the box with birdseed and seal the top, leaving the window accessible.
- Hang from a tree branch and watch the birds swoop in.
Pro Tips / Styling Ideas
- Paint a friendly face on the front for whimsy.
- Place near a window for easy viewing—great for a sunny afternoon.
Who it’s for: Nature lovers and seniors who enjoy a little backyard theater.
4. Cardboard Keepsake Box: Treasure Trove, Beautifully Simple
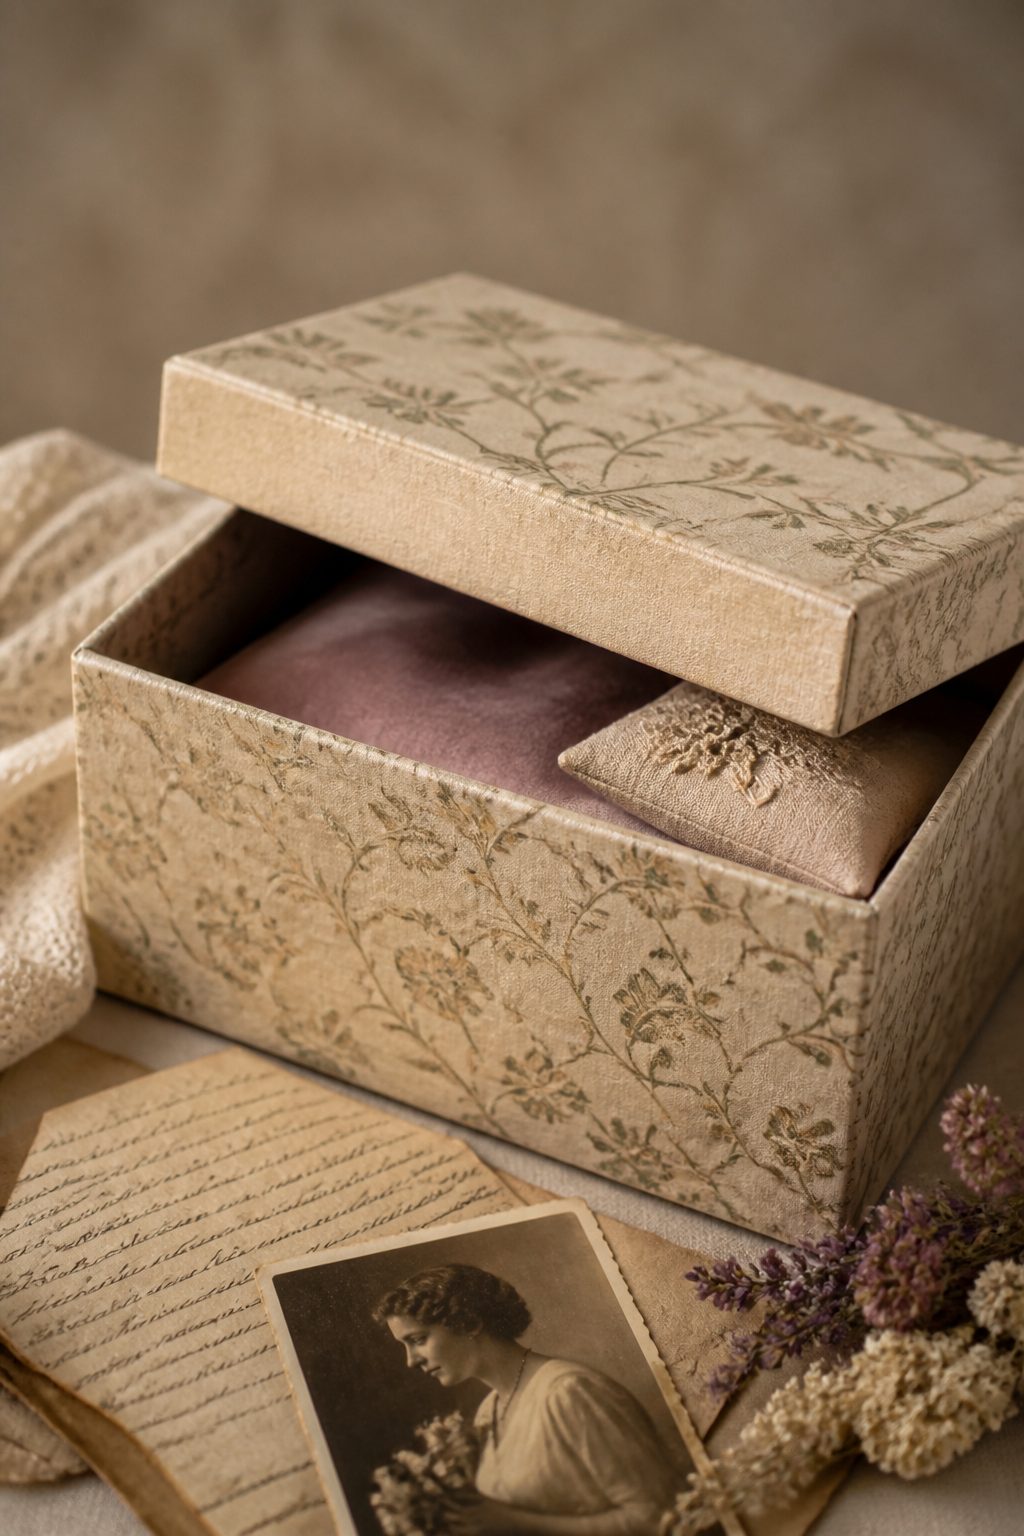
Store letters, photos, and mementos in a tiny, elegant keepsake box you can tuck anywhere. This project is all about texture and a warm, handcrafted look.
Materials Needed
- Sturdy cardboard paneling (for sides and lid)
- Decorative paper or fabric
- Glue or double-sided tape
- Scissors and craft knife
How to Make It
- Cut four panels for the sides and a lid. Assemble into a rectangular box with glue.
- Cover the exterior with decorative paper or fabric, wrapping edges neatly.
- Line the interior with a soft fabric if desired and add a tiny felt pad at the bottom.
Pro Tips / Styling Ideas
- Personalize with a name or initials on the lid.
- Use as a gift for a friend or family member with a small keepsake tucked inside.
Who it’s for: Gift-givers and memory-keepers who want a tidy, pretty storage solution.
Subscribe to DIY Craft Bloom
Get updates on the latest posts and more from DIY Craft Bloom straight to your inbox.
5. Cardboard Wall Art Panels: Bold, Minimalist Décor
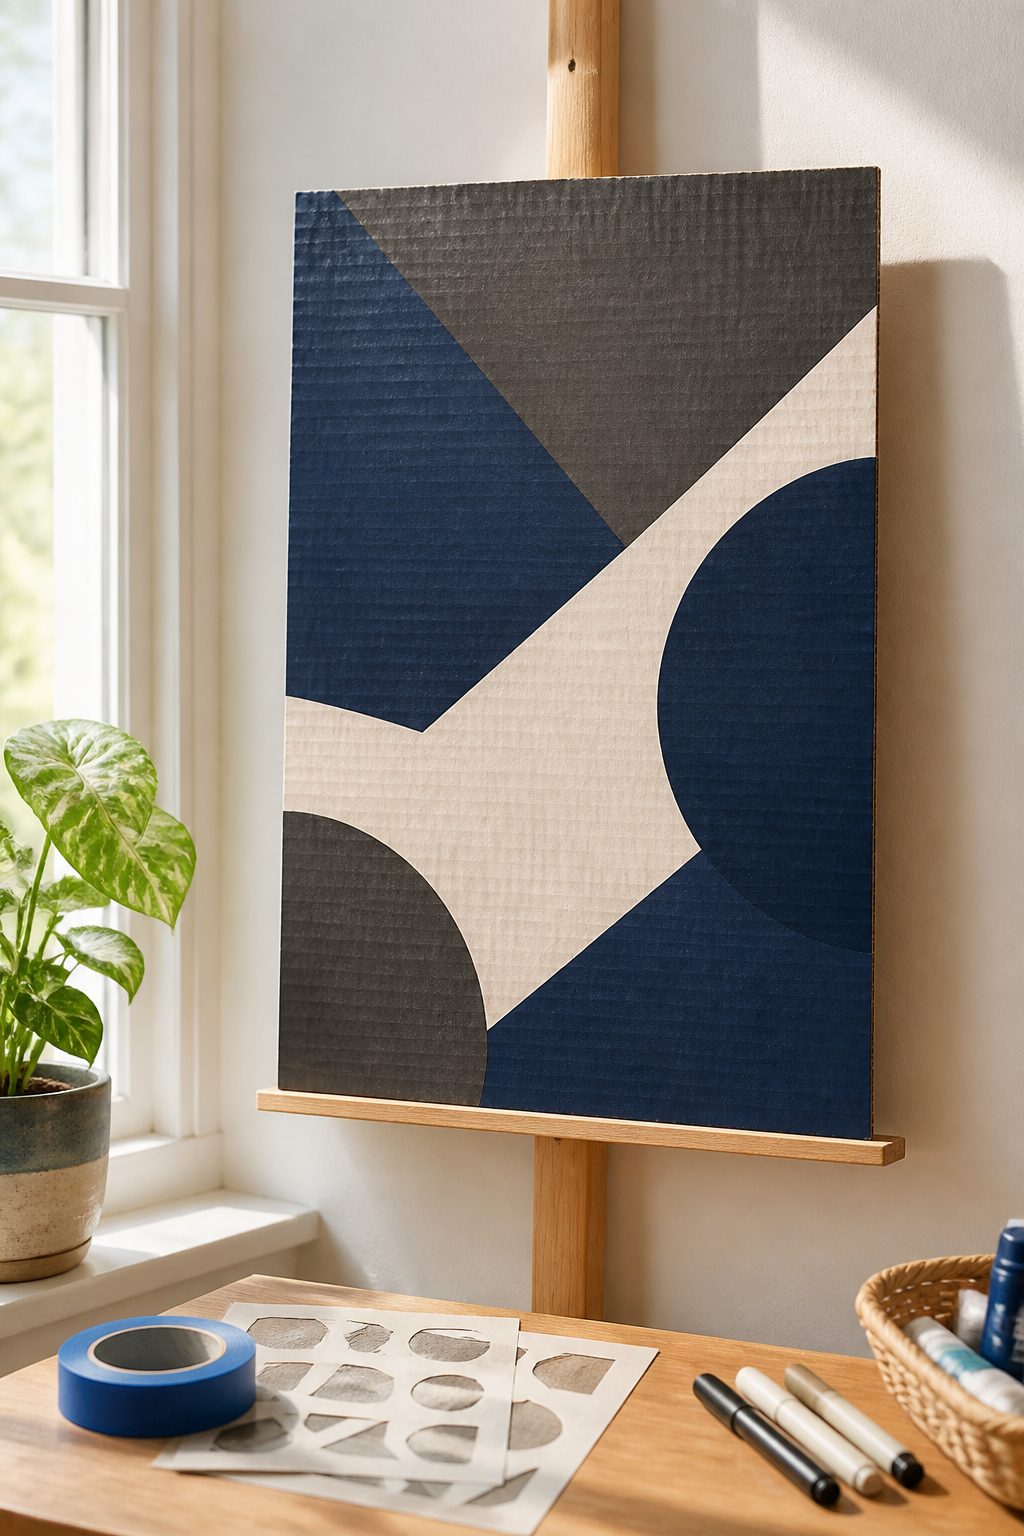
Give your walls a fresh lift with lightweight, customizable cardboard art panels. Thick cardboard panels become canvases for color and texture without the cost.
Materials Needed
- Thick cardboard sheets
- Acrylic paints, stencils, or markers
- Painter’s tape (optional)
- Hanging hardware
How to Make It
- Cut panels to desired sizes, then paint bold shapes or abstract patterns.
- Use painter’s tape to create clean lines if you like a modern look.
- Attach simple hanging hardware on the back.
Pro Tips / Styling Ideas
- Group two or three panels for a cohesive gallery wall.
- Choose color palettes that match existing furnishings for a cohesive space.
Who it’s for: Homebodies who want instant, stylish upgrades without heavy lifting.
6. Cardboard Plant Stands: Airy Shelves with a Twist
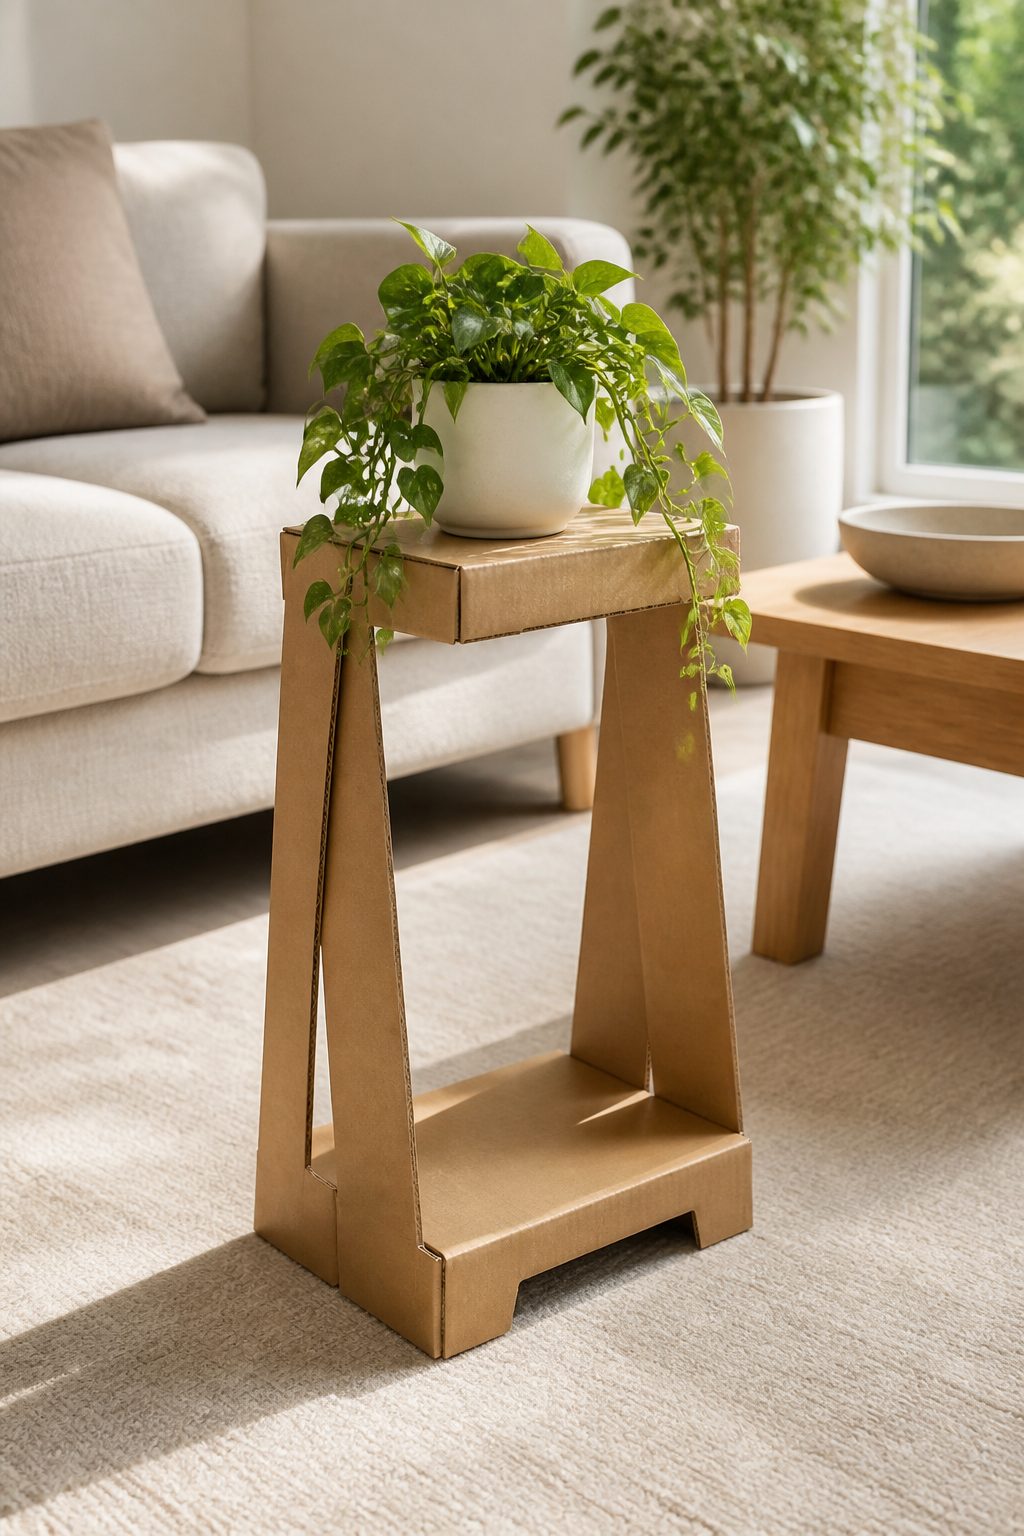
Elevate small plants on light, airy cardboard stands that look chic and keep roots cozy. A perfect DIY to add a touch of green without bulky furniture.
Materials Needed
- Sturdy cardboard sheets
- Craft knife or utility knife
- Ruler and pencil
- Glue or double-sided tape
How to Make It
- Cut two side panels and a base, then fold into a small two-tier stand.
- Secure joints with glue, then cover exposed edges with decorative tape or paint.
- Place a potted plant on the top platform for a leafy display.
Pro Tips / Styling Ideas
- Paint in a soft neutral to blend with any décor.
- Pair with a trailing plant for depth and texture.
Who it’s for: Plant lovers seeking light, portable plant furniture with personality.
7. Cardboard Photo Gallery Clock: Time Flies, But It Looks Great
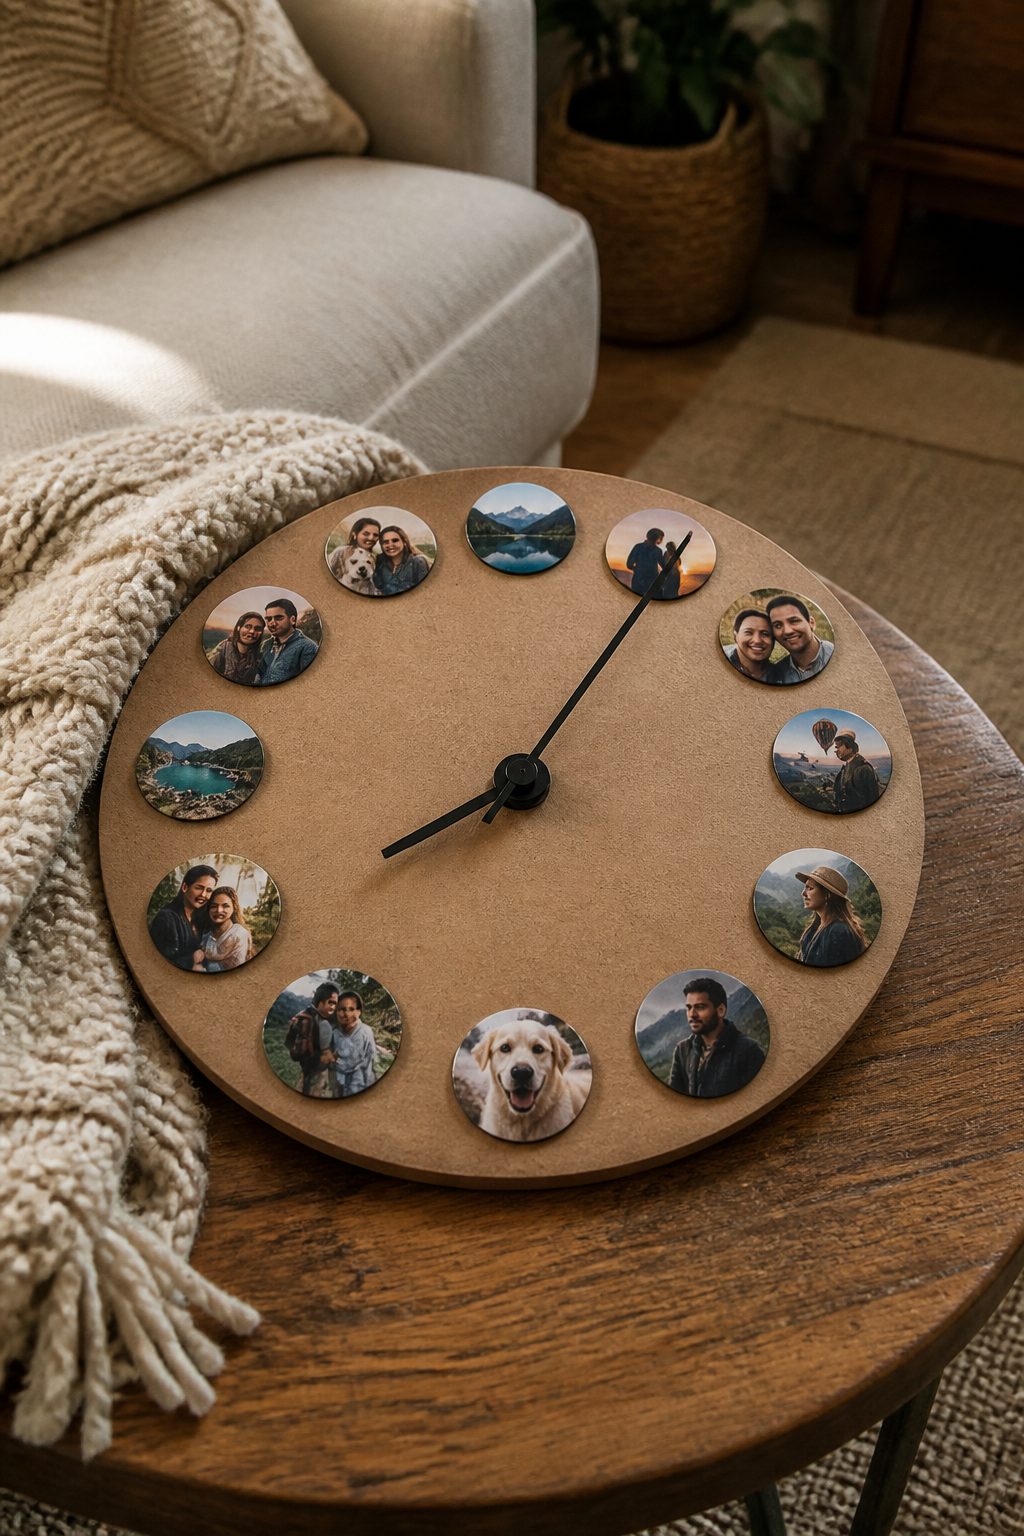
Turn a cardboard panel into a living tabletop clock with photos around the edge. It’s a playful way to tell time and show off memories.
Materials Needed
- Thick cardboard panel
- Clock mechanism kit (with hands)
- Small photos or decorative discs
- Glue
How to Make It
- Cut a circular or square panel, then arrange photos around the edge and glue in place.
- Install the clock mechanism at the center with a hole cut to fit the shaft.
Pro Tips / Styling Ideas
- Choose a color scheme that matches your living room for a cohesive look.
- Replace photos seasonally to keep things fresh.
Who it’s for: Anyone who loves both timekeeping and wall-worthy memories.
8. Cardboard Wind Chimes: Gentle Music, Soft Colors
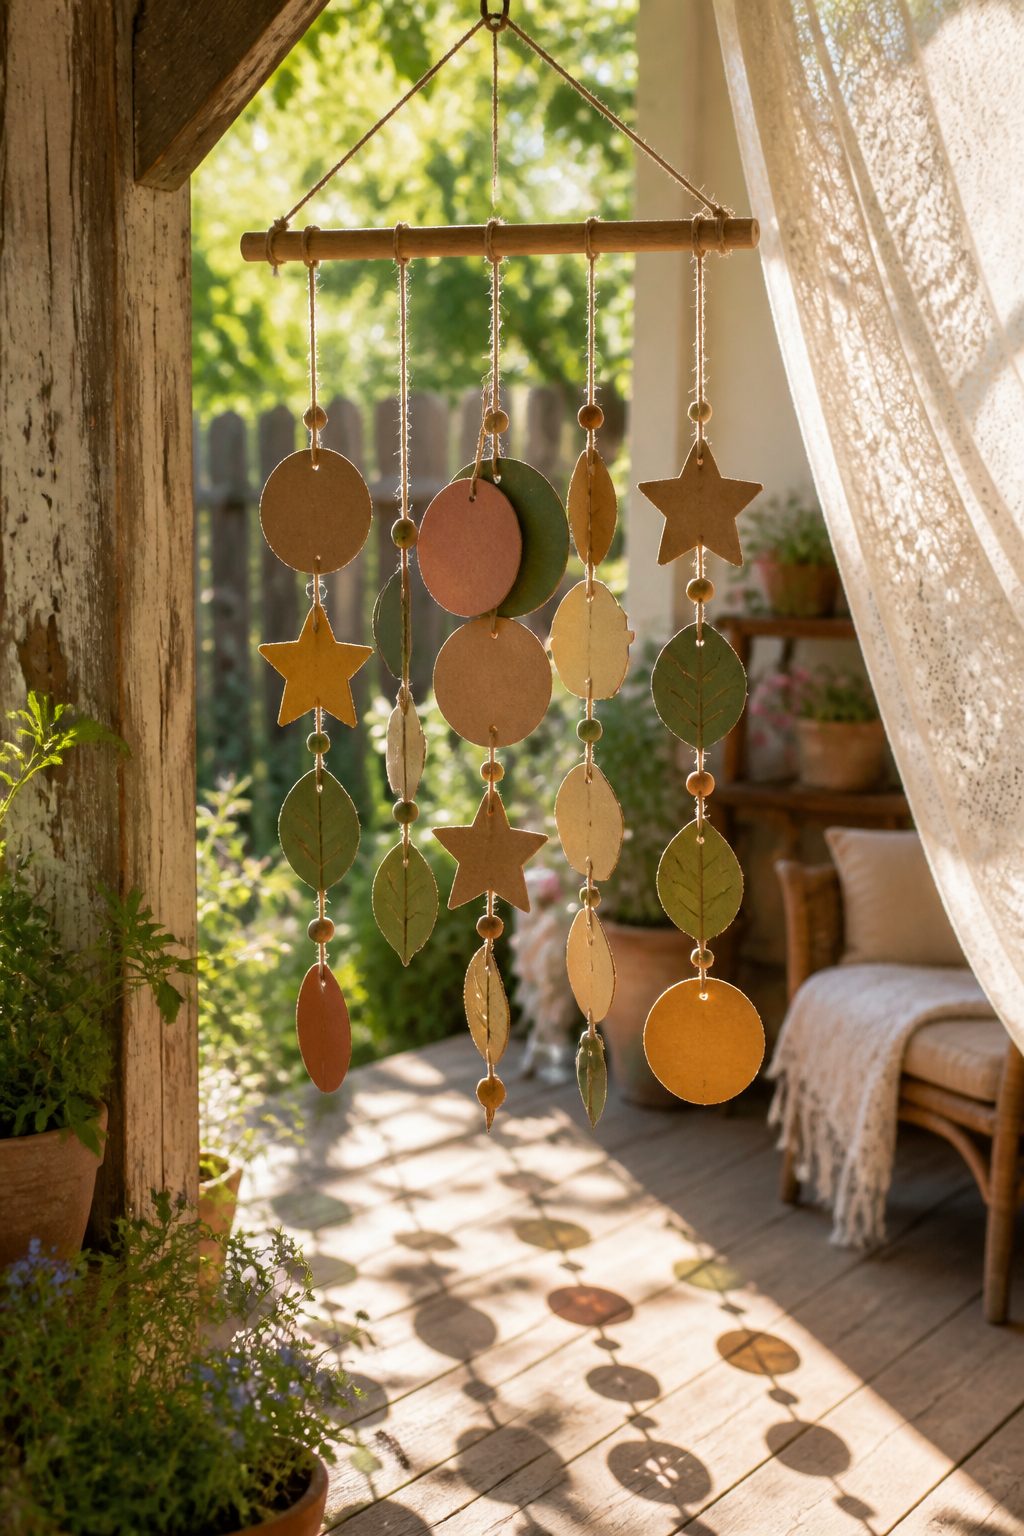
Harmonize your porch or balcony with gentle wind chimes made from layered cardboard shapes and twine. A soothing, decorative project that jingles softly in the breeze.
Materials Needed
- Cardboard scraps
- Hole punch or awl
- String or twine
- Beads or small decorative items (optional)
How to Make It
- Cut various shapes (circles, stars, leaves) and punch holes near the top.
- Thread shapes onto vertical strings, adding beads if desired.
- Attach strings to a wooden dowel or sturdy hanger.
Pro Tips / Styling Ideas
- Paint shapes in soft pastels for a calming vibe.
- Hang where a breeze will catch the strings for gentle sound.
Who it’s for: Outdoor enthusiasts who love subtle, DIY musical décor.
9. Cardboard Lanterns: Soft Glow for Cozy Evenings
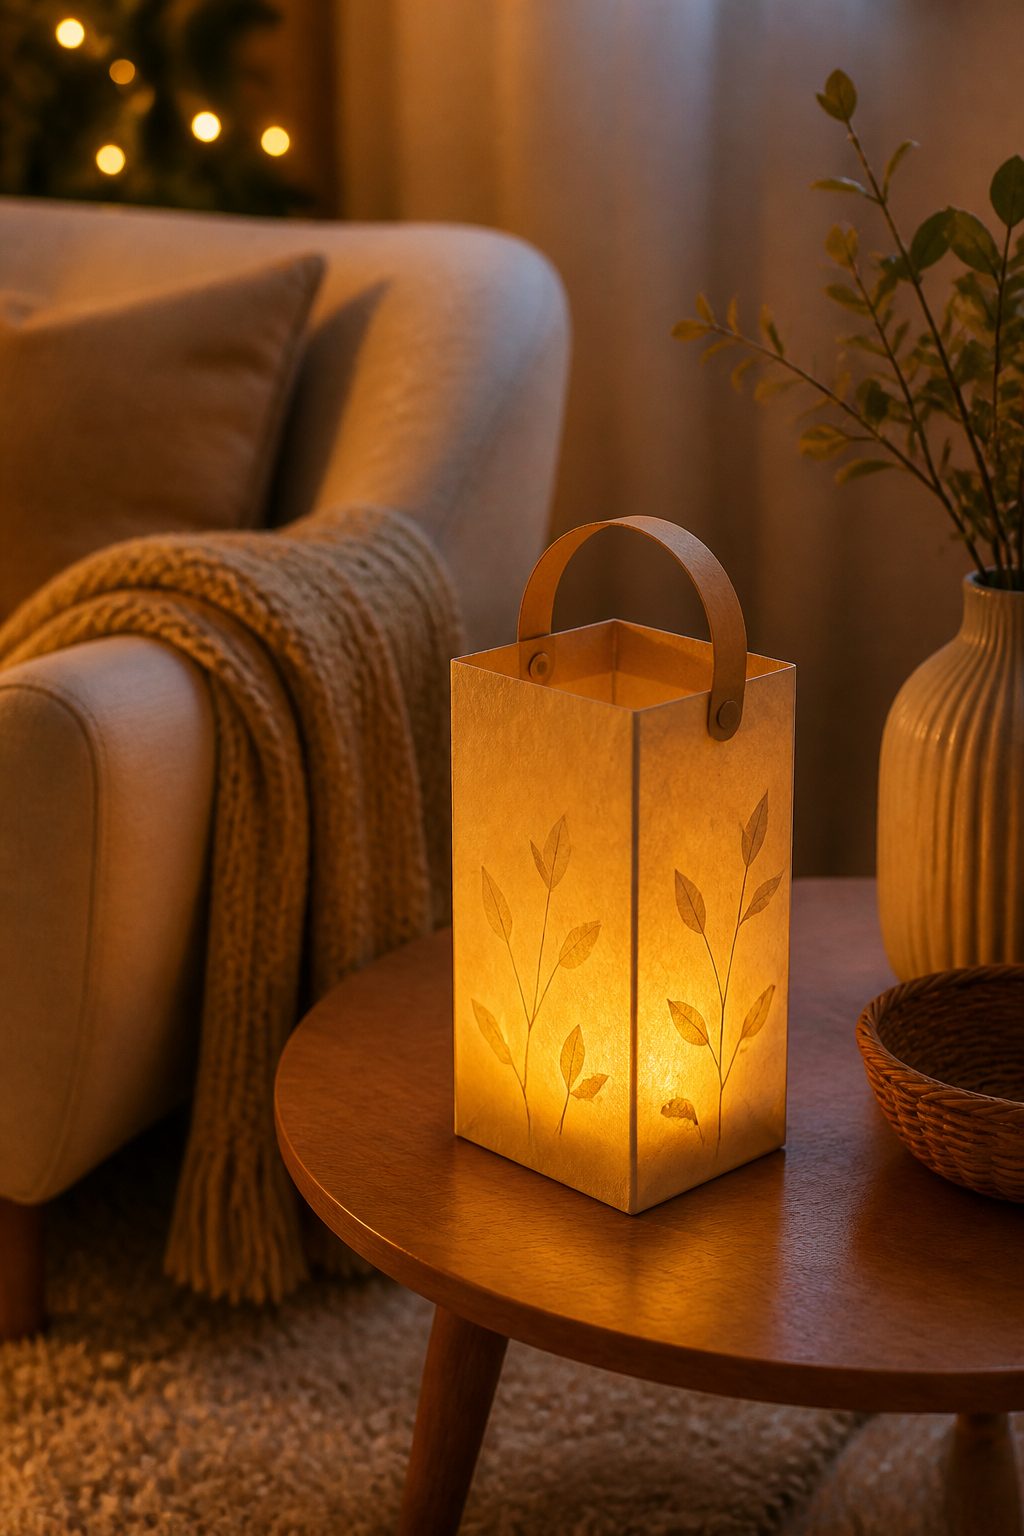
Wrap a simple cardboard lantern with translucent paper to cast warm light across the room. It’s a cozy project that instantly elevates evenings.
Materials Needed
- Cardboard cylinder or square tube
- Translucent paper or vellum
- Glue and scissors
- LED tealight or small string lights
How to Make It
Subscribe to DIY Craft Bloom
Get updates on the latest posts and more from DIY Craft Bloom straight to your inbox.
- Cover the cardboard form with translucent paper, leaving a window for the light to glow through.
- Secure with glue and add a handle if you like to carry it around.
- Place LED light inside for a safe, soft glow.
Pro Tips / Styling Ideas
- Decorate with painted patterns or cut-out shapes for a stained-glass look.
- Group a few in different heights for a warm tablescape.
Who it’s for: Nighttime romantics and homebodies who love ambient glow.
10. Cardboard Gift Card Boxes: Pretty, Practical Packaging
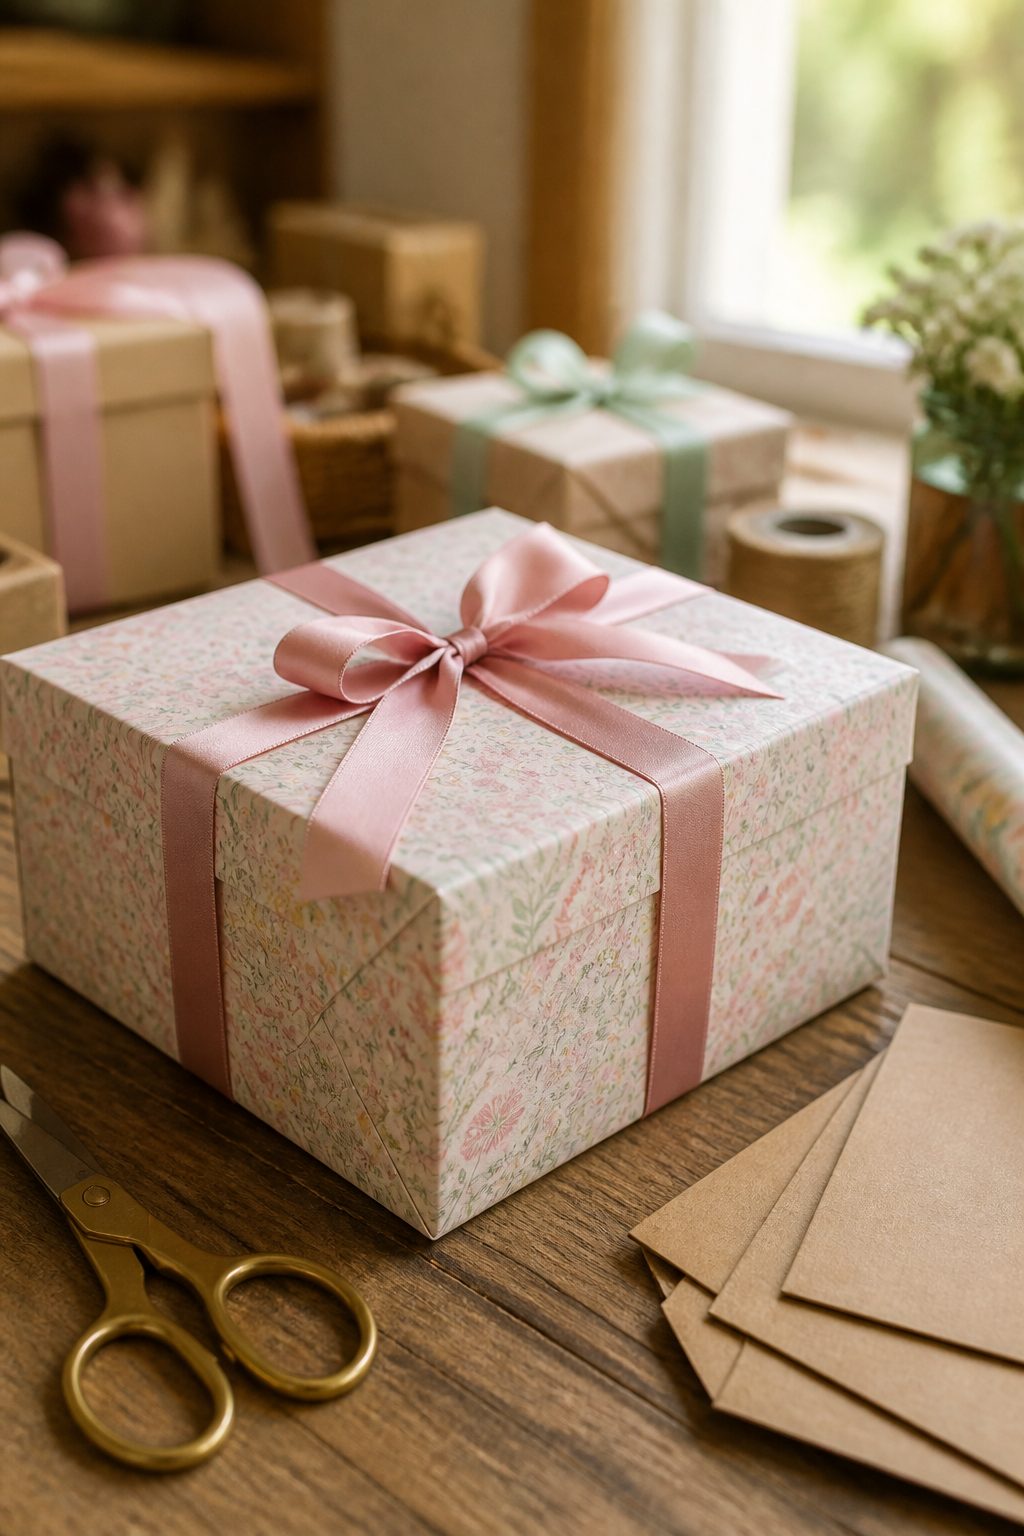
Turn ordinary cardboard into charming gift boxes perfect for birthdays or celebrations. They dress up presents and are a joy to reuse.
Materials Needed
- Cardboard sheets
- Decorative paper, ribbon, stickers
- Glue or double-sided tape
How to Make It
- Cut a small lid and base, then assemble into a box shape.
- Cover with decorative paper and add a ribbon bow.
Pro Tips / Styling Ideas
- Customize with the recipient’s name for a special touch.
- Use as gift packaging, or fill with small treats for a thoughtful surprise.
Who it’s for: Gift-givers who appreciate a personal, eco-friendly packaging solution.
11. Cardboard Coiled Basket: Rustic Storage with Texture
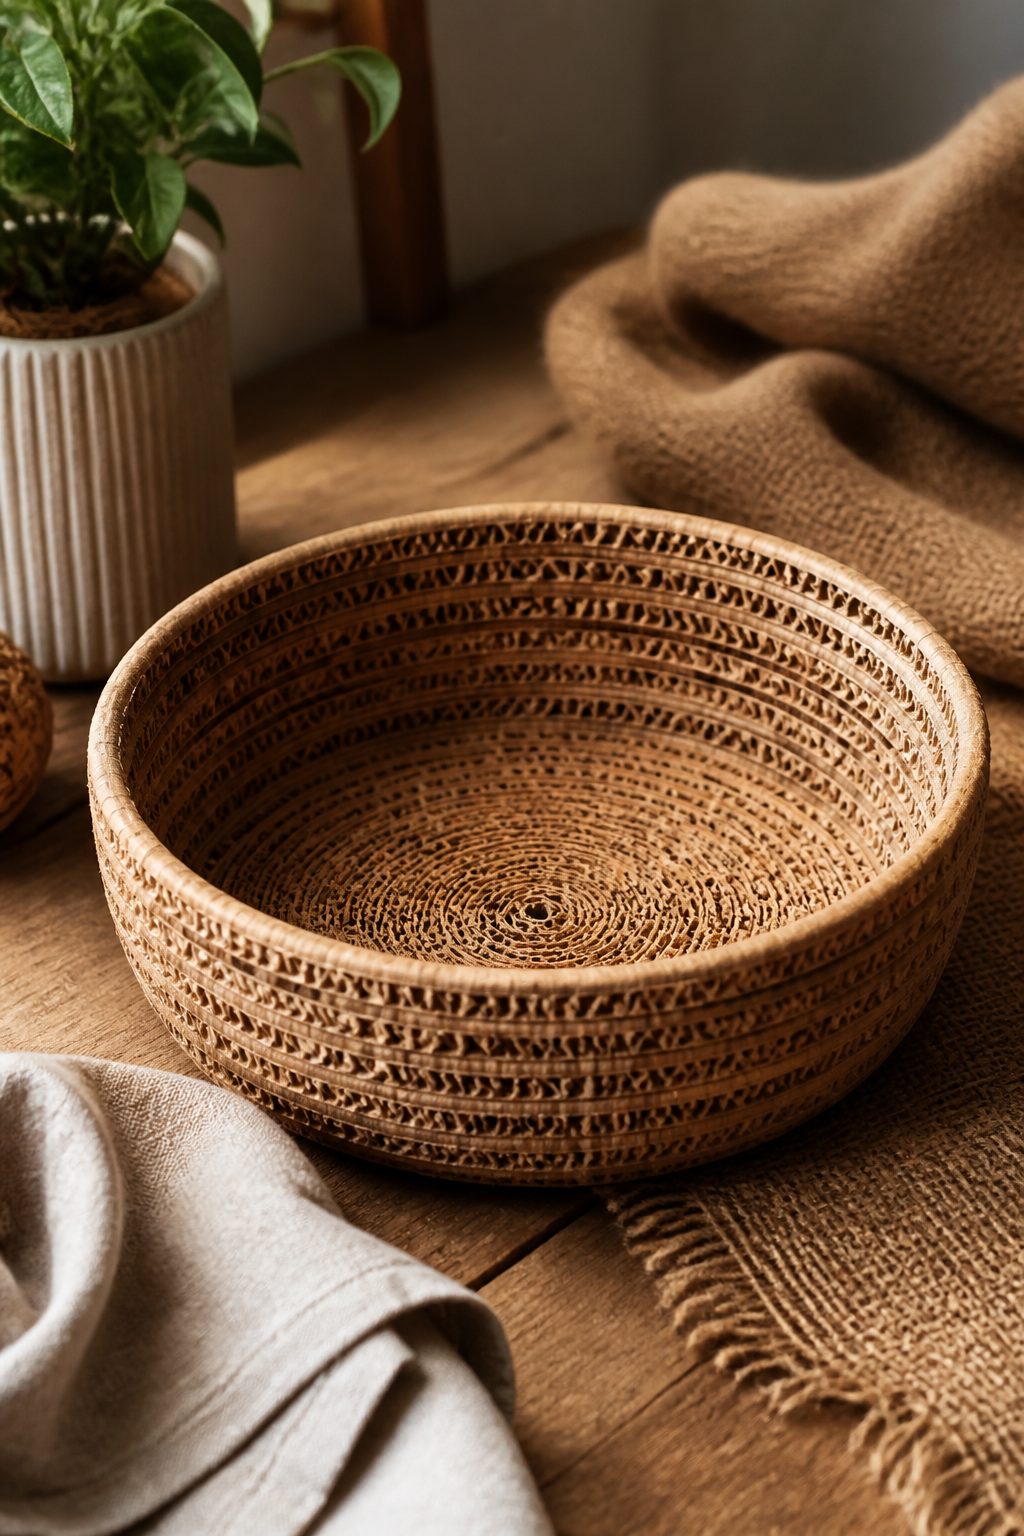
A coiled cardboard basket brings texture and storage charm to any room. It’s lightweight, sturdy, and surprisingly stylish when finished with a natural touch.
Materials Needed
- Cardboard strips
- Glue or hot glue
- Large bowl or mold for shaping
- Paint or decorative wrap (optional)
How to Make It
- Coil cardboard strips around a central core, gluing as you go to form a shallow basket.
- Continue until the basket reaches desired height, then smooth edges.
Pro Tips / Styling Ideas
- Paint in a neutral color or wrap with decorative paper for a finished look.
- Use as a catch-all for keys, mail, or yarn.
Who it’s for: Organization lovers who crave warm, textured decor.
12. Cardboard Storyboard Journal: Pages of Your Best Moments
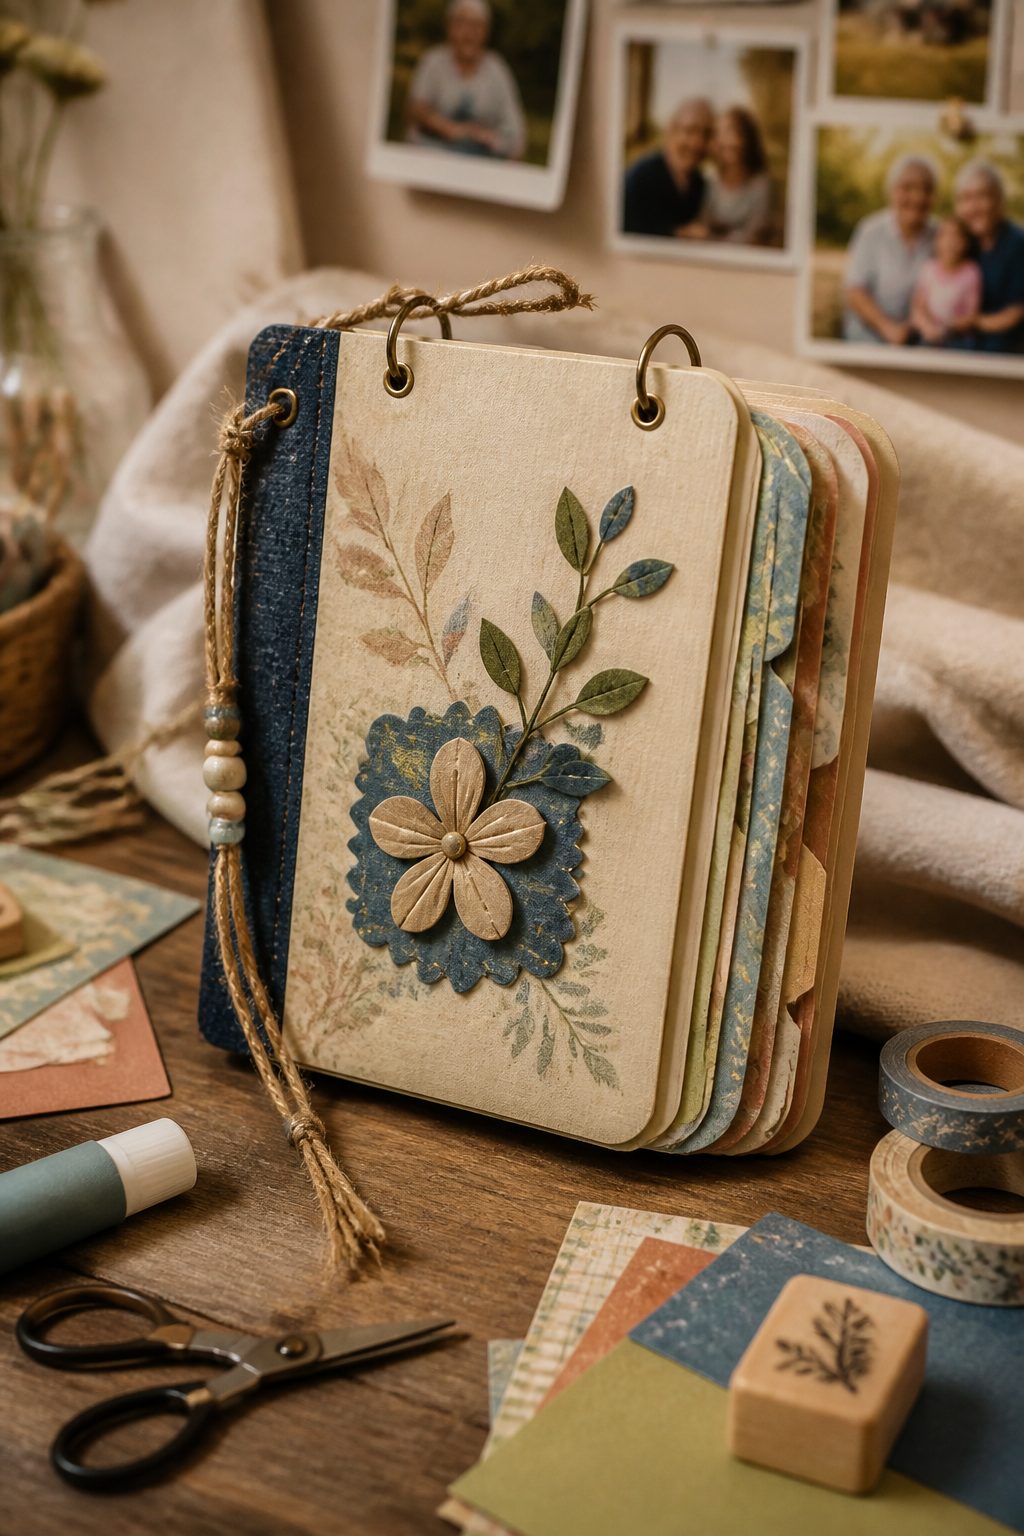
Craft a lightweight, wearable journaling board—great for capturing notes, sketches, or memories. This is a delightful, tactile way to reflect and create.
Materials Needed
- Cardboard board (approx. 8×10 inches)
- Index cards or thick paper for pages
- Binder rings or yarn for binding
- Decorative paper, stamps, washi tape
How to Make It
- Cover the front with decorative paper as a cover.
- Punch holes along one side and bind with rings or yarn, adding pages as you go.
Pro Tips / Styling Ideas
- Leave a section for photo pockets or small keepsakes.
- Decorate with family stamps or handwritten quotes for inspiration.
Who it’s for: Journal lovers and scrapbook enthusiasts who want a light, portable keepsake book.
13. Cardboard Mood Board Frames: Pin Your Inspiration
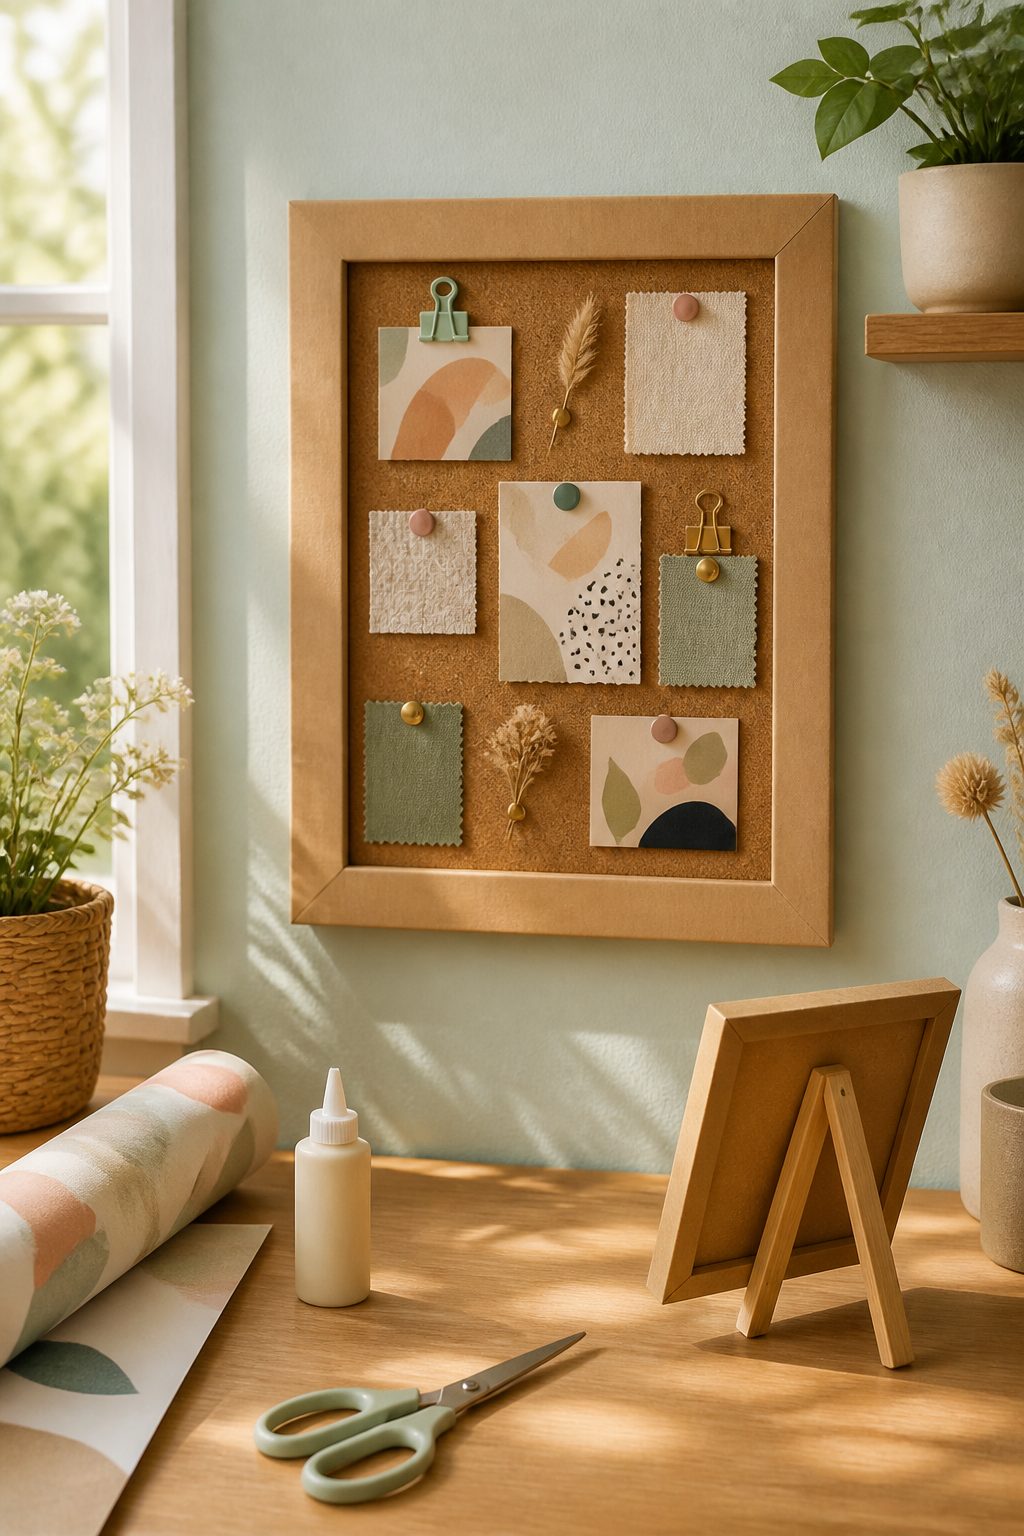
Board your next creative project with a simple cardboard mood board frame. It’s stylish, functional, and an easy way to collect ideas in one place.
Materials Needed
- Cardboard sheet cut into a frame shape
- Foam board or cork board backing
- Push pins or decorative clips
- Glue or tape
How to Make It
- Attach the cork or foam backing to the cardboard frame.
- Wrap the edges with decorative paper or paint for a finished look.
- Mount on the wall or stand on a shelf with a tiny easel.
Pro Tips / Styling Ideas
- Pin fabrics, color swatches, photos, and inspiring quotes for a personal mood board.
- Switch items out seasonally to keep it fresh and fun.
Who it’s for: Creative thinkers who love a curated space for ideas and memories.
Conclusion
These 13 Cardboard Craft Ideas for Seniors prove that you don’t need fancy materials to make something meaningful and beautiful.
They’re friendly to try, easy to customize, and they bring a bit of joy to everyday spaces.
Pick one (or all) and start crafting—your future self will thank you for the cozy, creative hangouts and handmade goodness.