11 Easy 4th of July Crafts for Girls Night That Double as Party Decor

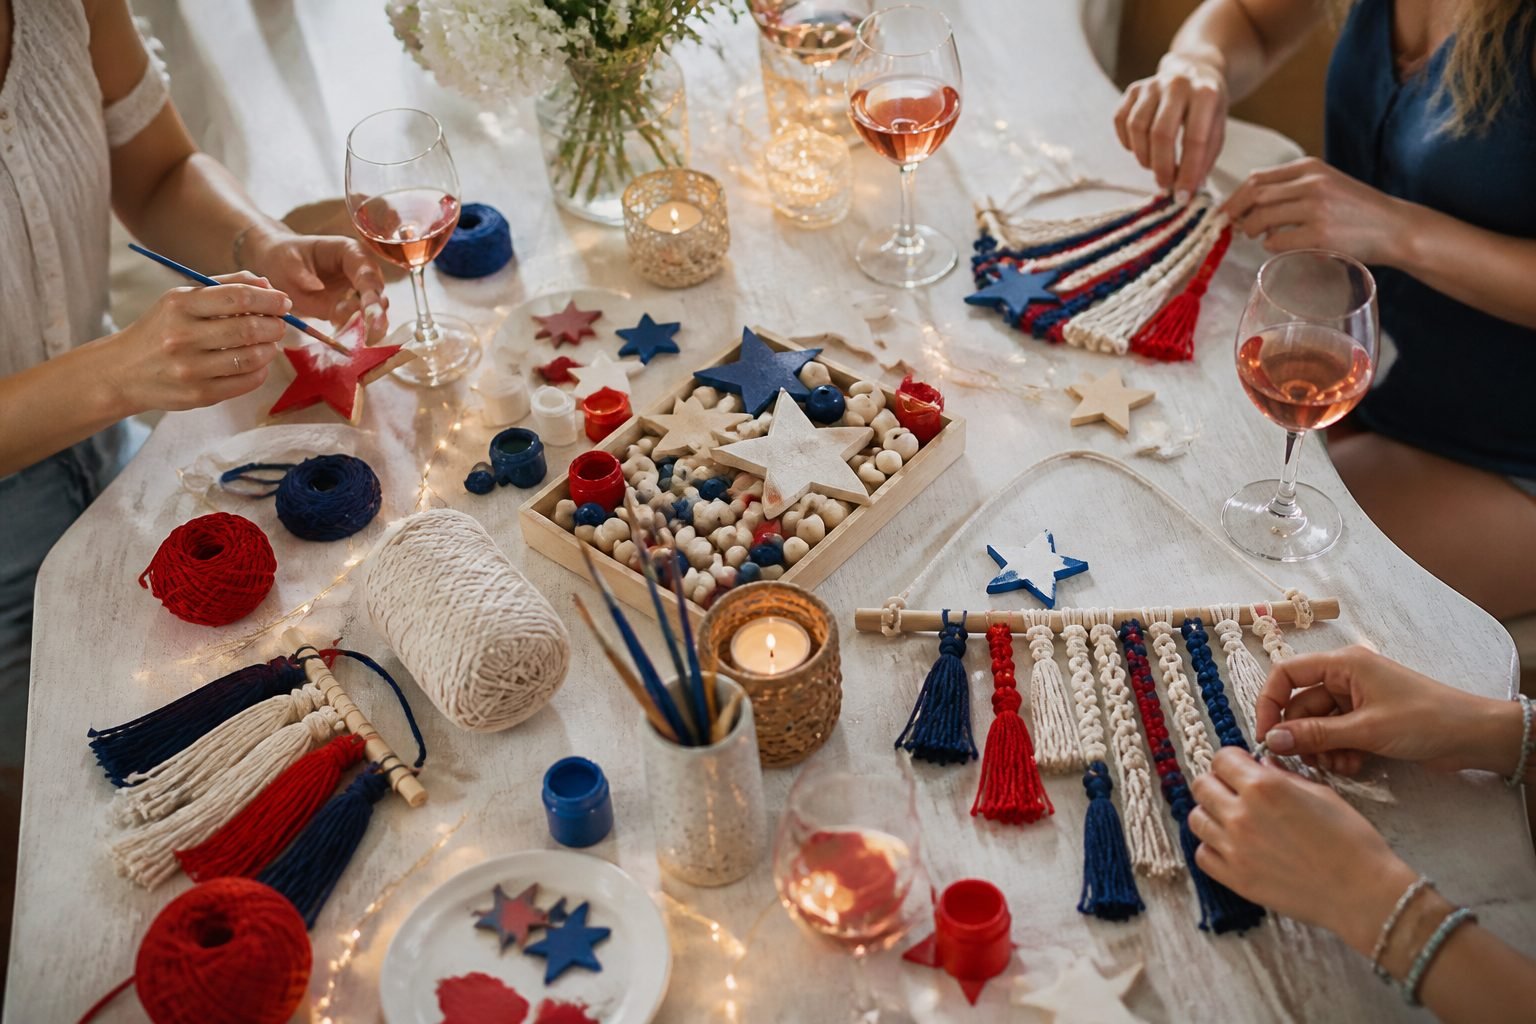
Why choose between a fun craft night with your girls and prepping for your Independence Day bash when you can do both?
These 4th of July crafts are total win-wins: you get quality time with your favorite people, and you walk away with gorgeous party decor that’ll make your celebration Instagram-worthy.
Grab the rosé, crank up the playlist, and get ready to create some seriously festive pieces that are way cuter than anything you’d find at the store.
1. Patriotic Macramé Wall Hanging With Wooden Stars
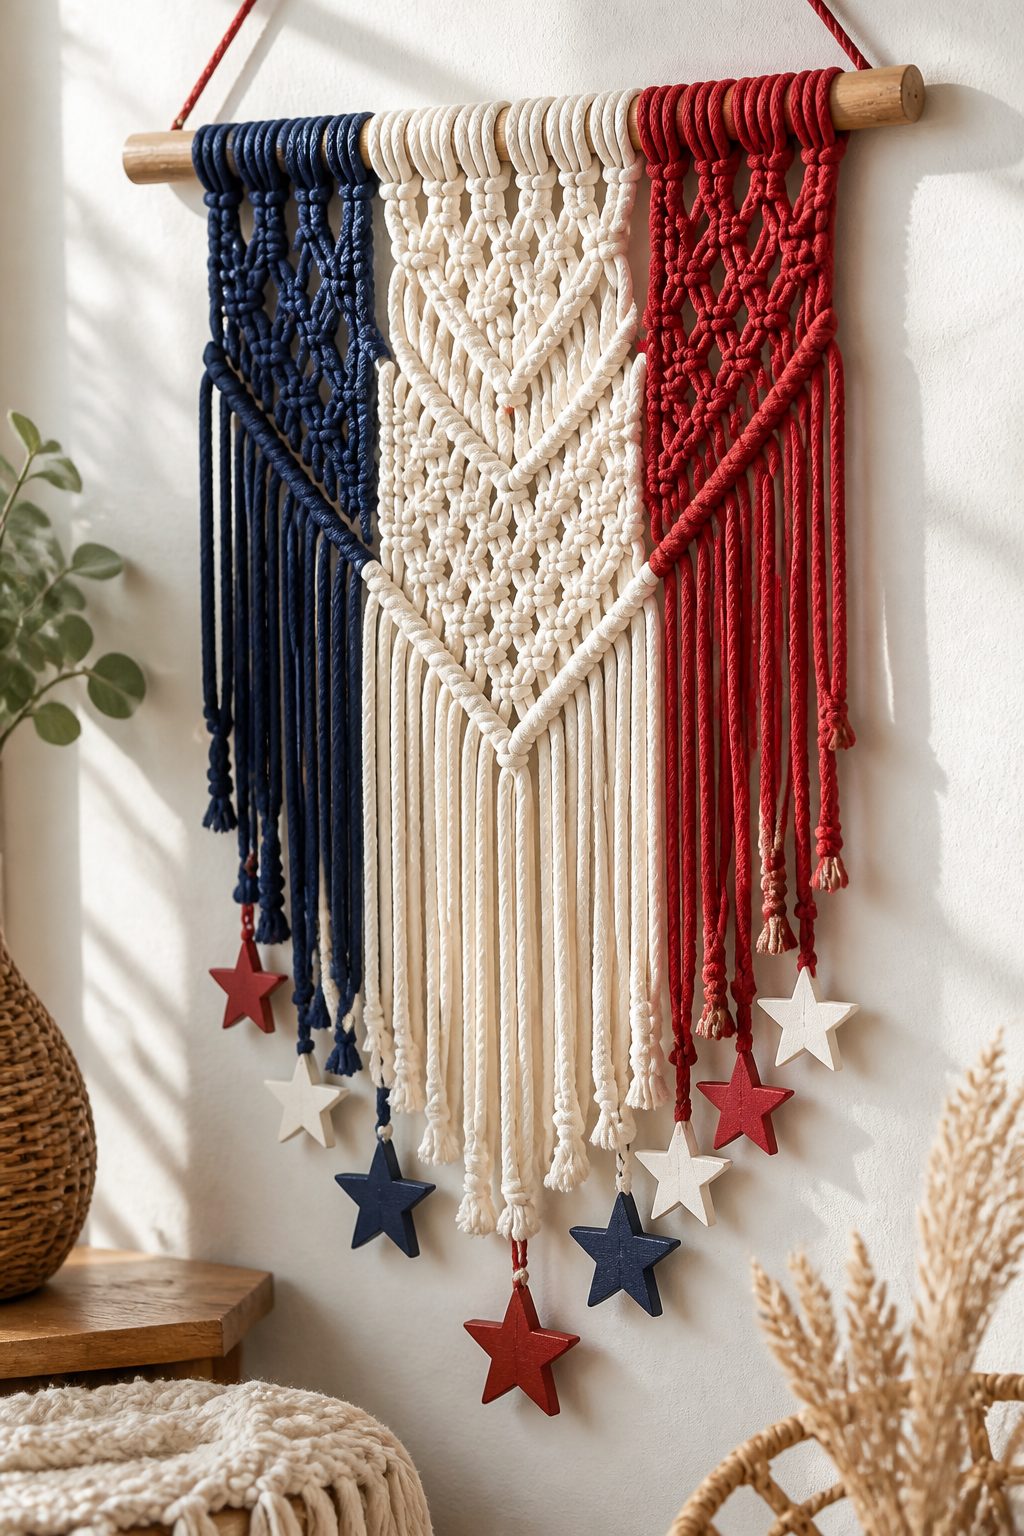
This boho-chic beauty combines the trendy macramé vibe with red, white, and blue cord in a stunning wall piece that screams summer celebration.
The wooden stars dangling from the bottom add that perfect patriotic touch without being too kitschy, and honestly, it looks like something from an upscale home décor boutique.
Materials Needed
- Red, white, and navy blue macramé cord
- Wooden dowel rod (about 12-18 inches)
- Small wooden star cutouts
- Gold or silver paint pen
- Scissors and measuring tape
How to Make It
Cut your cords to varying lengths and alternate colors as you tie them onto the dowel using basic macramé knots—square knots and half hitches are perfect for this. Create a layered, cascading effect by making some strands longer than others.
Paint little details on your wooden stars with the metallic pen, then attach them to select cords at different heights using hot glue or small holes drilled through the top.
This is perfect for anyone who wants to add a handmade, artisan touch to their party space. Hang it above your drink station or use it as a stunning photo backdrop for the day.
2. Wine Bottle Tiki Torches With Flag Ribbons
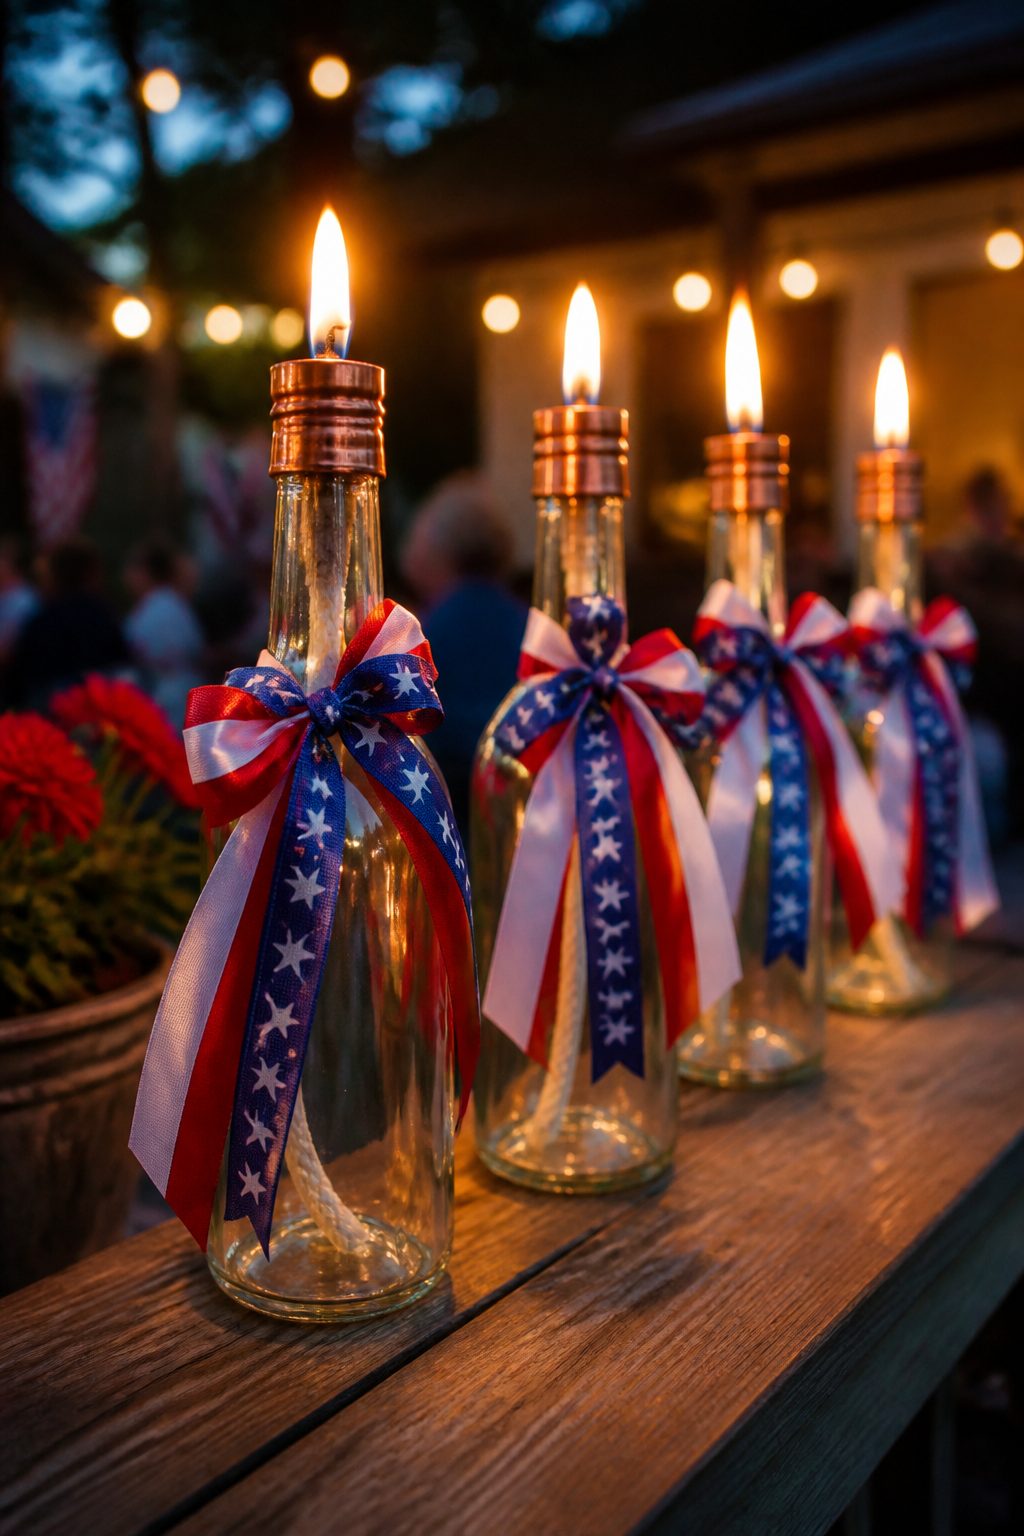
Turn empty wine bottles into functional outdoor lighting that doubles as festive décor—because who doesn’t love a craft that repurposes last girls’ night’s empties?
These tiki torches bring ambiance and bug-fighting power to your backyard celebration while looking absolutely adorable lined up along walkways or tables.
Materials Needed
- Empty wine bottles (cleaned and labels removed)
- Tiki torch wicks and fuel
- Red, white, and blue ribbon
- Copper fittings for bottle tops
- Hot glue gun
Insert the copper fitting and wick into each bottle opening, then fill about halfway with tiki torch fuel.
Wrap coordinating ribbons around the neck of each bottle, tying them in bows or letting them stream down the sides. You can even add small flag picks or star stickers to the glass for extra flair.
These are seriously the easiest way to add romantic lighting to an outdoor party. Plus, making them with your crew means you can create a whole matching set in one fun evening.
3. Dip-Dyed Ombré Cloth Napkins With Star Stamps
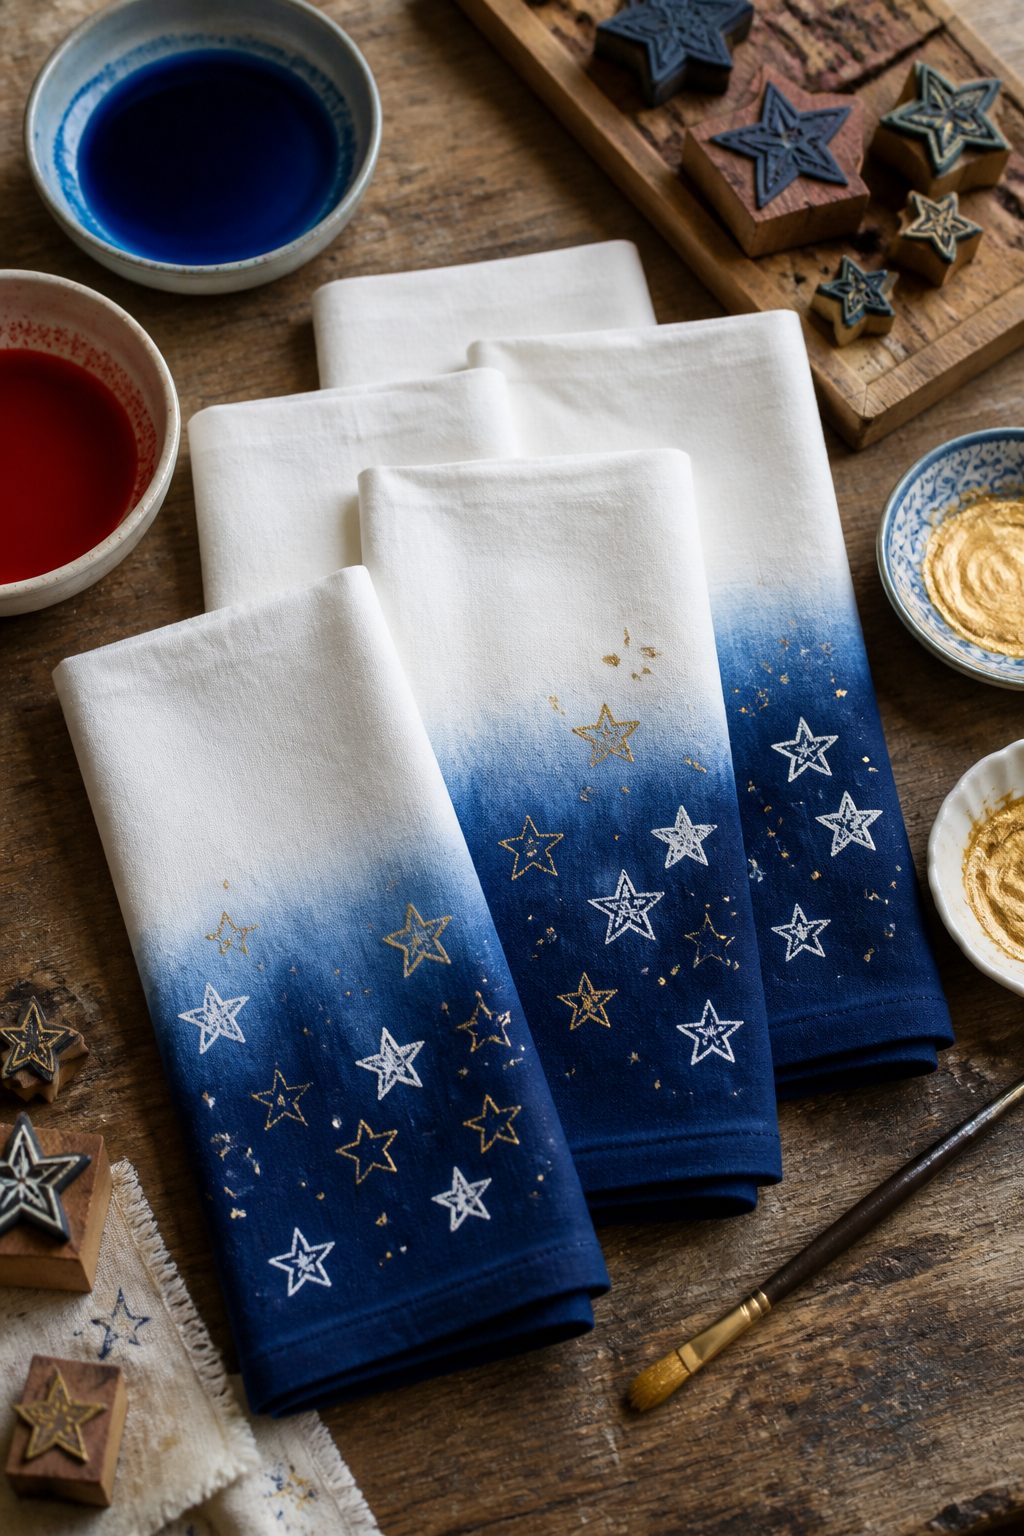
Elevate your tablescape with these custom napkins that look professionally designed but cost a fraction of store-bought fancy linens.
The ombré dip-dye technique creates a gorgeous gradient effect, and the hand-stamped stars add that perfect patriotic detail that’s elegant rather than cheesy.
Materials Needed
- White cotton napkins or fabric squares
- Navy blue and red fabric dye
- Large buckets or containers
- Star-shaped stamps
- White or gold fabric paint
Pro Tips
Mix your dye according to package directions, but make it slightly diluted for a softer ombré effect.
Dip just the bottom third of each napkin into the dye, holding it there for varying times to create different intensities across your set.
Once they’re dry, stamp white or metallic stars randomly across the fabric, concentrating them toward the dyed areas for a cohesive look.
Your guests will be so impressed when they see these custom creations on the table. They’re reusable year after year, making this craft totally worth the minimal effort.
4. Layered Sand Art Centerpieces in Glass Cylinders
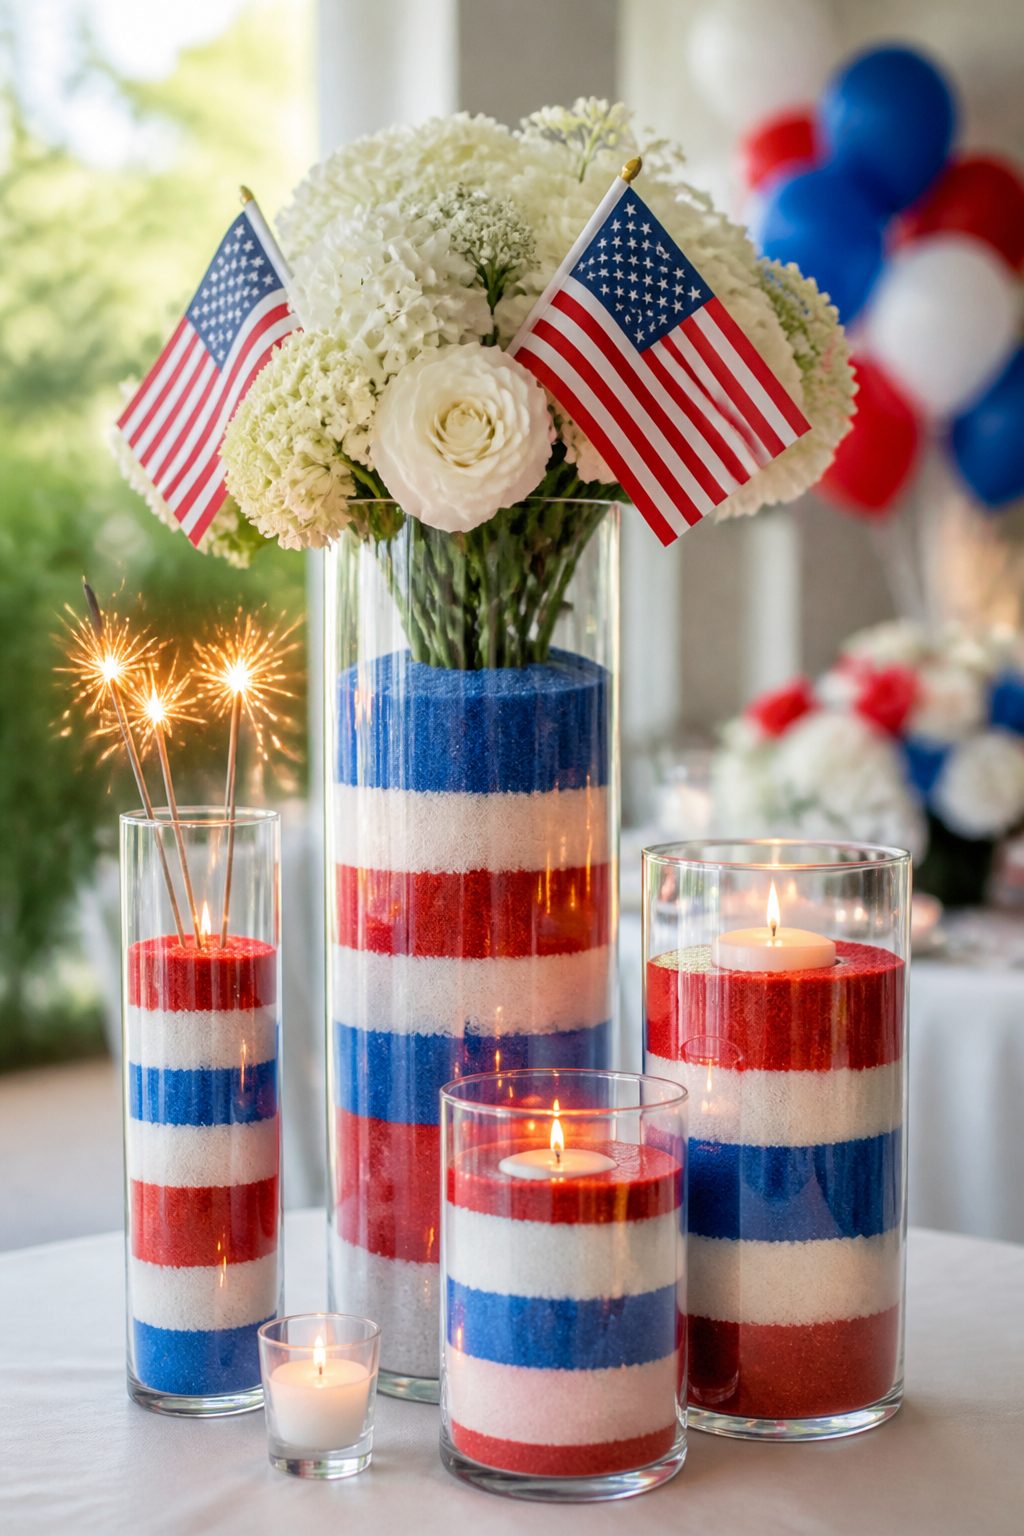
Remember making sand art as a kid? This grown-up version uses colored sand in patriotic hues layered inside clear glass vases to create stunning centerpieces that catch the light beautifully.
Tuck in some sparklers, small flags, or fresh flowers on top, and you’ve got an instant conversation starter.
Pour your layers carefully using a funnel or rolled paper cone to keep the lines crisp—alternate between red, white, and blue sand in varying thicknesses for visual interest.
Angle the vase as you pour to create diagonal stripes, or keep it level for classic horizontal bands.
Subscribe to DIY Craft Bloom
Get updates on the latest posts and more from DIY Craft Bloom straight to your inbox.
Top with a pillar candle, a bunch of white roses, or even just a cluster of sparklers ready to light when the sun goes down.
Styling Ideas
- Use different heights of cylinders grouped together
- Add a layer of small shells or stars between sand colors
- Tie navy ribbon around the vase rim
- Place on mirrors to reflect the colors
These work for any skill level since there’s literally no way to mess them up—even imperfect layers look intentionally artistic. Your girls will have so much fun creating their own color patterns.
5. Wooden Bead Garland With Mini Flag Pendants
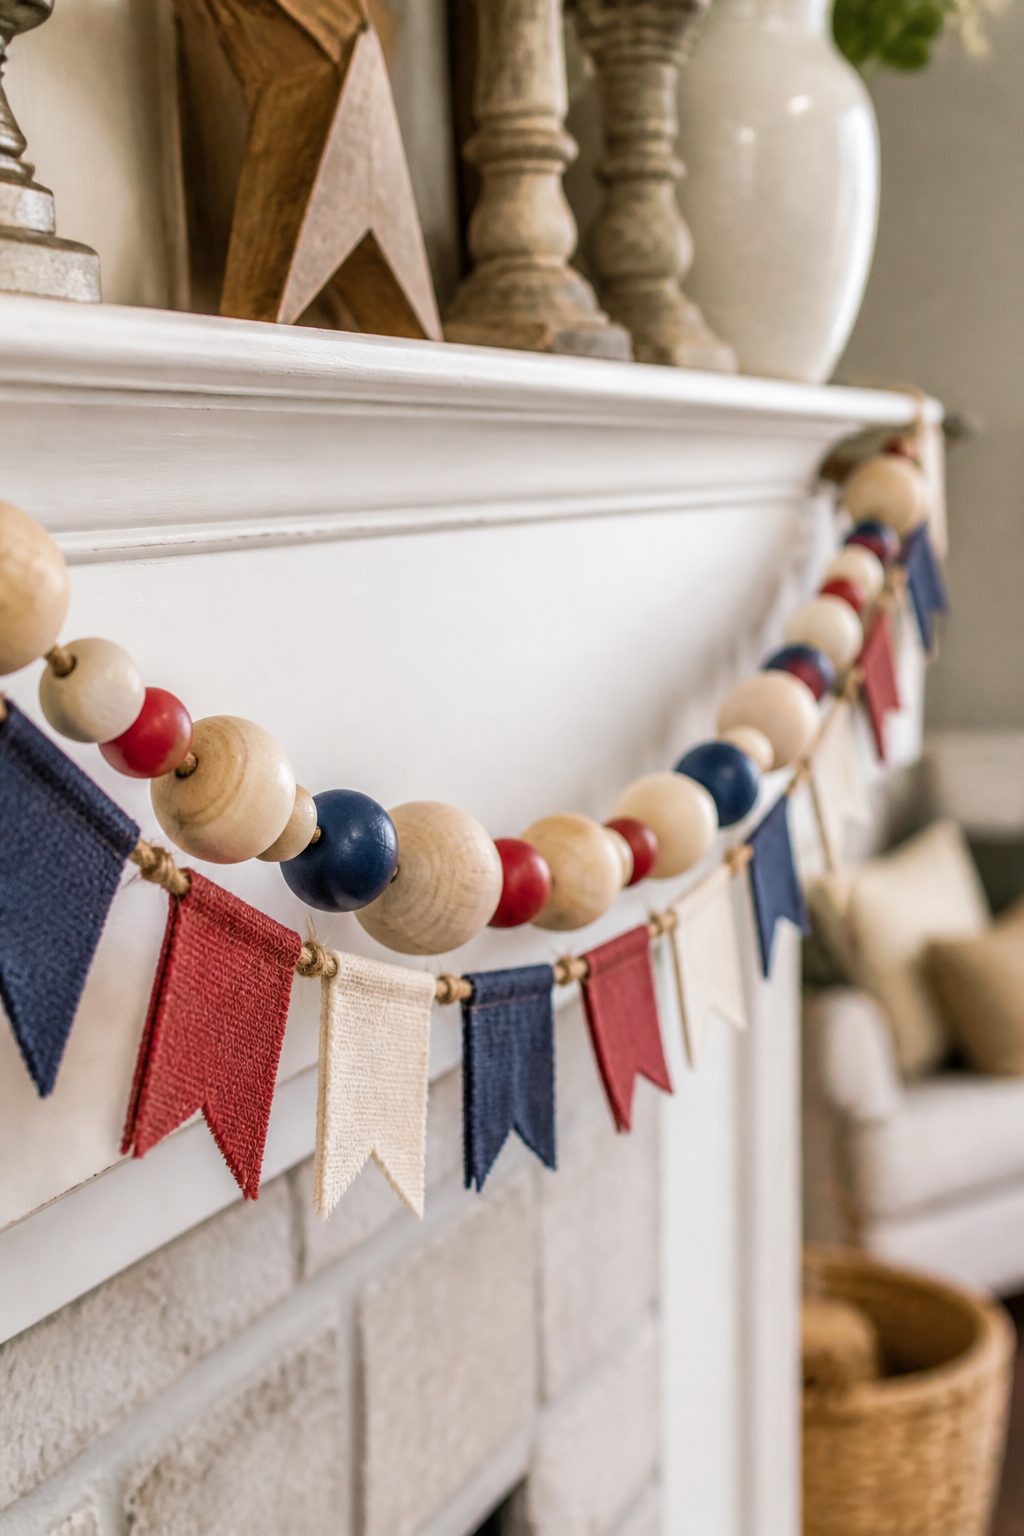
This trendy farmhouse-style garland brings major charm to mantels, tables, or outdoor spaces without screaming “party store explosion.”
The natural wooden beads painted in subtle patriotic tones create a sophisticated base, while tiny fabric or paper flags add just the right amount of festive spirit.
String large wooden beads onto thick jute twine or leather cord, painting some in muted red, navy, and keeping others natural wood or white.
Between bead clusters, attach mini flag pendants made from cardstock or fabric scraps glued to toothpicks. The mix of textures and the handmade flags give it that perfectly imperfect artisan quality everyone loves.
Drape this across your buffet table, around door frames, or even across the front of your drink cooler. It’s understated enough to leave up all summer if you fall in love with it.
6. Pressed Flower Luminaries With Patriotic Blooms
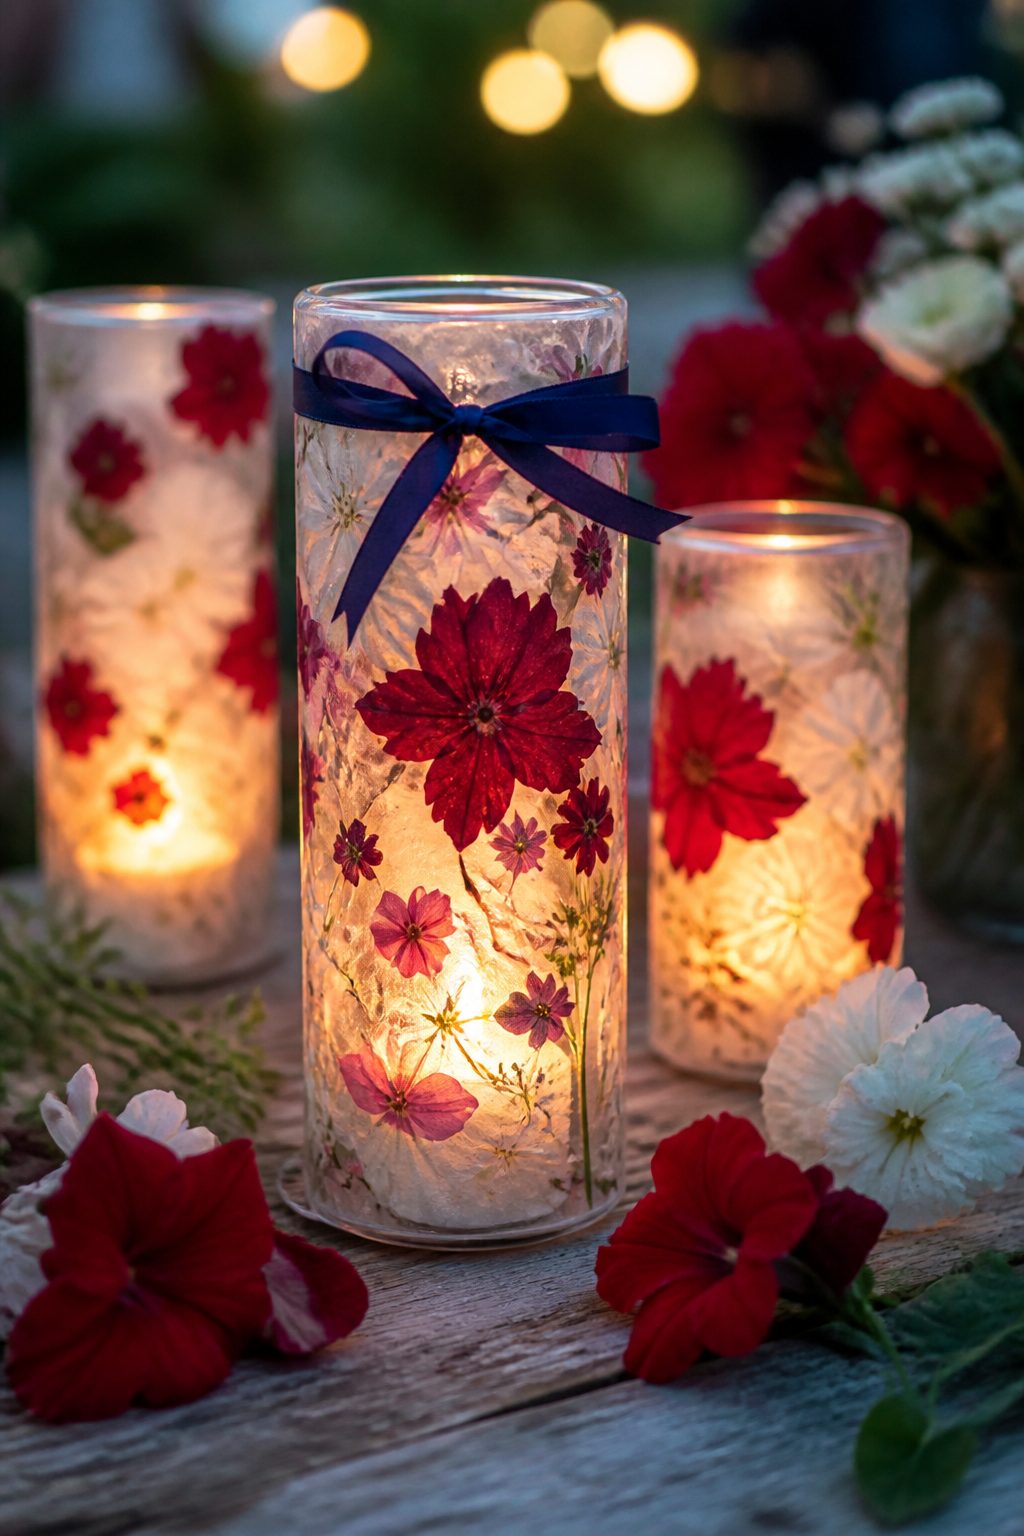
Capture the beauty of summer flowers in these ethereal candle holders that glow from within when lit.
Using red and white flowers (think petunias, cosmos, or even roses) pressed between layers of tissue paper and Mod Podge creates a delicate, sophisticated look that’s worlds away from typical party decorations.
Materials Needed
- Glass cylinder vases or jars
- Fresh red and white flowers (thin varieties work best)
- White tissue paper
- Mod Podge and foam brush
- Heavy books for pressing
- Blue ribbon or twine
Press your flowers between book pages for at least 24 hours before craft night (or use pre-pressed flowers if you’re short on time).
Tear tissue paper into organic shapes and adhere to the outside of your glass containers using Mod Podge, layering in the pressed flowers as you go.
Add a navy ribbon around the rim, pop a tea light or LED candle inside, and watch them glow beautifully once the lights go down.
These are so pretty, you’ll want to make extras to give as hostess gifts throughout the summer. Trust me, they photograph beautifully on any table.
7. Painted Wooden Serving Tray With “Let Freedom Ring” Lettering
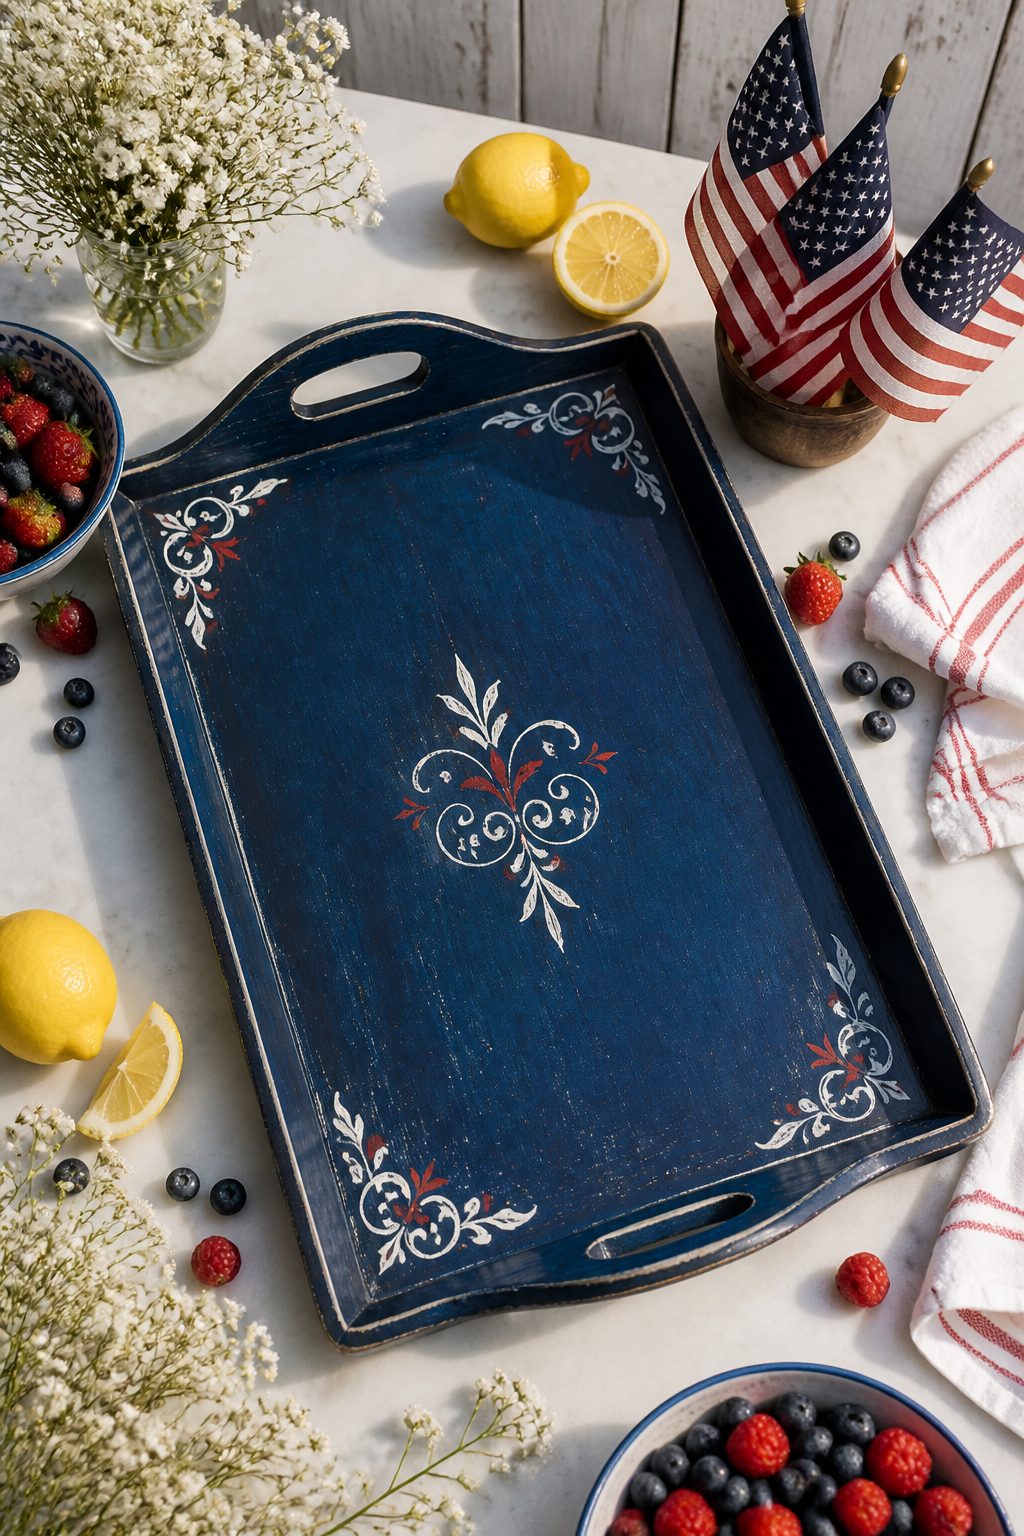
Every party needs a show-stopping serving piece, and this hand-lettered wooden tray delivers both function and style.
It’s perfect for corralling drinks, displaying appetizers, or even just sitting pretty on your coffee table filled with lemons or seasonal décor.
Start with an unfinished wooden tray from the craft store and give it a base coat in navy blue, classic white, or even a weathered turquoise for a beachy vibe.
Once dry, use stencils or your best hand-lettering skills to add phrases like “Let Freedom Ring,” “Land of the Free,” or “Red, White & Brew” across the center.
Add stars, stripes, or firework designs in the corners using contrasting paint colors.
Pro Tips
Seal everything with a clear polyurethane coating so your tray can actually be used without worrying about water rings or damage.
Add rope handles if your tray doesn’t have them—they make it easier to carry and add a nice nautical touch. You can even sand the edges slightly after painting for a distressed, vintage look.
This is the craft that’ll have everyone asking where you bought it—and you’ll love telling them you made it yourself.
8. Fabric Bunting Banner With Vintage-Inspired Prints
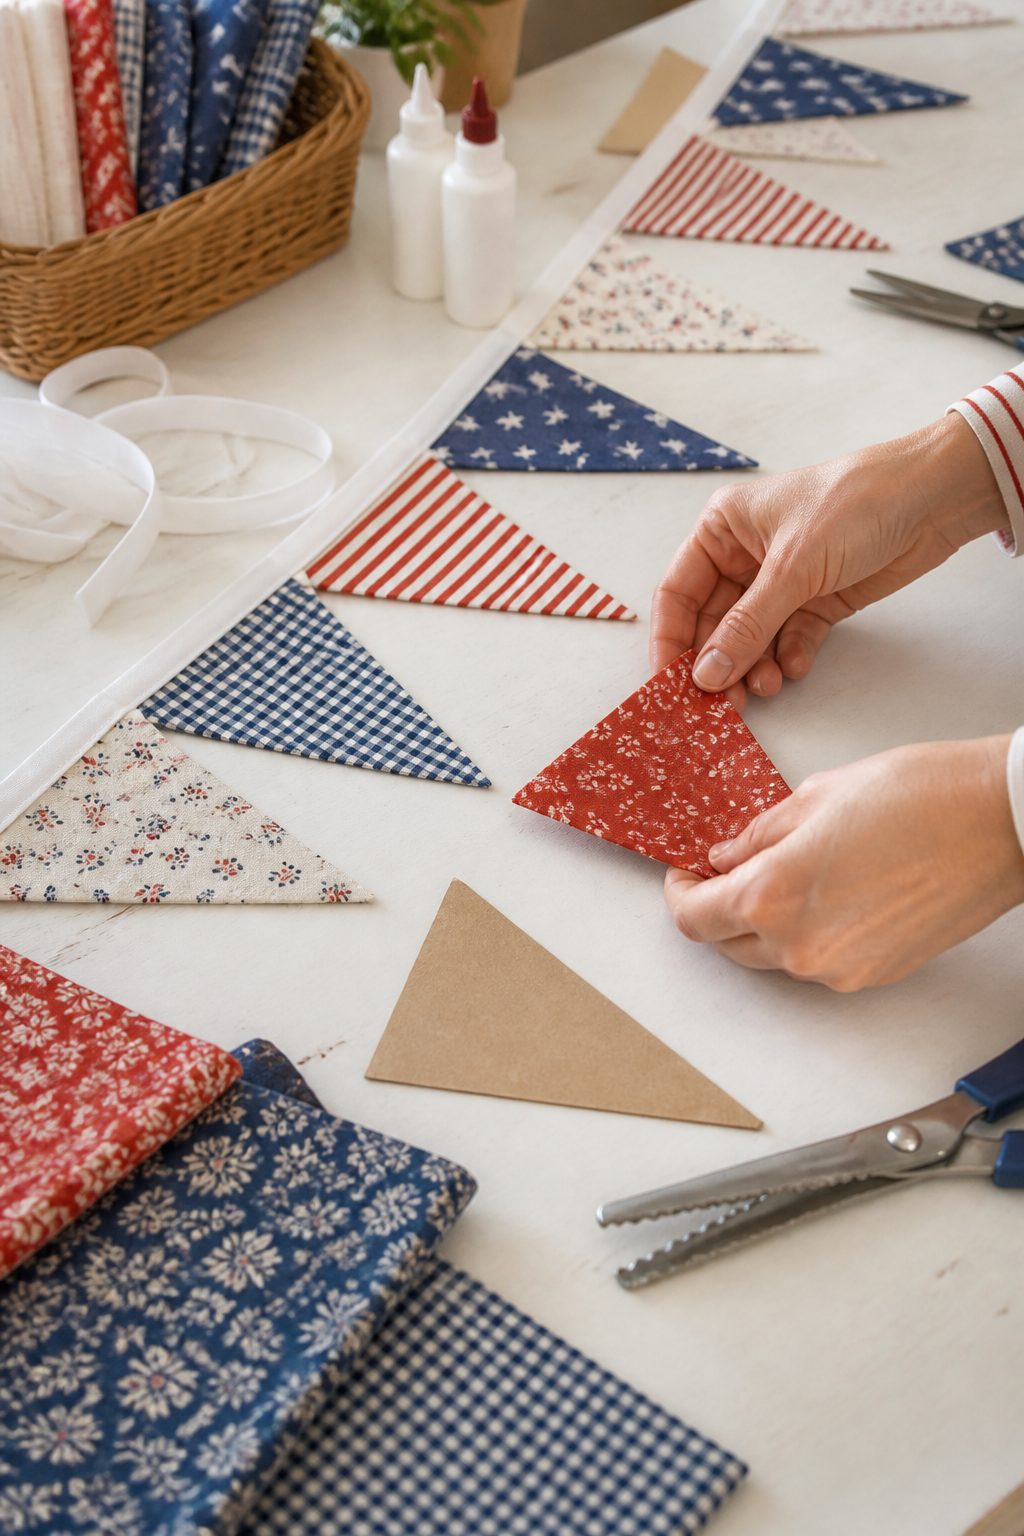
Move over, basic plastic pennants—this fabric bunting brings texture, pattern, and serious style to any party space.
Using a mix of patriotic fabric prints in different patterns (stripes, stars, florals, gingham) creates visual interest that looks curated rather than matchy-matchy.
Subscribe to DIY Craft Bloom
Get updates on the latest posts and more from DIY Craft Bloom straight to your inbox.
Materials Needed
- Fabric in various red, white, and blue prints
- Fabric scissors and pinking shears
- Wide bias tape or ribbon for hanging
- Fabric glue or sewing machine
- Triangle template (cardboard works great)
Cut your fabric into triangle pennants using a template to keep sizes consistent, then either sew or glue them onto a long piece of bias tape, spacing them evenly.
Mix up your fabric choices—pair a navy star print with red gingham, white eyelet, and vintage-looking florals in patriotic colors for that collected-over-time vibe.
String this across porches, above food tables, or even across trees in your backyard. The best part? It’s completely reusable, so you can pack it away and pull it out every summer for years to come.
9. Upcycled Tin Can Lanterns With Punched Star Patterns
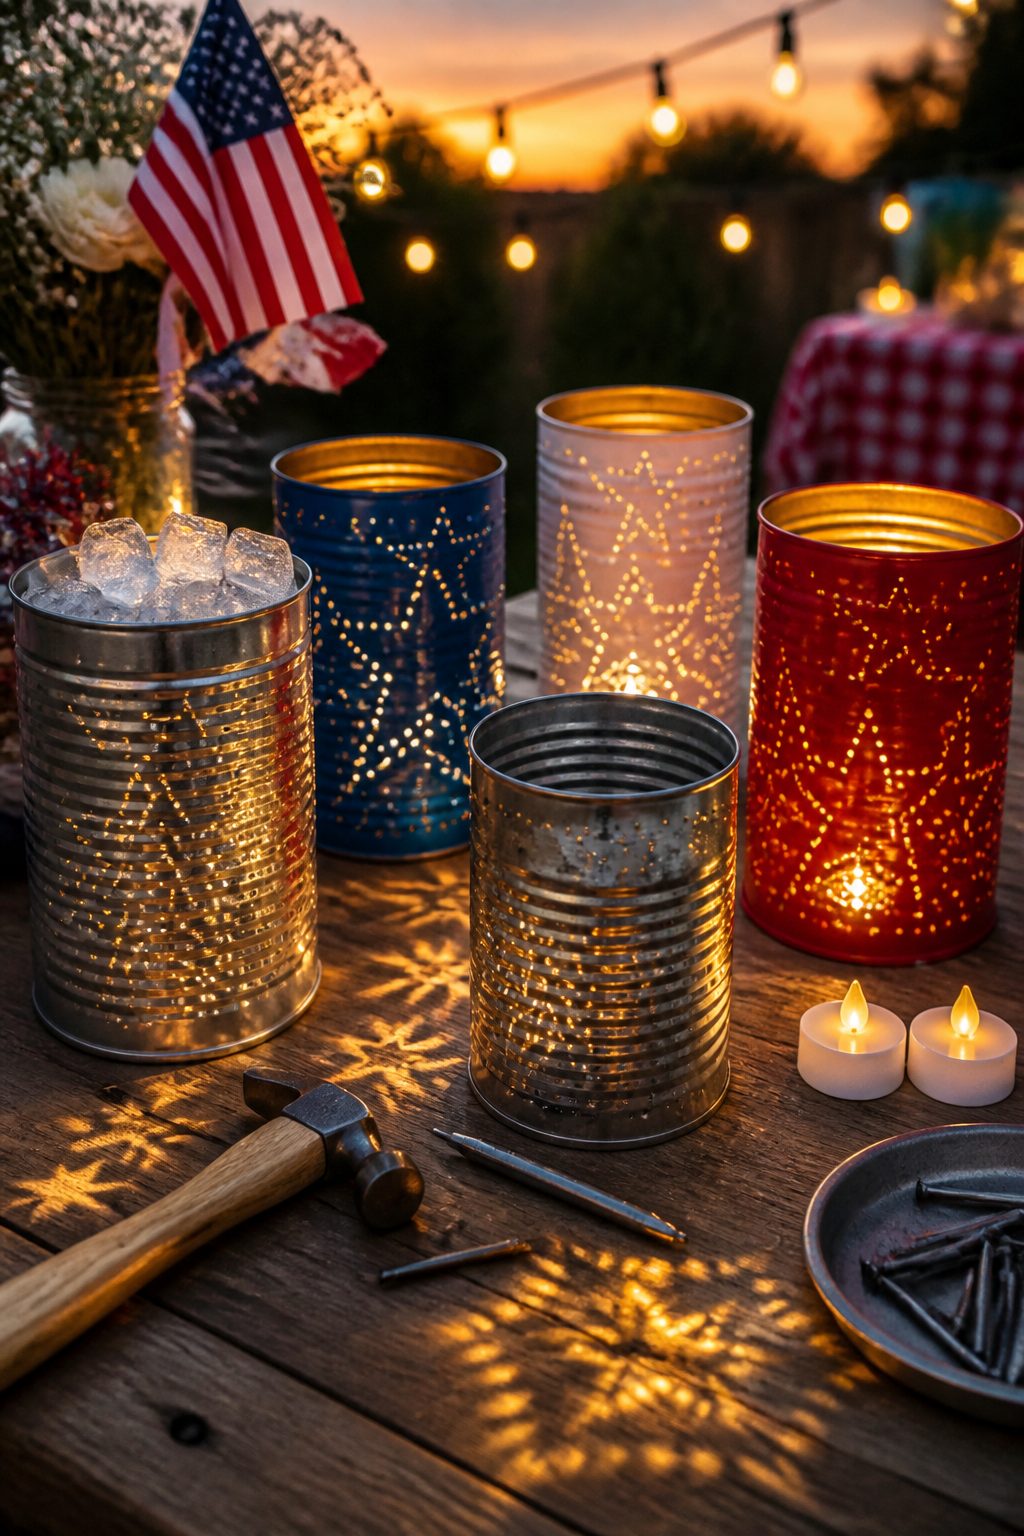
Here’s where you get to channel your inner maker and literally hammer out some stress while creating gorgeous outdoor lighting.
These punched tin lanterns cast the prettiest star-shaped shadows when candles flicker inside them, and making them is oddly therapeutic—seriously, everyone will want a turn with the hammer.
Clean empty tin cans thoroughly and remove labels, then fill them completely with water and freeze solid (this prevents denting when you punch holes).
Draw or print star patterns on paper, tape them around the frozen cans, then use a hammer and various sized nails to punch holes along your design lines.
Once the ice melts, paint the outside in patriotic colors or leave them silver for an industrial-chic look.
Styling Ideas
- Hang them from shepherd’s hooks with wire handles
- Line them up along porch steps
- Group them in clusters on tables
- Add citronella candles for bug protection
These are perfect for girls who love a good DIY challenge with visible results. Plus, you’re upcycling, so you get eco-friendly bonus points.
10. Watercolor Resist Flag Coasters With Gold Leaf Accents
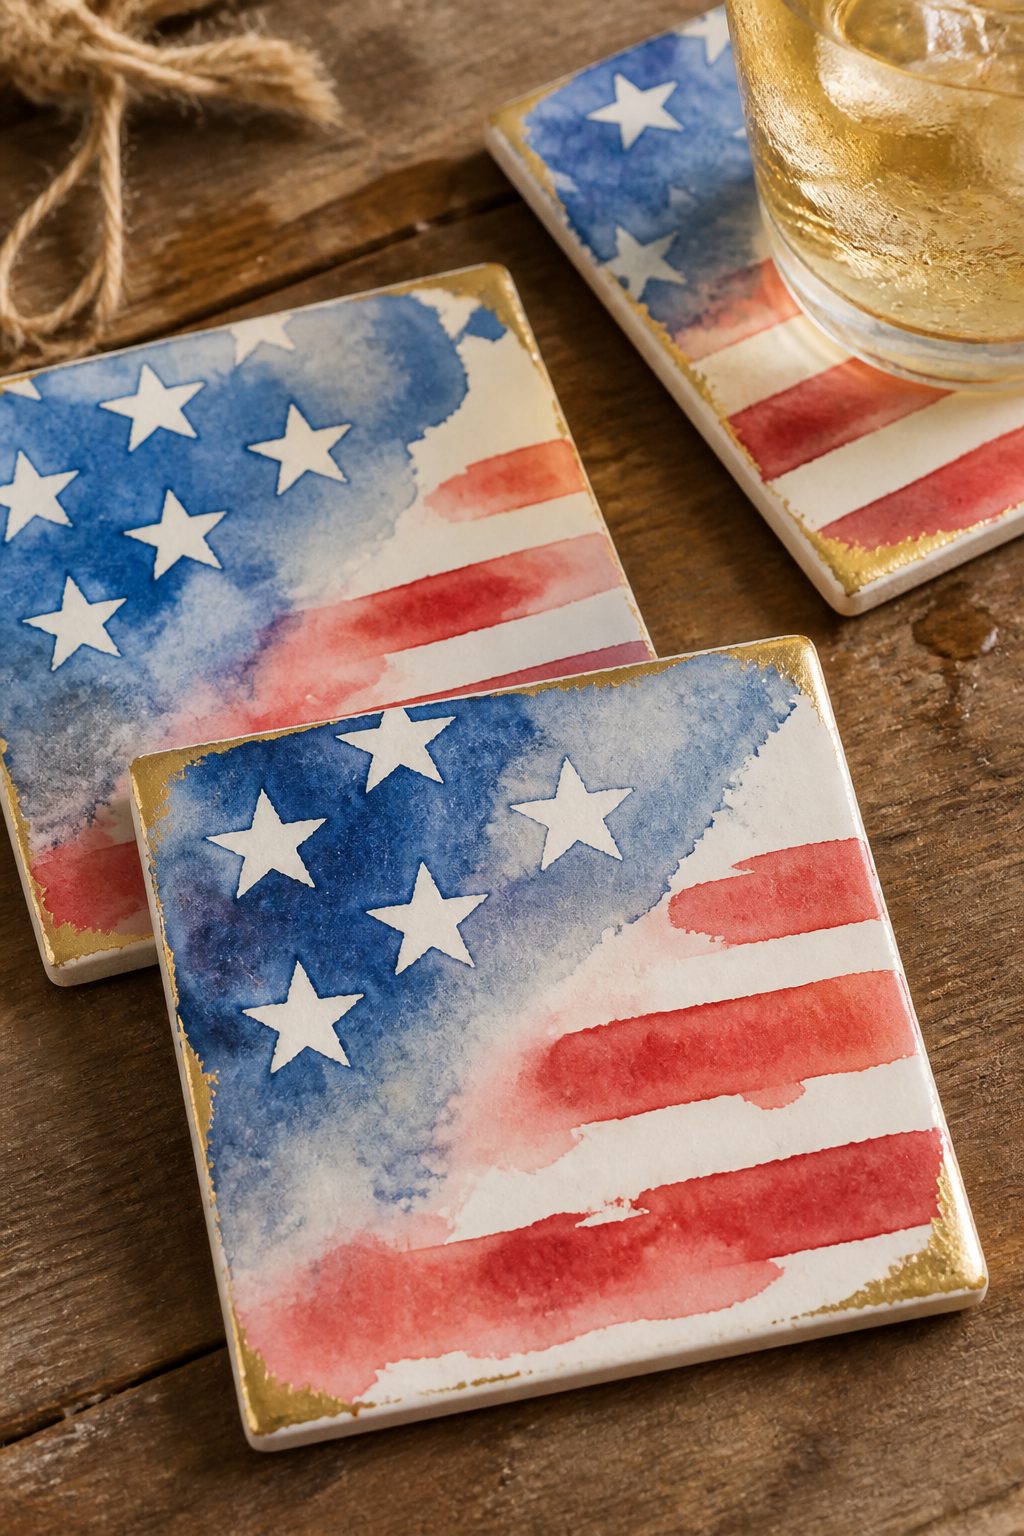
These little works of art protect your surfaces while adding a touch of handmade elegance to your drink station.
The watercolor technique creates soft, dreamy patriotic hues, while the white crayon resist keeps the stars crisp and defined—and those tiny gold leaf touches? Chef’s kiss.
Start with white ceramic tiles or thick watercolor paper cut into squares. Draw stars across the surface using white crayon, pressing firmly so the wax creates a solid resist.
Paint over everything with red and blue watercolors in loose, blended strokes, watching as your white stars magically appear.
Once completely dry, add tiny touches of gold leaf using adhesive pen in corners or around star edges for that extra special detail.
Seal coasters with a waterproof coating if you’re using paper, or just add felt pads to the bottom of tiles.
Each one will be completely unique, which makes them even more special—and they’re so pretty, your guests might ask to take them home.
11. Rope-Wrapped Vases With Nautical Flag Details
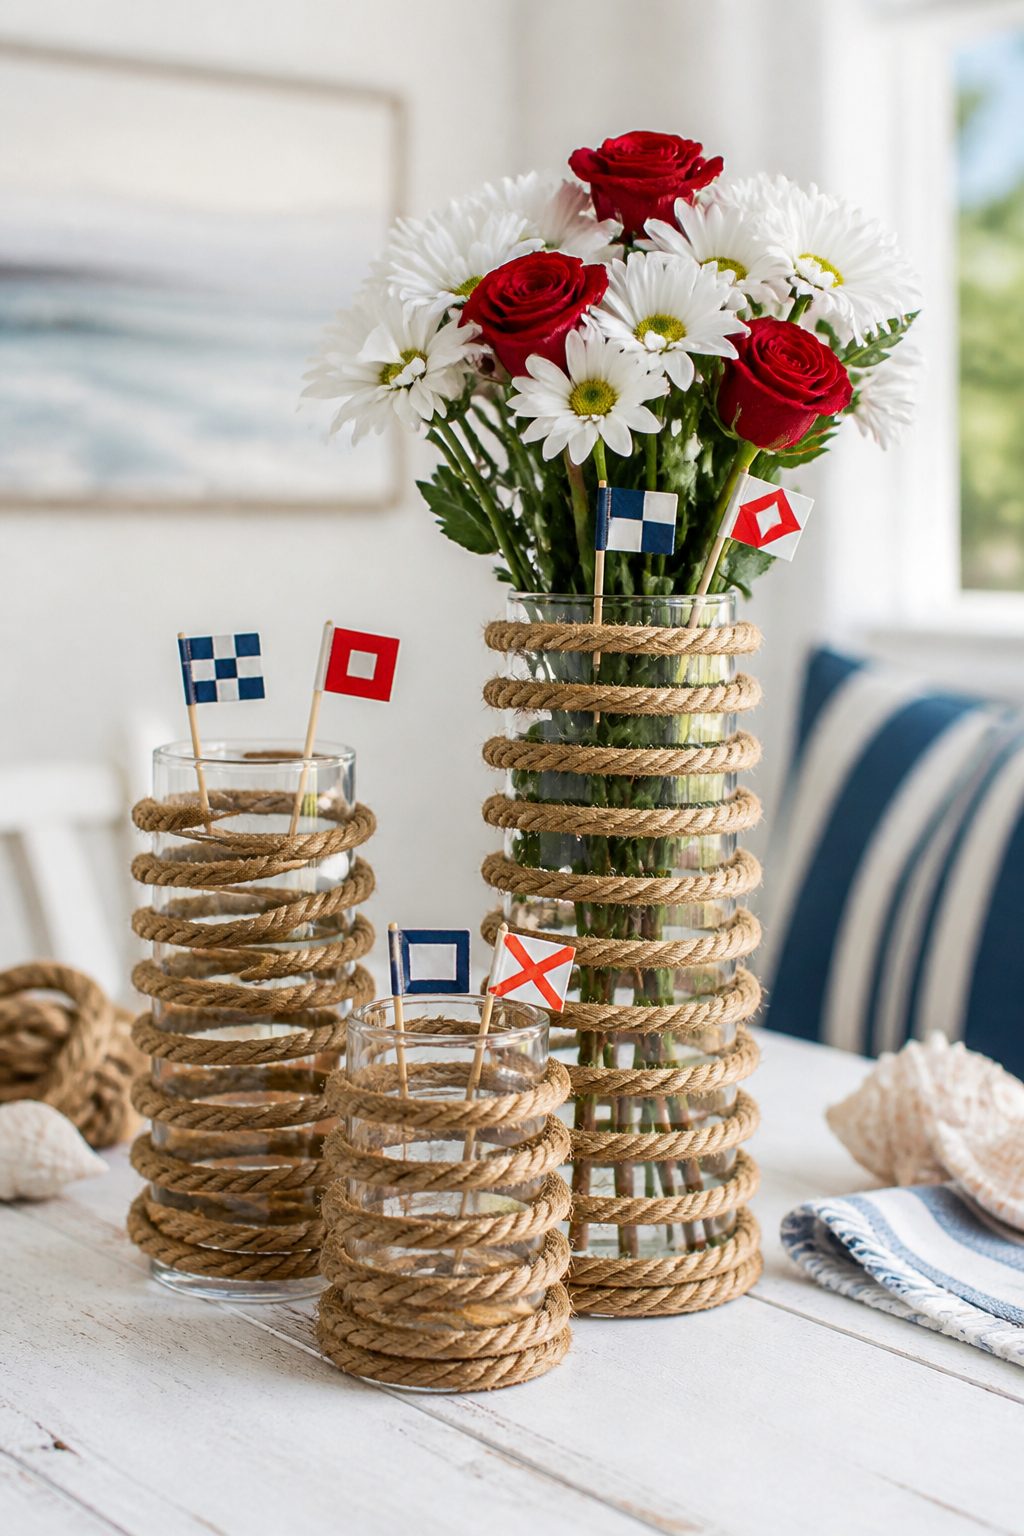
Bring beachy, nautical vibes to your 4th of July celebration with these textured vases that work gorgeously as centerpieces filled with fresh flowers or as standalone décor pieces.
The rope wrapping adds major coastal charm, while the tiny nautical signal flags spelling out “USA” or “JULY” tie perfectly into the theme.
Materials Needed
- Glass vases in varying heights
- Natural or white cotton rope
- Hot glue gun
- Small nautical signal flag printouts
- Toothpicks or small dowels
- Navy and red paint or markers
Starting at the base, hot glue the end of your rope to the vase and begin wrapping tightly, adding small dots of glue every few rotations to keep everything secure.
Work your way to the top, keeping the rope flat and snug against itself. Create miniature nautical flags by printing the signal flag alphabet, cutting them out, and attaching to toothpicks, then tuck them into your flower arrangements or glue directly to the vase.
Fill these beauties with white hydrangeas, red roses, or even just blue delphiniums for a monochromatic look. They’re so versatile, you’ll find yourself using them long after the fireworks fade.
Conclusion
There you have it—eleven fantastic crafts that’ll make your girls night productive, fun, and totally worth clearing your schedule for.
The best part? Your party practically decorates itself while you’re sipping, laughing, and creating with your favorite people.
Pick one or tackle them all—either way, your 4th of July celebration is about to look amazing, and you’ll have the memories (and the photos) to prove you made it all yourself.