12 Bracelet Ideas for Beginners: Quick Start Guide to Chic Vibes

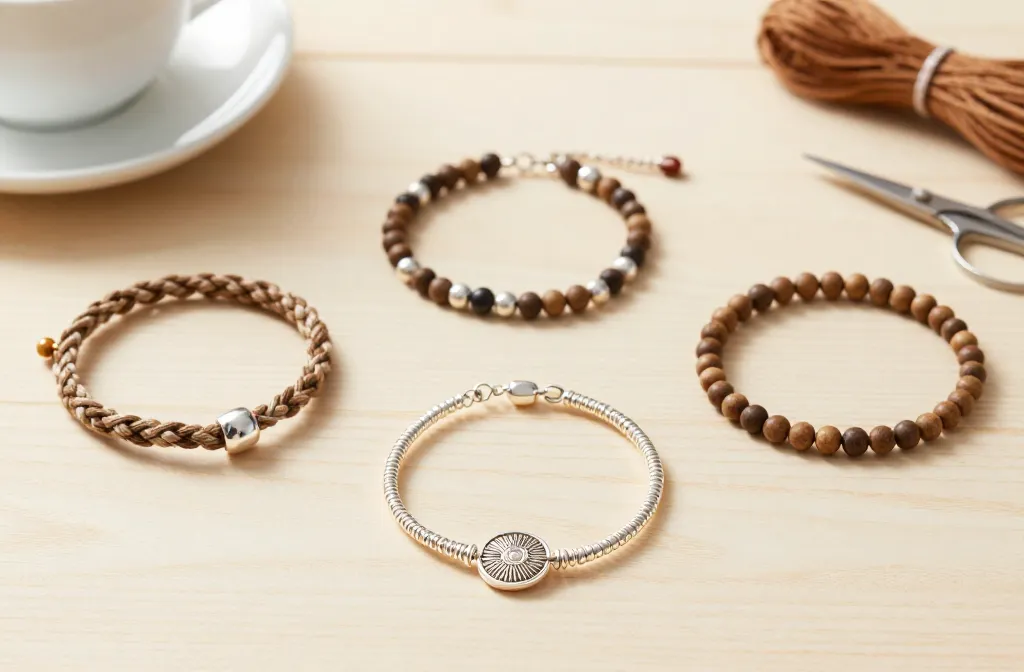
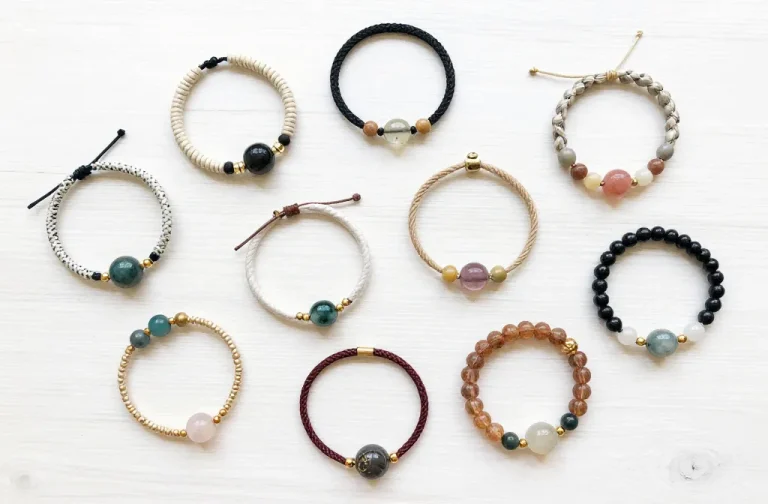
Ready to dive into bracelet bliss? These 12 beginner-friendly ideas prove you don’t need expert skills to create something cute, personal, and totally wearable.
Trust me, you’ll surprise yourself with how fast you pick up the basics and how chic your results look.
Grab a cup of tea, pick a vibe, and let’s start looping—your future bracelet army awaits.
1. Boho Braided Wrap Bracelet
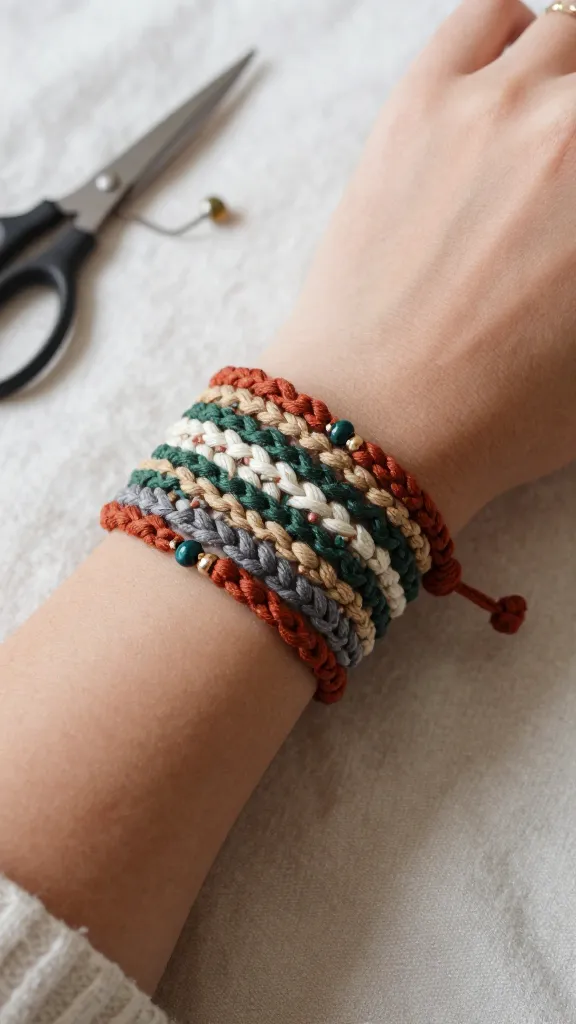
Imagine a cozy, shoulder-to-wrist wrap that looks like a little festival in your stack.
This boho wrap uses simple braids, easily adjustable knots, and a mix of earthy tones that scream Pinterest-worthy. It’s effortless, stackable, and endlessly customizable.
Materials: cotton embroidery floss in 3–5 colors, scissors, ruler, bead stop, optional tiny charms.
How to Make It: Cut several strands to about 40 inches each. Braid two sections, then combine and wrap around the wrist, securing with knots and a button or bead closure.
Finish with a few extra wraps for drama. FYI, the longer you cut, the more you can weave in extra color pops.
Pro Tips / Styling Ideas: Layer with leather bracelets or wear solo for a sunny, carefree vibe.
Try a metallic bead to dress it up for evening looks. You’ll love this for casual outfits, gifting to friends, or festival-ready wrists.
Who would love it: Anyone craving a relaxed, bohemian aesthetic; perfect starter project for practicing basic braids.
2. Sterling-Silver Wire-Threaded Pendant Bracelet
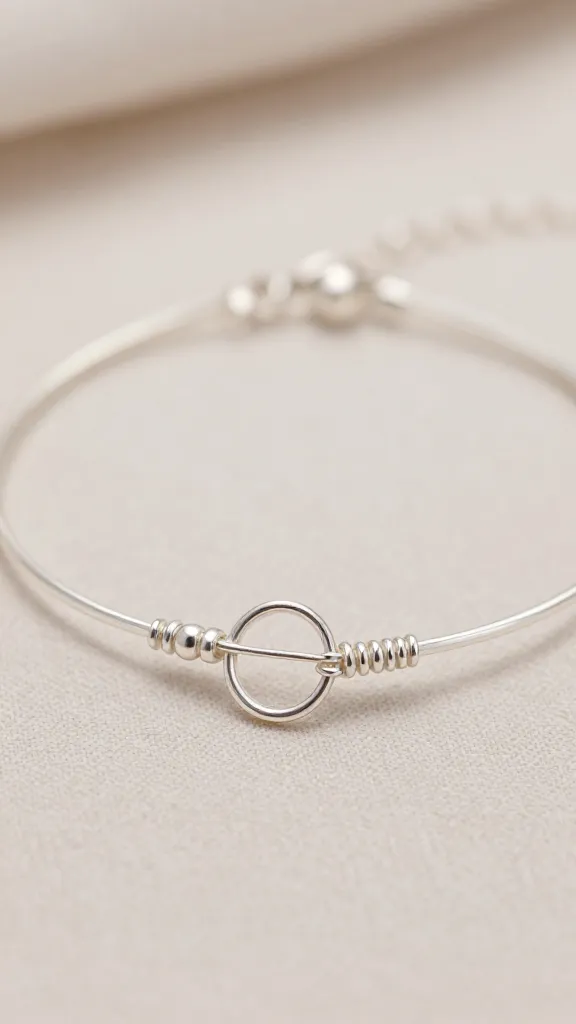
Delicate, polished, and a bit sparkly—this bracelet brings a hint of jewelry-store chic to your everyday stack. It’s a gentle intro to wirework without getting tangled in technique.
Materials: craft wire (18–20 gauge), tiny charm or pendant, jewelry findings (jump rings, crimp beads), needle-nose pliers, wire cutters, nylon jaw pliers.
How to Make It: Thread the pendant via a short wire loop, wrap the ends securely around a small bead, and crimp into place. Attach a length of delicate chain or a fine cord to tailor the size. Secrets: keep the tension steady and don’t over-manipulate the wire.
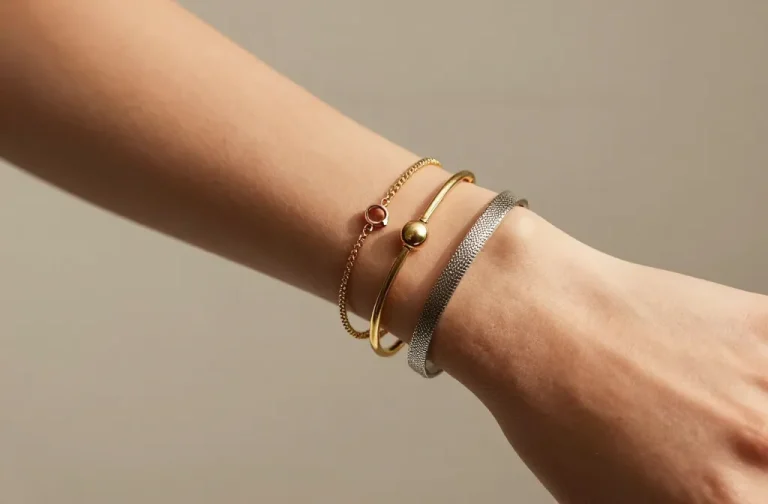
Pro Tips / Styling Ideas: Pair with a minimalist outfit for a subtle glow, or layer with other silver pieces for a modern, mixed-metal look. Great for birthdays or “just because” gifts.
Who would love it: Jewelry newbies who want a polished piece with a sophisticated finish.
3. Color-Block Stretch Bracelet Kit
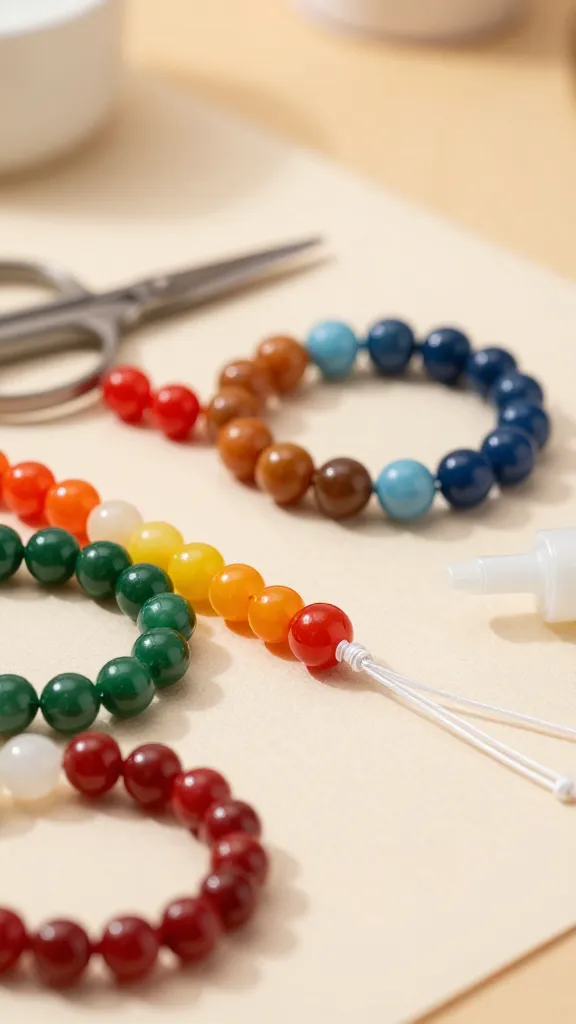
Bright, bold, and forgiving, this one uses elastic cord and ready-made beads to create a chic color-block effect in minutes. It’s fast, satisfying, and totally addictive.
Materials: elastic bead cord, assortment of round beads in 3–5 colors, glue (optional for knot sealing), scissors.
How to Make It: String beads in your chosen color blocks, then tie a secure double knot and seal with a dab of glue. Trim excess and tuck the knot under a bead for a clean finish. Stretchy enough to slip on and off with ease.
Pro Tips / Styling Ideas: Match with your outfit by choosing color families; mix matte and shiny beads for texture. Excellent for gifting in sets—a “one for you, one for your bestie” moment.
Who would love it: Color lovers who want quick, cheerful bracelets with instant impact.
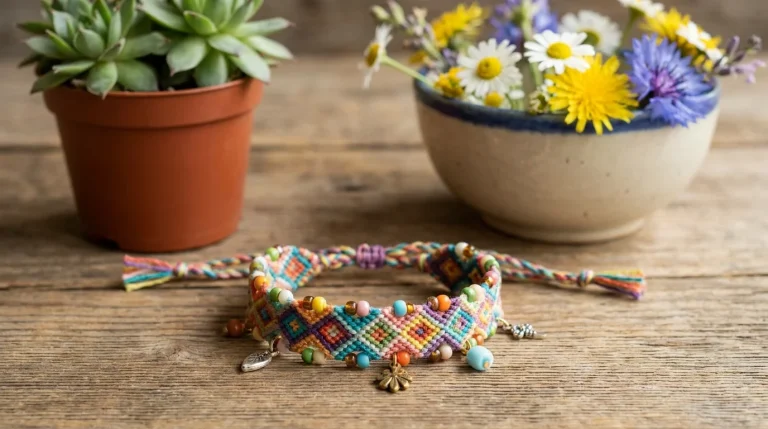
4. DIY Beaded Friendship Bracelet (Chevron Pattern)
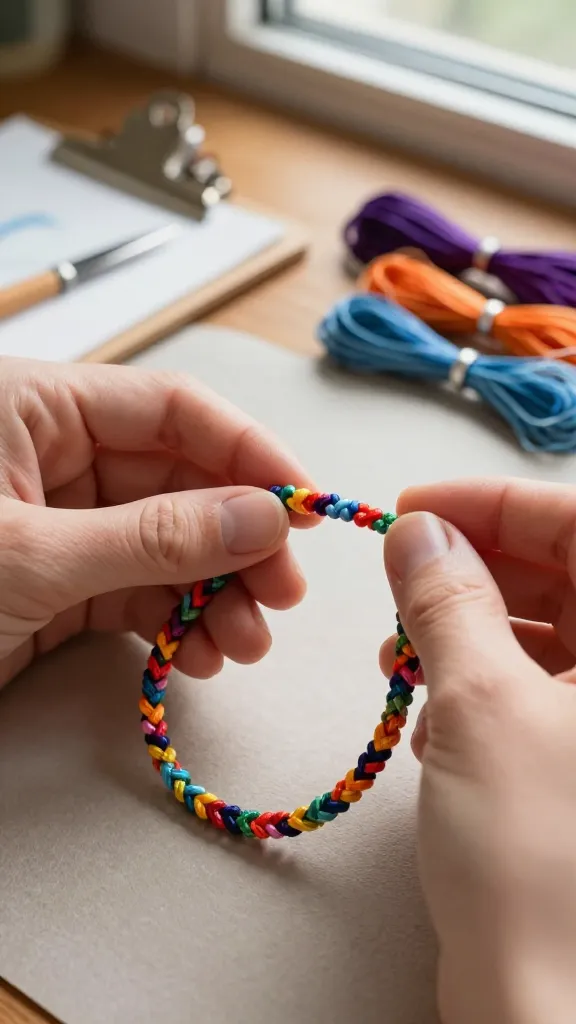
Classic, nostalgic, and always on trend, the chevron friendship bracelet is a rite of passage for crafters. It teaches color planning and knotting without overwhelm.
Materials: embroidery floss in 4–6 colors, scissors, tape or clip board, bead charm (optional).
Subscribe to DIY Craft Bloom
Get updates on the latest posts and more from DIY Craft Bloom straight to your inbox.
How to Make It: Use a simple forward knot pattern to create a chevron. Alternate color pairs to craft the signature zigzag. Finish with a tight knot and secure with a dab of glue. You’ll see the pattern emerge quickly—promise.
Pro Tips / Styling Ideas: Coordinate with school colors or a favorite season. This one makes adorable gifts for classmates or teammates.
Who would love it: Beginners who want a timeless, shareable craft and a tangible sense of accomplishment.
5. Leather Cord Cuff Bracelet
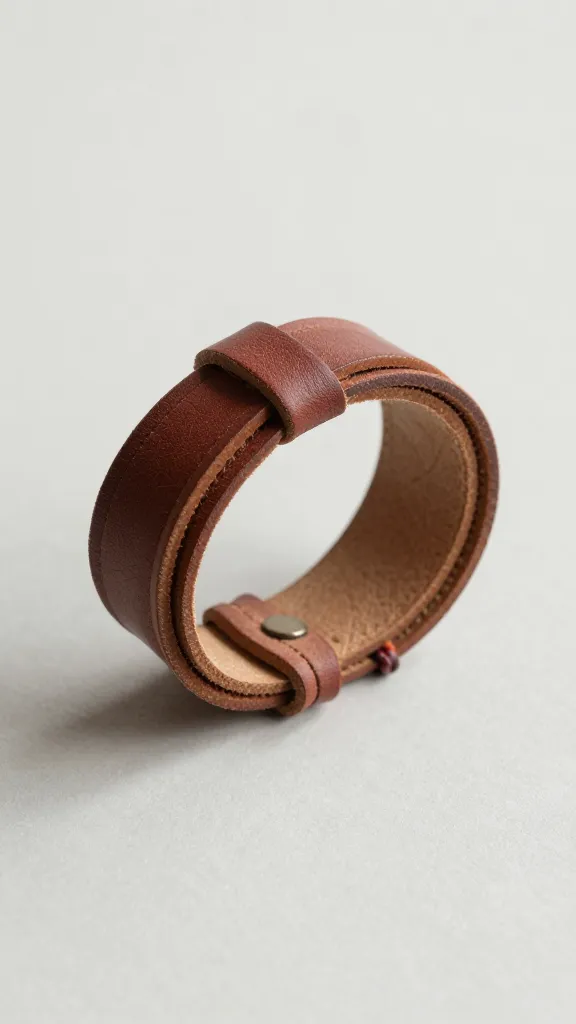
Edgy yet approachable, this cuff style uses a single length of leather cord wrapped into a clean, modern band. It’s the perfect entry into cord-and-wrap techniques without getting tangled in dozens of threads.
Materials: leather cord (about 2–3 mm), clasp or button closure, small decorative beads (optional), scissors, glue or strong knotting method.
How to Make It: Create a tight wrap around your wrist with careful spacing, then secure the ends using a clasp or a strong knot. Add a bead or two for a subtle focal point if you like.
Pro Tips / Styling Ideas: Wear solo for an understated look or stack with metal bracelets for a bold, rocker-inspired vibe. Gift this to friends who love minimalist, durable pieces.
Who would love it: Fans of minimalism and durable, everyday wear.
6. Seed-Bead Sparkle Bracelet
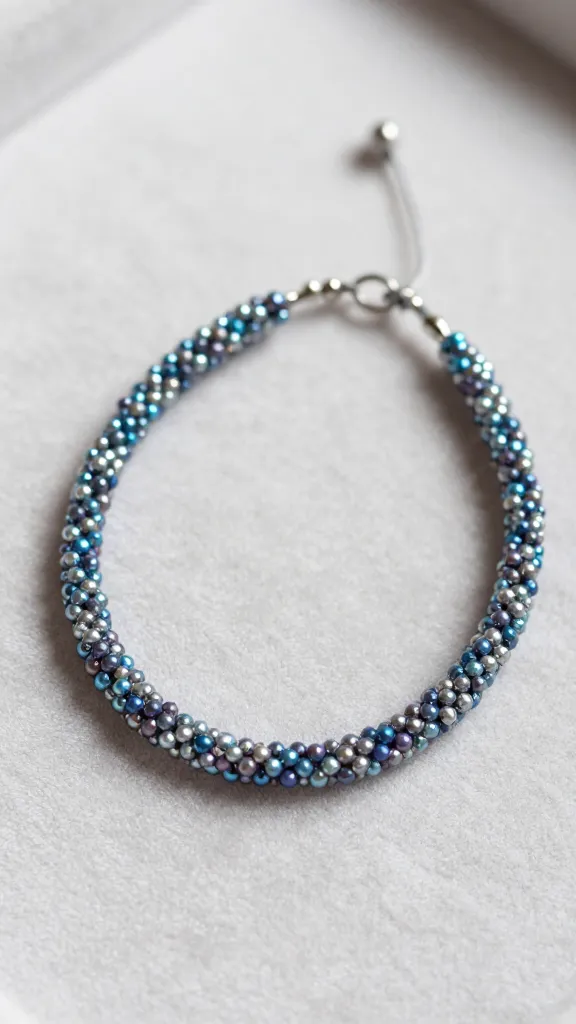
Tiny beads, big sparkle. This project packs a visual punch with minimal effort and a lot of charm. It’s excellent for practicing precise beadwork without the pressure of larger beads.
Materials: seed beads in a few shimmering colors, beading thread, needle, fabric scissors, clasp (optional).
How to Make It: String beads in a simple pattern or a random constellation of color. Knot securely at the ends and attach a clasp if desired. The results look complex but the technique remains friendly for beginners.
Pro Tips / Styling Ideas: Use a color palette that matches your favorite outfits or seasonal shades. Great for adding a touch of glam to jeans and a tee.
Who would love it: Those who want a delicate, refined bracelet with a lot of sparkle.
7. Paracord Survival Bracelet (Colorful Version)
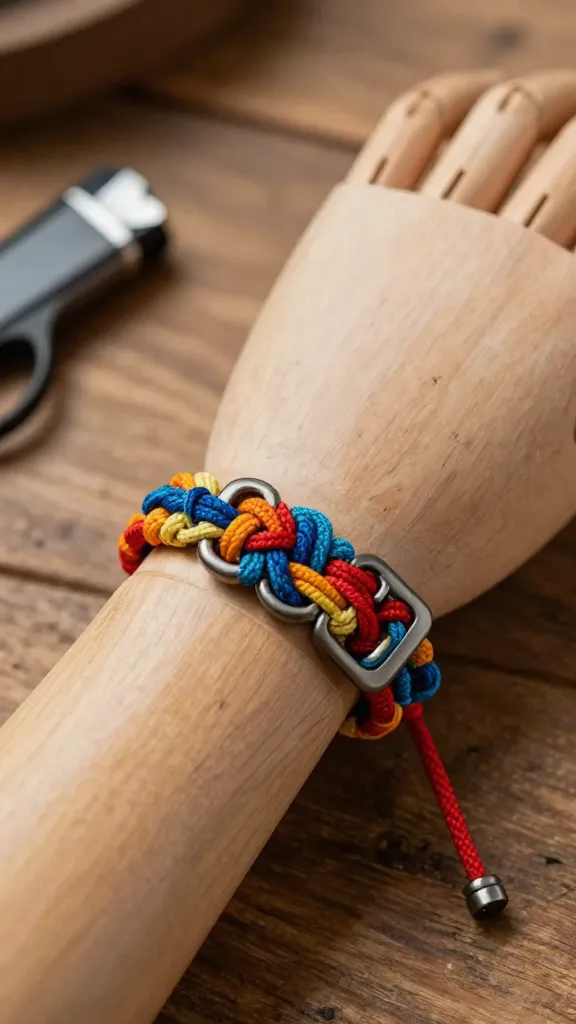
Yes, it’s functional and fashion-forward. A beginner-friendly paracord bracelet teaches you simple buckle assembly and knotting that looks unexpectedly little-gifted and rugged.
Materials: paracord in two colors, side-release buckle, scissors, lighter or tape to seal ends.
How to Make It: Cut paracord, fold, and weave into the classic square knot around the buckle. Keep tension steady and trim the ends neatly, sealing with a lighter if you’re comfortable with heat.
Pro Tips / Styling Ideas: Use bold color combos for a sporty feel or earthy tones for a rugged, outdoorsy vibe. Function meets fashion—super practical gifting idea.
Who would love it: Outdoor lovers, campers, and anyone who appreciates DIY gear that doubles as jewelry.
8. Pearl Accented Chain Bracelet
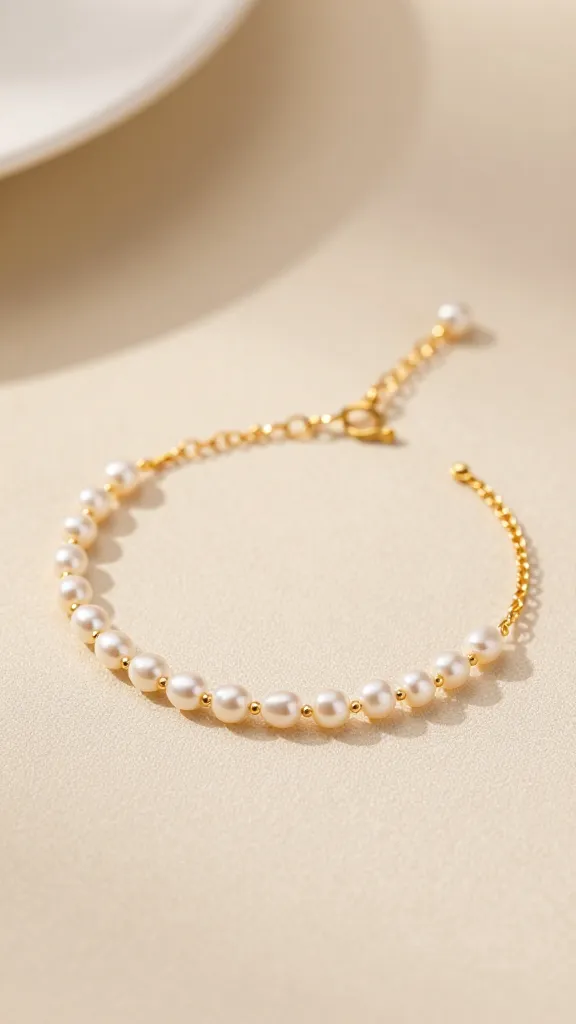
Soft, timeless, and a touch luxurious, this bracelet uses a delicate chain with strategically placed faux pearls. It feels dressy enough for workwear, casual enough for weekend style.
Materials: delicate chain, small faux pearls, jump rings, spring ring clasp, jewelry pliers.
How to Make It: Thread pearls onto the chain at intervals, secure with jump rings, and attach a clasp. Keep the pearl spacing even for a neat, elegant finish.
Pro Tips / Styling Ideas: Pair with a blouse or a little black dress for a polished look. A perfect starter piece if you’re curious about jewelry assembly but want something quick.
Who would love it: Fans of classic, chic jewelry with a subtle sparkle.
Subscribe to DIY Craft Bloom
Get updates on the latest posts and more from DIY Craft Bloom straight to your inbox.
9. Tassel Charm Bracelet
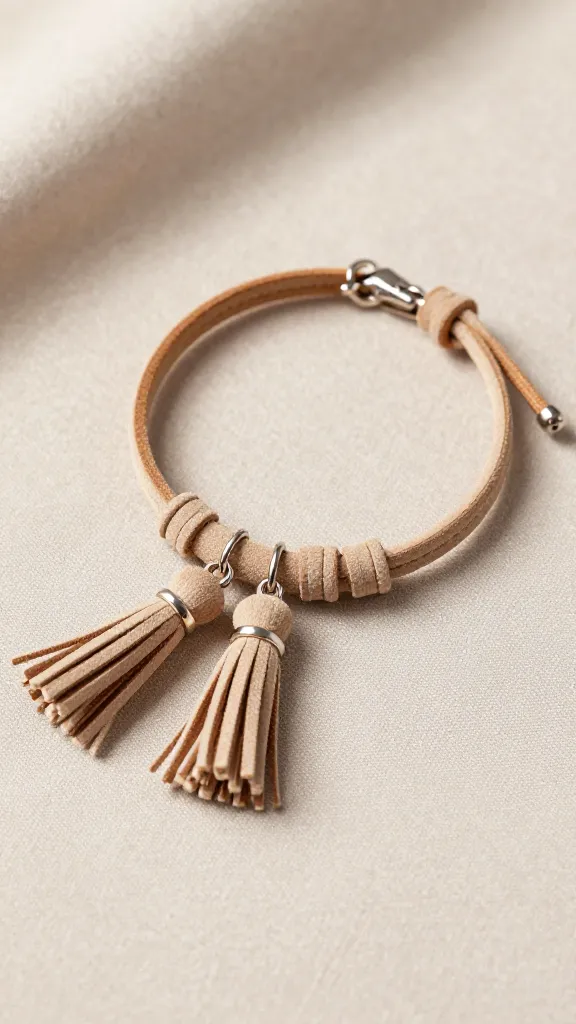
Playful, trendy, and surprisingly simple, this bracelet combines tassel fringe with a few charms for a personalized touch. It’s a mood booster in a wristwatch-size package.
Materials: faux leather cord or faux suede cord, small tassels, charms, jump rings, lobster clasp, pliers.
How to Make It: Thread tassels and charms onto the cord, attach a clasp, and secure the ends with a knot. Adjust length to fit you perfectly and add a charm that has a story behind it.
Pro Tips / Styling Ideas: Mix tassels of different colors for a party-ready look or keep it monochrome for everyday wear. A fantastic gift idea that feels thoughtful but easy.
Who would love it: Creative folks who enjoy personalizing pieces with small storytellers or memories.
10. Fabric Ribbon Wrap Bracelet
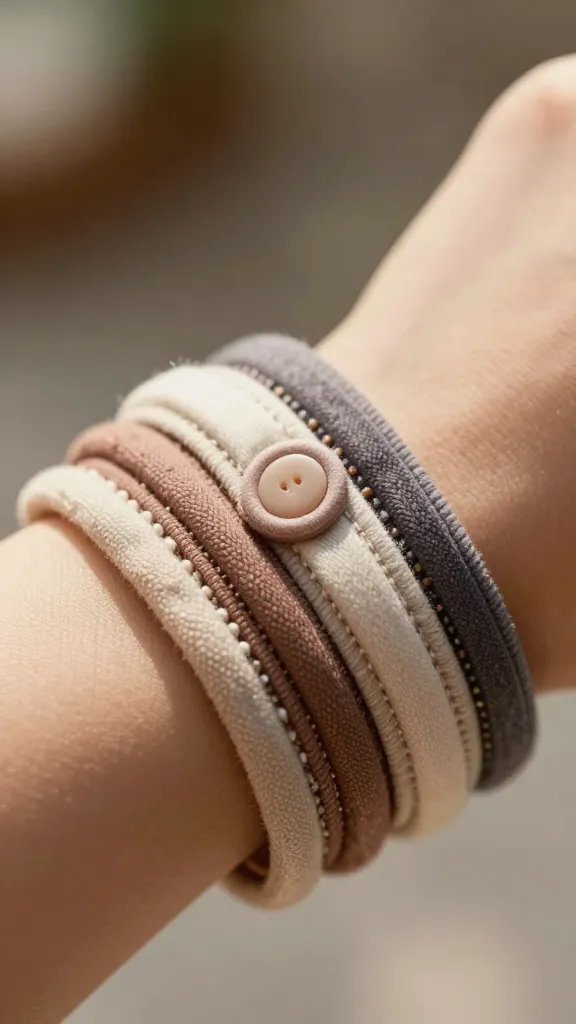
Soft, textile, and irresistibly cozy, this wrap bracelet uses fabric ribbons for a lush, layered look that’s gentle on the skin and available in endless colorways.
Materials: fabric ribbon or ribbon scraps, velcro or button closure, needle and thread, optional charms.
How to Make It: Wrap the ribbon around the wrist several times, secure with a simple closure, and embellish with small stitched accents or beads. The layering reads rich and tactile.
Pro Tips / Styling Ideas: Combine several ribbon colors to match your outfit or home decor. Perfect for gifting to sew-loving friends or as a handmade accessory for events.
Who would love it: Texture lovers and anyone who wants a soft, comfy bracelet you can wear all day.
11. Upcycled Button Bracelet
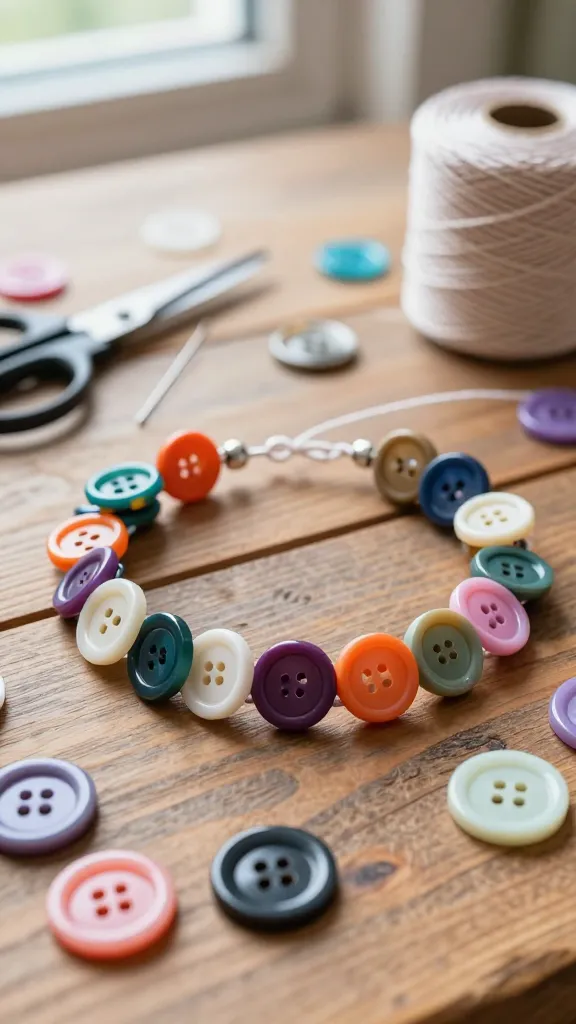
A clever way to reuse old buttons and create a colorful, charming piece. It’s vintage-inspired but totally modern in its playful vibe and is a great conversation starter.
Materials: assortment of buttons, durable craft string or elastic, needle, scissors, optional glue.
How to Make It: String a row of buttons in a visually pleasing order, secure the ends with elastic or knot the string. You can create patterns or a random button-tile look for whimsy.
Pro Tips / Styling Ideas: Use buttons of varying sizes for an eclectic, artsy look. This makes a fantastic gift for grandparents or teachers who love a retro twist.
Who would love it: Upcycling hobbyists and anyone who enjoys quirky, one-of-a-kind pieces.
12. Minimalist Monochrome Knot Bracelet
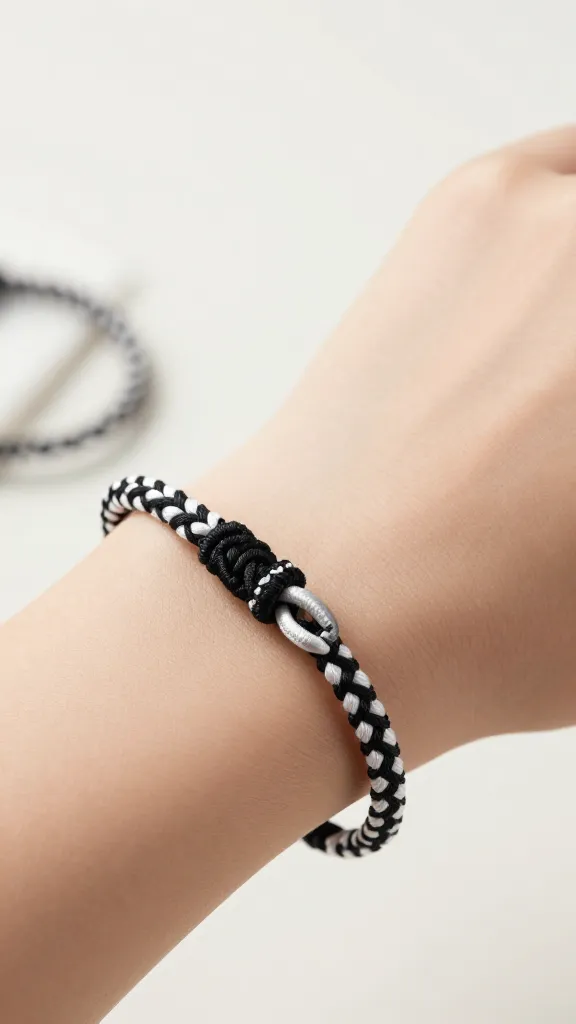
Back to basics with a sleek, black-and-white statement that nails modern minimalism. Simple knots and a tight finish create a bracelet that looks chic with everything.
Materials: black and white embroidery floss, scissors, a small clasp or button, ruler, tape.
How to Make It: Use a basic square knot sequence to weave a slim band. Finish with a secure knot and attach a clasp. The minimalist palette makes the texture do the talking.
Pro Tips / Styling Ideas: Wear solo for a crisp look or stack with a few thinner bracelets for a dressed-up, architectural vibe. A super-friendly entry into string-work with a high-impact finish.
Who would love it: Fans of clean lines, modern design, and a quick, satisfying build.
Conclusion
There you have it—12 completely unique bracelet ideas designed with beginners in mind.
Each project offers a different texture, style, and vibe, so you can skip the overwhelm and jump straight into creating something you’ll actually wear or gift with pride.
Try one, or challenge yourself to mix and match a few. The joy of DIY is in the process—and the awesome results you’ll proudly show off.