9 Cardboard Craft Ideas for Men Who Love Hands-on DIY Projects

At first glance, cardboard doesn’t look like much. It’s the kind of material most people flatten and forget about after opening a package.
But for anyone who enjoys DIY projects, it’s actually one of the most underrated materials you can work with.
It’s easy to cut, easy to shape, and flexible enough to experiment with without worrying about wasting expensive supplies.
That’s exactly why so many hobby builders use it for quick prototypes, storage hacks, and creative weekend projects.
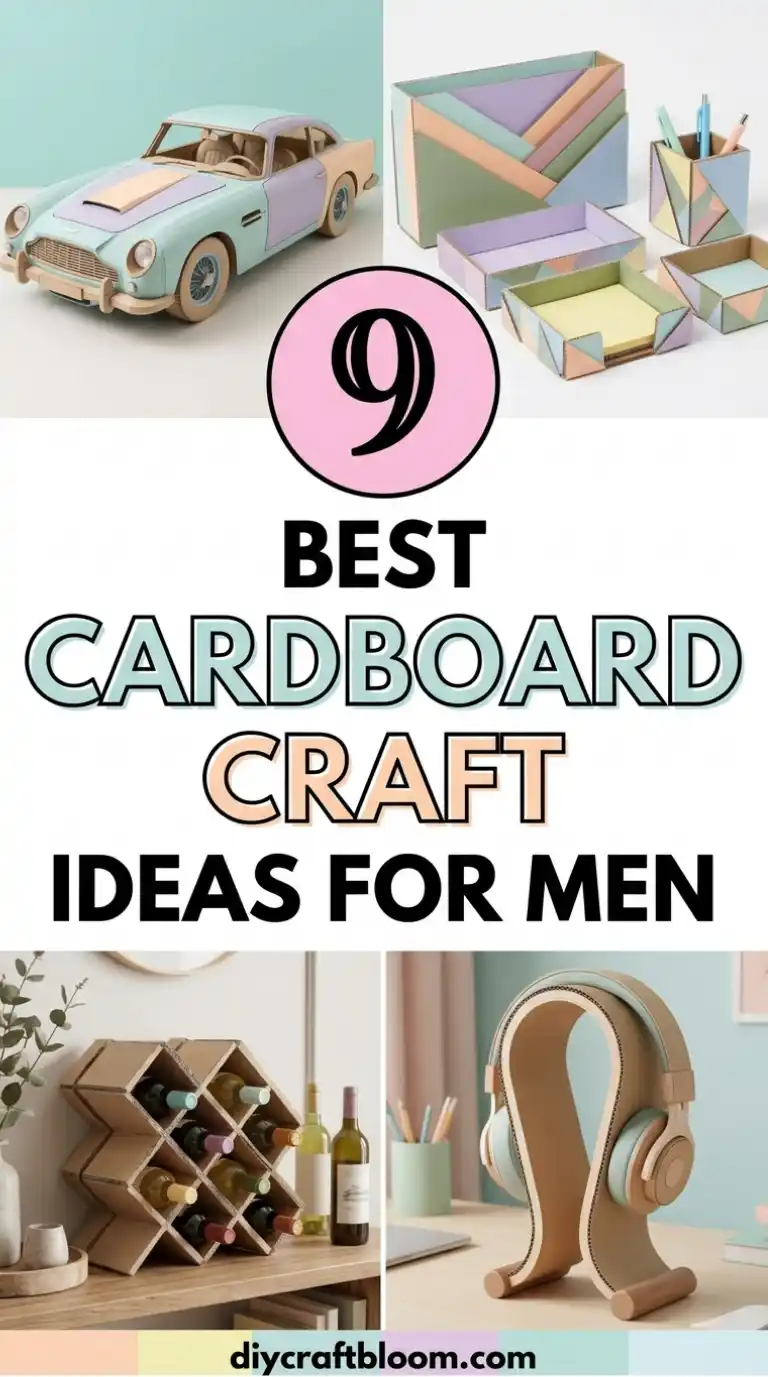
So if you’re in the mood for something hands-on and satisfying, you’re going to enjoy this. Here are 9 cardboard craft ideas for men who like simple builds, clever designs, and practical DIY fun.
1. Industrial-Style Cardboard Tool Chest
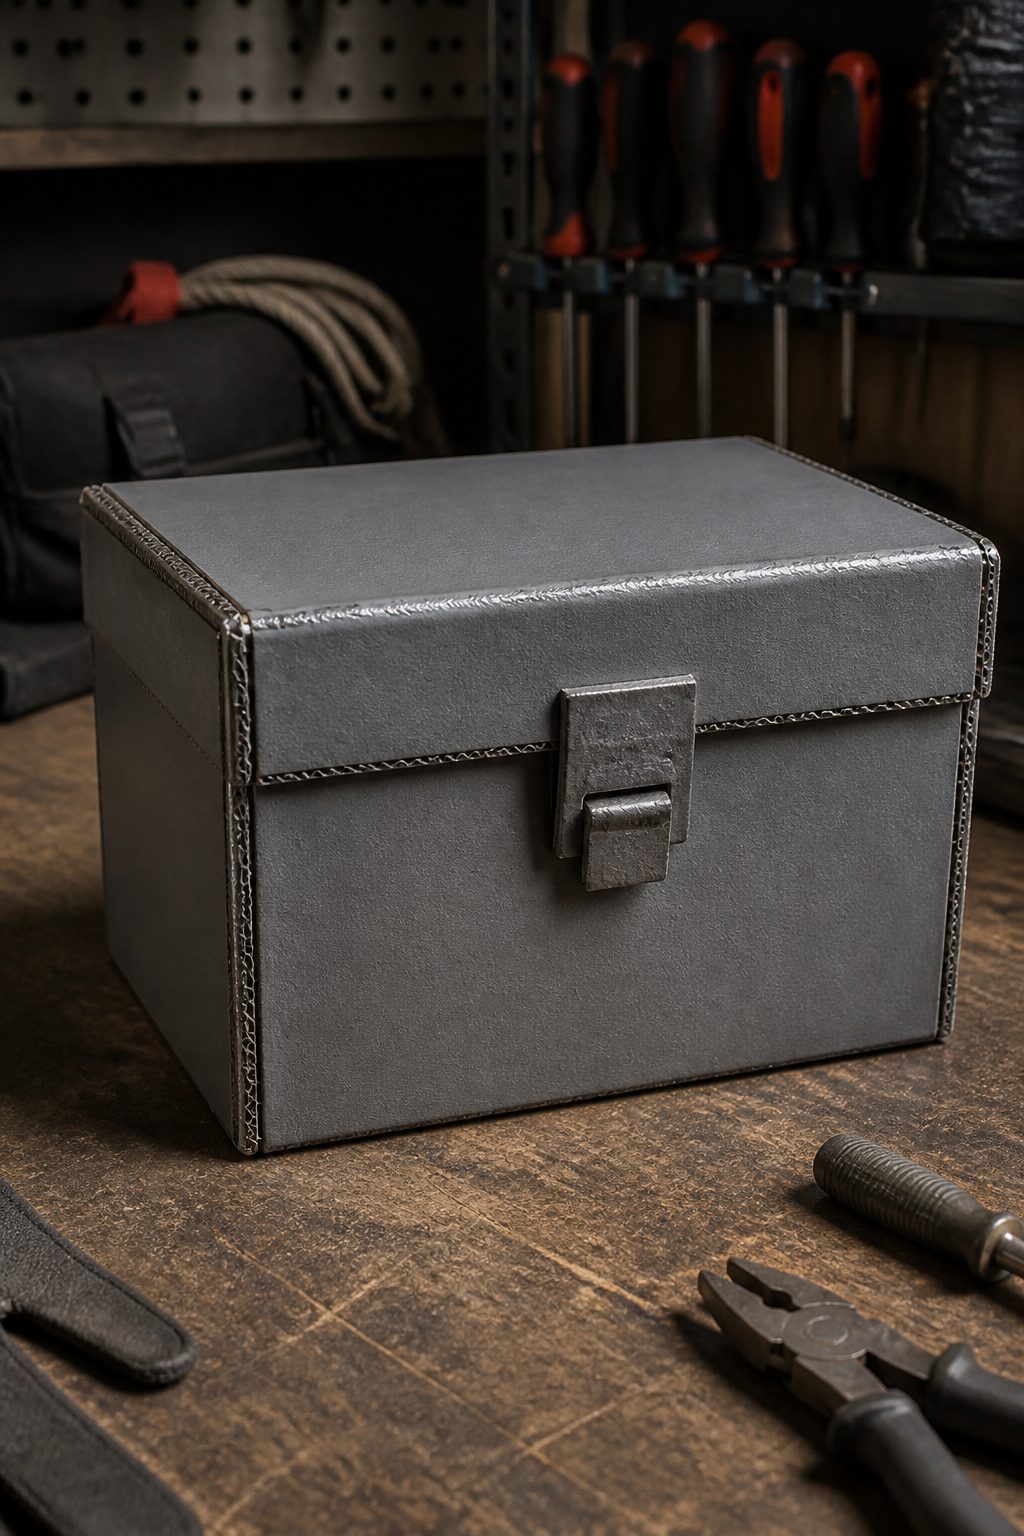
Picture a rugged, compact tool chest that looks like metal but is proudly cardboard—and still sturdy enough to hold lightweight gear. This project delivers on form and function, with a finish that screams DIY-meets-steel. You’ll love the clean lines and the satisfying snap of a lid that actually stays put.
Materials Needed
- Rigid corrugated cardboard sheets
- Craft glue or hot glue
- Spray paint (metallic or matte gray)
- Foam edge trim (optional)
- Sandpaper or sanding block
How to Make It
- Cut panels to size for two side walls, a bottom, a top, and a lid. Assemble a rectangular box with reinforced corners using glue.
- Add internal dividers from thinner cardboard to create compartments for small tools or hardware.
- Paint with a metallic or matte gray spray to mimic steel. Seal edges with a thin line of contrasting trim.
- Sand lightly for a worn-metal vibe, then add decorative rivets with small dabs of darker paint.
Pro Tips / Styling Ideas
- Line the interior with kraft paper for a factory-floor look.
- Attach a faux latch with gummy magnets so it feels authentic but stays lightweight.
- Place on a pegboard wall or desk corner for instant DIY vibes.
Who would love this?
Anyone who loves a rugged workspace aesthetic and wants a fun, display-worthy project that actually helps organize small bits and bobs.
2. Cardboard Laptop Stand With Cooling Shelves

Say hello to a sleek, stackable laptop stand crafted entirely from cardboard. It elevates your screen to eye level and includes a tiny shelf for a mug, a notebook, or a spare charger. It’s light, affordable, and totally you.
Materials Needed
- Two thick cardboard sheets
- Box cutter or craft knife
- Ruler and pencil
- Double-sided tape or glue
- Optional: perforated cardboard for ventilated slots
How to Make It
- Cut a base piece, a back support, and two side rails. Create cutouts for airflow behind the laptop and a small front lip to keep the device in place.
- Assemble into a sturdy triangle frame with glue, then reinforce with a crossbar underneath.
- Add a shallow shelf on the back for a coffee mug or notebook.
Pro Tips / Styling Ideas
- Use colorful edge paint to make the stand pop on a desk.
- Line the bottom with a thin felt pad to prevent slipping and scratching.
- Mount a small cable organizer on the side with a dab of glue.
Who would love this?
Remote workers, students, and desk-dwelling builders who want better posture and a tidy, tech-friendly surface.
3. Cardboard Wall Clock That Pops

Time’s on your side with a statement wall clock made from cardboard. It’s graphic, modern, and surprisingly sturdy when layered. The design plays with negative space, so it looks artsy and chic in any space—garage to living room.
Materials Needed
- Stiff cardboard board
- Clock mechanism kit (with hands)
- Ruler, pencil, compass or circular object
- Acrylic paints or colored paper
- Glue and scissors
How to Make It
Subscribe to DIY Craft Bloom
Get updates on the latest posts and more from DIY Craft Bloom straight to your inbox.
- Cut a circle (or square) base from cardboard. Create concentric cutouts to form a layered frame.
- Paint or cover with color blocks, leaving a bold center for the clock face.
- Attach the clock mechanism through a hole in the center and fix the hands in place.
Pro Tips / Styling Ideas
- Keep the color palette monochrome with a single accent color for a modern vibe.
- Hang at eye level in a hallway or workshop nook.
Who would love this?
Anyone who wants a bold, budget-friendly wall feature that doubles as a functional timepiece.
4. Cardboard Bicycle Toolbox Crate

Channel your inner cyclist with a rugged, foldable toolbox crate crafted from cardboard. It’s perfect for carrying lightweight gear to the shed or car rack—sturdy enough to detour a spill and stylish enough to show off at a swap meet.
Materials Needed
- Heavy-duty cardboard panels
- Strong adhesive or hot glue
- Grippy tape or fabric straps for handles
- Leather-look scrap or faux leather for trim (optional)
How to Make It
- Cut panels to form a rectangular crate with a bottom tray and a hinged lid.
- Reinforce corners with extra cardboard strips; attach handles with reinforced tape or straps.
- Apply trim along the edges for a rugged, finished look.
Pro Tips / Styling Ideas
- Line the interior with wax paper or plastic for easy cleanup.
- Use for garden tools, bike repair bits, or as a portable snack box on trips.
Who would love this?
Anyone who loves practical, durable, and portable storage with a touch of outdoorsy style.
5. Cardboard Speaker Stand and Amp-Style Case
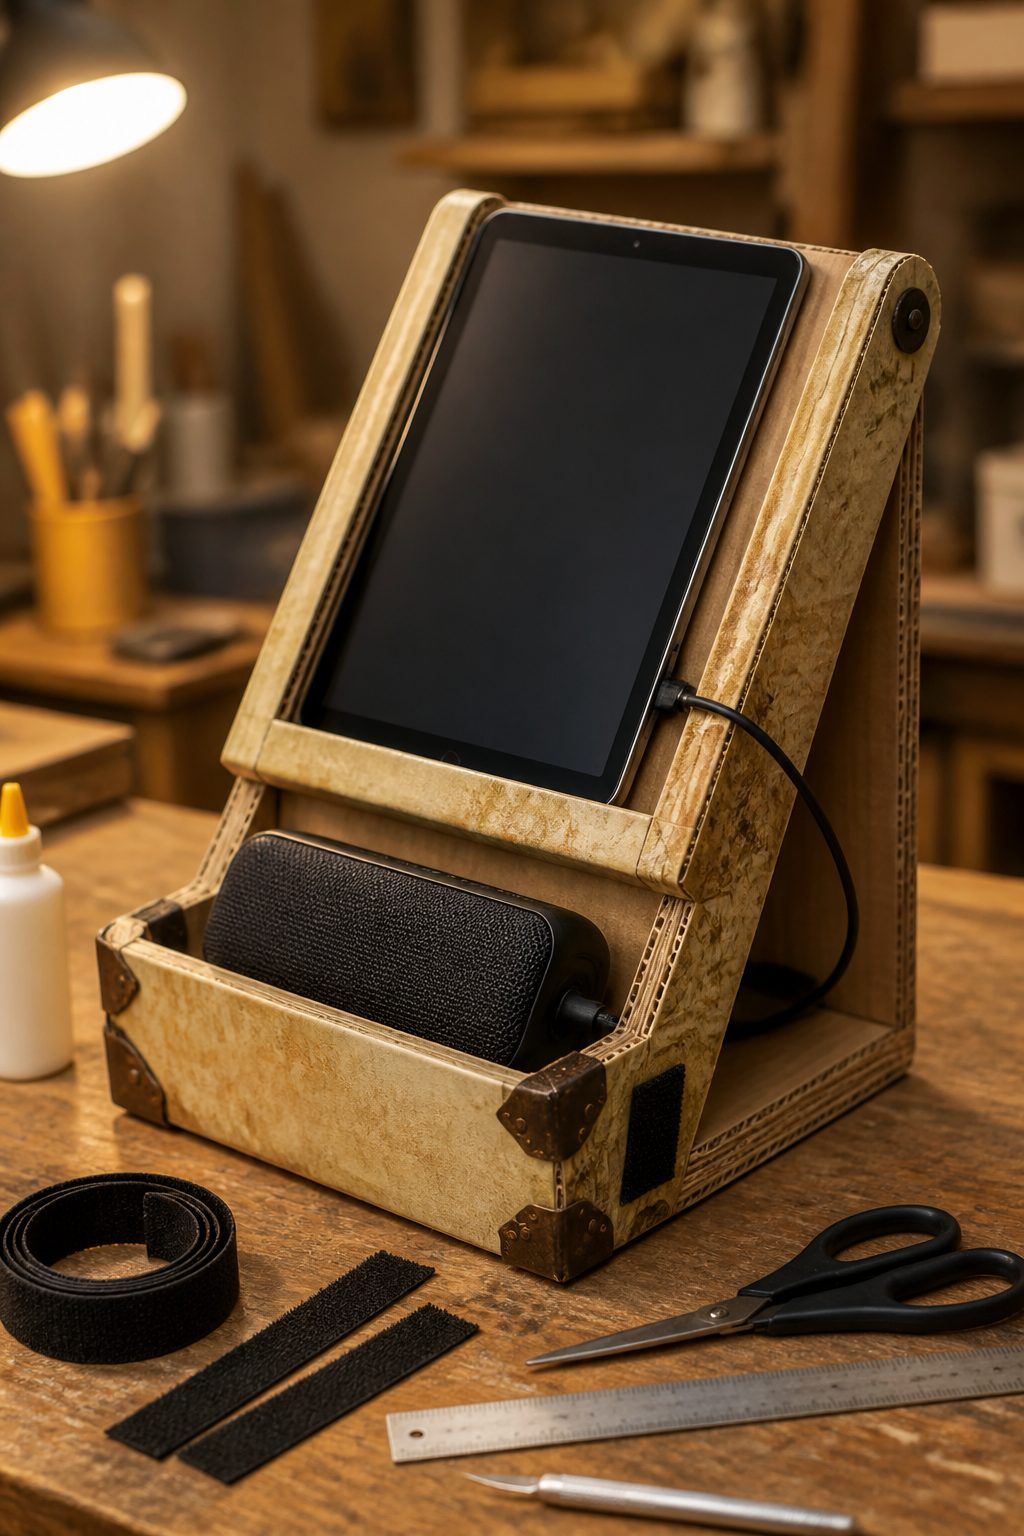
Turn cardboard into a mini speaker stand and amp-inspired listening case. It looks retro-cool and tunes up your space with a unique craft that doubles as a conversation starter. Seriously, it sounds as good as it looks—at least visually.
Materials Needed
- Corrugated cardboard sheets
- Glue, scissors, and ruler
- Decorative paper or paint for a vintage finish
- Velcro strips or magnets for attachment
How to Make It
- Cut a base, back support, and angled top to cradle a compact speaker or tablet.
- Layer multiple cardboard sheets to create a faux amp silhouette, then cover with decorative paper or paint.
- Attach with Velcro or magnets for easy removal and transport.
Pro Tips / Styling Ideas
- Use a cork back panel for extra texture and sound dampening.
- Pair with string lights for a cozy audio corner.
Who would love this?
Music lovers, dorm room decorators, and anyone who wants a stylish, low-cost audio stand.
6. Cardboard Plant Wall Planters

Bring the outdoors inside with modular cardboard planters that assemble into a living wall. It’s a breezy, plant-friendly project that adds texture and color to any room. Plus, it’s a great way to experiment with vertical gardening without breaking the bank.
Materials Needed
- Sturdy cardboard boxes or sheets
- Ruler, pencil, utility knife
- Plant pots or liners, soil, and plants
- Paint or decorative paper for exterior finish
How to Make It
- Cut multiple rectangular troughs and assemble them into a grid or staggered pattern, creating a wall-mounted unit.
- Line each pocket with plastic or a small liner to protect the cardboard from moisture.
- Paint or wrap with decorative paper; mount on a wall with simple brackets or nails.
Pro Tips / Styling Ideas
- Use a mix of plant heights and foliage textures for depth.
- Keep water drainage in mind; consider drip trays for each planter.
Who would love this?
Subscribe to DIY Craft Bloom
Get updates on the latest posts and more from DIY Craft Bloom straight to your inbox.
Green thumbs and interior stylists who crave greenery and a sculptural indoor garden.
7. Cardboard Marble-Topped Tray Set
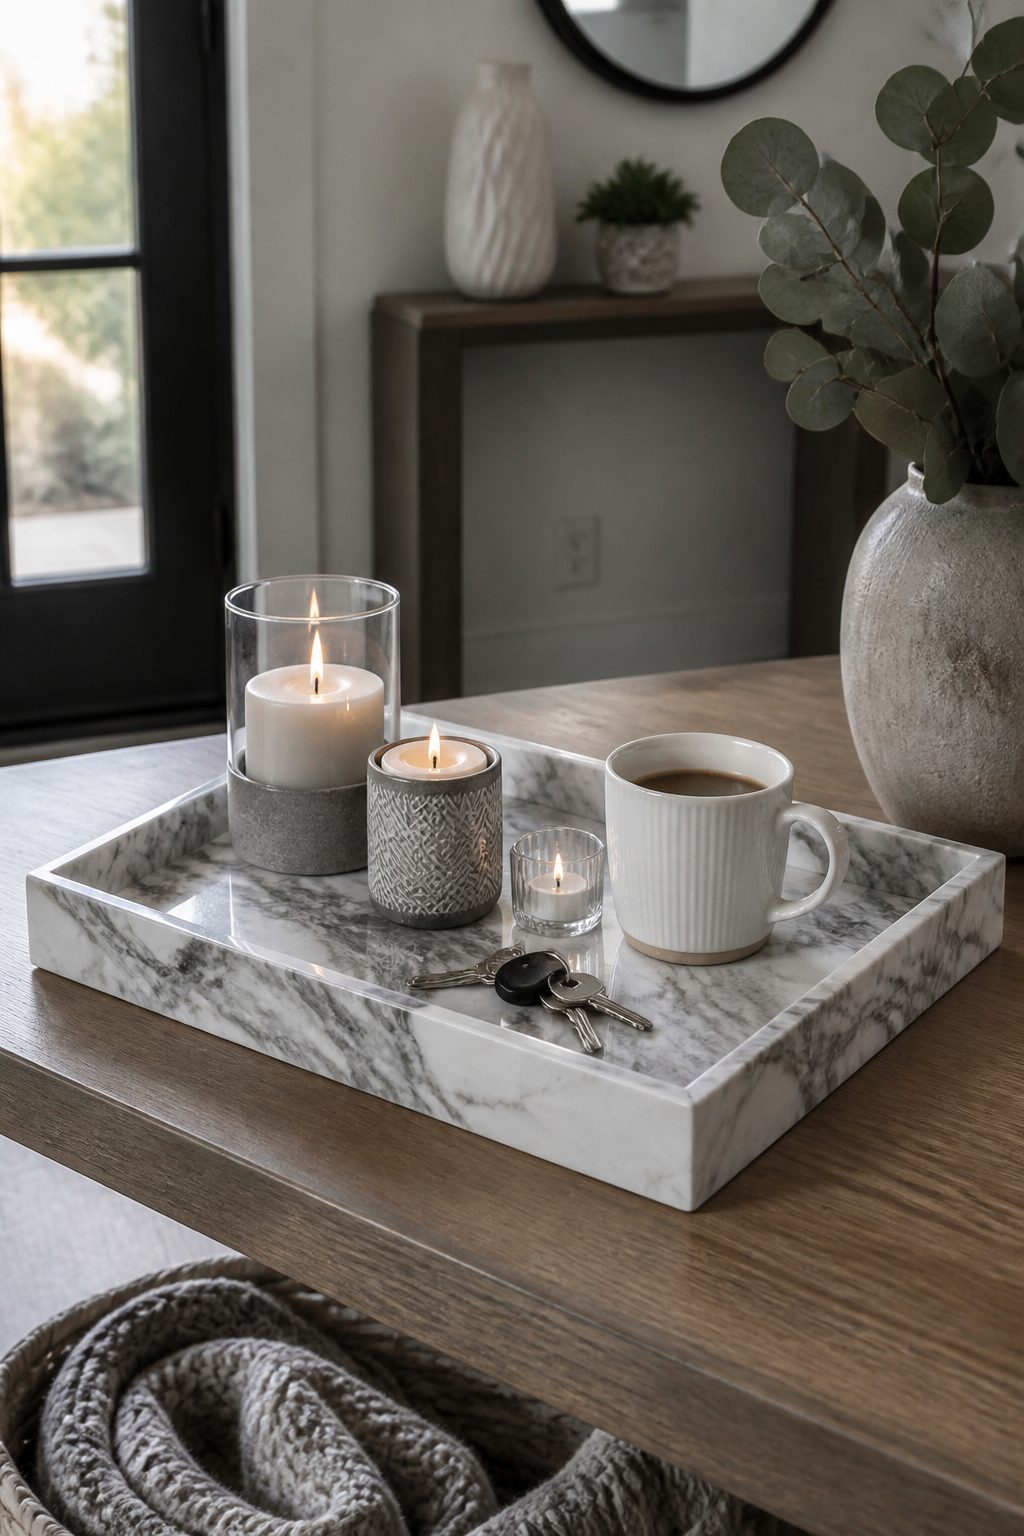
Launch a chic, multifunctional tray set with a marble-style top crafted from cardboard. It’s the perfect vehicle for coffee, keys, or a decorative cluster of candles. The marble illusion is easy to achieve and looks sophisticated in any entryway or coffee table.
Materials Needed
- Stiff cardboard sheets
- White and gray acrylic paints
- Sealant spray or matte finish
- Clear contact paper or foil for a glossy faux top
How to Make It
- Cut two identical rectangles for the base and rim. Glue together with an offset for a shallow tray look.
- Paint the top surface with a marble pattern using light gray swirls on white.
- Seal with a spray coating to protect the paint and give a clean finish.
Pro Tips / Styling Ideas
- Line the interior with felt to cushion items.
- Use as a stylish catch-all on a console, or a bedside tray.
Who would love this?
Anyone who adores high-end visuals on a budget and loves a tidy surface.
8. Cardboard Headboard Panel With Built-In Lighting
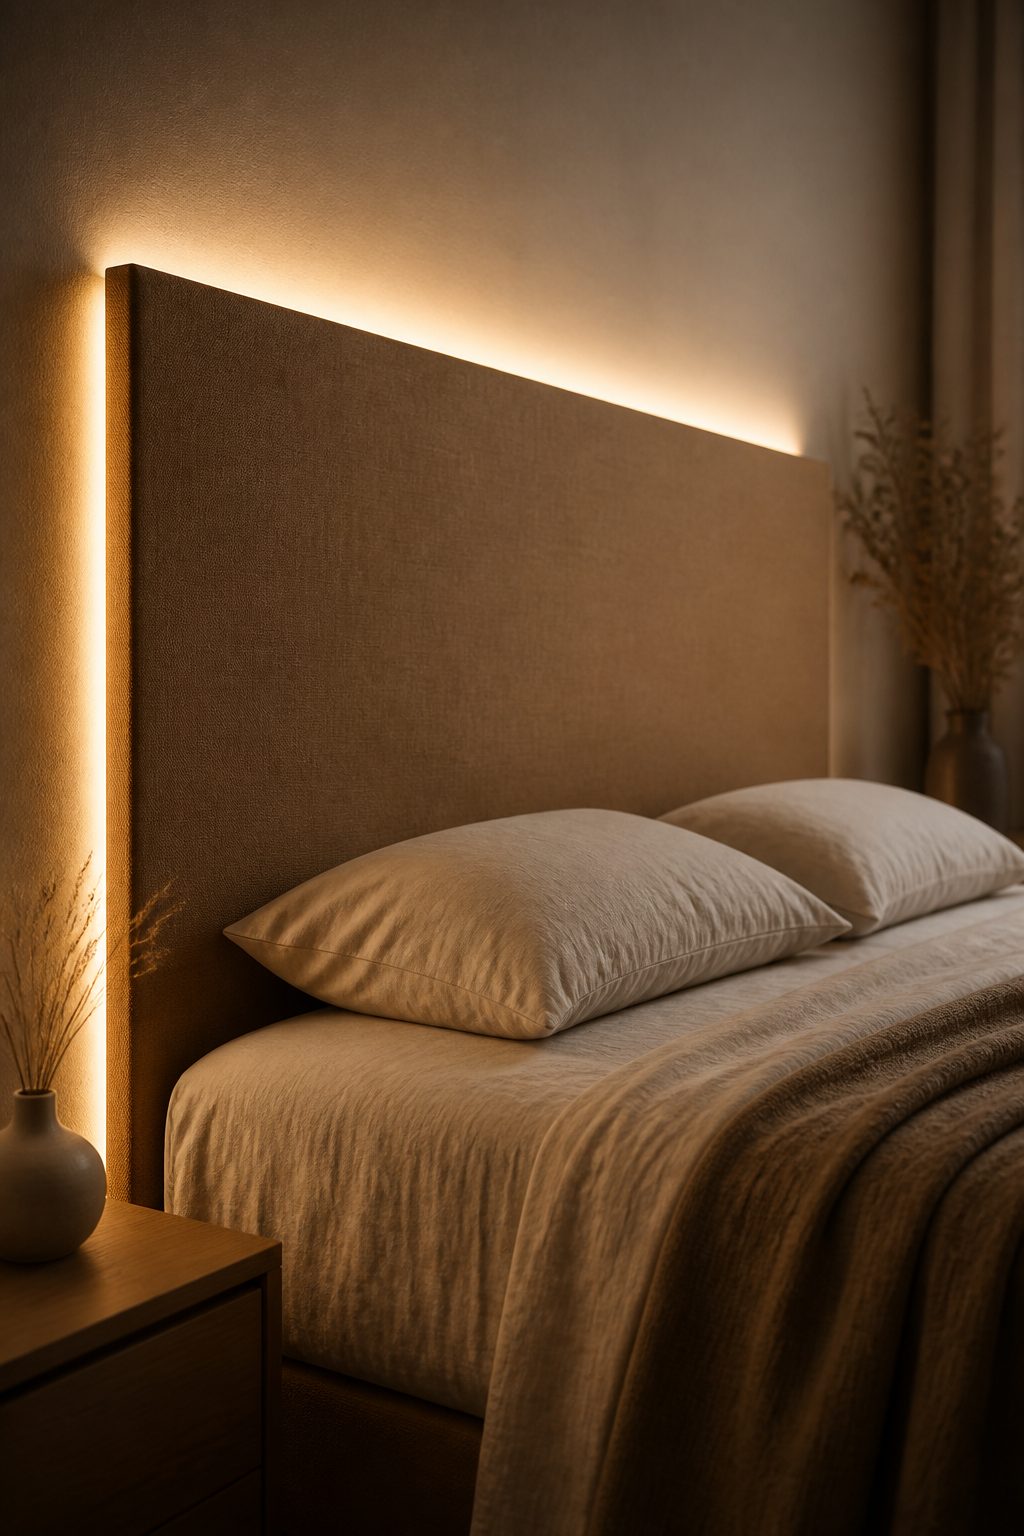
Upgrade a bedroom with a lightweight headboard panel that houses warm LED strip lighting. It’s a dramatic, spa-like focal point that’s surprisingly simple to assemble. The glow adds ambiance without the cost of a full wooden headboard.
Materials Needed
- Thick cardboard panel cut to bed width
- LED light strip with adhesive backing
- Brown paper or fabric for texture (optional)
- Glue and scissors
How to Make It
- Cover the cardboard panel with brown paper or fabric for texture. Create a clean edge along the top and bottom.
- Attach the LED strip along the backside edge, hiding the wires behind the panel.
- Mount the panel to the wall behind the bed with screws or strong double-sided tape.
Pro Tips / Styling Ideas
- Choose warm white LEDs for a cozy vibe.
- Pair with a few plush pillows for an inviting retreat feel.
Who would love this?
Bedroom remodelers, minimalist lovers, and anyone wanting a soft, ambient lighting feature on a budget.
9. Cardboard Drawer Divider System

Last but not least, a modular drawer divider system that turns chaotic drawers into organized bliss. It’s compact, practical, and customizable to fit any drawer size. You’ll finally know where that elusive pair of socks went.
Materials Needed
- Cardboard sheets or boxes for dividers
- Craft knife, ruler, pencil
- Glue or double-sided tape
- Decorative washi tape to mark sections (optional)
How to Make It
- Cut vertical and horizontal dividers to fit the drawer dimensions.
- Assemble into a grid with 1–2 shelves per section for flexibility.
- Label sections with washi tape for quick reference.
Pro Tips / Styling Ideas
- Use varying heights to separate small items from bulky ones.
- Keep a few perforated dividers for easy reconfiguration as needs change.
Who would love this?
organizers, students, and anyone who wants a tidy, customizable storage solution that hides in plain sight.
Wrap Up
So there you have it—nine completely unique, completely cardboard-crafted ideas for men who love hands-on DIY projects.
Each project brings a dash of personality, a pinch of practicality, and a healthy dose of wow factor.
Pick one, or dive into all nine, and watch your space transform from ho-hum to handmade hero.