9 Modern Cardboard Craft Ideas for the Living Room That Stun Guests

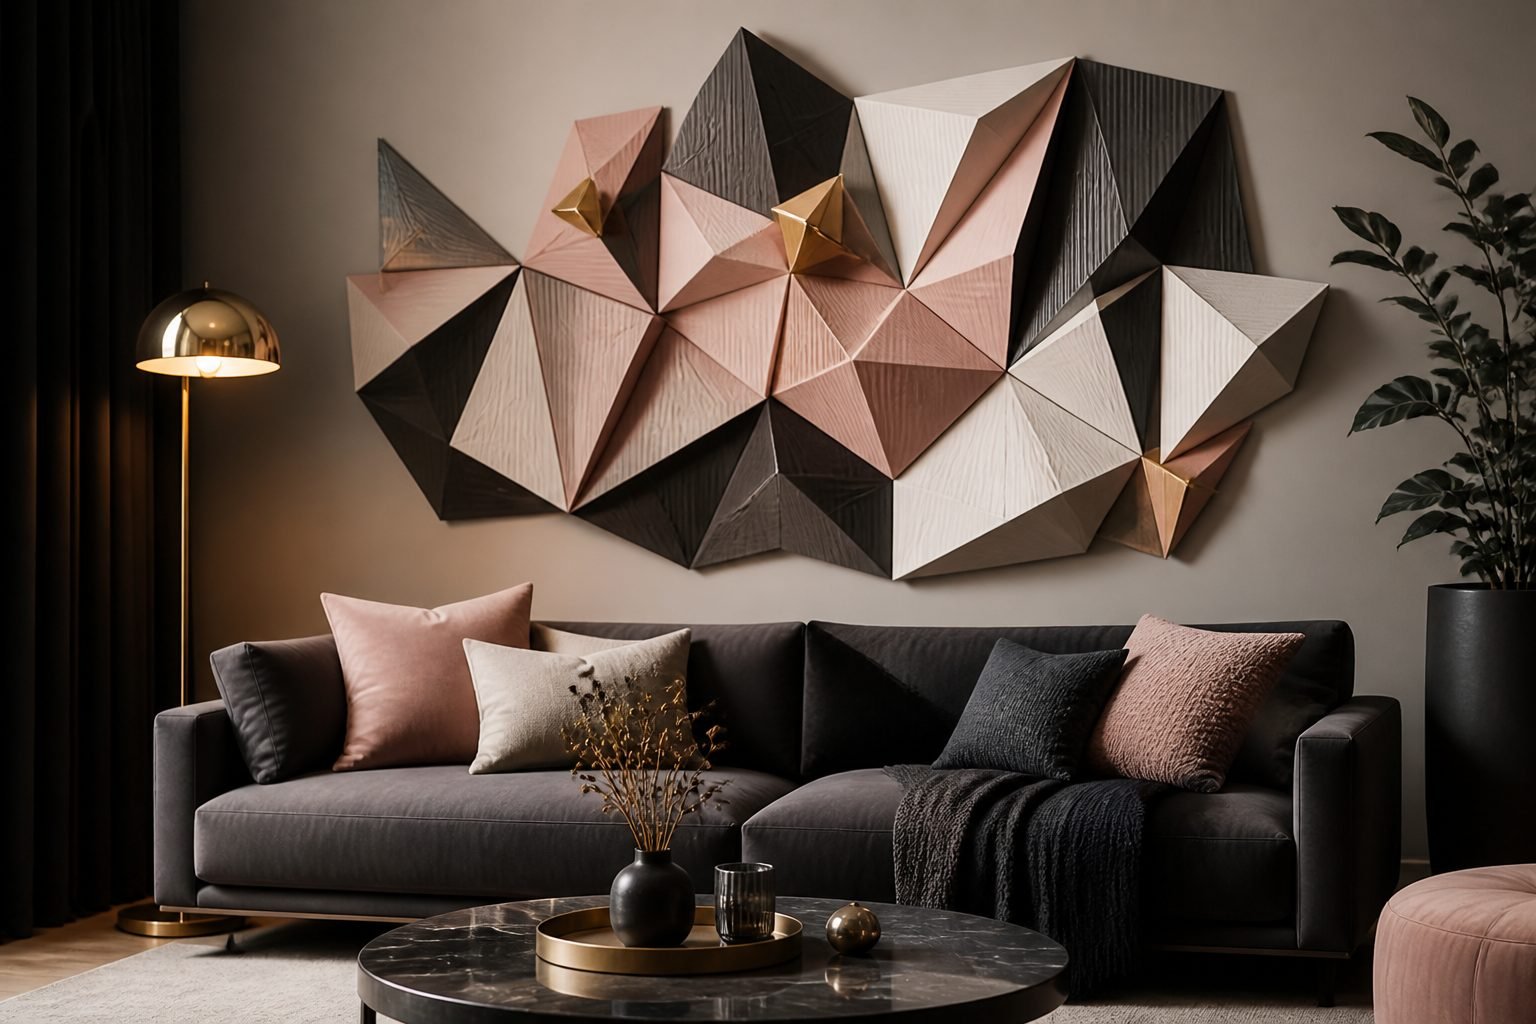
Cardboard is one of those materials most people overlook. It comes into our homes wrapped around deliveries, gets flattened, and usually ends up in the recycling bin without a second thought.
But lately, something interesting has been happening—people are turning that simple cardboard into surprisingly stylish home décor.
What used to be considered “just waste” is now being reimagined into creative, budget-friendly pieces that actually look good in a living room.
From sculptural wall art to modern accent pieces, cardboard crafts are proving that design doesn’t always need expensive materials.
The best part? You don’t need to be a professional crafter to pull it off.
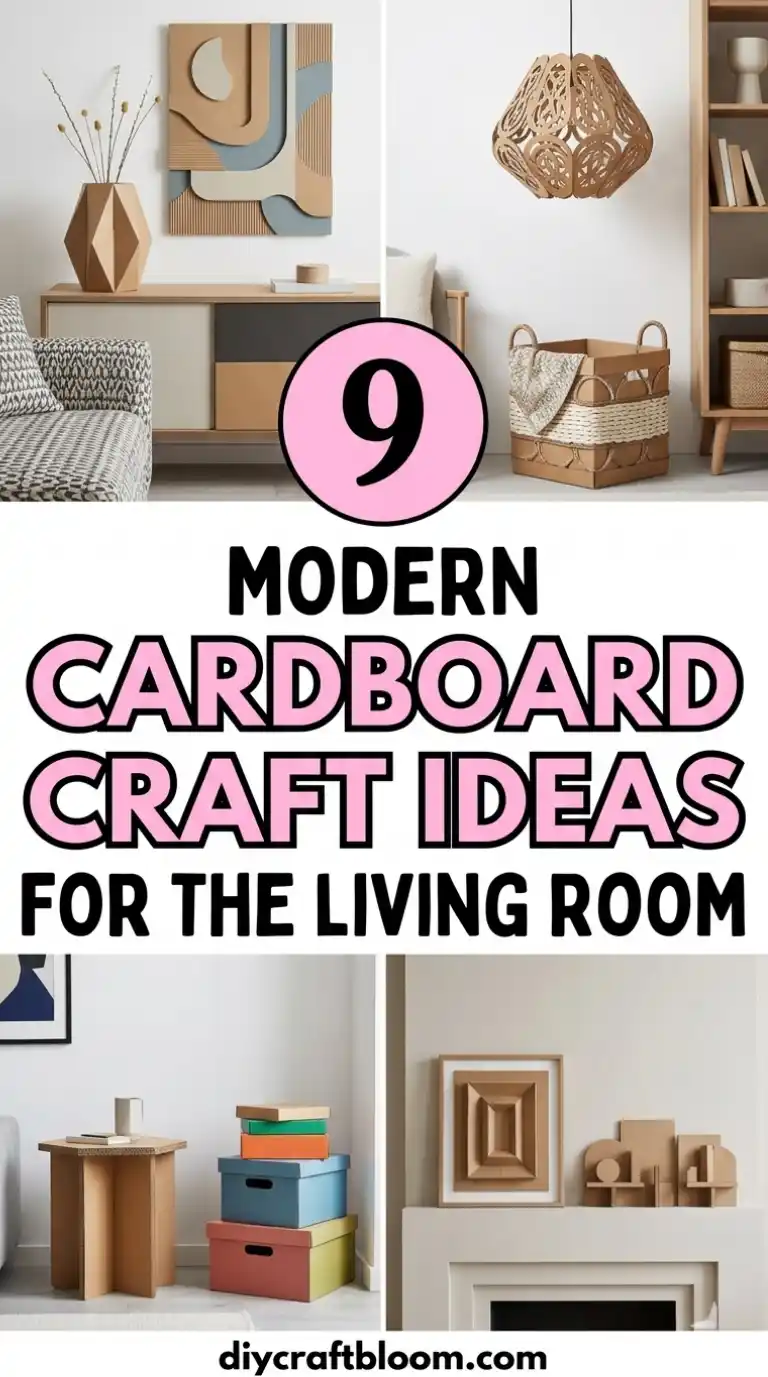
In this article, we’ve rounded up 9 modern cardboard craft ideas for the living room that genuinely impress guests and bring a unique, handmade charm into your space.
1. Geometric Cardboard Wall Art that Pops
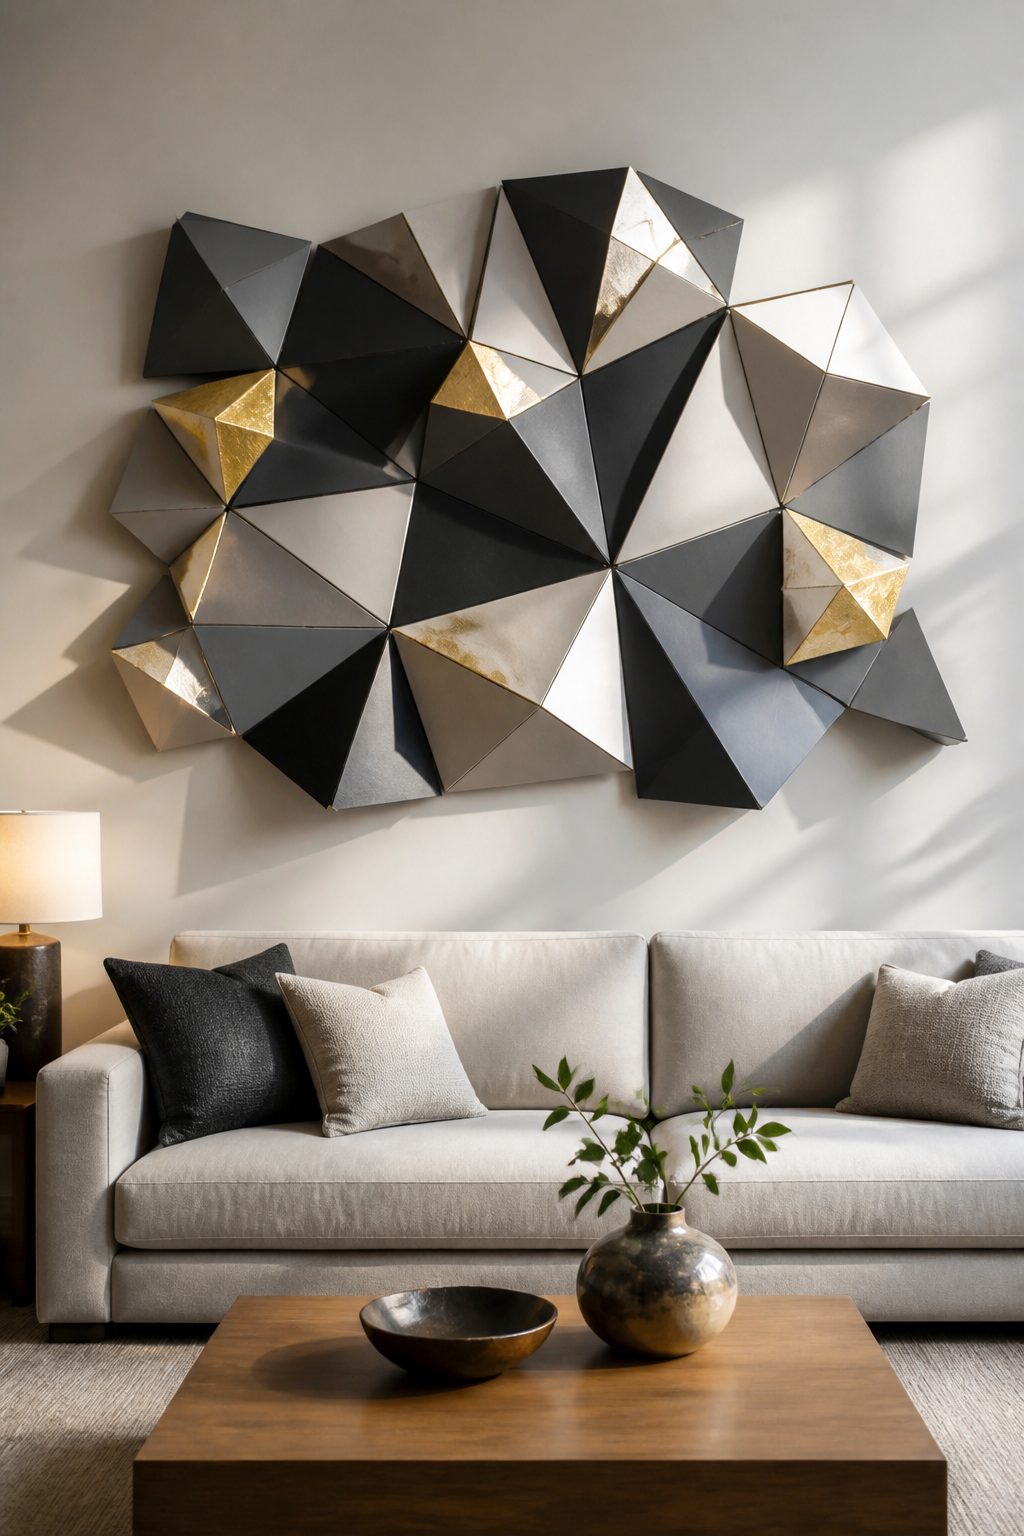
Imagine a bold, three-dimensional piece perched above the sofa, catching light and shadow as the day shifts. This geometric wall art turns simple cardboard into a modern sculpture that feels gallery-ready, yet totally approachable.
Materials: posterboard cardboard sheets, craft knife, ruler, craft glue or hot glue, spray paint or acrylic paints, masking tape. Optional: gold leaf or metallic markers for accents.
How to Make It: Cut multifaceted polygons from sturdy cardboard. Layer and glue them to create a raised mosaic, then spray or paint in a cohesive palette (think blush, charcoal, and ivory). Seal edges with a clear coat if you want extra durability. Hang as a single bold piece or a grid of smaller panels for impact.
Pro Tips / Styling Ideas: Keep the color palette cohesive with your living room for a polished look. Add a subtle metallic accent to echo a lamp finish or picture frames. Pair with a dimmable light to highlight the relief and shadows.
Who’ll love it: Minimalists who crave texture, color enthusiasts decorating a feature wall, and anyone chasing that “museum-in-your-living-room” vibe.
2. Cardboard Capsule Sofa Tables with Hidden Storage
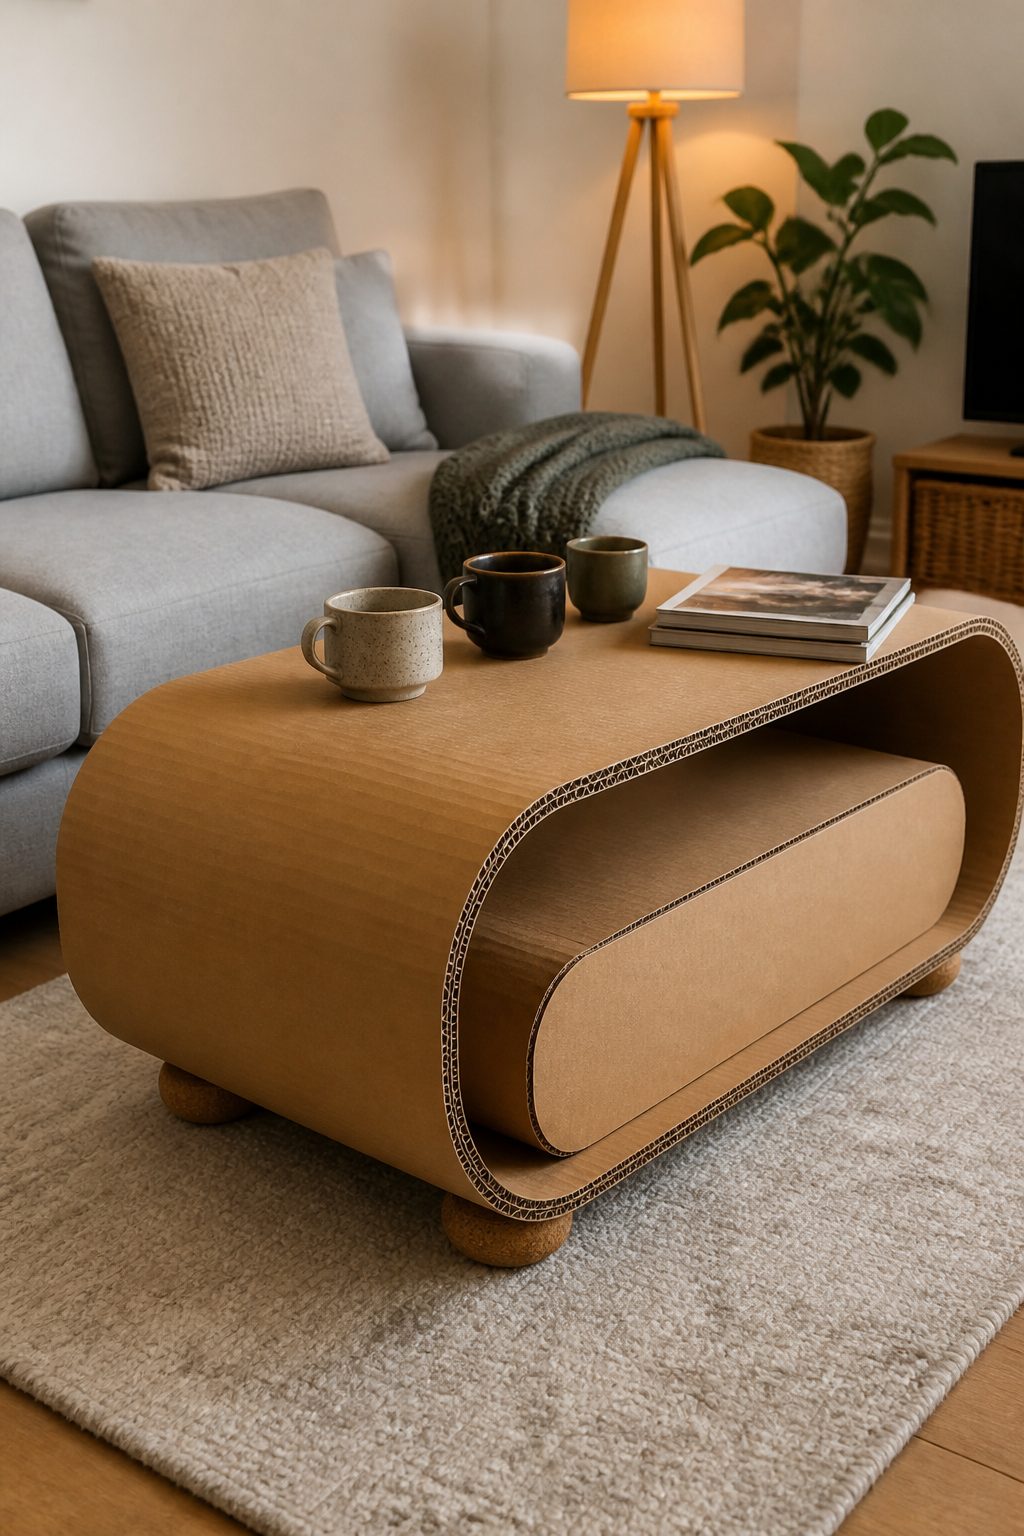
Yes, cardboard can be sturdy enough to hold coffee mugs and magazines, especially when built as a compact, modern side table with a secret stash. This piece blends utility with clever, sculptural lines.
Materials: corrugated cardboard, hot glue, utility knife, masking tape, craft paint or veneer contact paper, lightweight hinges (optional), cork or felt pads for feet.
How to Make It: Build a simple two-tier capsule frame from cardboard slabs, reinforcing with internal supports. Create a shallow hidden compartment beneath the top surface using a partitioned insert. Cover with paint or adhesive veneer for a finished look. Attach felt pads to the bottom for smooth, furniture-grade feet.
Pro Tips / Styling Ideas: Line the interior with decorative fabric or a bright lining to reveal a peek of personality when you open it. Place a stylish lamp and a small plant on top to amplify the “built-in” feel.
Who’ll love it: Apartment dwellers needing smart storage, hosting enthusiasts, and anyone who loves hidden-gem surprises in furniture.
3. Plush Cardboard Floor Cushions with Attachable Covers
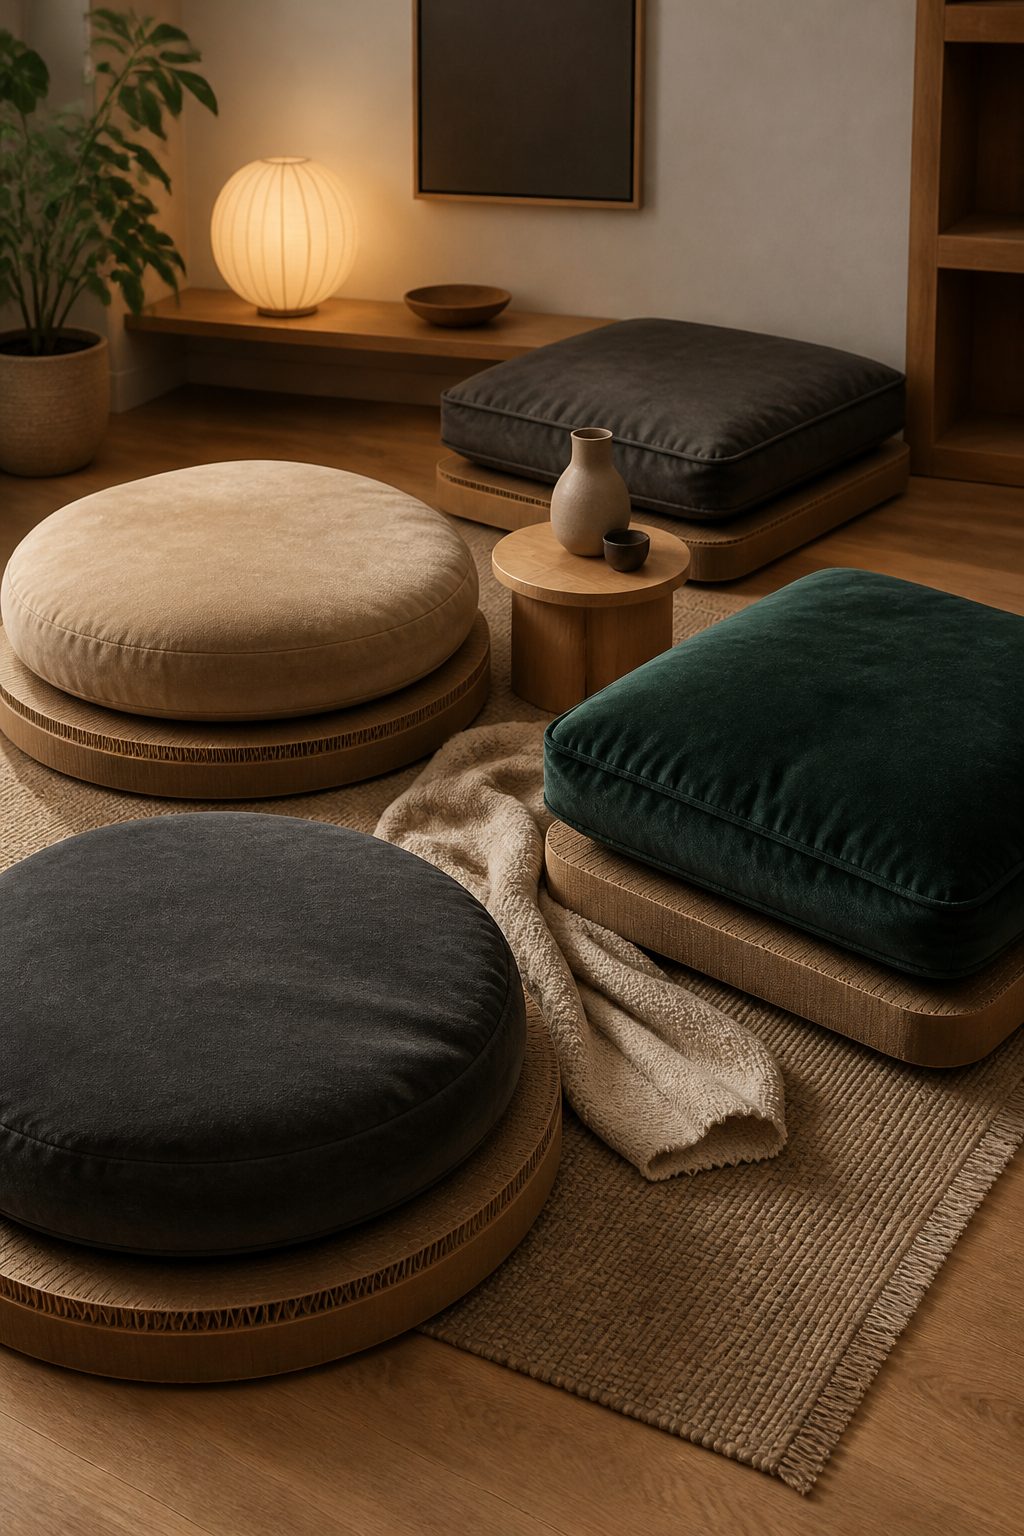
Soft, squishy seating is within reach with cardboard frames wrapped in cozy fabric and topped with plush cushions. Your living room gains warmth and a playful, tactile centerpiece.
Materials: thick cardboard sheets, hot glue, fabric (canvas, velvet, or chenille), foam or batting, needle and thread or sewing machine, zipper or velcro for removable covers.
Subscribe to DIY Craft Bloom
Get updates on the latest posts and more from DIY Craft Bloom straight to your inbox.
How to Make It: Cut a round or square base from cardboard for structure, then layer foam for comfy depth. Sew or attach fabric covers that zip off for easy washing. Add a decorative edge trim or piping for extra polish.
Pro Tips / Styling Ideas: Choose a fabric in a bold color or textured weave to anchor the room. Stack several cushions for a loungy, modular vibe. Pair with a low coffee table and a shag rug for maximum coziness.
Who’ll love it: Cozy-living fans, overnight guests who crash on the floor, and anyone who wants versatile seating that’s easy to store away.
4. Cardboard Plant Stands Tower with Living Green Accents
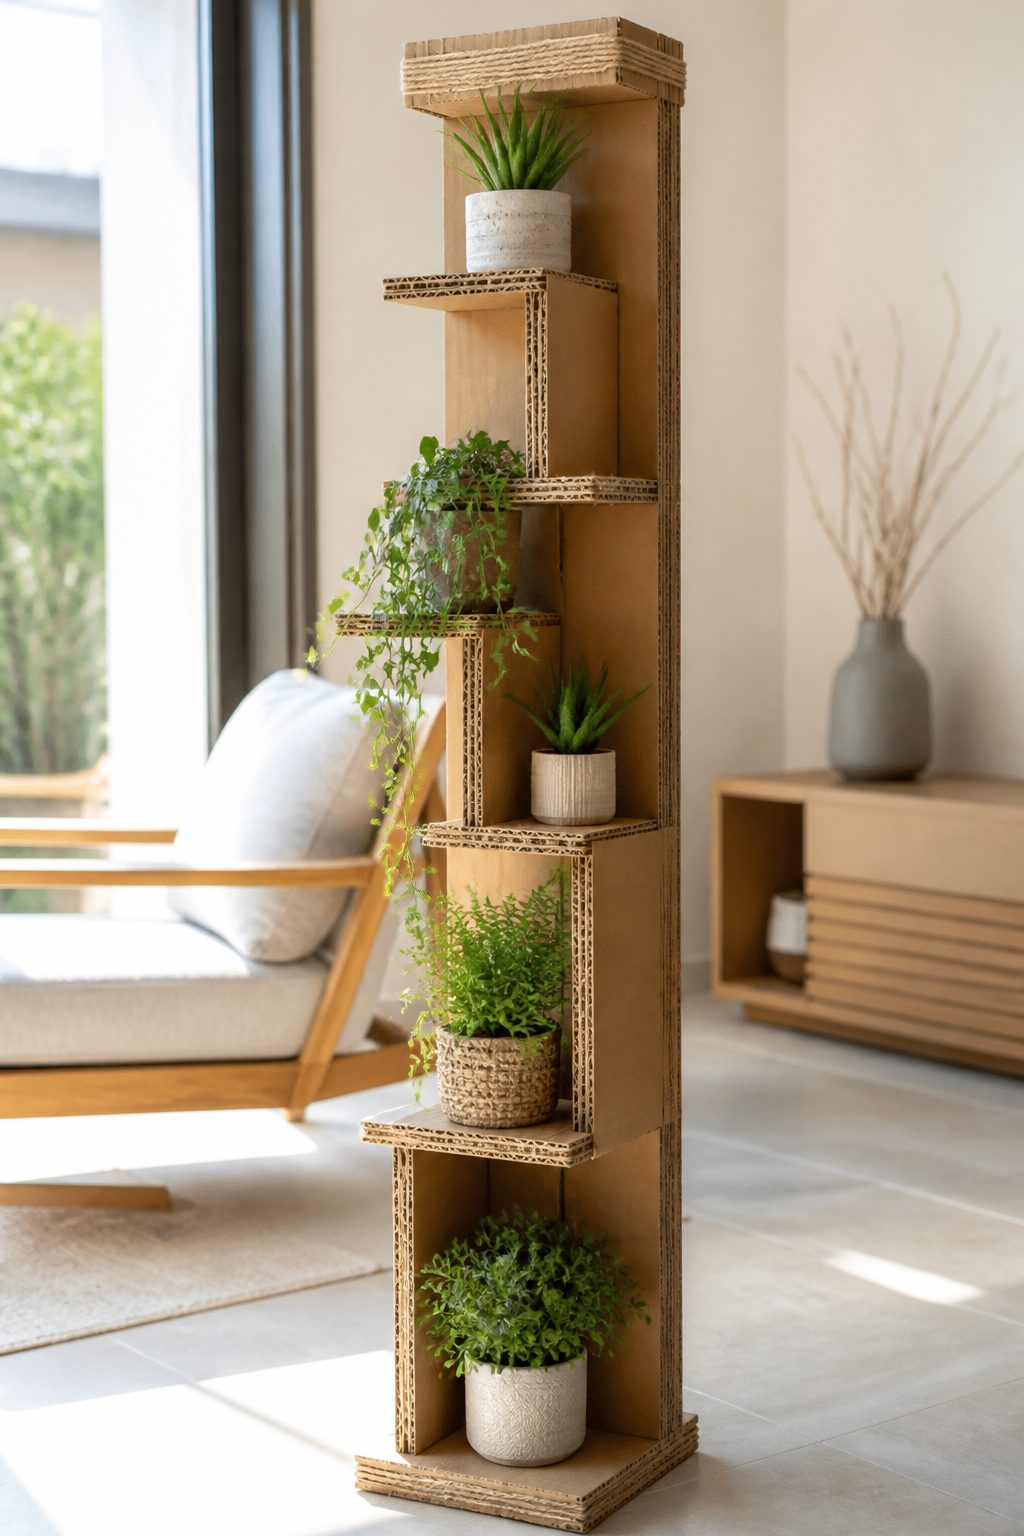
Bring a vertical garden feel inside with a staggered cardboard plant stand that showcases greenery in modern, architectural steps. It’s light, affordable, and surprisingly sturdy.
Materials: corrugated cardboard, hot glue, cutting mat, ruler, decorative rope or twine, small pots with drainage, spray sealant (optional).
How to Make It: Slice vertical slats and assemble into a tall tower with staggered shelves. Seal edges to prevent moisture absorption and add a simple decorative trim with rope for added texture. Place small pots on each shelf and group taller plants on top for height variation.
Pro Tips / Styling Ideas: Use monochrome pots for a clean look or mix textures with woven baskets. Position near a sunny window to encourage growth and sun-kissed shadows on the walls.
Who’ll love it: Plant lovers, small-space decorators, and anyone who wants a green accent without bulky furniture.
5. Cardboard Radiant Lanterns: Ambient Orbs for Evening Glow
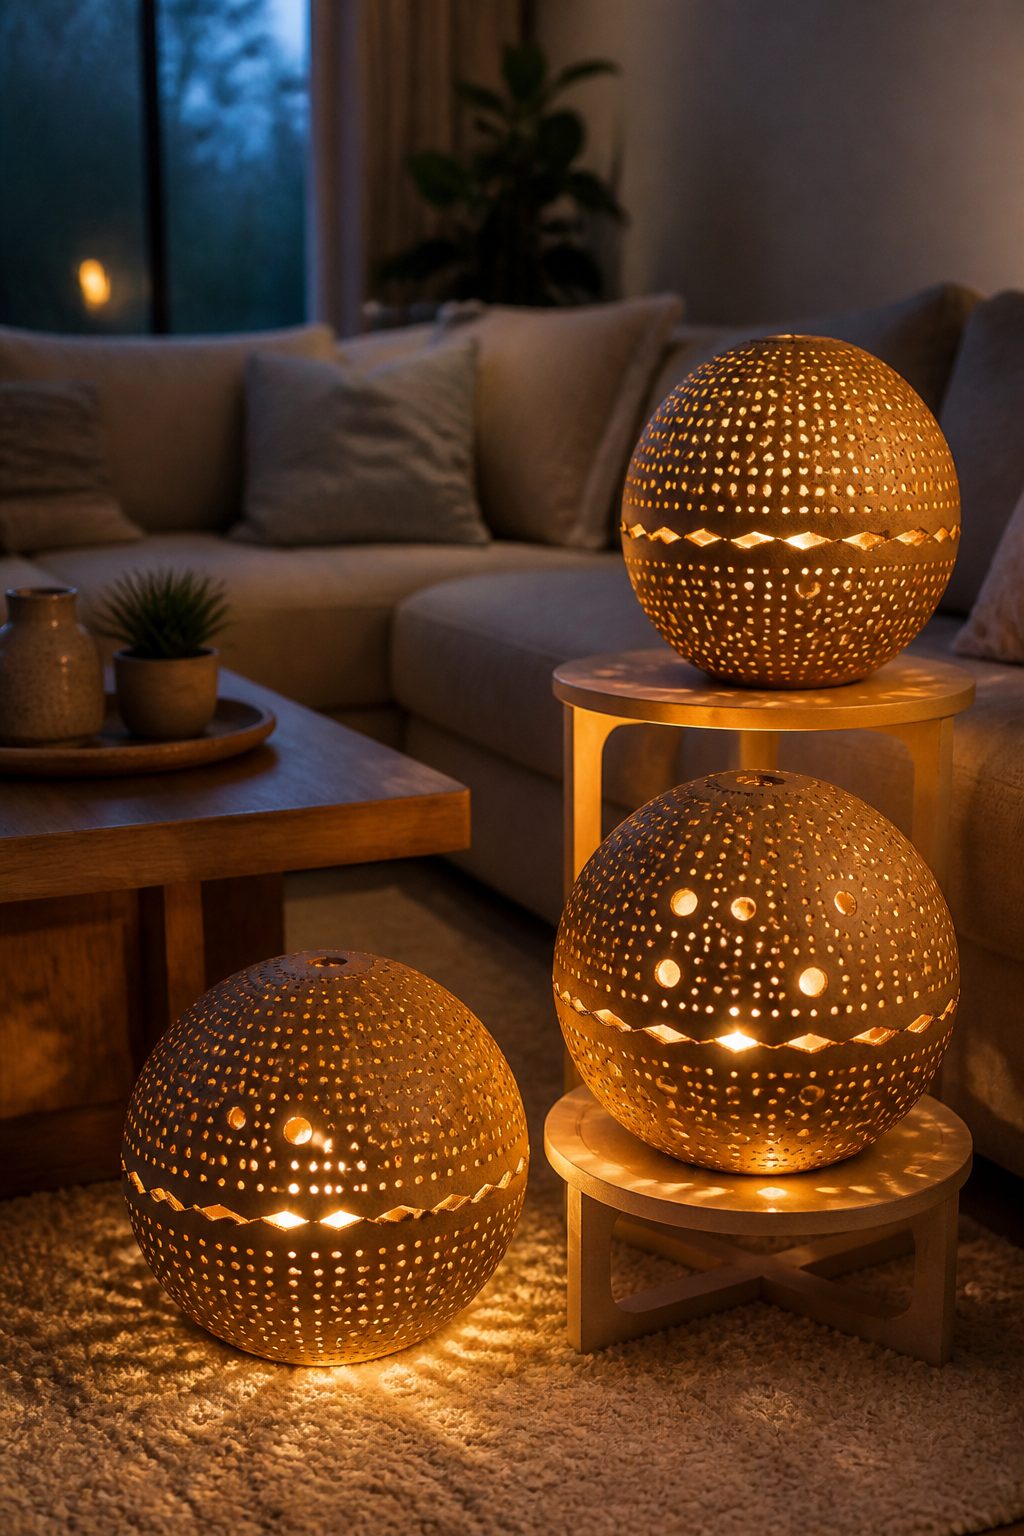
Soft, lantern-inspired orbs made from cardboard cast warm, cozy light across a room. Perfect for cozy movie nights or festive gatherings, these glow softly without electrical fuss.
Materials: cardboard hemispheres or rounded panels, LED tea lights or small string lights, hot glue, decorative perforations or cutouts, spray paint (optional).
How to Make It: Assemble two hollow hemispheres or curved panels into a sphere, then puncture decorative cutouts to let light escape. Add a dimmable LED option for adjustable ambiance. Finish with a light paint or metallic spray for extra charm.
Pro Tips / Styling Ideas: Drape a few strings of fairy lights through the gaps for a twinkling effect. Group three different sizes in a corner or coffee table for a dramatic look.
Who’ll love it: Nighttime romantics, entertainers who want soft lighting, and anyone who loves a handmade glow without electrical complexity.
6. Cardboard Textured Wall Panel Panels
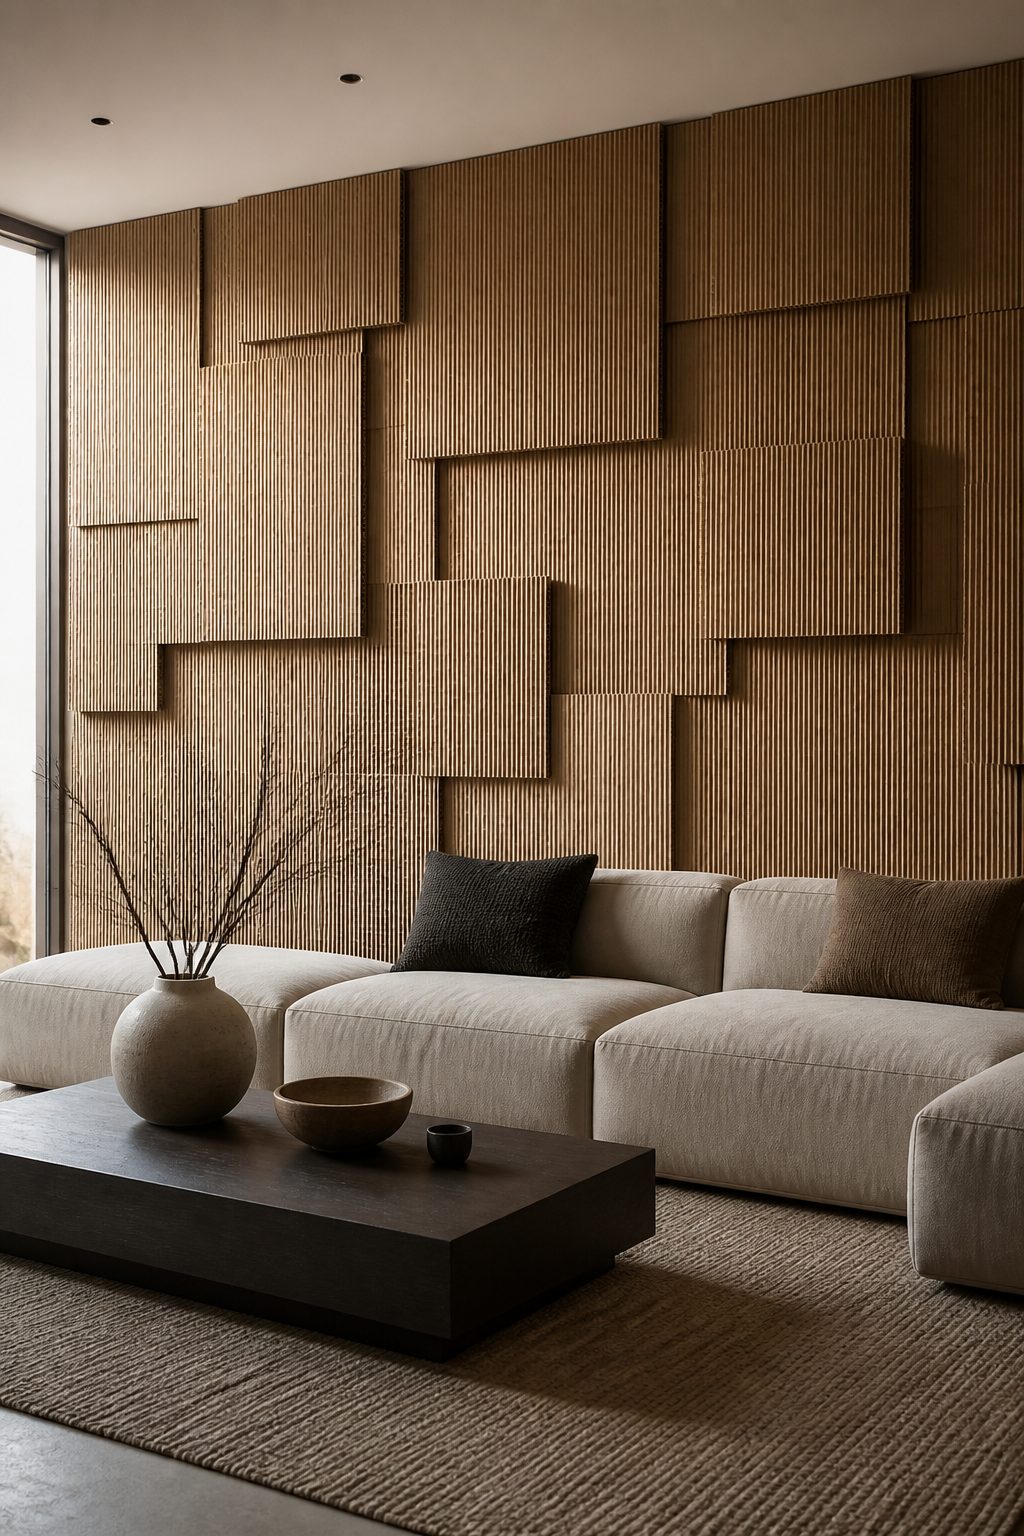
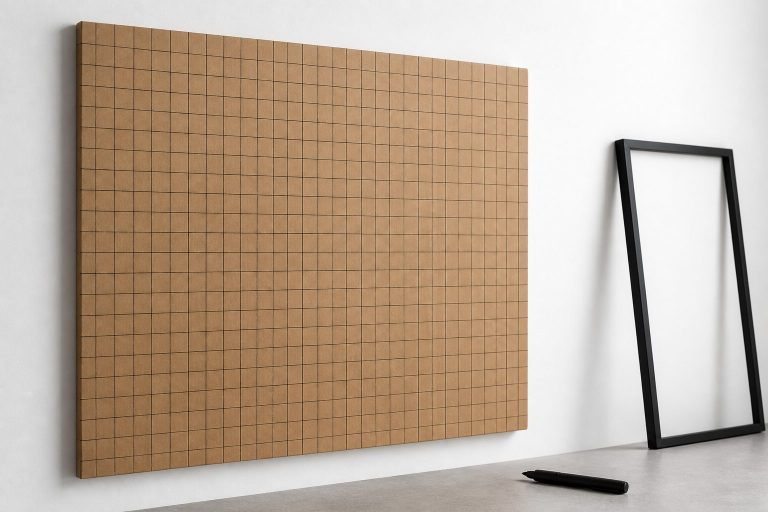
Turn a blank wall into a tactile statement with layered cardboard panels that create depth and dimension. It’s like a fashion-forward wall mural, but made from humble cardboard.
Materials: several layers of corrugated cardboard, hot glue, exacto knife, painter’s tape, neutral or bold paint, optional fabric scraps for texture.
How to Make It: Cut varying sizes of cardboard rectangles, then glue them in a staggered, stepped pattern to form a multi-layered montage. Add a light coat of paint to unify the palette, and finish with a matte sealant.
Pro Tips / Styling Ideas: Mix matte and metallic paints for a subtle sheen. Extend the pattern across a wide wall or segment it into a framed grid for a gallery vibe.
Who’ll love it: Texture hunters, wall-studies, and anyone aiming for a magazine-worthy focal point that’s inexpensive and eye-catching.
Subscribe to DIY Craft Bloom
Get updates on the latest posts and more from DIY Craft Bloom straight to your inbox.
7. Fold-and-Form Cardboard Lampshade
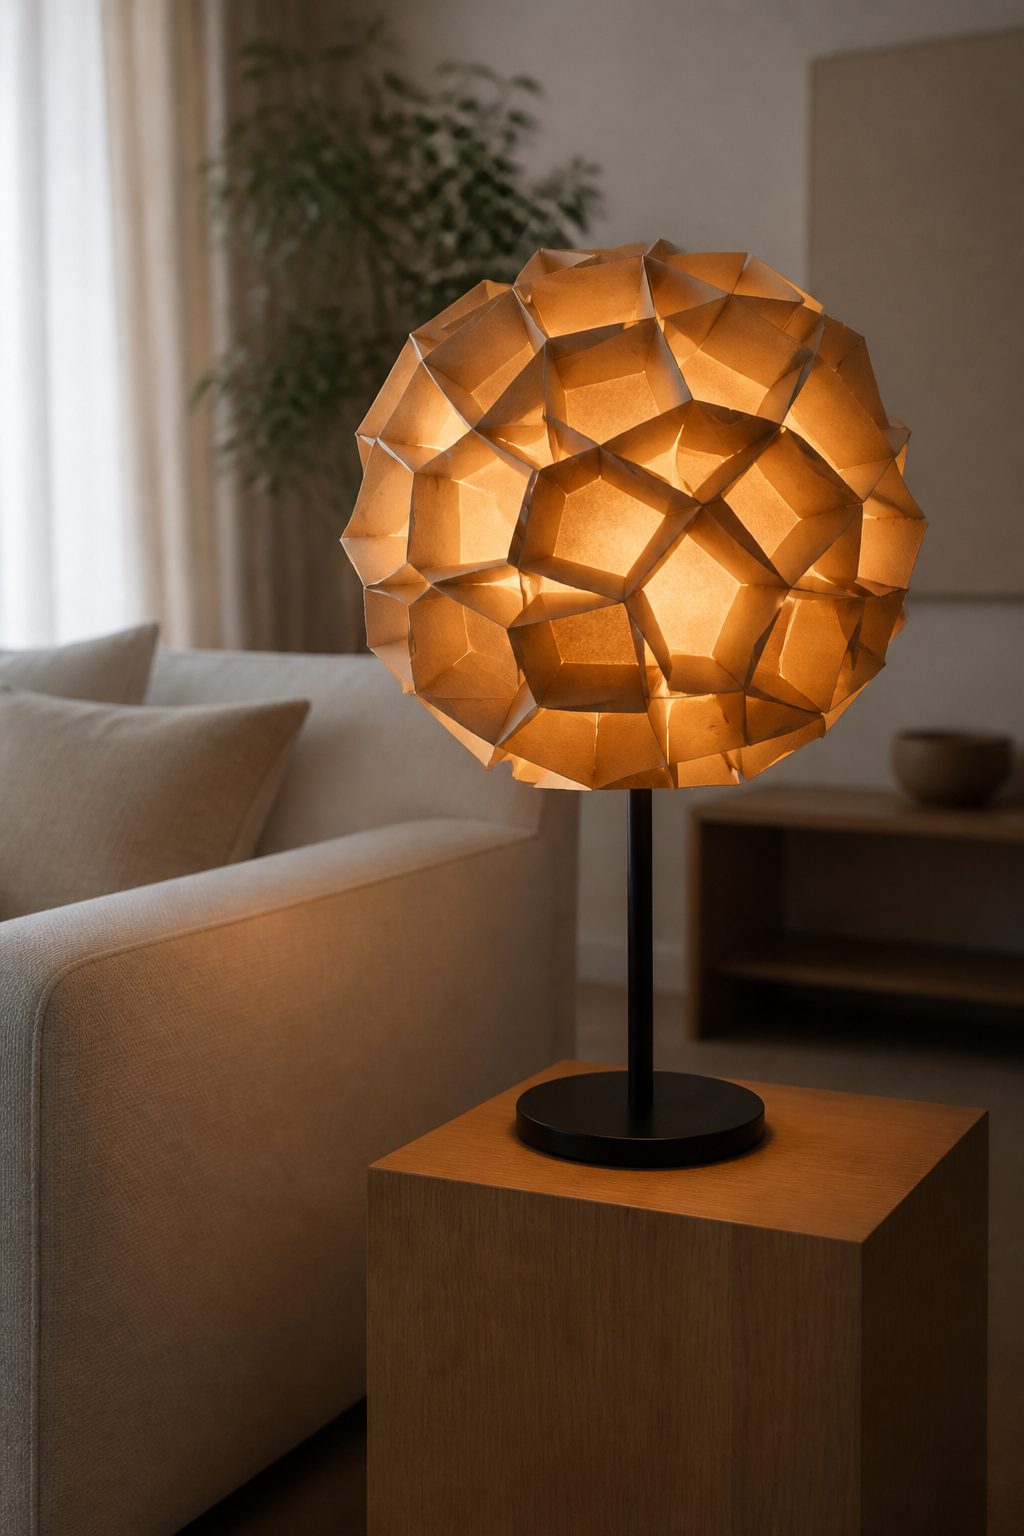
Turn a plain lamp into a sculptural piece with a handcrafted cardboard lampshade that radiates light through crisp folds and geometric silhouettes.
Materials: sturdy cardboard, lamp kit (excluding shade), utility knife, metal ring or wireframe for support, glue, decorative tape or paint.
How to Make It: Cut interlocking panels that fold into a spherical or conical shape. Assemble around a lamp frame, securing with glue and tape. Attach to your lamp as a shade and test with a warm-light bulb for cozy glow.
Pro Tips / Styling Ideas: Keep the color neutral for versatility or paint panels in a gradient for a statement piece. Place near seating to cast inviting shadows during evenings.
Who’ll love it: DIY enthusiasts who crave custom lighting, design-forward decorators, and anyone who wants a unique, handmade lampshade.
8. Cardboard Floating Shelves with Slim Front Edge
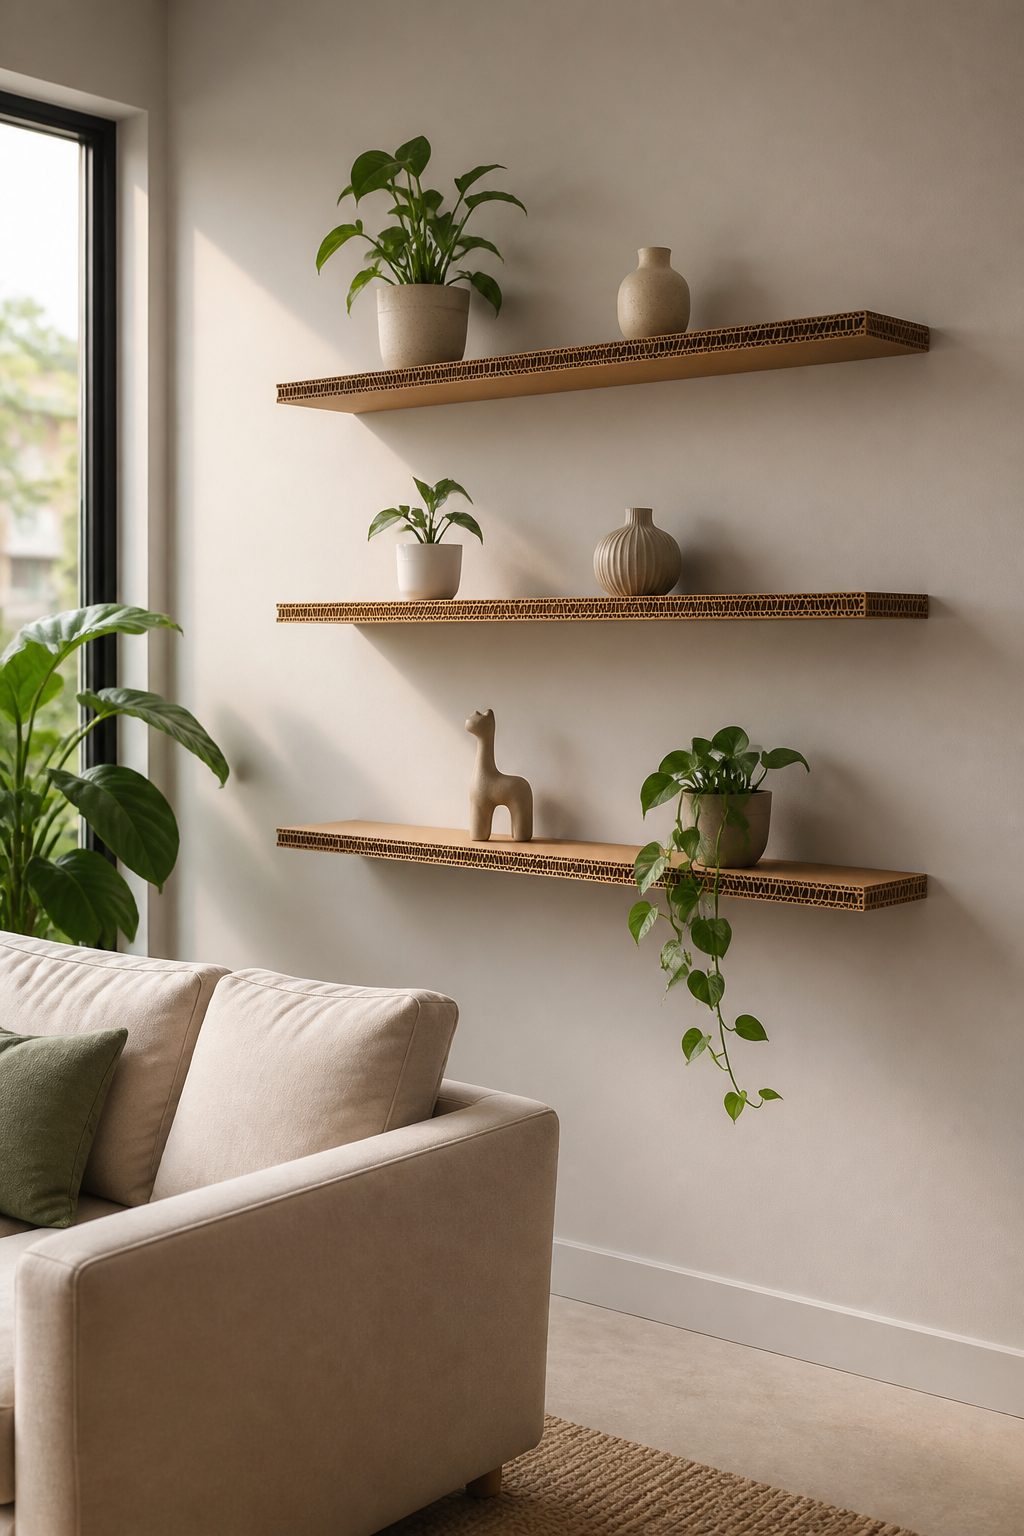
Upgrade flat walls with lightweight, floating shelves carved from cardboard. They look sleek, hold lightweight décor, and feel custom-made without a single nail.
Materials: corrugated cardboard sheets, strong adhesive or double-sided tape, clear silicone sealant (optional), sandpaper, paint or veneer, level.
How to Make It: Create a slim, rectangular shelf by folding and layering cardboard to a thick, sturdy slab. Adhere to the wall using strong adhesive or double-sided tape, then seal edges and paint to match your wall color. Add a tiny lip to keep items in place.
Pro Tips / Styling Ideas: Display small plants, books, or framed memories. Alternate shelf heights for a dynamic gallery-like arrangement. Use this for a lightweight statement rather than heavy objects.
Who’ll love it: Apartment renters, modern minimalists, and anyone who wants usable décor with a clean silhouette.
9. Cardboard Photo Backdrop Frame with Interchangeable Panels
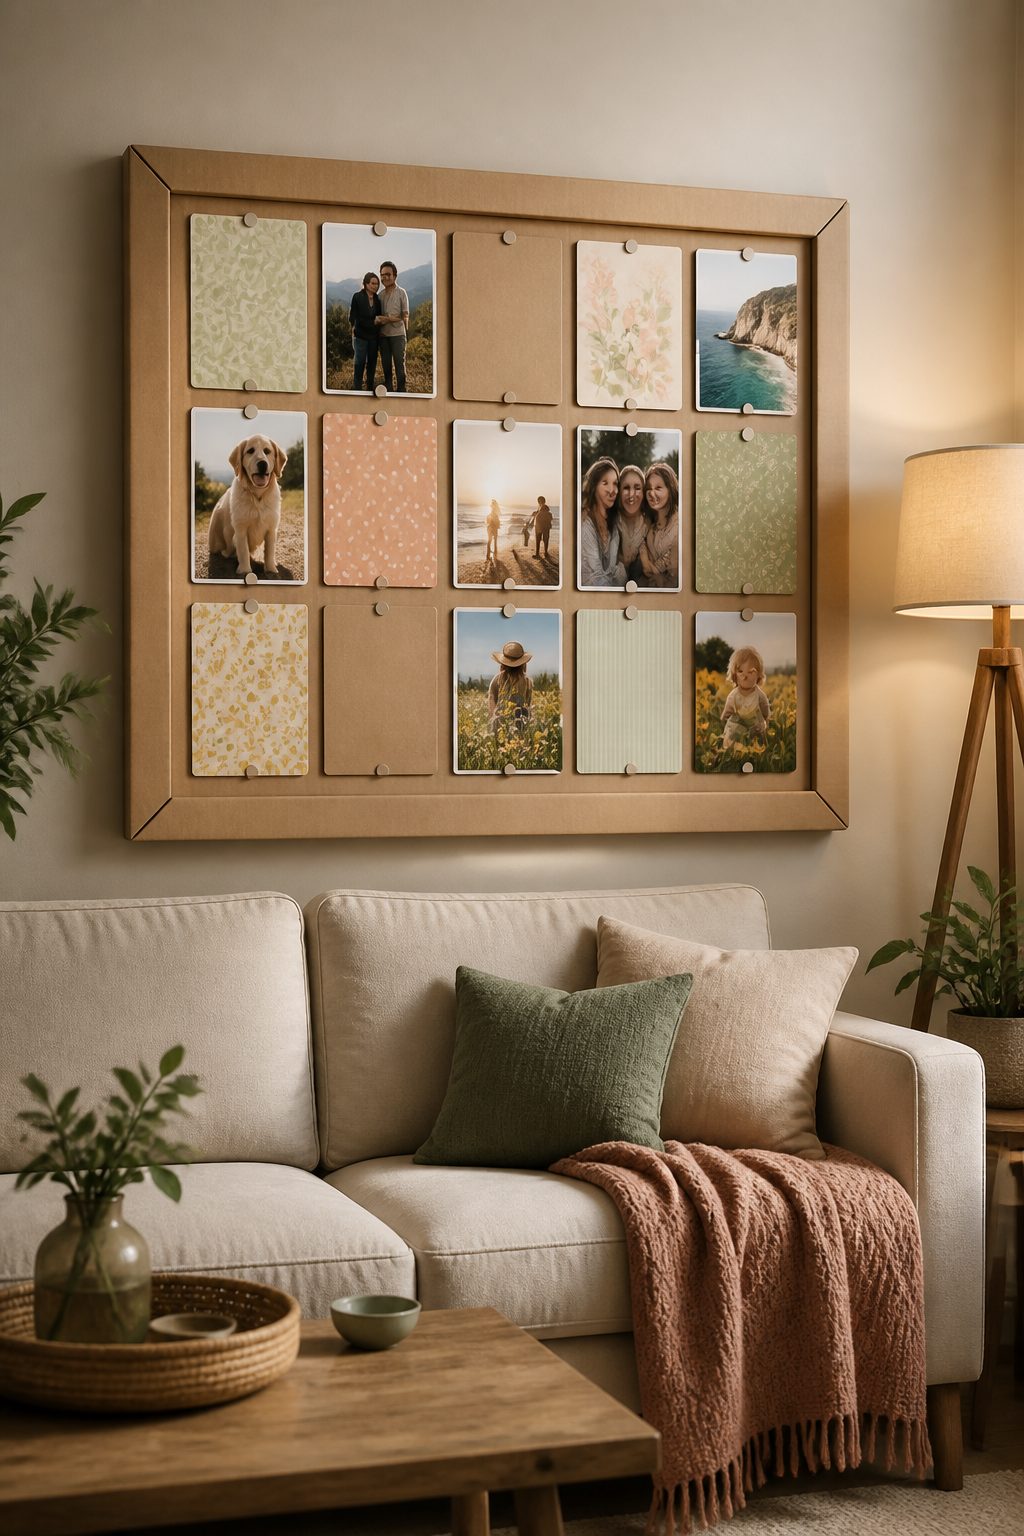
Frame a beloved memory wall with magnetic, interchangeable cardboard panels that are easy to swap as seasons or moods change. It’s a smart, playful twist on a photo gallery.
Materials: cardboard sheets, craft magnets or metal strips, glue, cutting tool, scrapbook paper or printed photos, paint or decorative tape.
How to Make It: Build a rectangular or circular frame from thick cardboard. Attach magnets or small metal strips to hold interchangeable panels. Decorate each panel with photos or artwork and rotate to refresh the display anytime.
Pro Tips / Styling Ideas: Create panels with seasonal designs (pumpkins, snowflakes, florals) for quick updates. Keep a consistent color family across panels to preserve a cohesive look.
Who’ll love it: Photo lovers, seasonal decorators, and anyone who enjoys easily swapping out art without committing to new frames.
Wrap Up
These nine cardboard craft ideas prove you can create a stunning living room without breaking the bank.
Each piece is playful, purposeful, and highly Pinterest-worthy—ready for saving, pinning, and making with your own two hands.
Pick one to start, or go for all nine and turn your space into a gallery of clever, cozy charm. You’ll love the process, and your guests will be wowed by the creativity on display.