DIY Birthday Cards for Your Best Friend – 17 Cute & Creative Ideas

Hey there, crafty superstar! If you’ve ever whispered, “I need the perfect card,” you’re in the right cozy corner. These 17 DIY birthday cards are fun, fast, and totally shareable on Pinterest, with a personal touch that screams you care. Trust me, your bestie will be obsessed.
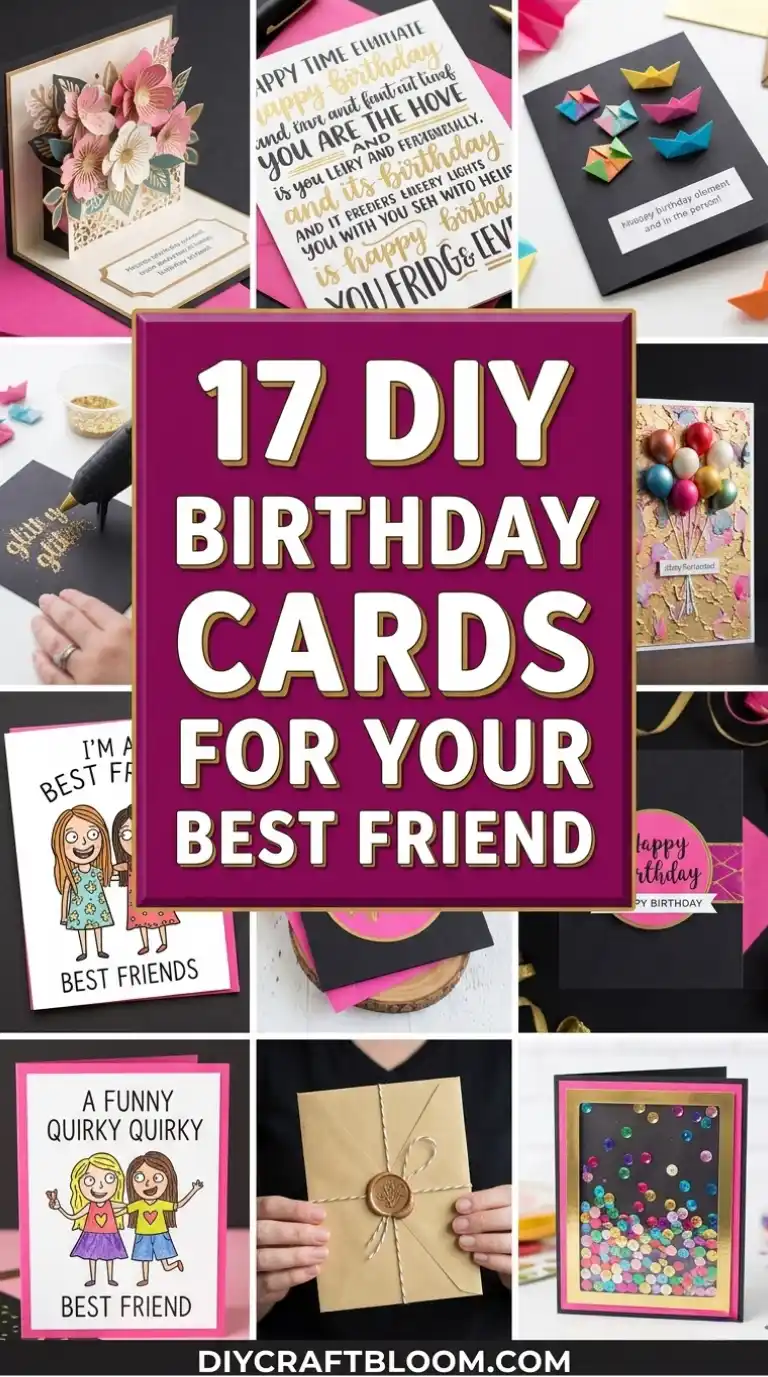
Each idea is a complete, unique project—no repeats, no compromises.
Grab some supplies, pick a vibe, and start crafting together. FYI, these are all beginner-friendly with tiny, joyful twists you’ll love.
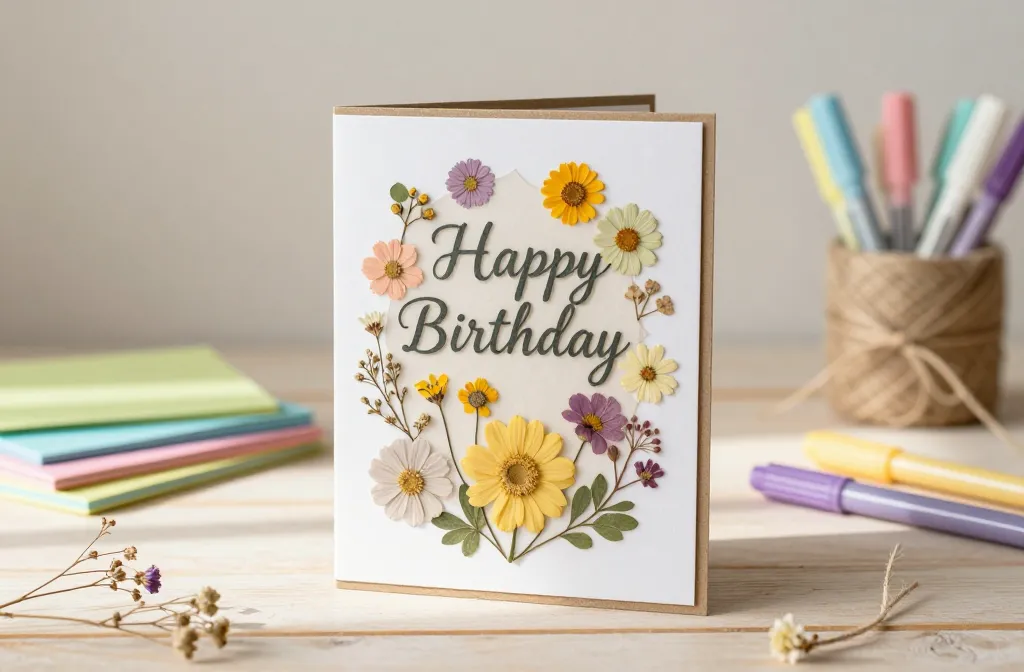
1. Pressed Flower Glassine Card: Delicate Floral Surprise
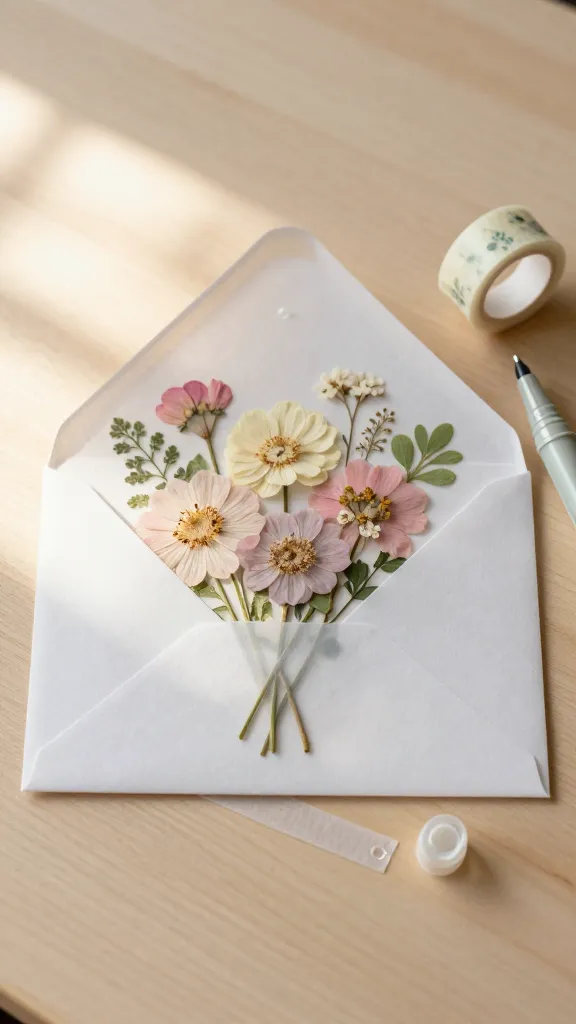
Imagine a card that feels like a tiny bouquet you can keep forever. This pressed flower glassine card delivers that ethereal, garden-fresh look in a single, elegant package. It’s light, airy, and totally Instagram-worthy.
Materials Needed
- Lightweight glassine envelopes
- Pressed flowers or blooms (tiny is best)
- Clear-drying glue or double-sided tape
- Colored cardstock for the base
- Fine-tip marker for a handwritten note
How to Make It
- Cut a piece of colored cardstock to card size, then slide a glassine window over it.
- Arrange pressed flowers on the glassine window and secure with a thin line of glue or tape.
- Write a short birthday message on the cardstock beneath.
- Seal with the glassine envelope and tie a string or ribbon for extra charm.
Pro Tips / Styling Ideas
- Keep blooms small and varied for a layered, delicate look.
- Pair soft pastels with a metallic ink for a modern twist.
- Use a wax seal for a luxe finish.
Who will love it / When to use
Best for nature lovers or anyone who adores a timeless, botanical vibe. Perfect as a spring birthday or a “thinking of you” moment.
2. Neon Tape Pop Card: Brighten Their Day
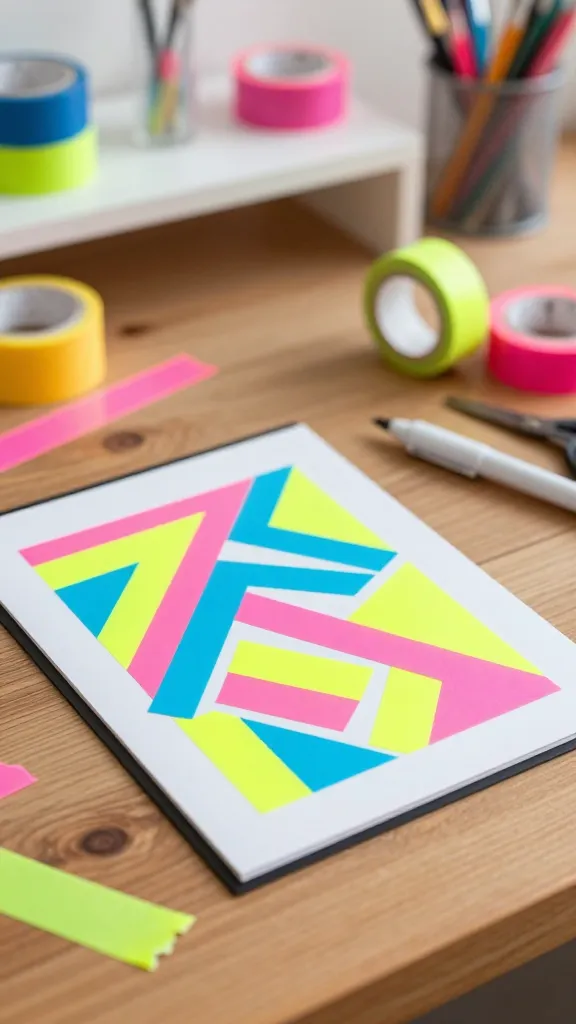
Say hello to bold color and high energy. This neon tape pop card uses vibrant washi or painter’s tape to create geometric patterns that shout “party time.” It’s cheerful, easy, and seriously satisfying to make.
Materials Needed
- Black or white card base
- Assorted neon washi or painter’s tape
- White gel pen for highlights
- Scissors
How to Make It
- Cover the front of the card with bold tape shapes—triangles, stripes, and blocks work great.
- Trim edges clean and add a quick handwritten birthday message in white ink.
- Optionally add a tiny confetti stamp in the corner.
Pro Tips / Styling Ideas
- Layer tapes at slightly offset angles for energy and movement.
- Keep the color palette cohesive for a chic, modern look.
Who will love it / When to use
Great for trendsetters, graphic lovers, or anyone who appreciates bold color statements. Ideal for a big milestone or just-because celebration.
3. Watercolor Wash Card: Soft, Mood-Lifting Hues
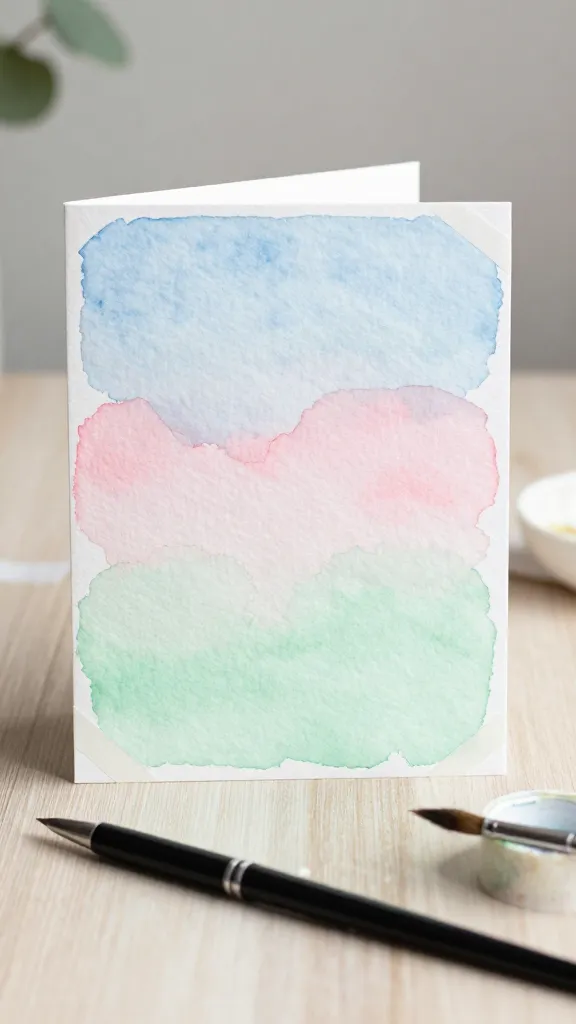
Soft, dreamy, and soothing—the watercolor wash card feels like a tiny art piece. It’s all about gentle gradients and a heartfelt sentiment. Seriously calming to paint and delightful to gift.
Materials Needed
- Watercolor paper folded into card
- Watercolors or watercolor markers
- Masking tape
- Black pen for a simple message
How to Make It
- Tape a few stripes or blocks on the card to guide color blocking.
- Apply light washes of color, blending softly as you go.
- Peel tape, add a short message, and doodle a tiny heart or star.
Pro Tips / Styling Ideas
- Use the same color family for a harmonious look.
- Dry brush a subtle gold edge for a luxe touch.
Who will love it / When to use
Perfect for best friends who adore art, calming aesthetics, or a gentle, heartfelt note.
4. Sailor’s Knot Card: Tie a Thoughtful Message
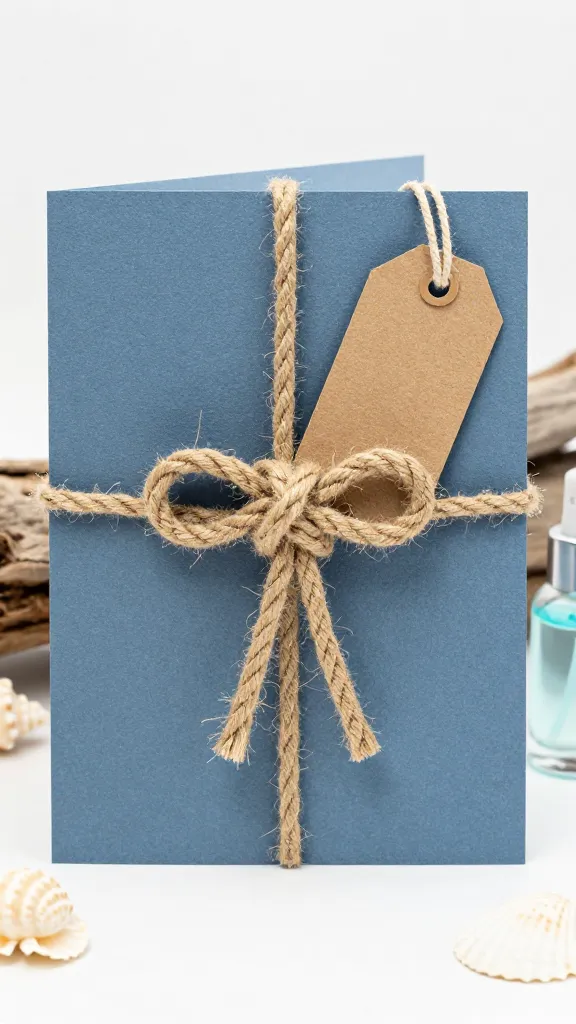
Texture, rope, and nautical vibes collide in this crafty little thank-you-for-being-you card. The sailor’s knot motif is both symbolic and stylish, making a memorable keepsake.
Materials Needed
- Card base in seafoam or navy
- Jute or cotton rope
- Mini tag or kraft paper for the message
- Glue and scissors
How to Make It
- Form a simple rope knot and glue it onto the front of the card.
- Attach a tiny tag with a handwritten birthday wish.
- Finish with a spritz of sea-scented perfume or a dab of blue paint for a nautical feel.
Pro Tips / Styling Ideas
- Wrap the rope around a folded corner for dimension.
- Pair with striped envelopes for extra charm.
Who will love it / When to use
Ideal for adventure buddies, sailors at heart, or anyone who loves a classic, rugged vibe.
5. Glitter Pop-Up Card: Sparkle That Surprises
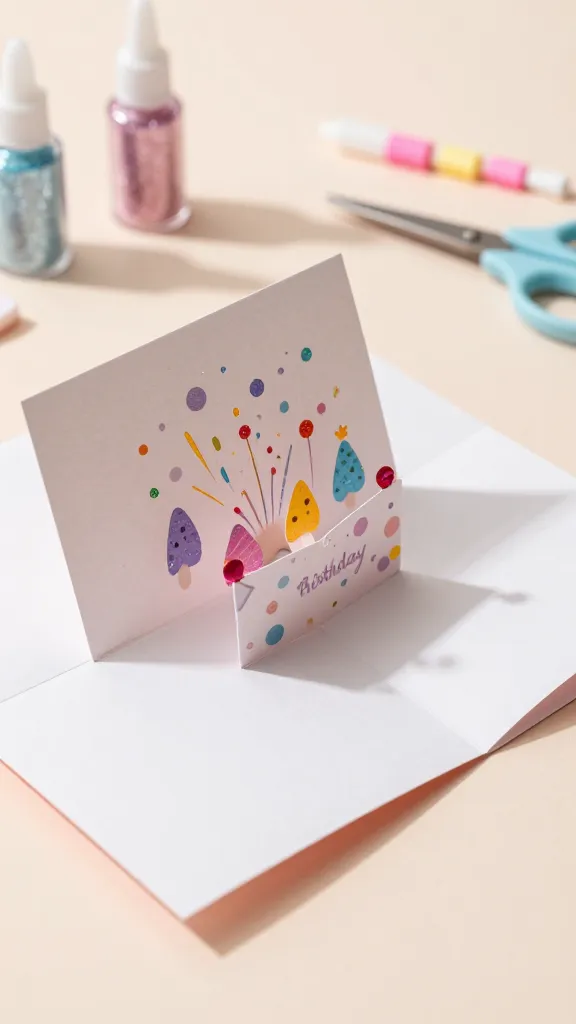
Who said cards can’t be a tiny party? This glitter pop-up card hides a mini burst of sparkle that springs to life when opened. It’s playful, celebratory, and definitely unforgettable.
Materials Needed
- Card stock in two coordinating colors
- Fine glitter or chunky glitter (choose color)
- Double-sided tape or glue dots
- Scissors and a craft knife
How to Make It
- Cut out a simple pop-up panel on the inside of the card that folds flat when closed.
- Decorate the front with glitter accents that align with the pop-up image.
- Fill with a small birthday message and close gently.
Pro Tips / Styling Ideas
- Seal glitter with a clear glue spray for less mess.
- Use a coordinating envelope liner for a wow reveal.
Who will love it / When to use
Best for friends who sparkle in social settings or anyone who loves a little theatrical flair.
6. Mini Photo Frame Card: A Tiny Keepsake Moment
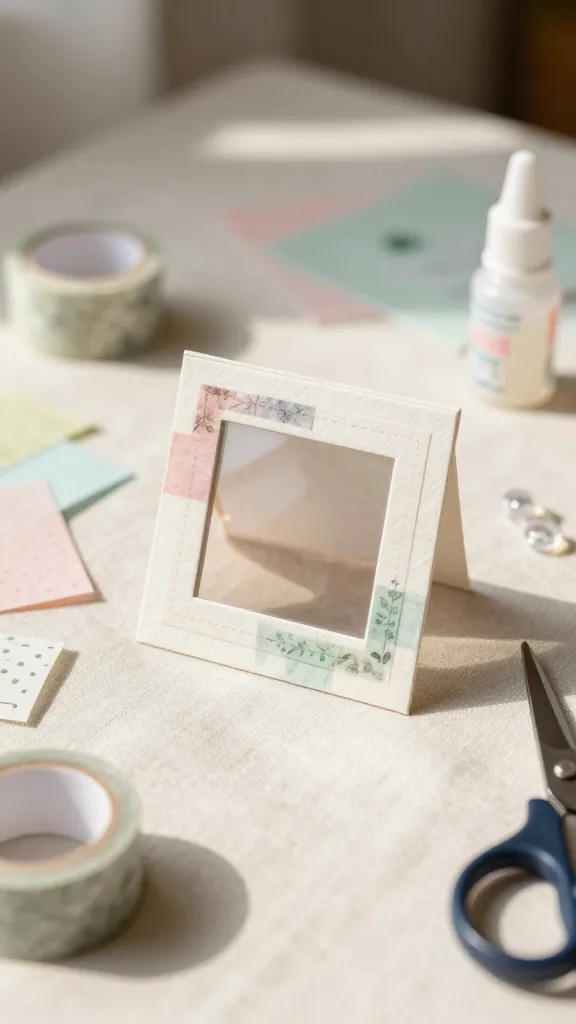
Turn a card into a tiny, wearable memory. This mini photo frame card holds a tiny photo or printed snippet, letting your friend carry a moment with them all day.
Materials Needed
- Card base with a window cutout
- Small photo or printed message (2×2 inches)
- Glue dots or double-sided tape
- Decorative paper or washi tape
How to Make It
Subscribe to DIY Craft Bloom
Get updates on the latest posts and more from DIY Craft Bloom straight to your inbox.
- Place the mini photo behind the window and secure with tape.
- Decorate the surrounding frame with color or texture.
- Write a short note on the back.
Pro Tips / Styling Ideas
- Use a polaroid-style border for instant nostalgia.
- Include a tiny ribbon tab for easy removal of the photo.
Who will love it / When to use
Perfect for long-distance besties or friends who cherish photos and memories.
7. Confetti Burst Card: Joy On Every Open
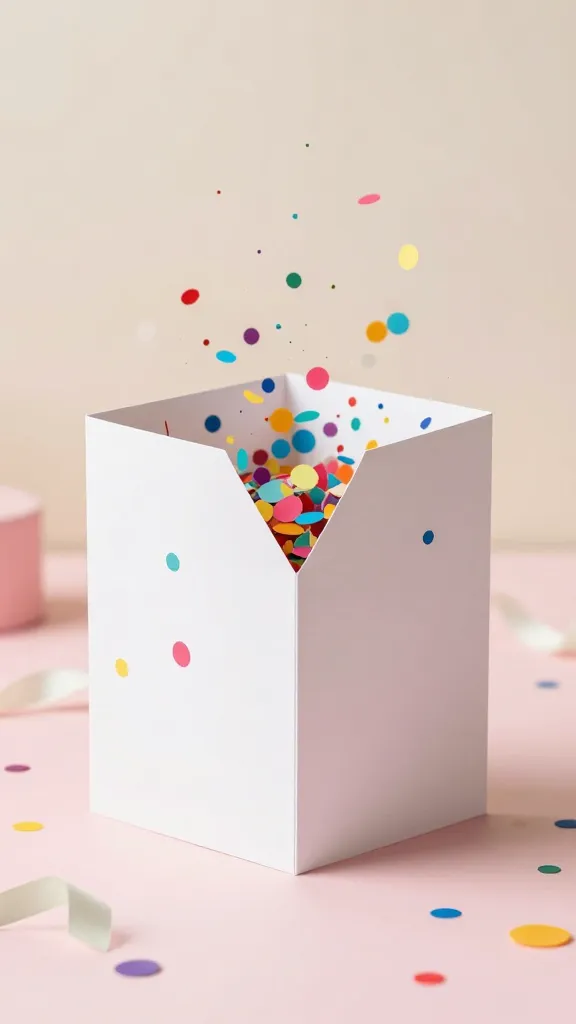
Confetti can brighten any day, and this card makes the moment feel like a tiny party. A burst of color pops when the card opens, giving your friend a joyful, celebratory surprise.
Materials Needed
- Card base in a bright color
- Confetti paper or punched shapes
- Window or shaker elements (optional)
- Glue or double-sided tape
How to Make It
- Fill a lightweight pocket inside with confetti shapes.
- Seal with a taped edge so confetti stays put until opened.
- Add a handwritten birthday message on the front.
Pro Tips / Styling Ideas
- Choose a confetti color palette that matches the card background.
- Seal with a clear adhesive to prevent mess when opened.
Who will love it / When to use
Great for the party planner in your life or anyone who loves a festive reveal.
8. Origami Bloom Card: Folded Floral Magic
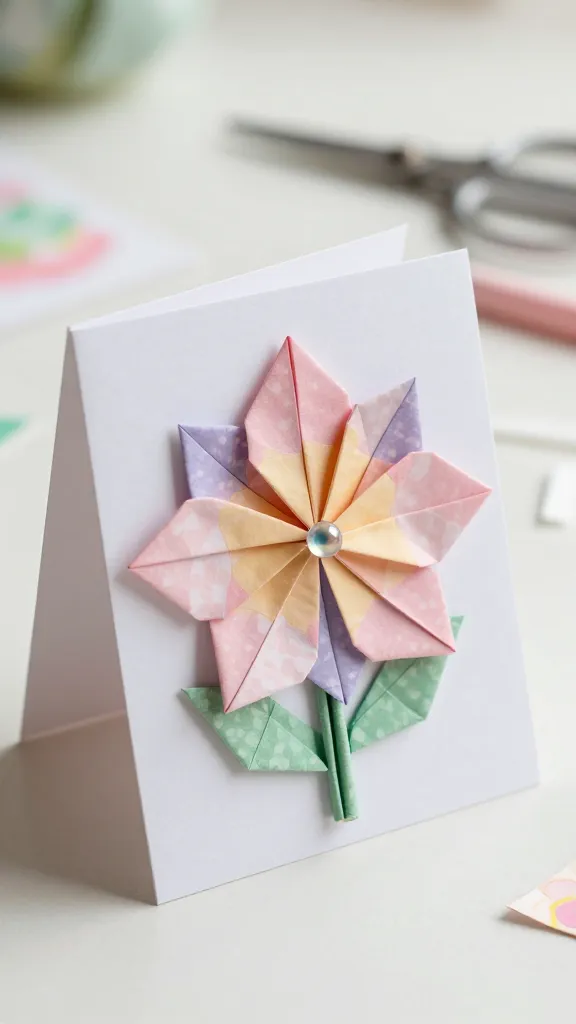
Want a card that doubles as a little sculpture? The origami bloom card opens to reveal a folded flower made from patterned paper. It’s whimsical, tactile, and totally unique.
Materials Needed
- Patterned origami paper
- Plain card stock for base
- Glue or double-sided tape
How to Make It
- Fold a cheerful origami flower and glue it to the card’s front.
- Write a short note beneath the bloom.
- Finish with a small axis or bead center for dimension.
Pro Tips / Styling Ideas
- Use complementary colors to keep the bloom poppy and bright.
- Provide a tiny origami step-by-step inside as a bonus activity.
Who will love it / When to use
Ideal for crafty friends who adore paper art and cute, hands-on keepsakes.
9. Scrappy Word Card: Your Message, Your Style
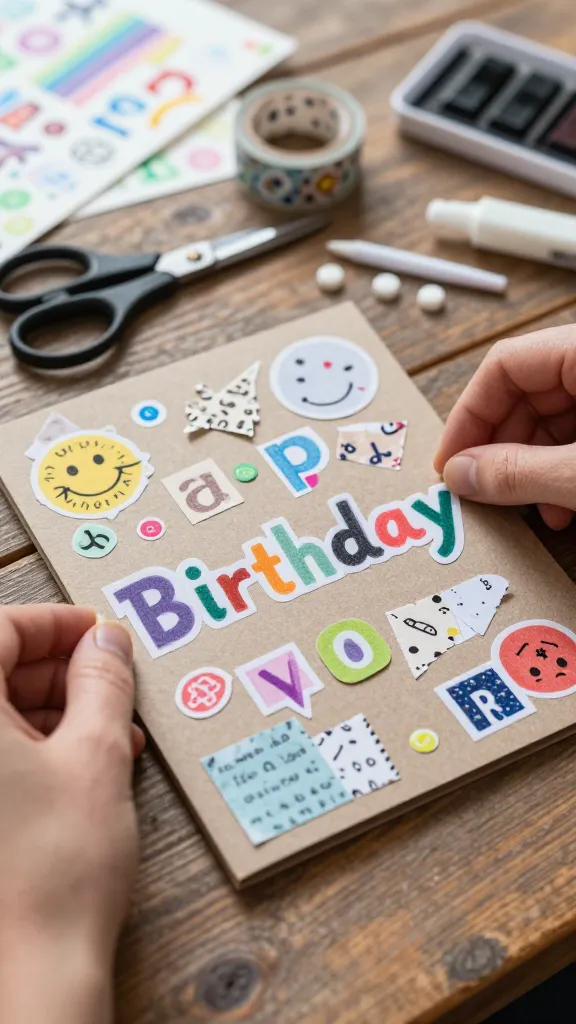
Turn a simple message into a collage of love. This scrappy word card uses leftover letter stickers, typographic scraps, and handwritten phrases to craft a one-of-a-kind tribute.
Materials Needed
- Card stock base
- Letter stickers or cut-out letters
- Washi tape and scrap paper pieces
- Glue
How to Make It
- Arrange words to spell a heartfelt birthday line.
- Glue pieces in place, leaving slight texture and overlap for character.
- Finish with a bold “Happy Birthday” stamp or hand-lettering on top.
Pro Tips / Styling Ideas
- Use a color-blocked letter palette to keep it cohesive.
- Include a tiny doodle or doodly border for whimsy.
Who will love it / When to use
Perfect for word lovers, journaling fans, or anyone who loves a personal, handmade vibe.
10. Velvet Touch Card: Soft Luxe Textures
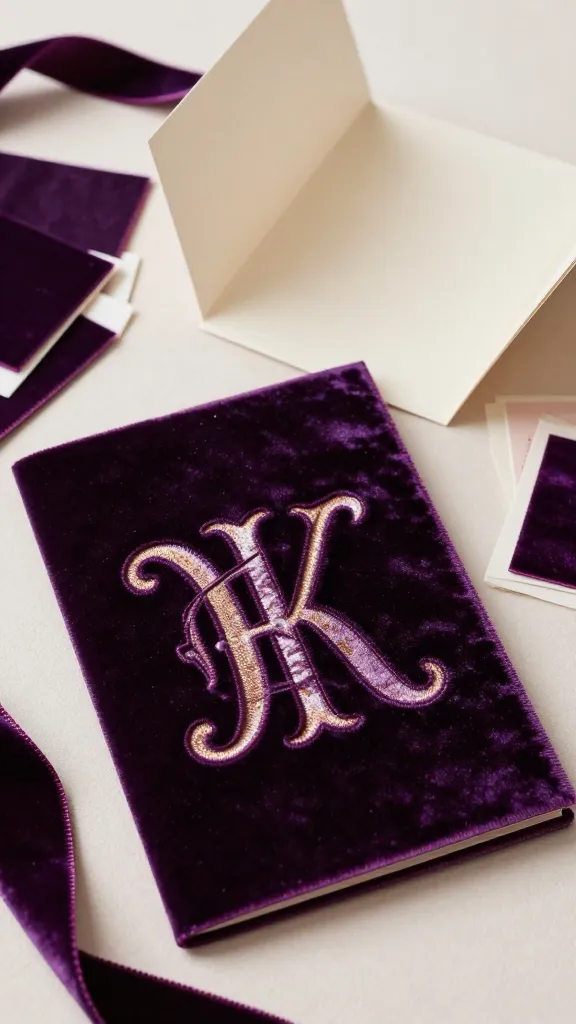
Texture makes a card feel luxe, and velvet adds a whisper-soft touch. This velvet touch card combines plush fabric with careful design for a refined, tactile surprise.
Materials Needed
- Card base in a rich color
- Velvet ribbon or small velvet swatches
- Adhesive sheets or glue
- Gold or silver foil pen
How to Make It
- Layer velvet to create a monogram or simple shape on the front.
- Accent with metallic handwriting or a tiny foil stamp.
- Write a warm birthday message inside.
Pro Tips / Styling Ideas
- Choose colors that pair with the recipient’s favorite palette.
- Seal velvet with a light spray adhesive to prevent shedding.
Who will love it / When to use
Great for friends who appreciate tactile luxury or a classy, understated birthday card.
11. Seed Paper Card: Grow a Wish
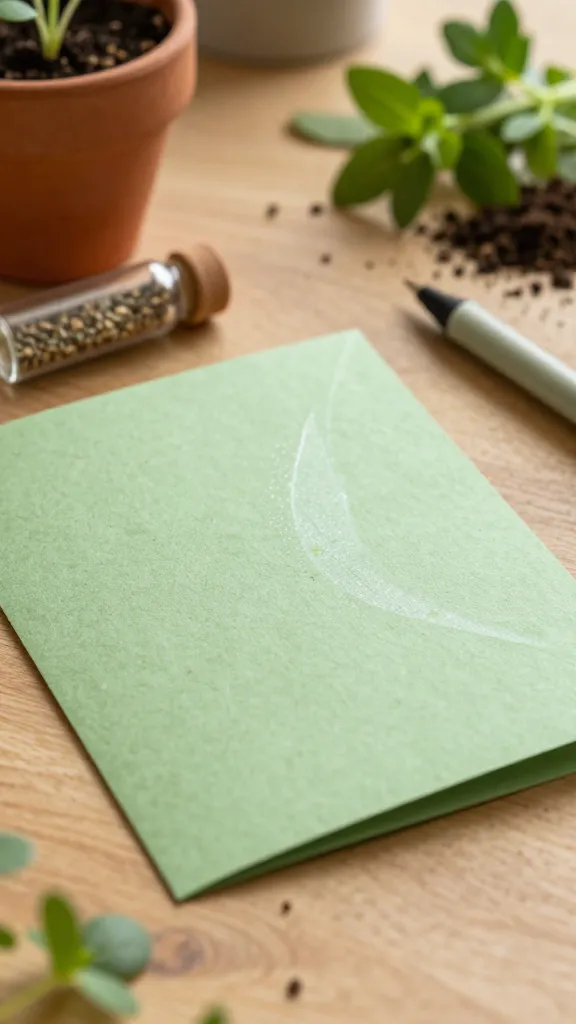
Give a card that literally grows. Seed paper embedded messages bloom into wildflowers or herbs when planted. It’s a thoughtful, eco-friendly gift that becomes a living memory.
Materials Needed
- Seed paper card stock
- Waterproof pen for writing
- Clear sealant spray (optional)
How to Make It
- Handwrite a birthday wish on the seed paper card.
- Spray a light sealant to preserve the writing and help with planting.
- Include planting instructions on the back for the recipient.
Pro Tips / Styling Ideas
- Pick flowers that bloom in the recipient’s season for best results.
- Decorate with a tiny seed-embedded envelope for extra charm.
Who will love it / When to use
Perfect for nature lovers, gardeners, or anyone who enjoys a small, living surprise.
12. Salted Card: A Salt-Amazing Textured Greeting
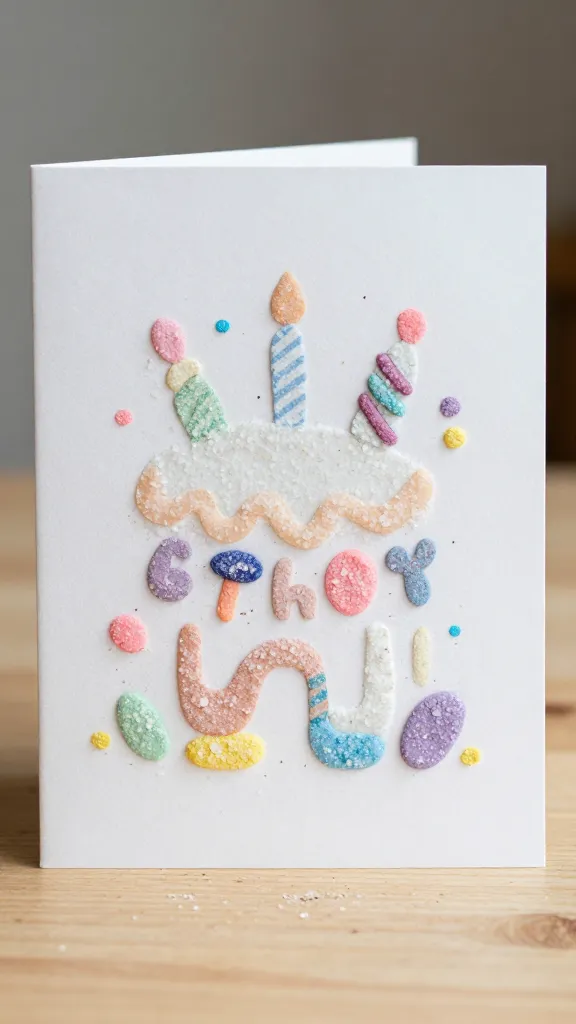
Texture meets whimsy in this salted card. By sprinkling a pinch of salt across a wet adhesive, you create a grainy, sparkly surface that catches light and curiosity.
Materials Needed
- Plain card stock
- Glue or glue stick
- Fine table salt or sparkle salt
- Colored pencils for design accents
How to Make It
Subscribe to DIY Craft Bloom
Get updates on the latest posts and more from DIY Craft Bloom straight to your inbox.
- Create a design with glue on the card front, then sprinkle salt while wet.
- Brush off excess and let dry, revealing a glistening texture.
- Add a tiny illustrated motif and a handwritten birthday message.
Pro Tips / Styling Ideas
- Keep the salt area small to prevent mess.
- Use a light color palette to emphasize texture.
Who will love it / When to use
Excellent for tactile enthusiasts or anyone who loves a subtle shimmering detail.
13. Origami Crane Card: Wishes in Flight
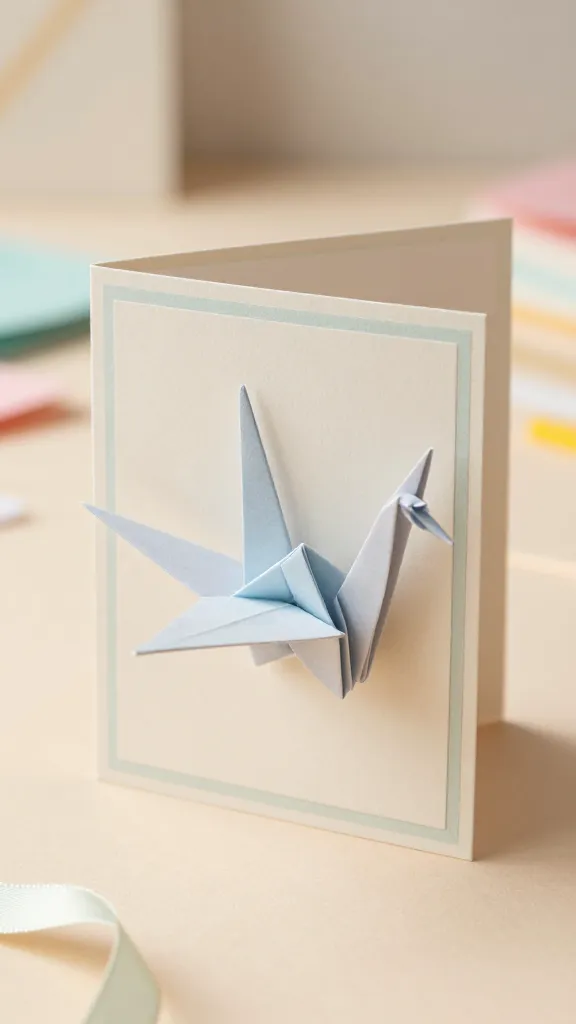
Lift a wish with an origami crane that doubles as a front-page focal. This card is delicate, hopeful, and a neat nod to traditional paper art.
Materials Needed
- Colored origami paper
- Plain card stock base
- Fine black pen for minimal detailing
How to Make It
- Fold a simple origami crane and mount it on the front of the card.
- Decorate with a subtle border and a short birthday message inside.
Pro Tips / Styling Ideas
- Use contrasting colors to make the crane pop.
- Include a tiny ribbon tail for extra whimsy.
Who will love it / When to use
Best for friends who love light, airy designs and symbolic gestures.
14. Polaroid Keepsake Card: Snapshots of Joy
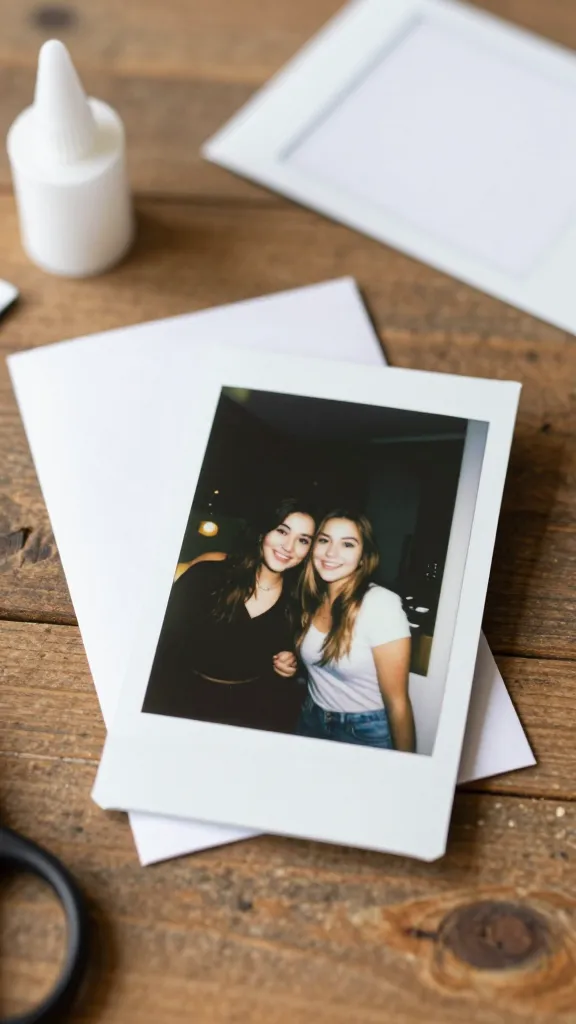
Turn a card into a mini gallery with a faux Polaroid frame. Slip in a small printed photo or a hand-drawn scene to capture a moment you two share.
Materials Needed
- Card base
- White paper for Polaroid frame
- Photo or illustration for the inside image
- Glue and scissors
How to Make It
- Cut a Polaroid-style frame and mount a photo or illustration inside.
- Adhere to the front of the card and add a caption below the frame.
- Write a message on the inside noting the memory you share.
Pro Tips / Styling Ideas
- Use a kraft envelope for a vintage vibe.
- Coordinate colors with the photo for a cohesive look.
Who will love it / When to use
Ideal for best friends who adore photos, memories, and a touch of nostalgia.
15. Stamp-and-Sparkle Card: Minimalist Chic
Sometimes less is more. This clean, stamp-first card uses a single bold stamp image and a sprinkle of sparkle for a modern, minimalist aesthetic.
Materials Needed
- Plain card stock
- One large stamp image (flower, heart, or initial)
- Metallic ink pad or glitter pen
- Clear top coat spray (optional)
How to Make It
- Stamp the chosen image in the center.
- Add a touch of shimmer with a metallic or glitter ink.
- Write a short, punchy message inside.
Pro Tips / Styling Ideas
- Choose a black-and-white base for a bold contrast.
- Use a matching metallic ribbon to tie it all together.
Who will love it / When to use
Perfect for minimalists, chic friends, or anyone who loves crisp design.
16. Pop-Culture Quote Card: Laughable and Lovable
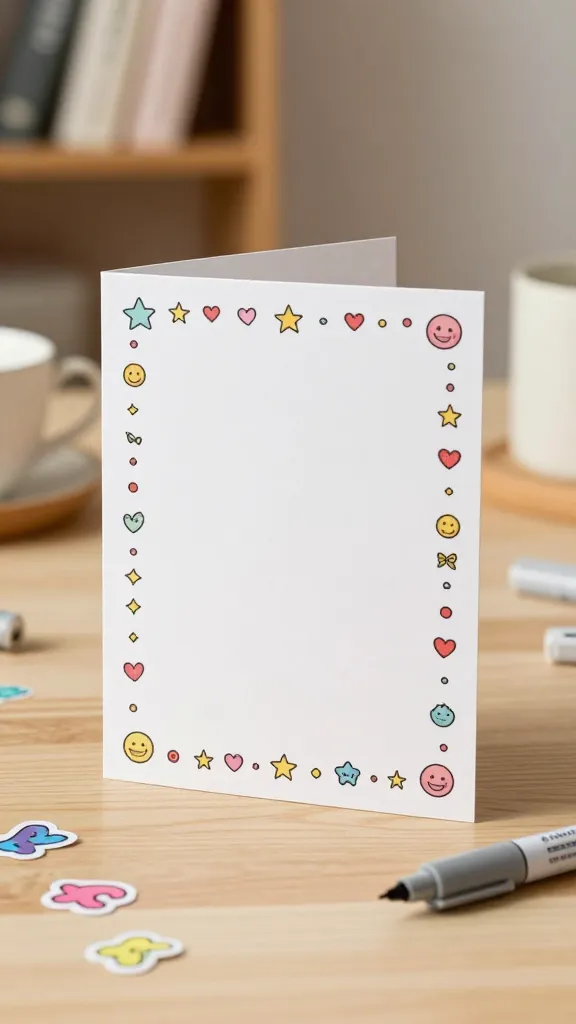
Capture your inside jokes with a pop-culture quote card tailored to your friend. A witty line can make a birthday card feel personal, playful, and unforgettable.
Materials Needed
- Card base
- Sticker letters or hand-lettering supplies
- Accent doodles or small illustrations
How to Make It
- Center a favorite quote or line on the front.
- Decorate with tiny doodles that reflect your friendship.
- Include a personal birthday note inside.
Pro Tips / Styling Ideas
- Play with font weights to emphasize key words.
- Keep the color palette aligned with your inside joke theme.
Who will love it / When to use
Fantastic for friends who adore humor, memes, or clever wordplay.
17. Rustic Card With Burlap Bow: Cozy and Charming
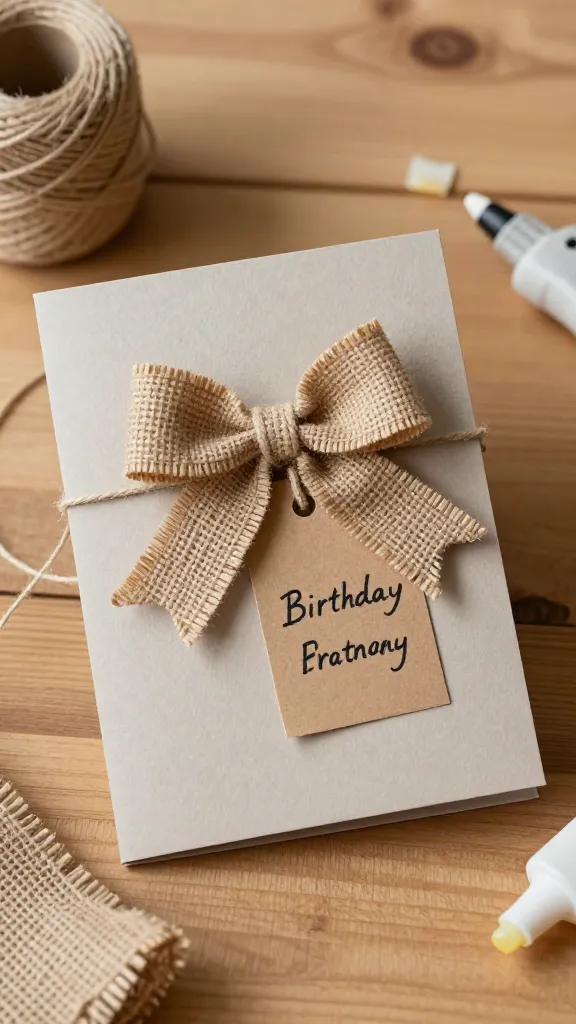
Wrap a birthday message in rustic charm. This burlap bow card adds texture and warmth, making it feel like a comforting, handmade hug in envelope form.
Materials Needed
- Card base in a neutral color
- Burlap ribbon or fabric scrap
- Twine and a small tag
- Glue gun or strong adhesive
How to Make It
- Affix a burlap bow to the front of the card.
- Attach a tiny tag with a handwritten birthday wish.
- Finish with a twine wrap across the front for a finished look.
Pro Tips / Styling Ideas
- Pair with kraft envelopes and natural twine for cohesive rustic vibes.
- Keep the rest of the card simple to let the bow shine.
Who will love it / When to use
Perfect for friends who adore homey, earthy aesthetics or a heartfelt, handmade touch.
Conclusion
With these 17 completely unique DIY birthday cards, you’ve got a full toolkit for delighting your best friend.
Each idea brings its own vibe—from botanical elegance to bold neon pops, tactile textures to tiny, memory-filled keepsakes.
Pick one (or a few) and start crafting—your friend’s smile will be totally worth it. Ready to try them all and pin favorites for later?
Let’s get those envelopes moving and make birthdays feel extra special this year.