17 Craft Ideas for Kids Age 8 That Don’t Feel Like Busywork

Eight is a tricky age for crafting. Toddler activities feel too simple, but plenty of tween projects call for tools or patience an 8 year old doesn’t have yet.
This list sits right in that middle ground, with craft ideas for kids age 8 that ask for real scissor work, real gluing, and just enough patience to feel like an accomplishment once it’s done.
Some of these use pantry basics like pasta and paper cups, others lean into pipe cleaners, cupcake liners, or a stack of craft sticks big enough to build an entire cottage.
A few take one sitting. One or two are better saved for a rainy weekend. What they all share is a finished project a kid will actually want to show off, not just a worksheet with glue on it.
Grab a bag of googly eyes and start wherever catches your eye first.
Eight-year-olds are curious, imaginative, and full of ideas. Crafting allows them to bring those ideas to life while learning new skills.
Whether they’re painting, cutting, or building, these projects are designed to be fun, educational, and easy to complete.
If you’re looking for more creative inspiration, check out these craft ideas for kids.
What You Might Need
Before starting, gather these essential materials:
- Colored paper, foam sheets, and cardboard
- Non-toxic glue, safety scissors, and tape
- Acrylic paints, brushes, and markers
- Air-dry clay or playdough
- Recycled materials like bottles, jars, and buttons
- Googly eyes, pipe cleaners, and pom-poms
- Beads, string, and fabric scraps
Now, let’s get started on these fun and easy craft ideas!
1. Wheel Pasta Turns Into a Whole Patch of Painted Pumpkins
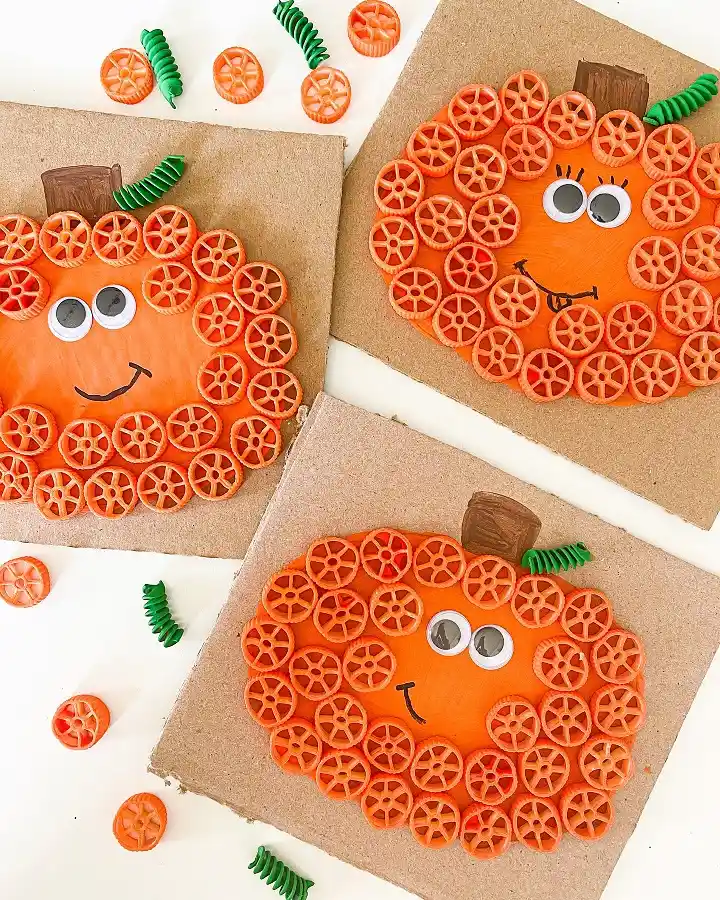
Wheel pasta pumpkins are proof that a bag of dry noodles beats a bag of foam shapes for this age group.
Here, wheel-shaped pasta gets painted orange and pressed edge to edge around a hand painted pumpkin base, so the ridges do the shading work a marker never could.
A folded brown stem and one curled green vine finish each one, and googly eyes give every pumpkin its own personality.
Kids this age can usually handle the gluing part without much help, since the pasta pieces are big and forgiving to place.
The slow part is the paint drying before gluing starts, so plan for two short sessions instead of one long one.
2. A Fuzzy Paper Turtle Balances on Four Cone Feet
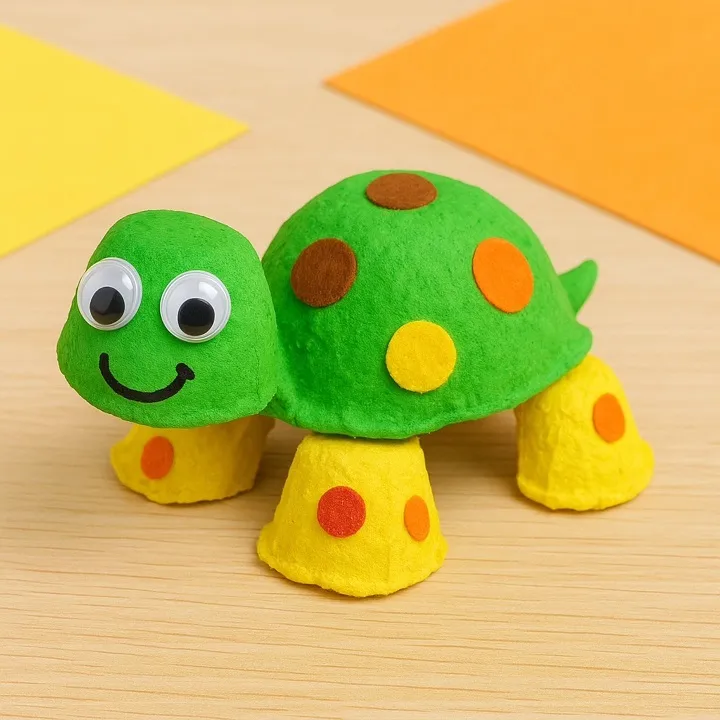
Turtles built from rounded paper mache shapes have a soft, matte texture that plain construction paper cannot fake.
A domed green shell sits on a smaller domed head, and four cone shaped feet in bright yellow hold the whole thing up like little pillars.
Felt circles in brown, orange, and yellow become the shell spots, a pair of googly eyes go on the head, and a simple curved smile finishes the face.
This one leans more toward assembly than drawing, which suits kids who get bored with coloring pages but still want a finished character to show off.
The trickiest part is getting the four feet to sit level so the turtle does not wobble.
Let the dome shapes fully dry before gluing on the felt spots, so a stray fingerprint does not dent the shell.
3. A Cupcake Liner Sun Lights Up This Pop-Up Beach Card
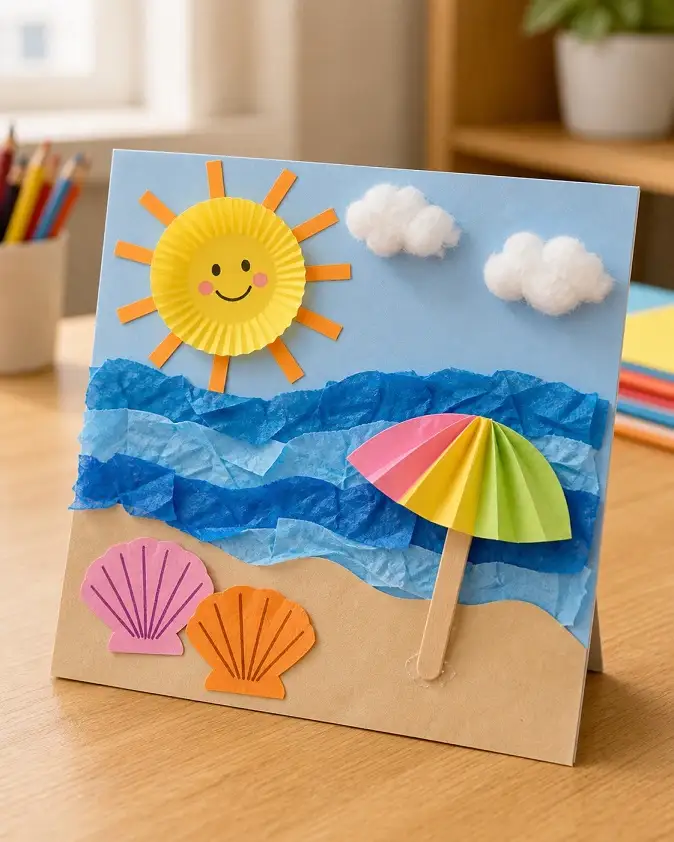
Cupcake liners are the trick behind the sun on this one. A yellow liner gets flattened and layered over paper triangle rays, then a smiling face and rosy cheeks get drawn right on top, so the sun looks fuller and more textured than a plain paper circle would.
Below it, torn strips of blue tissue paper ripple across the card like waves, cotton balls become soft clouds, and a folded paper fan glued to a craft stick stands in as a beach umbrella.
The card is built to stand on its own, which makes it a nice one to send rather than just display.
Tissue paper wrinkles easily, so pressing each strip flat before gluing keeps the waves from looking too crumpled.
Subscribe to DIY Craft Bloom
Get updates on the latest posts and more from DIY Craft Bloom straight to your inbox.
4. Four Paper Cups Turn Into a Menu of Fruity Summer Drinks
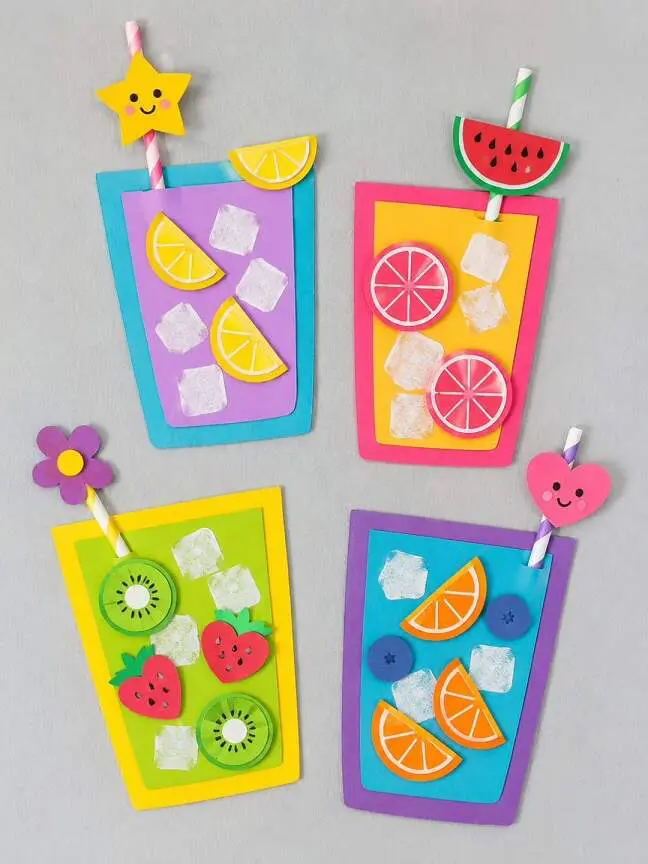
Four paper “glasses” here each get their own fruit theme, lemonade, pink grapefruit, kiwi and strawberry, and orange with blueberry, so a single template turns into a set instead of one repeated craft.
Layered cardstock mats give each cup a bold double border, paper ice cubes get a light texture drawn on so they read as ice instead of flat squares, and a striped paper straw pokes out the top of each one, topped with a foam charm like a star or a watermelon slice.
Because the shapes repeat, this is a good one for practicing scissor control on the fruit slices without it feeling repetitive, since the colors change every time.
Glue a smaller cardstock rectangle onto a larger colored mat for a bold border.
Glue on paper ice cubes first, then the fruit slices on top so they sit above the ice.
Slide a paper straw behind the cup and glue a small foam charm to the top.
5. DIY Nature Collage
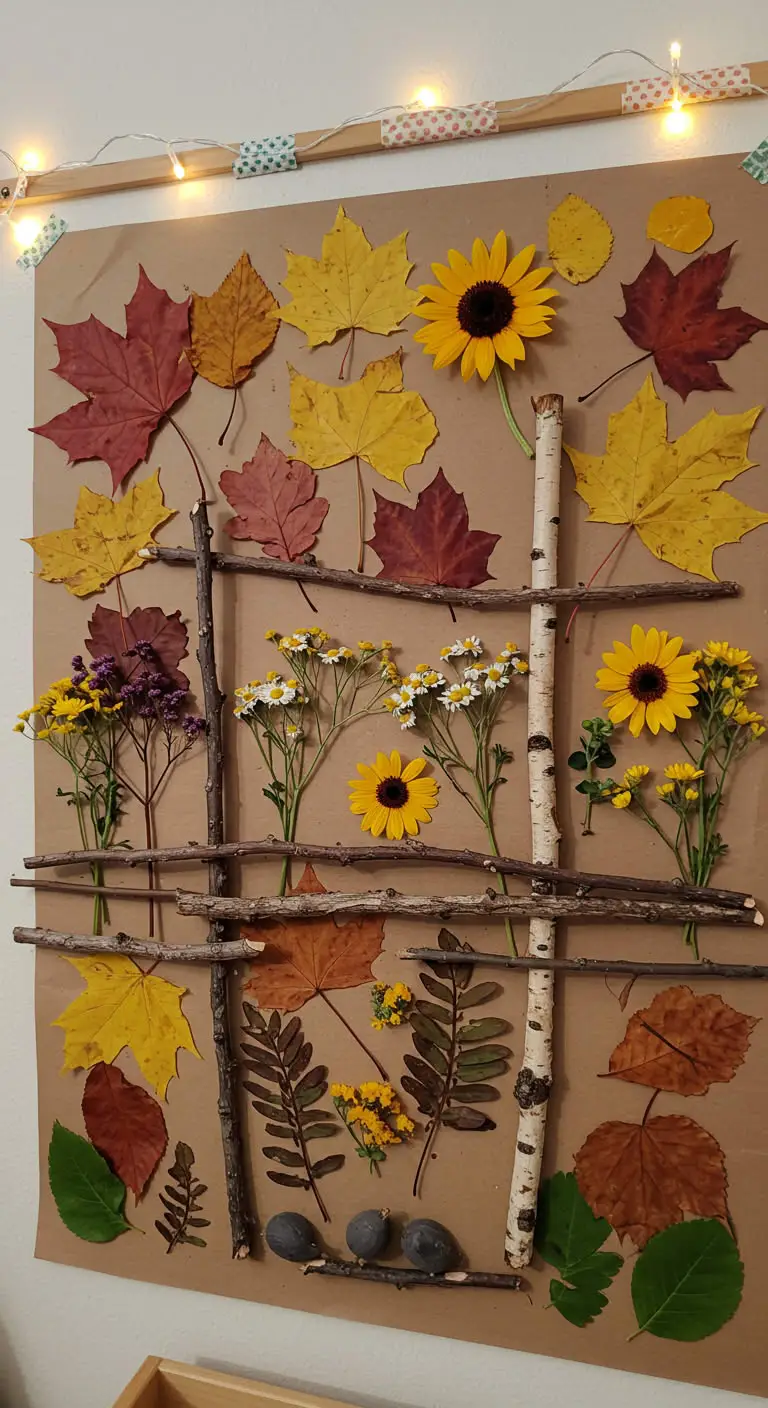
A nature collage is a great way for kids to explore the outdoors and get creative with natural materials.
How to Make It
- Collect leaves, twigs, and flowers from the backyard.
- Arrange them on a piece of cardboard or thick paper.
- Glue everything in place and add extra decorations like glitter or paint.
Picture This
A beautiful collage filled with colorful leaves, twigs, and flowers, proudly displayed on the wall.
6. A Polka Dot Watering Can Pours Out a Pipe Cleaner Rainbow
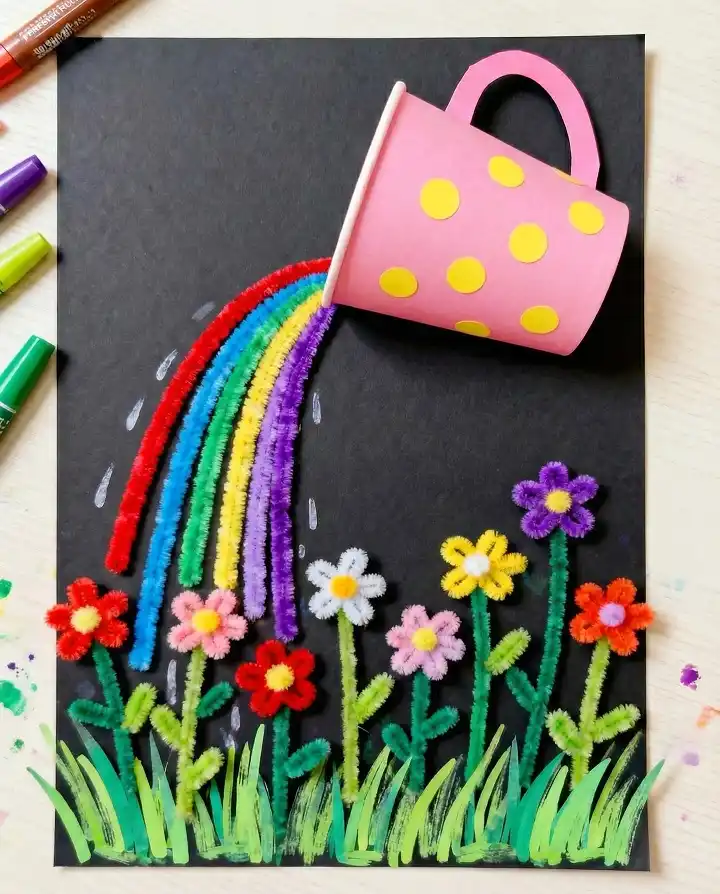
Black cardstock is the real secret weapon in this one, since it makes every bent pipe cleaner glow against the dark background instead of blending into a white page.
A pink paper cup gets folded into a watering can shape with a punched handle and yellow polka dots, then five colors of pipe cleaner curve out of the spout like a rainbow, with a few white paint drops added for splash.
Down below, eight small pipe cleaner flowers with pom pom centers stand in hand drawn grass.
Twisting pipe cleaner petals takes a bit of finger strength, so this one is a good match for kids who are past the frustration stage with fiddly materials.
7. Triple Scoop Paper Cones Stack Sprinkles Three Colors Deep
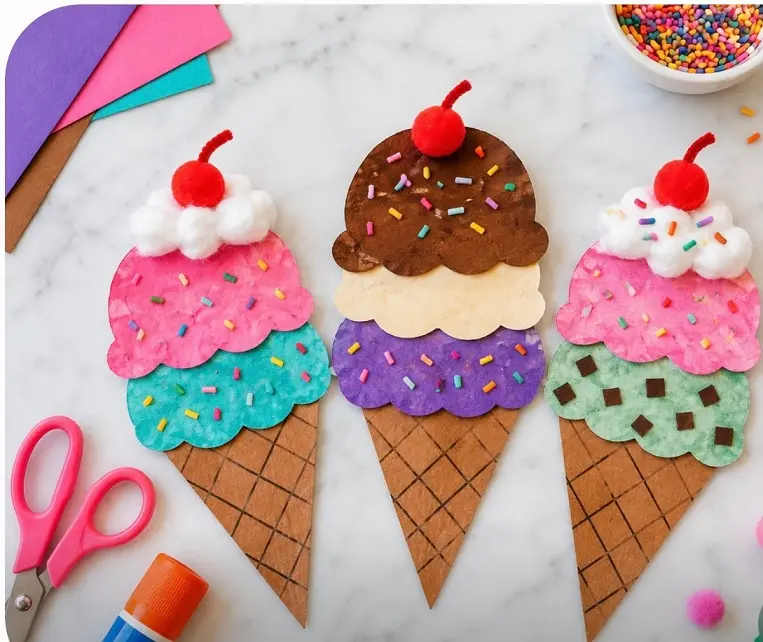
Ice cream cones built from paper only work if the cone actually looks like a cone, and this set gets there with a hand drawn grid pattern on brown paper, mimicking a waffle texture without needing real texture at all.
Above it, two or three scalloped “scoop” shapes stack in colors like teal, pink, and chocolate, with tiny paper sprinkle pieces scattered across each one and a cotton ball swirl of whipped cream on top.
A red pom pom on a bent pipe cleaner stem finishes every cone as the cherry.
Cutting the scalloped scoop edges is the most detailed part, so kids who are still building scissor confidence might do better with slightly rounder, less bumpy scoops.
8. Cupcake Liners Fold Into Petals for a Paper Plate Sunflower
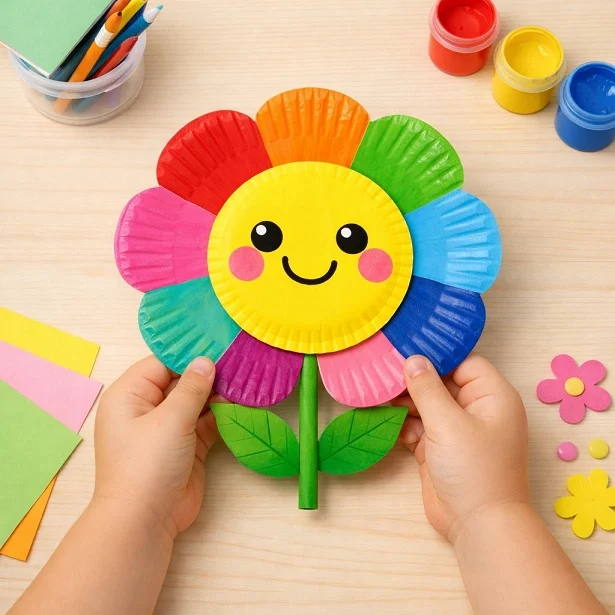
Paper plates get flattened cupcake liners glued around the rim here, and the pleats already built into the liners do all the petal texture work without a single line of shading.
A painted paper plate center holds a simple smiley face with drawn on blush, and a rolled paper stem with two leaves gives the whole flower something to hold onto.
The petals go around in a loose rainbow order, though nothing about the pattern has to be exact.
Watch out for liners that still have their cupped shape left in, since they tend to pop back up off the glue. Pressing each one flat under a book for a minute before attaching keeps the ring looking neat.
9. DIY Tissue Paper Stained Glass Art
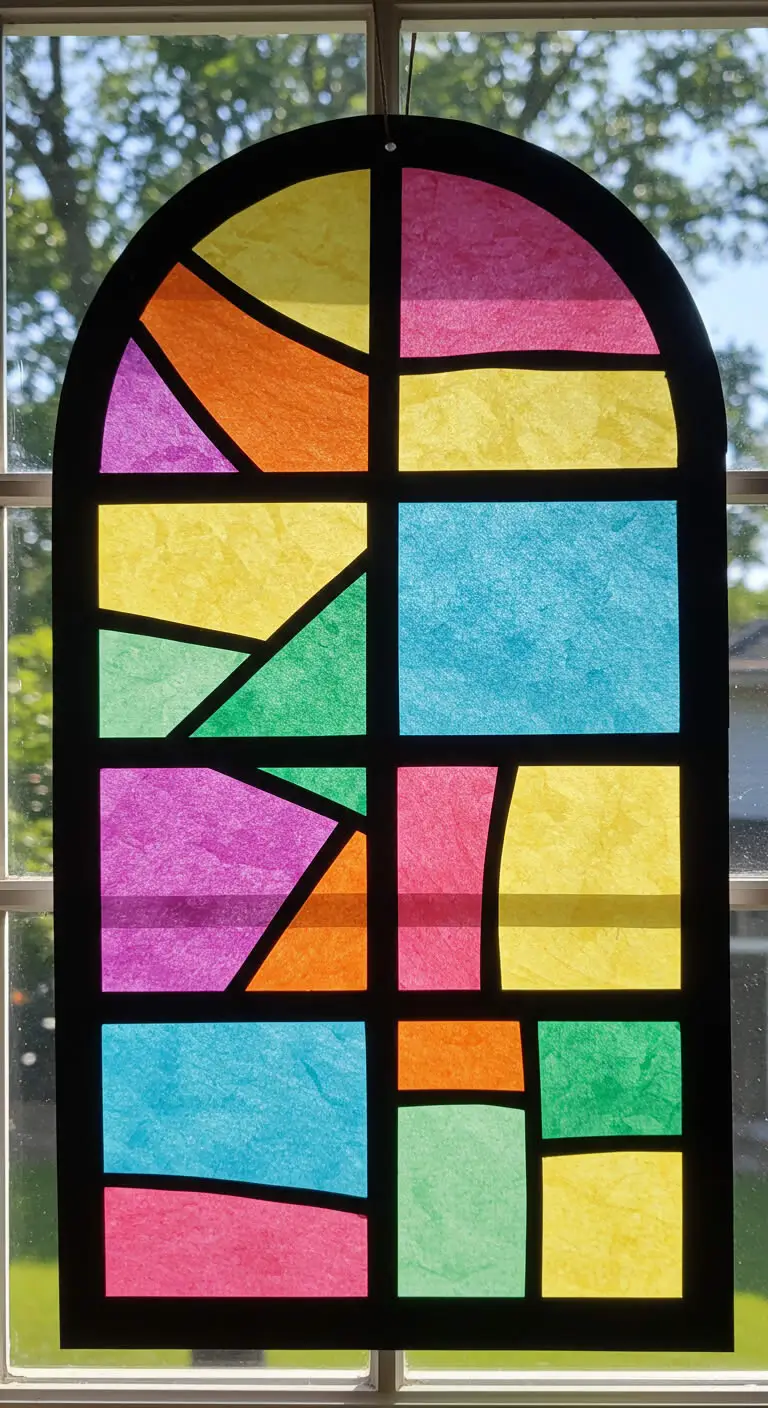
This craft creates a beautiful “stained glass” effect using tissue paper.
How to Make It
- Cut out a frame from black paper.
- Glue colorful tissue paper pieces inside the frame.
- Hold it up to a window to see the light shine through.
Picture This
A vibrant tissue paper “stained glass” window hanging in a sunny spot, glowing with bright colors.
10. A Craft Stick Cottage Is the Big Project of the Bunch
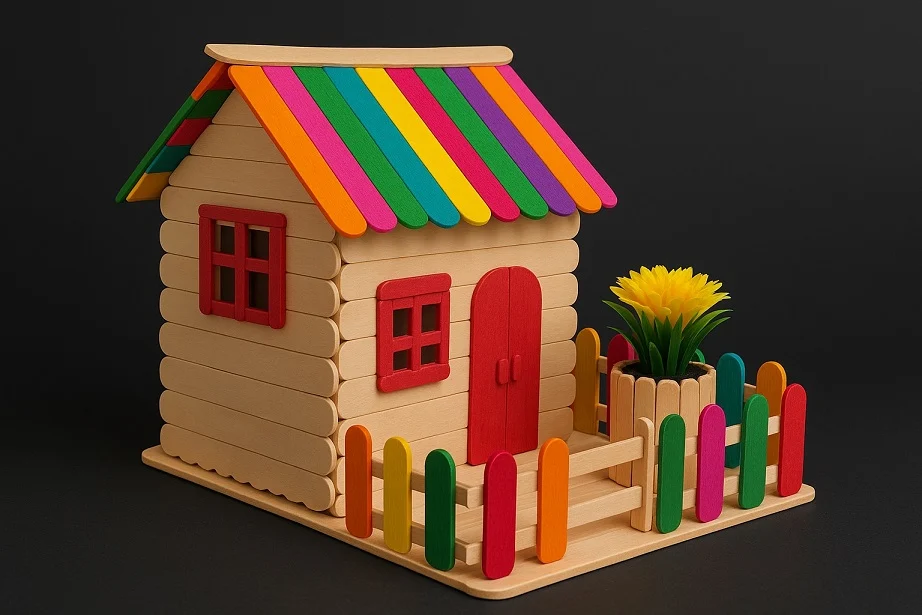
Craft sticks stacked like log cabin walls are what set this one apart from every other entry on this list, since it takes real patience rather than one sitting to finish.
Natural wood sticks build the walls and base, a rainbow of painted sticks fan out into a striped roof, and a bright red door with a matching cross paned window give the front some personality.
A tiny picket fence made from more painted sticks wraps around a small planted flower out front.
Subscribe to DIY Craft Bloom
Get updates on the latest posts and more from DIY Craft Bloom straight to your inbox.
This is the project to save for a rainy weekend rather than a quick afternoon, since the glue on each layer of wall needs time to set before the next row goes on.
11. DIY Paper Mache Bowls
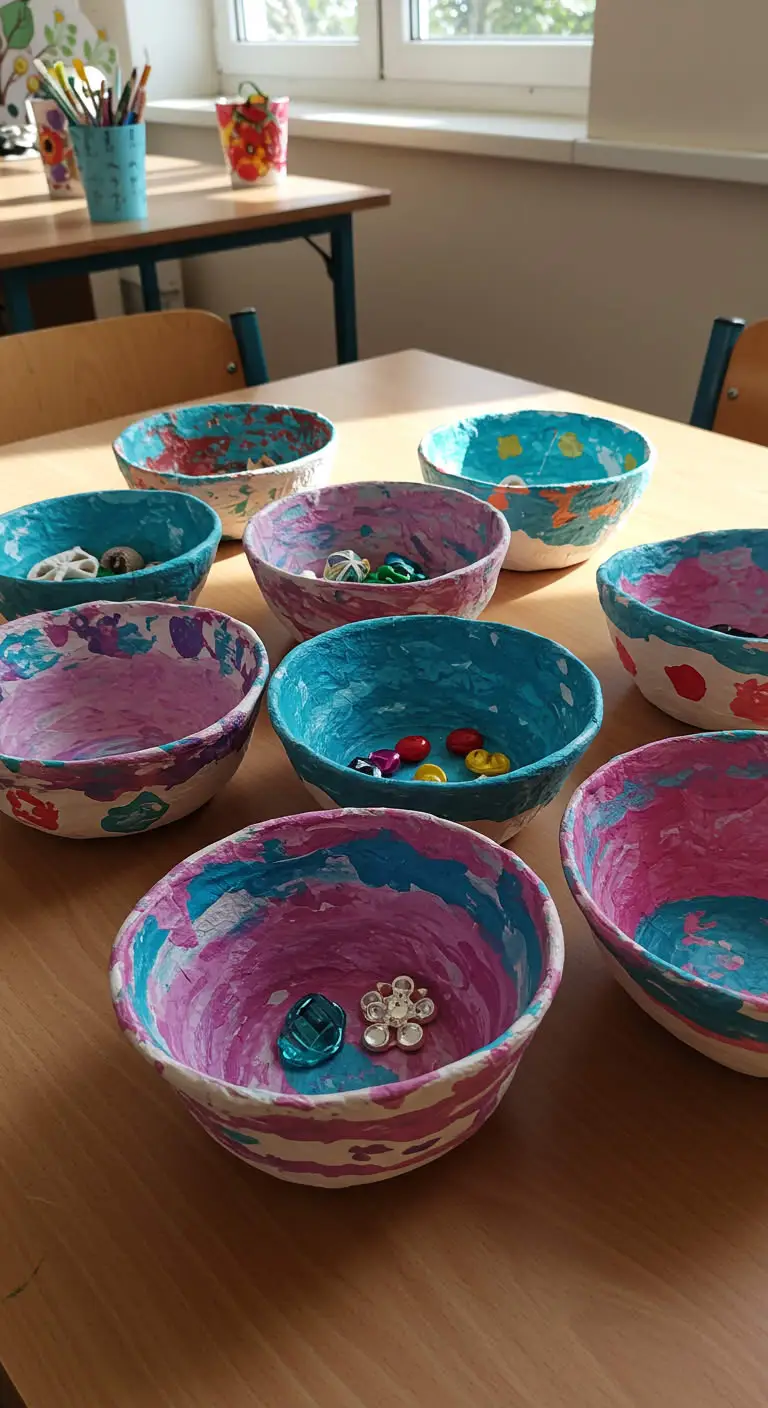
Paper mache bowls are a fun, hands-on activity that allows kids to shape and paint their own unique bowls.
How to Make It
- Blow up a small balloon to use as the bowl mold.
- Mix flour and water to create paper mache glue.
- Dip newspaper strips in the glue and layer them over the balloon.
- Let dry, pop the balloon, and paint for decoration.
Picture This
A set of colorful, hand-painted paper mache bowls sitting on a desk, ready to hold small treasures.
For more creative projects, check out these aesthetic craft ideas for desk.
12. Bottle Cap Stamps
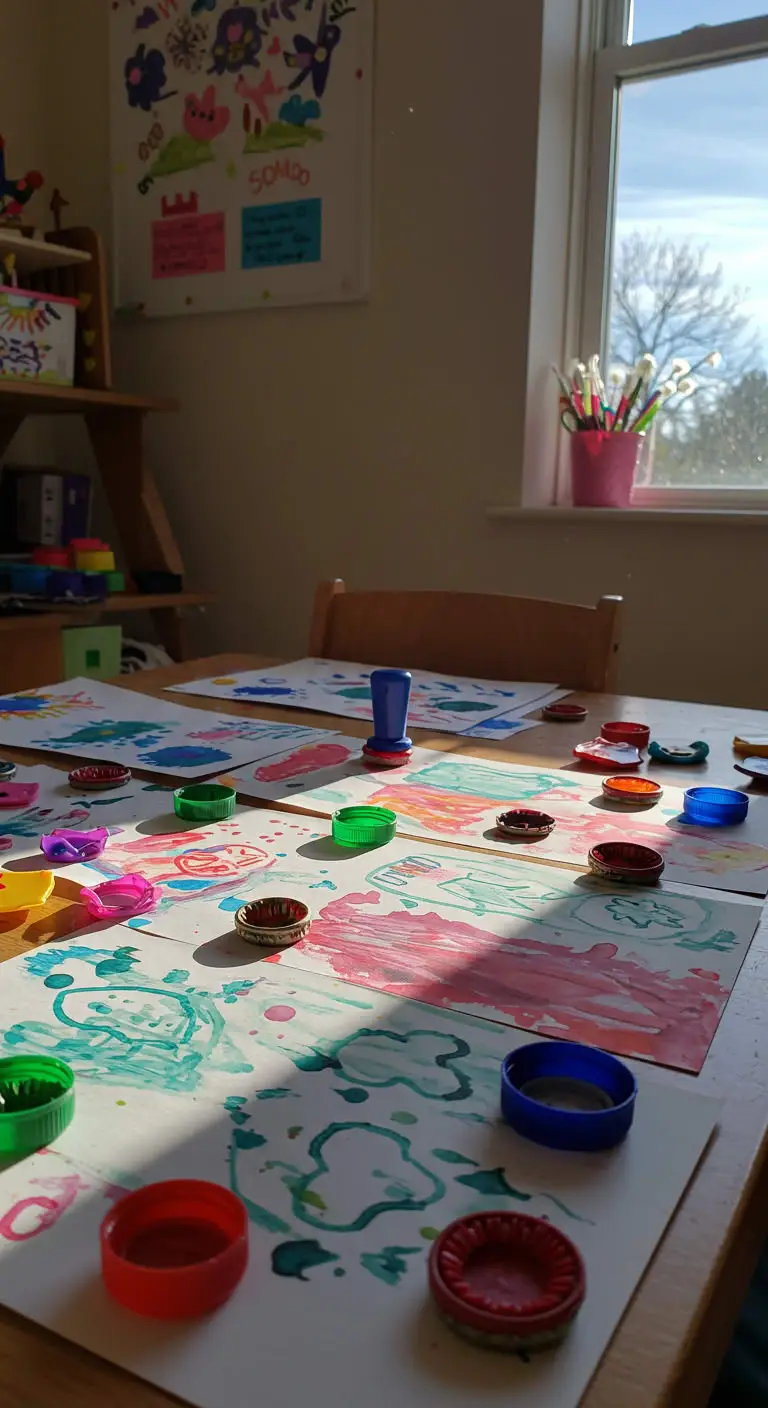
Bottle caps can be turned into fun stamps for painting.
How to Make It
- Glue foam shapes onto bottle caps.
- Dip in paint and press onto paper to create patterns.
- Make fun designs like stars, hearts, and animals.
Picture This
A table covered in colorful stamped artwork, created using bottle cap stamps. For more upcycling crafts, check out these bottle craft ideas creative.
13. Rainbow Salt Jars
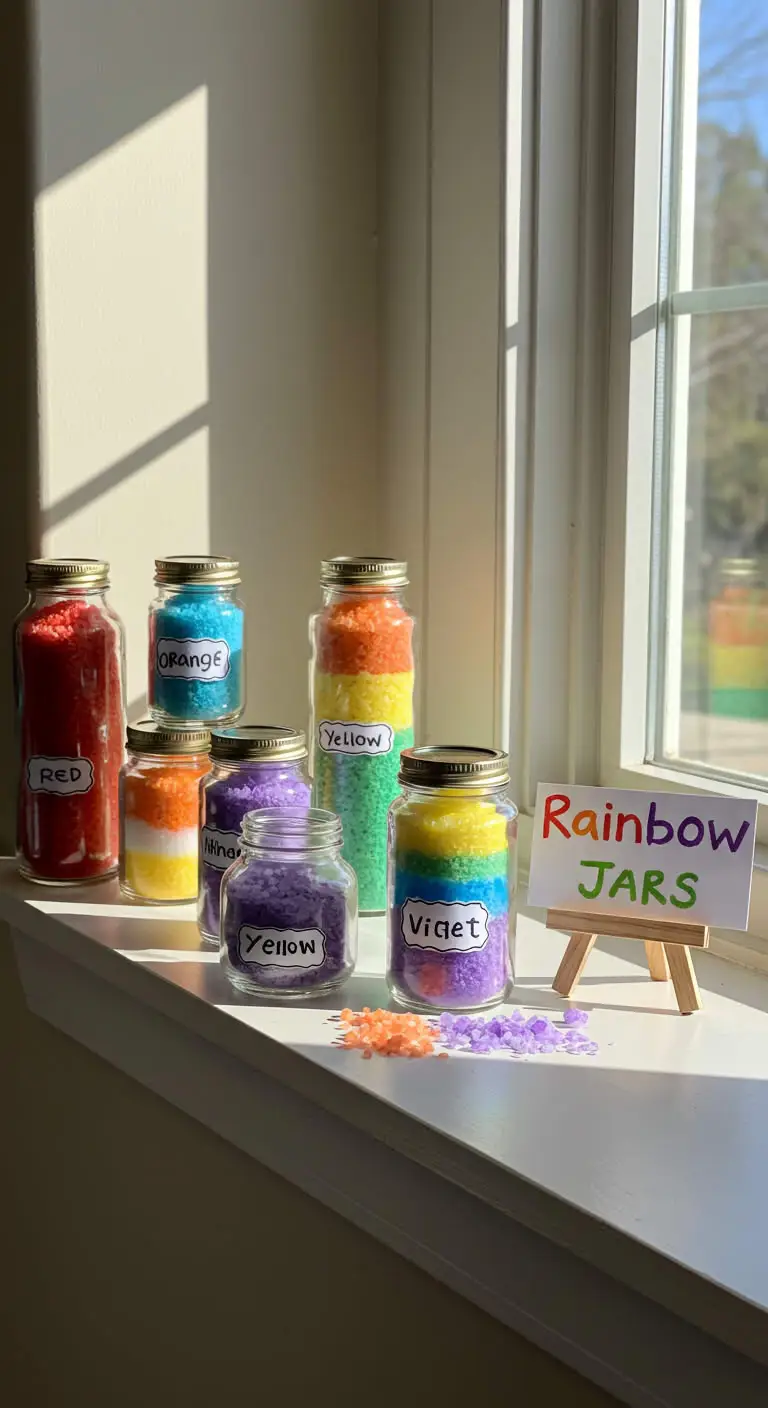
Layered salt jars are a fun way to mix colors and create decorative pieces.
How to Make It
- Pour salt into small bowls and mix with chalk or food coloring.
- Layer the colored salt in a clear jar.
- Close the jar and shake to see the colors blend.
Picture This
A set of rainbow salt jars lined up on a windowsill, creating a colorful display.
14. Paper Quilling Art
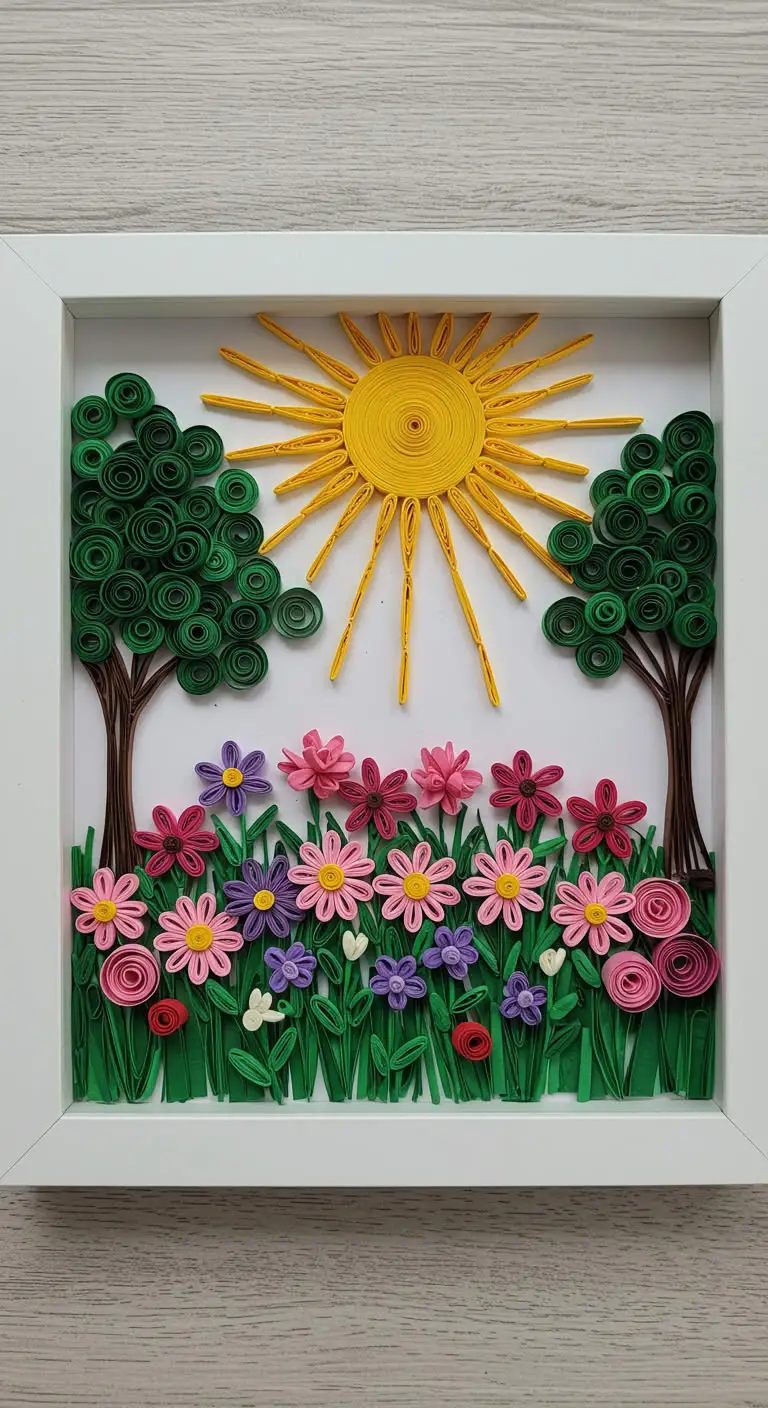
Paper quilling is a fun way to create decorative designs with rolled paper.
How to Make It
- Cut thin strips of colored paper.
- Roll them tightly and shape into flowers, spirals, or animals.
- Glue them onto a card or canvas to create a masterpiece.
Picture This
A framed piece of quilled artwork featuring a bright sun, trees, and flowers. For more easy craft ideas, check out these aesthetic craft ideas easy.
15. Glow-in-the-Dark Lanterns
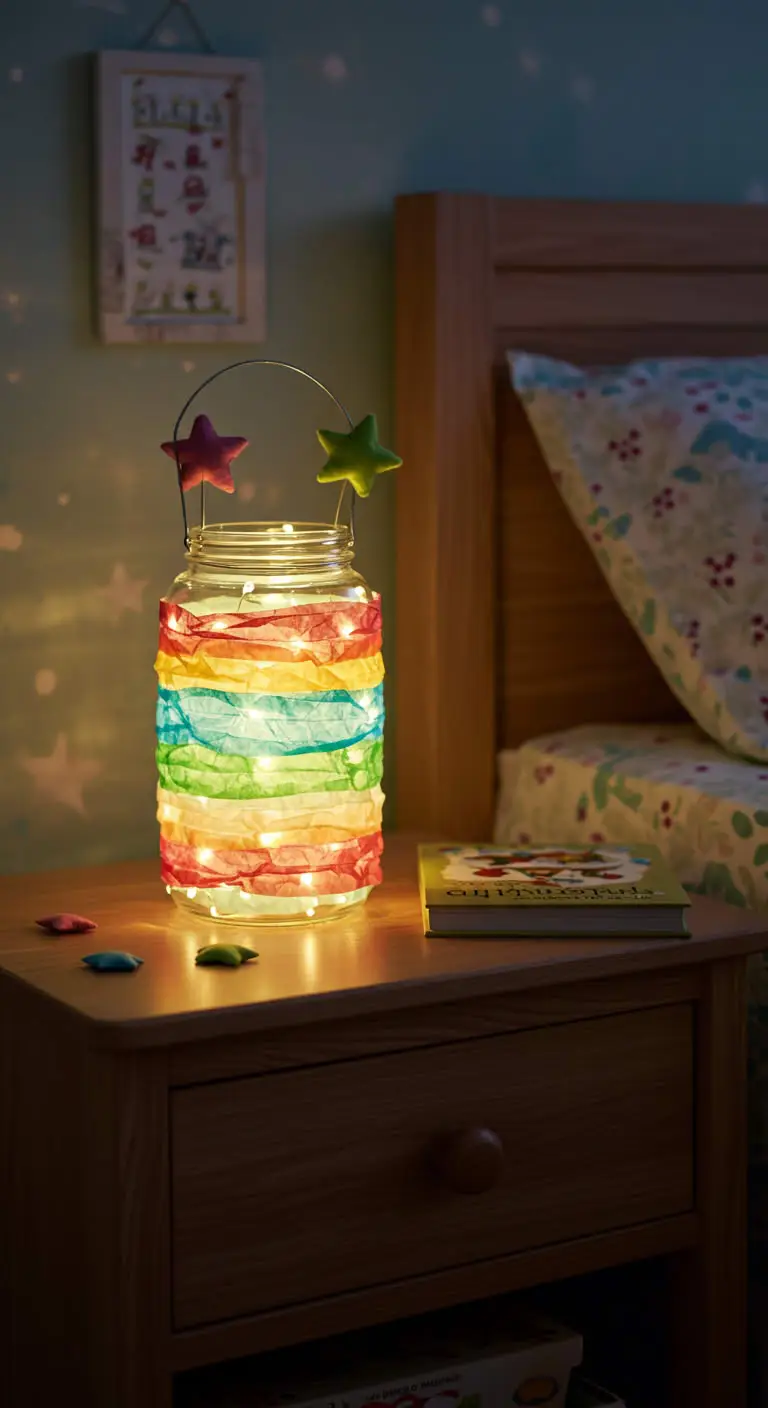
Let kids create glowing lanterns for their bedroom using recycled jars.
How to Make It
- Paint the inside of a glass jar with glow-in-the-dark paint.
- Let it dry, then place a small LED candle inside.
- Enjoy the glowing effect at night.
Picture This
A glowing lantern sitting on a nightstand, casting a soft, magical light in the room.
16. Beaded Name Bracelets
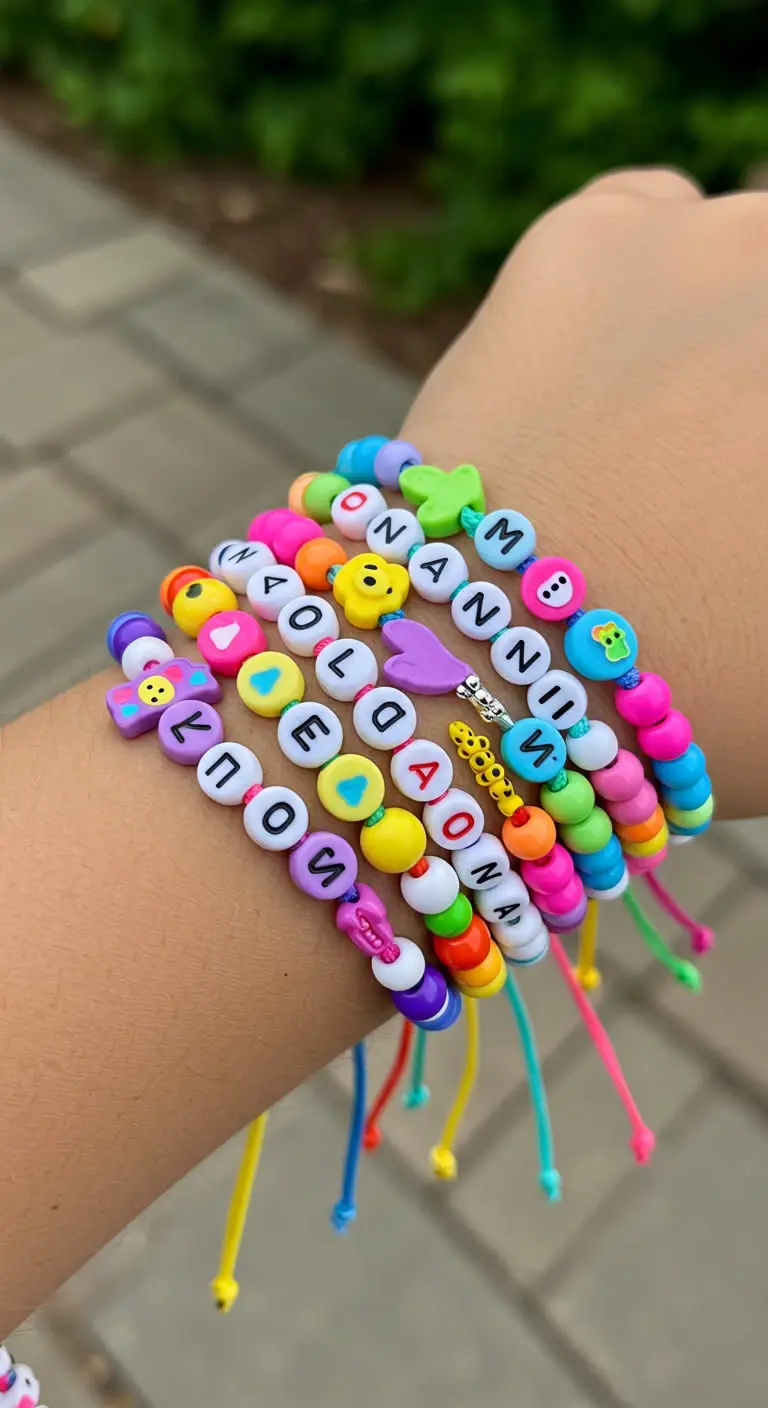
Kids can create personalized bracelets with beads and letter charms.
How to Make It
- String beads onto an elastic cord.
- Add letter beads to spell out names or fun words.
- Tie the ends securely and wear proudly.
Picture This
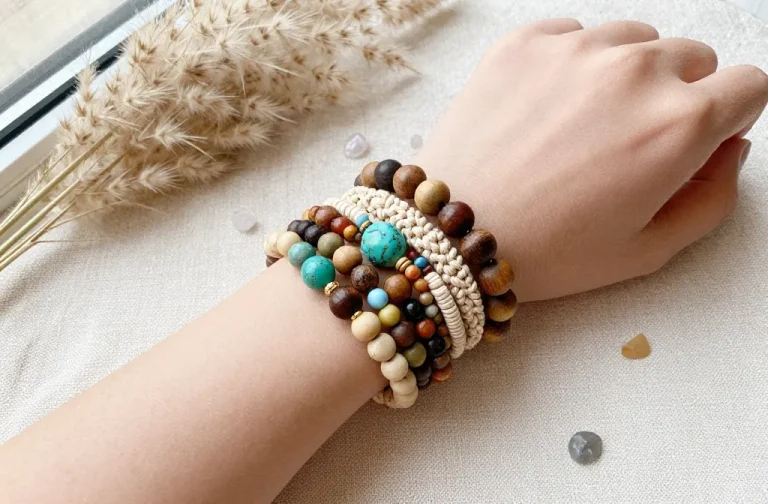
A row of colorful name bracelets stacked on a child’s wrist, each representing a special memory.
17. Recycled Bottle Planters
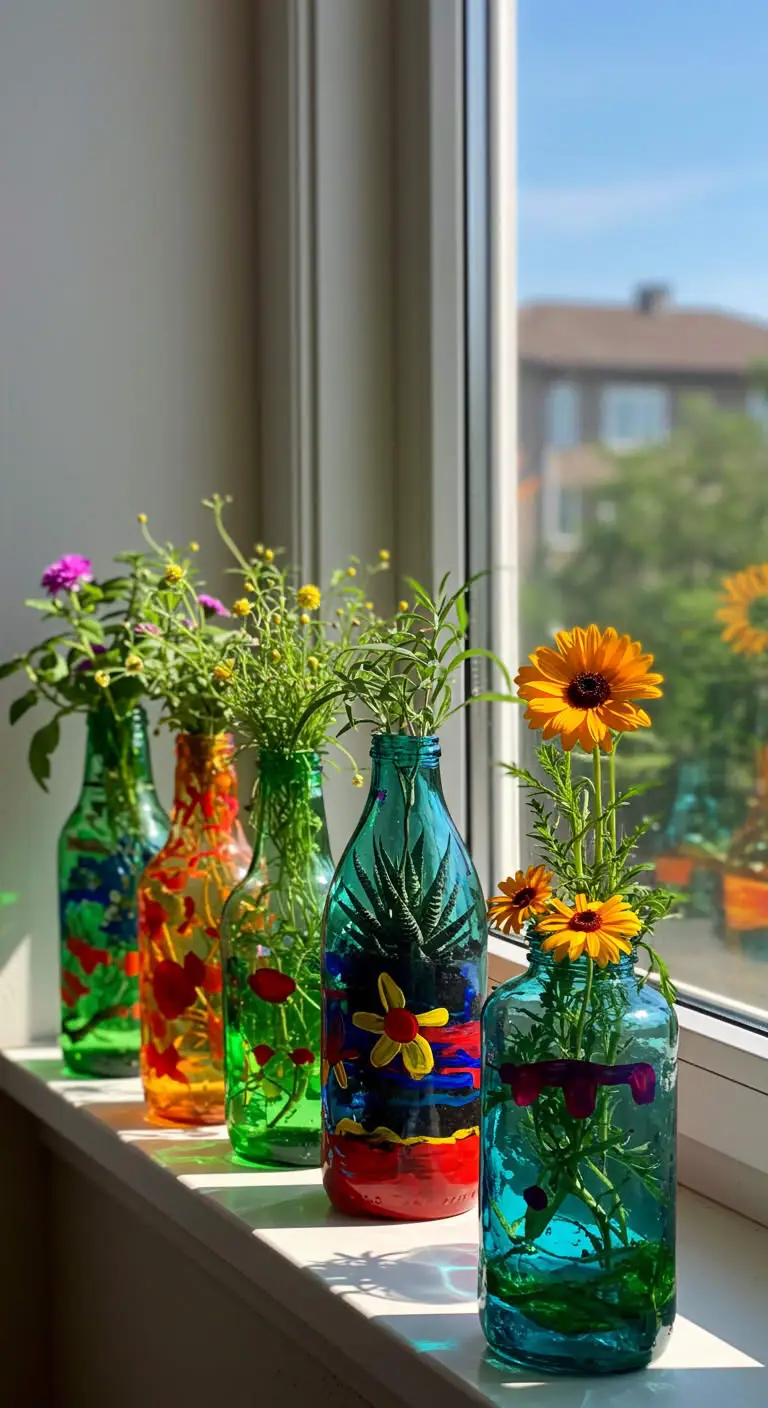
Turn plastic bottles into cute planters for small plants.
How to Make It
- Cut a plastic bottle in half and paint it in fun colors.
- Add soil and plant small succulents or flowers.
- Place them on a windowsill or desk for decoration.
Picture This
A collection of colorful bottle planters sitting on a windowsill, bringing life to the room. For more upcycled projects, check out these bottle craft ideas decoration.